
WOW! It’s the first of the year already! Either time is moving
faster or I’m getting slower.
Will Rogers said that “The quickest way to double your money
is to fold it in half and put it back in your pocket.” Watching the
evolution of radio systems in the past few years, more than once
I’ve put off spending my hard-earned money on a new system.
With all the changes that have come about, especially in the last
two years, I wonder where radios are going in their evolution and
how much faster it will happen.
I’ve flown Futaba, JR, and Airtronics radios throughout the
years. I have a JR PCM 10X, which must have been one of the
originals. It still works well and I’ve never had a problem with
the system.
The other radios
in my shop are
basically the same
basic four- to sixchannel
units for
sport flying. I go
by the motto “If it
works, don’t fix
it.”
It has amazed me through the years to see Scale modelers who
have had numerous radio problems and have kept a “bad radio”
or receiver. Toss the thing in the trash, and quickly, if it doesn’t
work.
Yes, I know you can have a radio serviced, and I have done so
myself. But if there are problems in the programming or
persistent, recurring issues, you’re much better off to toss the
thing rather than risk the new Scale model you put 500-1,000
hours into!
I didn’t want to spend the money required on a new 10-
channel radio system and had been seriously looking at the JR
XP9303. It has many bells and whistles, but it came with a 600
mAh transmitter battery. What’s with that?
JR does offer a larger-capacity battery for that radio system
and now offers it with a synthesized frequency system. The
XP9303 is roughly $600, and that’s with no servos, which is still
a heck of a deal.
But I went to the local hobby shop and saw the next
generation of radios from JR a few weeks ago. The XP7202 has a
20-model memory (more than I’ll ever use). The transmitter and
Also included in this column:
• Project Stearman update
• Fokker D.VII documentation
R790 receiver for the JR XP7202 radio system.
JR 7202 radio system showing the function buttons on the front.
Stan’s finished Great Planes Super Stearman.
The Super Stearman’s tail group, showing the struts.
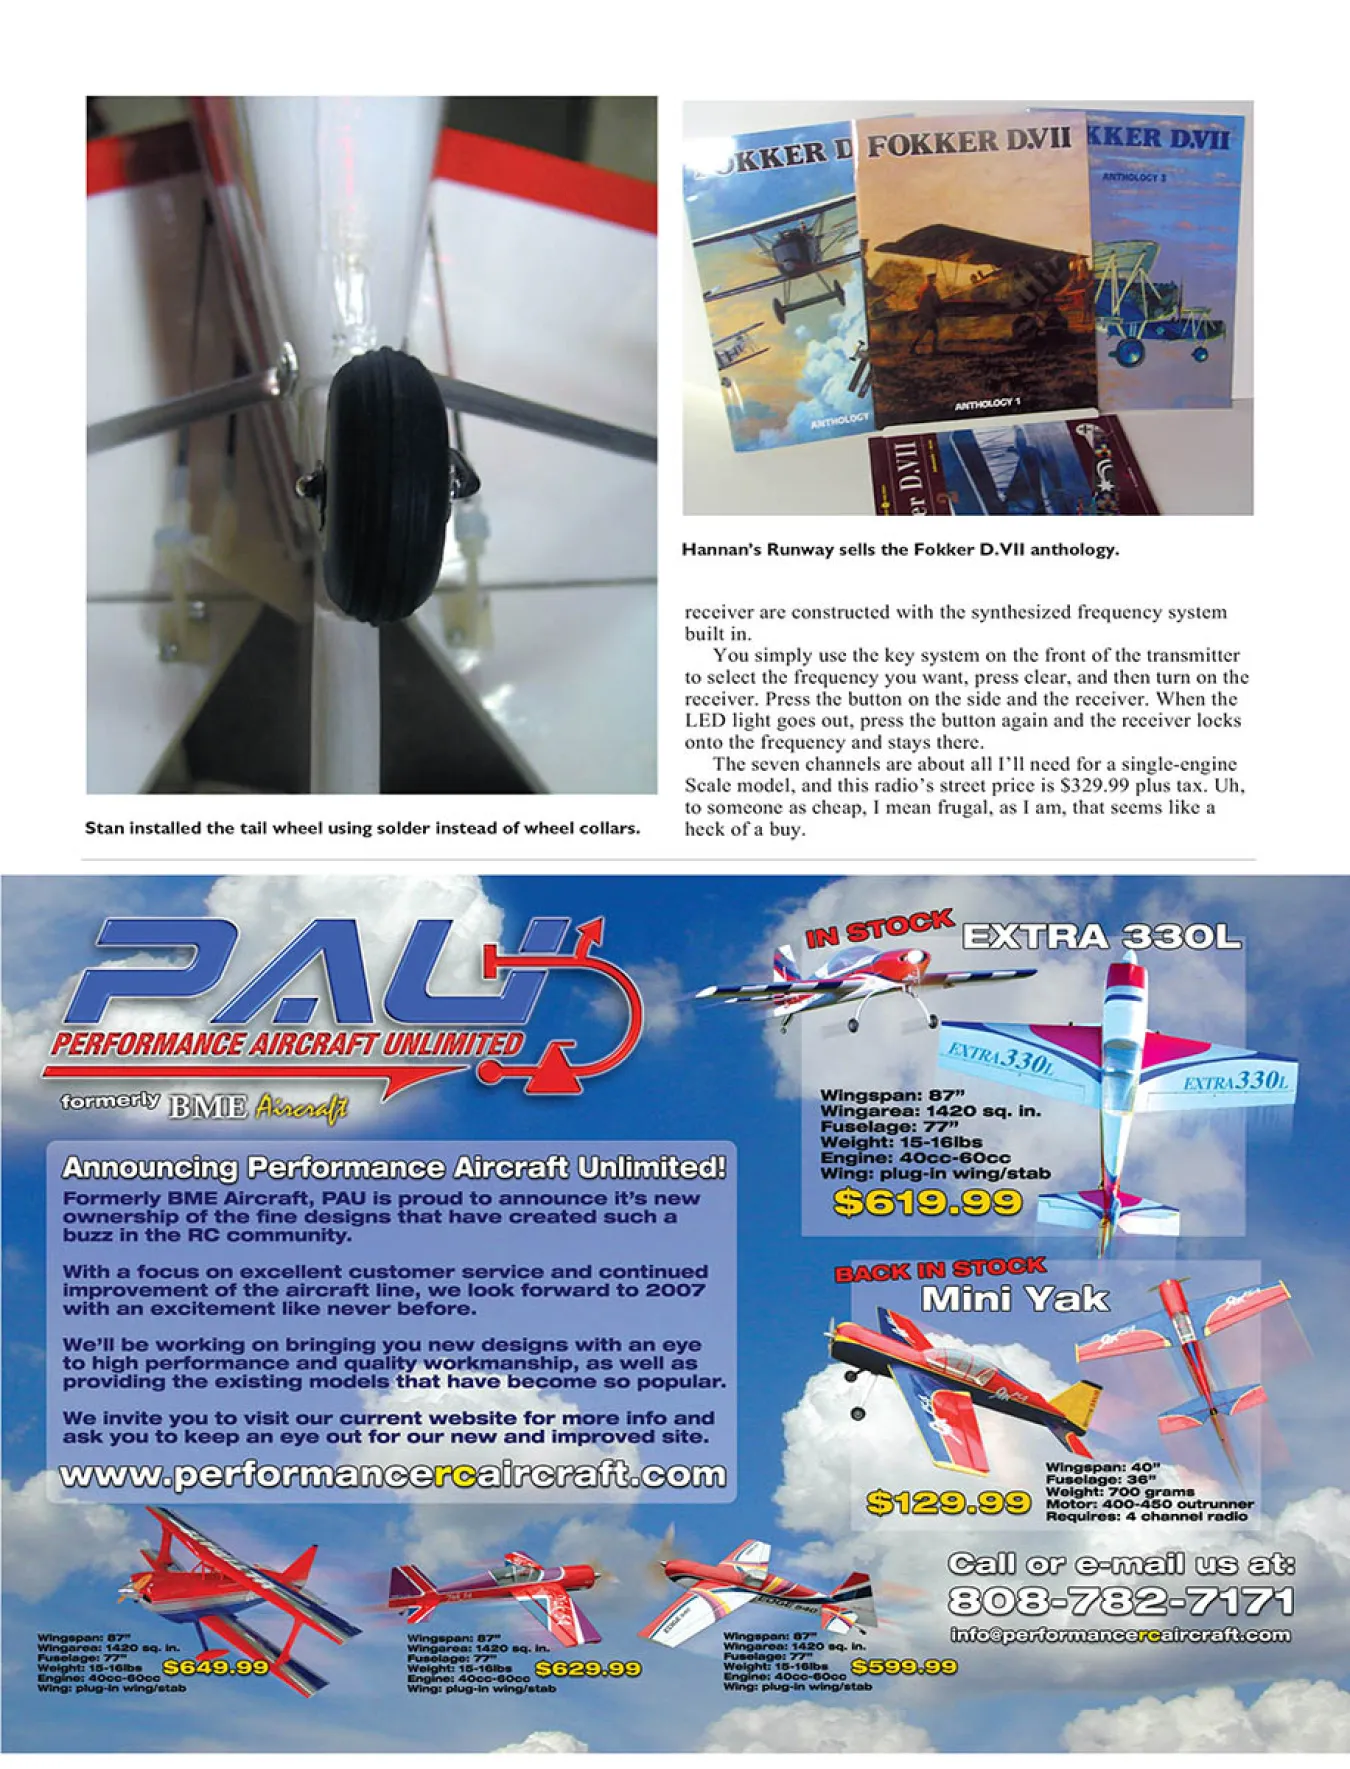
Stan installed the tail wheel using solder instead of wheel collars.
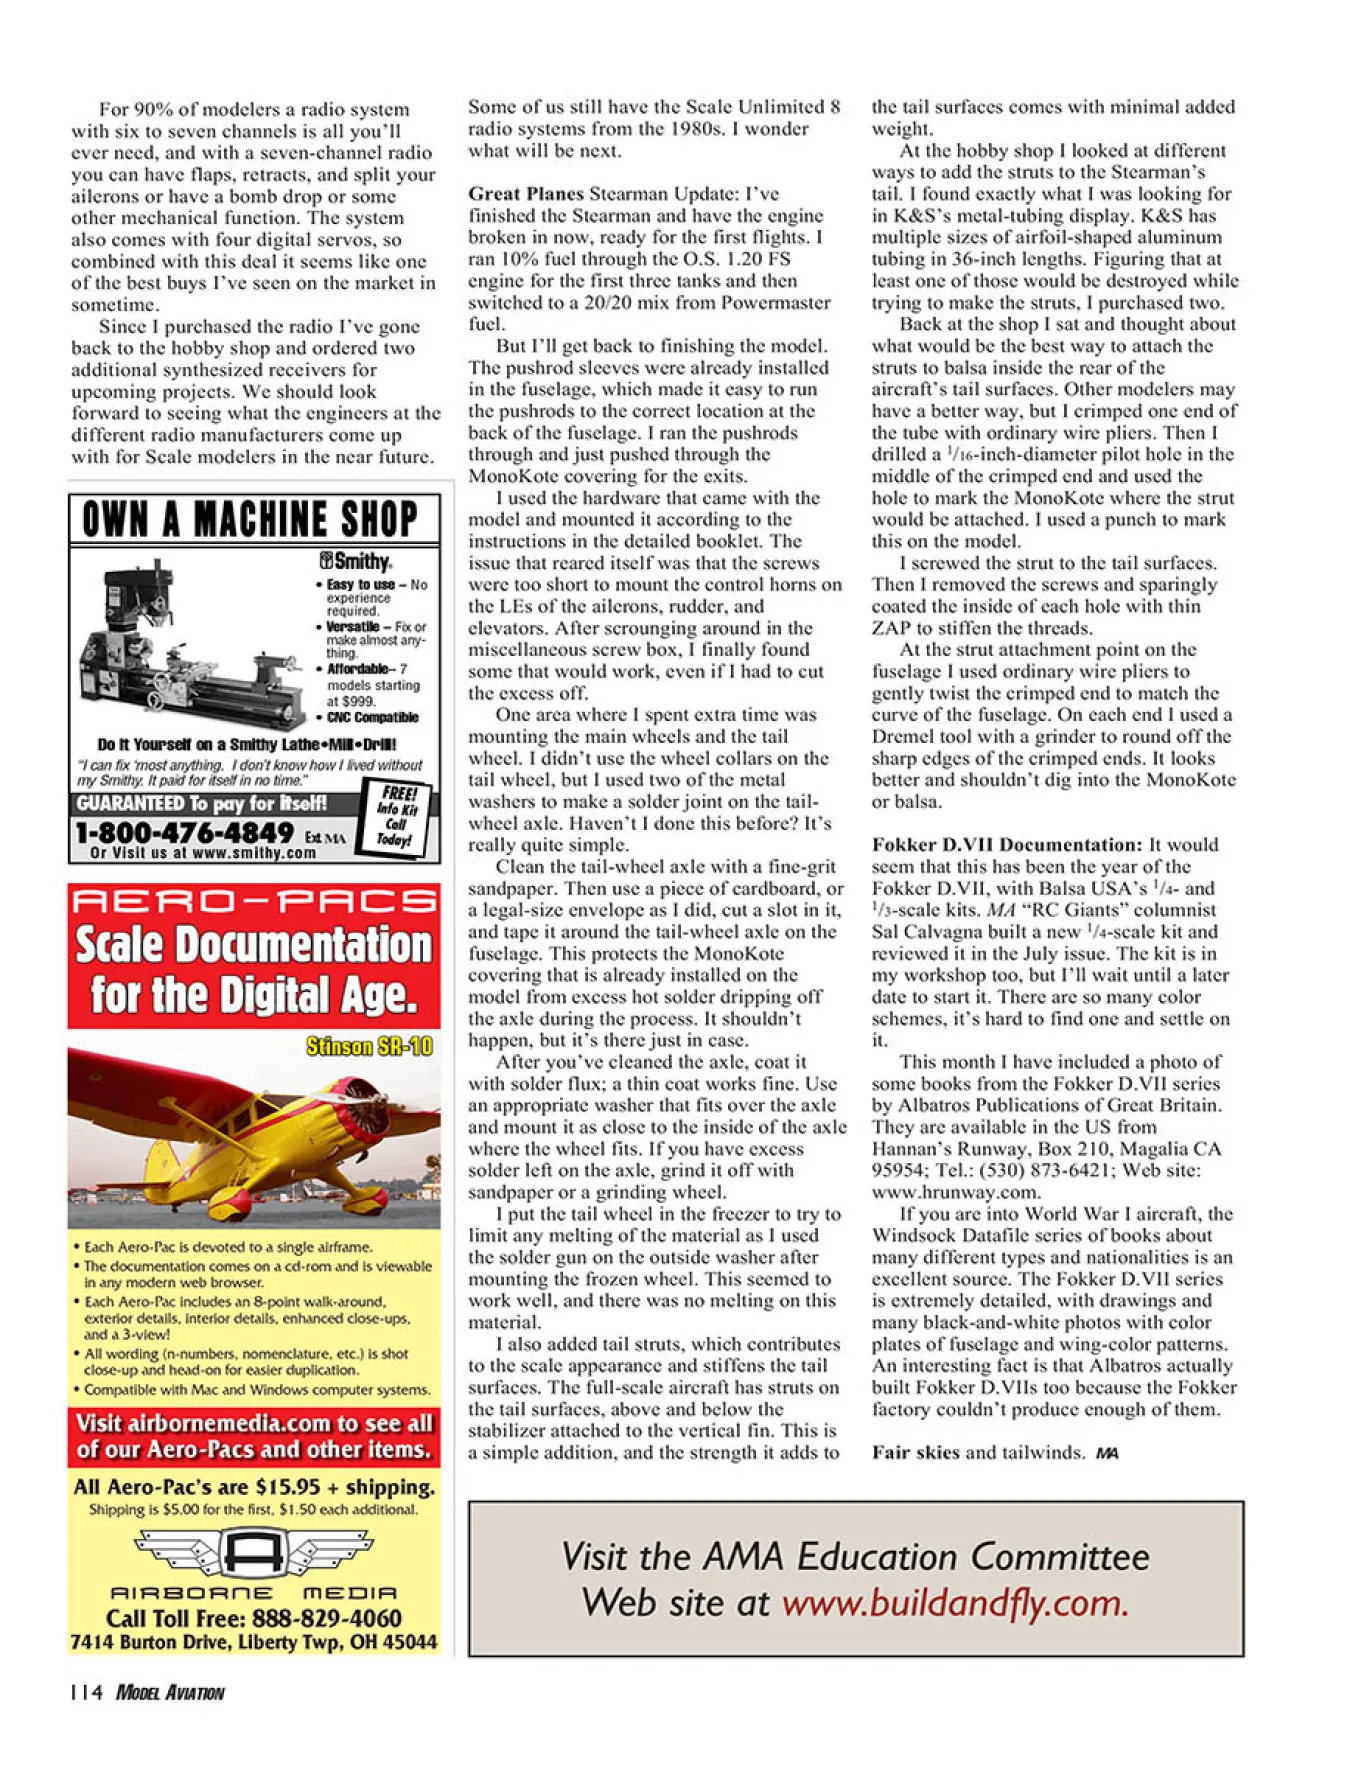
Hannan’s Runway sells the Fokker D.VII anthology.
receiver are constructed with the synthesized frequency system
built in.
You simply use the key system on the front of the transmitter
to select the frequency you want, press clear, and then turn on the
receiver. Press the button on the side and the receiver. When the
LED light goes out, press the button again and the receiver locks
onto the frequency and stays there.
The seven channels are about all I’ll need for a single-engine
Scale model, and this radio’s street price is $329.99 plus tax. Uh,
to someone as cheap, I mean frugal, as I am, that seems like a
heck of a buy.
For 90% of modelers a radio system
with six to seven channels is all you’ll
ever need, and with a seven-channel radio
you can have flaps, retracts, and split your
ailerons or have a bomb drop or some
other mechanical function. The system
also comes with four digital servos, so
combined with this deal it seems like one
of the best buys I’ve seen on the market in
sometime.
Since I purchased the radio I’ve gone
back to the hobby shop and ordered two
additional synthesized receivers for
upcoming projects. We should look
forward to seeing what the engineers at the
different radio manufacturers come up
with for Scale modelers in the near future.
Some of us still have the Scale Unlimited 8
radio systems from the 1980s. I wonder
what will be next.
Great Planes Stearman Update: I’ve
finished the Stearman and have the engine
broken in now, ready for the first flights. I
ran 10% fuel through the O.S. 1.20 FS
engine for the first three tanks and then
switched to a 20/20 mix from Powermaster
fuel.
But I’ll get back to finishing the model.
The pushrod sleeves were already installed
in the fuselage, which made it easy to run
the pushrods to the correct location at the
back of the fuselage. I ran the pushrods
through and just pushed through the
MonoKote covering for the exits.
I used the hardware that came with the
model and mounted it according to the
instructions in the detailed booklet. The
issue that reared itself was that the screws
were too short to mount the control horns on
the LEs of the ailerons, rudder, and
elevators. After scrounging around in the
miscellaneous screw box, I finally found
some that would work, even if I had to cut
the excess off.
One area where I spent extra time was
mounting the main wheels and the tail
wheel. I didn’t use the wheel collars on the
tail wheel, but I used two of the metal
washers to make a solder joint on the tailwheel
axle. Haven’t I done this before? It’s
really quite simple.
Clean the tail-wheel axle with a fine-grit
sandpaper. Then use a piece of cardboard, or
a legal-size envelope as I did, cut a slot in it,
and tape it around the tail-wheel axle on the
fuselage. This protects the MonoKote
covering that is already installed on the
model from excess hot solder dripping off
the axle during the process. It shouldn’t
happen, but it’s there just in case.
After you’ve cleaned the axle, coat it
with solder flux; a thin coat works fine. Use
an appropriate washer that fits over the axle
and mount it as close to the inside of the axle
where the wheel fits. If you have excess
solder left on the axle, grind it off with
sandpaper or a grinding wheel.
I put the tail wheel in the freezer to try to
limit any melting of the material as I used
the solder gun on the outside washer after
mounting the frozen wheel. This seemed to
work well, and there was no melting on this
material.
I also added tail struts, which contributes
to the scale appearance and stiffens the tail
surfaces. The full-scale aircraft has struts on
the tail surfaces, above and below the
stabilizer attached to the vertical fin. This is
a simple addition, and the strength it adds to
the tail surfaces comes with minimal added
weight.
At the hobby shop I looked at different
ways to add the struts to the Stearman’s
tail. I found exactly what I was looking for
in K&S’s metal-tubing display. K&S has
multiple sizes of airfoil-shaped aluminum
tubing in 36-inch lengths. Figuring that at
least one of those would be destroyed while
trying to make the struts, I purchased two.
Back at the shop I sat and thought about
what would be the best way to attach the
struts to balsa inside the rear of the
aircraft’s tail surfaces. Other modelers may
have a better way, but I crimped one end of
the tube with ordinary wire pliers. Then I
drilled a 1/16-inch-diameter pilot hole in the
middle of the crimped end and used the
hole to mark the MonoKote where the strut
would be attached. I used a punch to mark
this on the model.
I screwed the strut to the tail surfaces.
Then I removed the screws and sparingly
coated the inside of each hole with thin
ZAP to stiffen the threads.
At the strut attachment point on the
fuselage I used ordinary wire pliers to
gently twist the crimped end to match the
curve of the fuselage. On each end I used a
Dremel tool with a grinder to round off the
sharp edges of the crimped ends. It looks
better and shouldn’t dig into the MonoKote
or balsa.
Fokker D.VII Documentation: It would
seem that this has been the year of the
Fokker D.VII, with Balsa USA’s 1/4- and
1/3-scale kits. MA “RC Giants” columnist
Sal Calvagna built a new 1/4-scale kit and
reviewed it in the July issue. The kit is in
my workshop too, but I’ll wait until a later
date to start it. There are so many color
schemes, it’s hard to find one and settle on
it.
This month I have included a photo of
some books from the Fokker D.VII series
by Albatros Publications of Great Britain.
They are available in the US from
Hannan’s Runway, Box 210, Magalia CA
95954; Tel.: (530) 873-6421; Web site:
www.hrunway.com.
If you are into World War I aircraft, the
Windsock Datafile series of books about
many different types and nationalities is an
excellent source. The Fokker D.VII series
is extremely detailed, with drawings and
many black-and-white photos with color
plates of fuselage and wing-color patterns.
An interesting fact is that Albatros actually
built Fokker D.VIIs too because the Fokker
factory couldn’t produce enough of them.
Fair skies and tailwinds.

Edition: Model Aviation - 2007/01
Page Numbers: 112,113,114
Edition: Model Aviation - 2007/01
Page Numbers: 112,113,114
WOW! It’s the first of the year already! Either time is moving
faster or I’m getting slower.
Will Rogers said that “The quickest way to double your money
is to fold it in half and put it back in your pocket.” Watching the
evolution of radio systems in the past few years, more than once
I’ve put off spending my hard-earned money on a new system.
With all the changes that have come about, especially in the last
two years, I wonder where radios are going in their evolution and
how much faster it will happen.
I’ve flown Futaba, JR, and Airtronics radios throughout the
years. I have a JR PCM 10X, which must have been one of the
originals. It still works well and I’ve never had a problem with
the system.
The other radios
in my shop are
basically the same
basic four- to sixchannel
units for
sport flying. I go
by the motto “If it
works, don’t fix
it.”
It has amazed me through the years to see Scale modelers who
have had numerous radio problems and have kept a “bad radio”
or receiver. Toss the thing in the trash, and quickly, if it doesn’t
work.
Yes, I know you can have a radio serviced, and I have done so
myself. But if there are problems in the programming or
persistent, recurring issues, you’re much better off to toss the
thing rather than risk the new Scale model you put 500-1,000
hours into!
I didn’t want to spend the money required on a new 10-
channel radio system and had been seriously looking at the JR
XP9303. It has many bells and whistles, but it came with a 600
mAh transmitter battery. What’s with that?
JR does offer a larger-capacity battery for that radio system
and now offers it with a synthesized frequency system. The
XP9303 is roughly $600, and that’s with no servos, which is still
a heck of a deal.
But I went to the local hobby shop and saw the next
generation of radios from JR a few weeks ago. The XP7202 has a
20-model memory (more than I’ll ever use). The transmitter and
Also included in this column:
• Project Stearman update
• Fokker D.VII documentation
R790 receiver for the JR XP7202 radio system.
JR 7202 radio system showing the function buttons on the front.
Stan’s finished Great Planes Super Stearman.
The Super Stearman’s tail group, showing the struts.
Stan installed the tail wheel using solder instead of wheel collars.
Hannan’s Runway sells the Fokker D.VII anthology.
receiver are constructed with the synthesized frequency system
built in.
You simply use the key system on the front of the transmitter
to select the frequency you want, press clear, and then turn on the
receiver. Press the button on the side and the receiver. When the
LED light goes out, press the button again and the receiver locks
onto the frequency and stays there.
The seven channels are about all I’ll need for a single-engine
Scale model, and this radio’s street price is $329.99 plus tax. Uh,
to someone as cheap, I mean frugal, as I am, that seems like a
heck of a buy.
For 90% of modelers a radio system
with six to seven channels is all you’ll
ever need, and with a seven-channel radio
you can have flaps, retracts, and split your
ailerons or have a bomb drop or some
other mechanical function. The system
also comes with four digital servos, so
combined with this deal it seems like one
of the best buys I’ve seen on the market in
sometime.
Since I purchased the radio I’ve gone
back to the hobby shop and ordered two
additional synthesized receivers for
upcoming projects. We should look
forward to seeing what the engineers at the
different radio manufacturers come up
with for Scale modelers in the near future.
Some of us still have the Scale Unlimited 8
radio systems from the 1980s. I wonder
what will be next.
Great Planes Stearman Update: I’ve
finished the Stearman and have the engine
broken in now, ready for the first flights. I
ran 10% fuel through the O.S. 1.20 FS
engine for the first three tanks and then
switched to a 20/20 mix from Powermaster
fuel.
But I’ll get back to finishing the model.
The pushrod sleeves were already installed
in the fuselage, which made it easy to run
the pushrods to the correct location at the
back of the fuselage. I ran the pushrods
through and just pushed through the
MonoKote covering for the exits.
I used the hardware that came with the
model and mounted it according to the
instructions in the detailed booklet. The
issue that reared itself was that the screws
were too short to mount the control horns on
the LEs of the ailerons, rudder, and
elevators. After scrounging around in the
miscellaneous screw box, I finally found
some that would work, even if I had to cut
the excess off.
One area where I spent extra time was
mounting the main wheels and the tail
wheel. I didn’t use the wheel collars on the
tail wheel, but I used two of the metal
washers to make a solder joint on the tailwheel
axle. Haven’t I done this before? It’s
really quite simple.
Clean the tail-wheel axle with a fine-grit
sandpaper. Then use a piece of cardboard, or
a legal-size envelope as I did, cut a slot in it,
and tape it around the tail-wheel axle on the
fuselage. This protects the MonoKote
covering that is already installed on the
model from excess hot solder dripping off
the axle during the process. It shouldn’t
happen, but it’s there just in case.
After you’ve cleaned the axle, coat it
with solder flux; a thin coat works fine. Use
an appropriate washer that fits over the axle
and mount it as close to the inside of the axle
where the wheel fits. If you have excess
solder left on the axle, grind it off with
sandpaper or a grinding wheel.
I put the tail wheel in the freezer to try to
limit any melting of the material as I used
the solder gun on the outside washer after
mounting the frozen wheel. This seemed to
work well, and there was no melting on this
material.
I also added tail struts, which contributes
to the scale appearance and stiffens the tail
surfaces. The full-scale aircraft has struts on
the tail surfaces, above and below the
stabilizer attached to the vertical fin. This is
a simple addition, and the strength it adds to
the tail surfaces comes with minimal added
weight.
At the hobby shop I looked at different
ways to add the struts to the Stearman’s
tail. I found exactly what I was looking for
in K&S’s metal-tubing display. K&S has
multiple sizes of airfoil-shaped aluminum
tubing in 36-inch lengths. Figuring that at
least one of those would be destroyed while
trying to make the struts, I purchased two.
Back at the shop I sat and thought about
what would be the best way to attach the
struts to balsa inside the rear of the
aircraft’s tail surfaces. Other modelers may
have a better way, but I crimped one end of
the tube with ordinary wire pliers. Then I
drilled a 1/16-inch-diameter pilot hole in the
middle of the crimped end and used the
hole to mark the MonoKote where the strut
would be attached. I used a punch to mark
this on the model.
I screwed the strut to the tail surfaces.
Then I removed the screws and sparingly
coated the inside of each hole with thin
ZAP to stiffen the threads.
At the strut attachment point on the
fuselage I used ordinary wire pliers to
gently twist the crimped end to match the
curve of the fuselage. On each end I used a
Dremel tool with a grinder to round off the
sharp edges of the crimped ends. It looks
better and shouldn’t dig into the MonoKote
or balsa.
Fokker D.VII Documentation: It would
seem that this has been the year of the
Fokker D.VII, with Balsa USA’s 1/4- and
1/3-scale kits. MA “RC Giants” columnist
Sal Calvagna built a new 1/4-scale kit and
reviewed it in the July issue. The kit is in
my workshop too, but I’ll wait until a later
date to start it. There are so many color
schemes, it’s hard to find one and settle on
it.
This month I have included a photo of
some books from the Fokker D.VII series
by Albatros Publications of Great Britain.
They are available in the US from
Hannan’s Runway, Box 210, Magalia CA
95954; Tel.: (530) 873-6421; Web site:
www.hrunway.com.
If you are into World War I aircraft, the
Windsock Datafile series of books about
many different types and nationalities is an
excellent source. The Fokker D.VII series
is extremely detailed, with drawings and
many black-and-white photos with color
plates of fuselage and wing-color patterns.
An interesting fact is that Albatros actually
built Fokker D.VIIs too because the Fokker
factory couldn’t produce enough of them.
Fair skies and tailwinds.

