
2012 Nats-winning P-30
by Ted Allebone
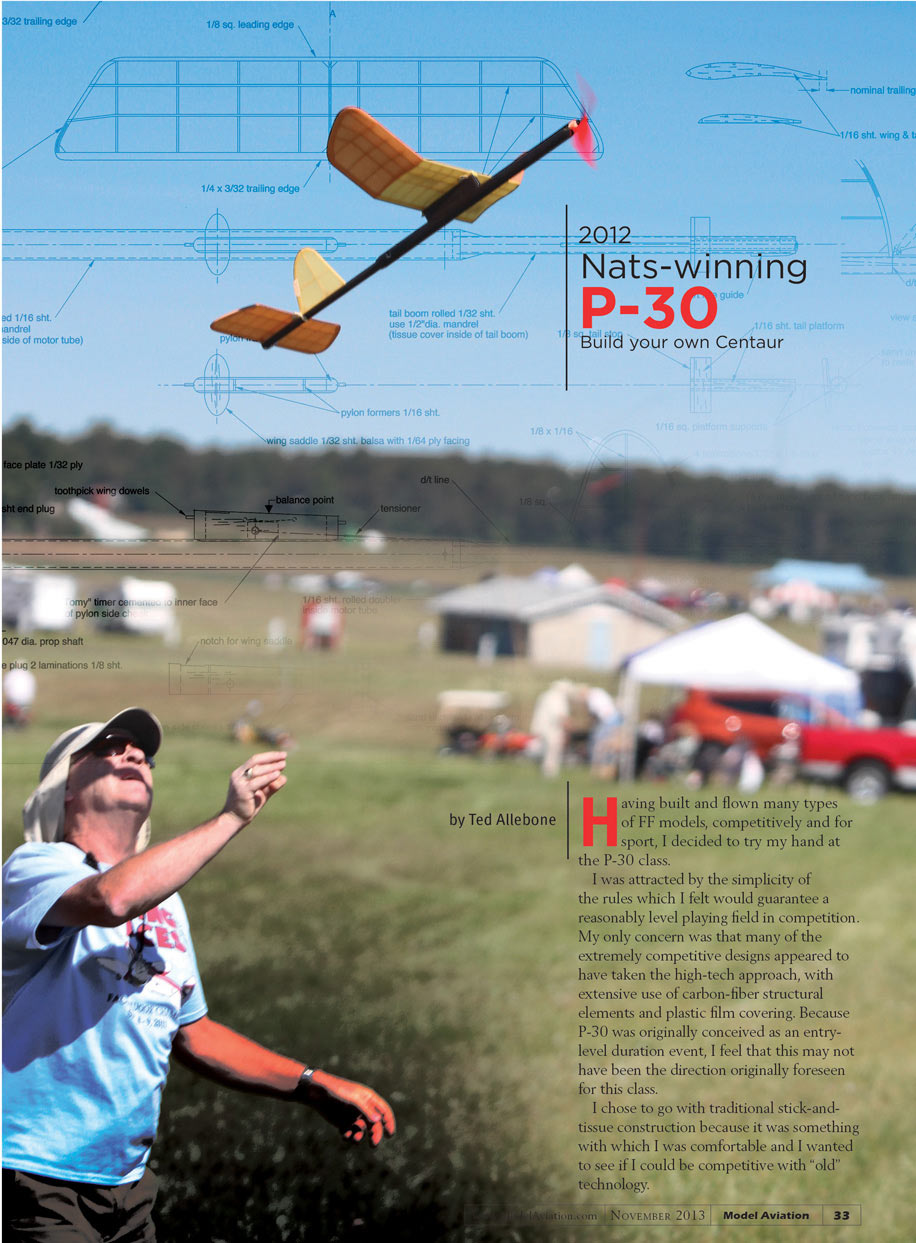
Having built and flown many types of FF models, competitively and for sport, I decided to try my hand at the P-30 class.
I was attracted by the simplicity of the rules which I felt would guarantee a reasonably level playing field in competition. My only concern was that many of the extremely competitive designs appeared to have taken the high-tech approach, with extensive use of carbon-fiber structural elements and plastic film covering. Because P-30 was originally conceived as an entry-level duration event, I feel that this may not have been the direction originally foreseen for this class.
I chose to go with traditional stick-and-tissue construction because it was something with which I was comfortable and I wanted to see if I could be competitive with "old" technology. As a youngster growing up in England, I built many FF models, mainly from kits, with varying degrees of success, but the real game changer for me came when I completed my Keil Kraft Senator Rubber Duration model. Designed by the late Albert Hatfull, this was the first model that performed well for me. The design has acquired legendary status among Old-Time fliers for its outstanding performance, largely attributed to the exceptionally efficient wing design.
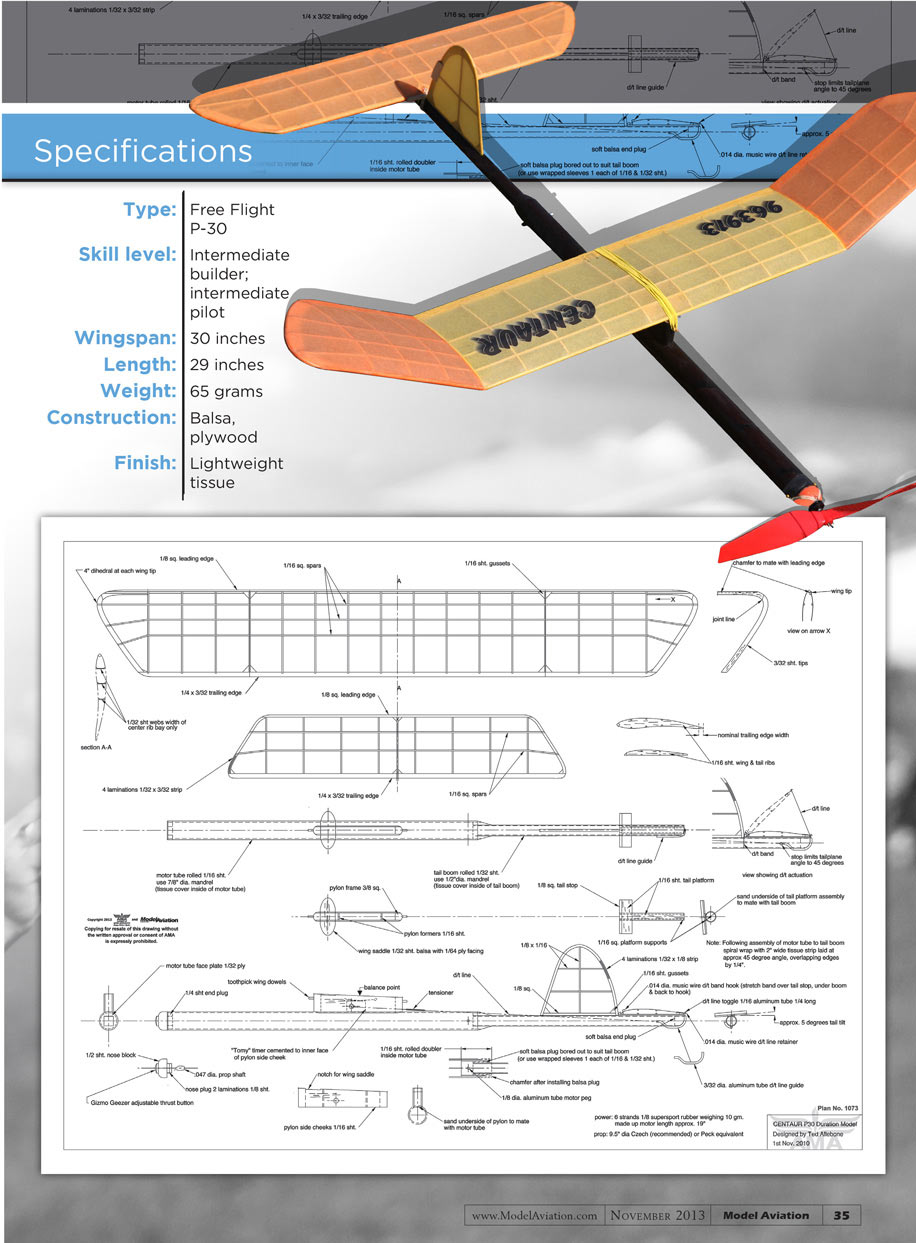
Because the Senator has a projected wingspan of 30 inches, why not use it as the basis for a P-30? I christened the model Centaur and got to work! The Mk I version utilized the Senator wing and tail surfaces unchanged, while the Mk II featured lighter TEs and tips to shave off a small amount of weight.
The fuselage consists of two main elements: a motor tube and tailboom. Construction is of the rolled-tube variety with an integral blast tube, chosen for its strength and light weight.
Construction
This model's construction is straightforward and should present no problems for anyone familiar with traditional building techniques. For those who have not tried a rolled-tube fuselage, I will outline the method I used and found to be nearly foolproof.
Starting with lightweight, straight-grained 1/16 sheet balsa, cut your motor tube blank 2.8-inches wide and roughly 1/8 inch longer than the finished motor tube. Dope lightweight tissue to one side of the blank with clear nitrate. I recommend domestic rather than Esaki tissue because its greater porosity allows it to better bond to the balsa.
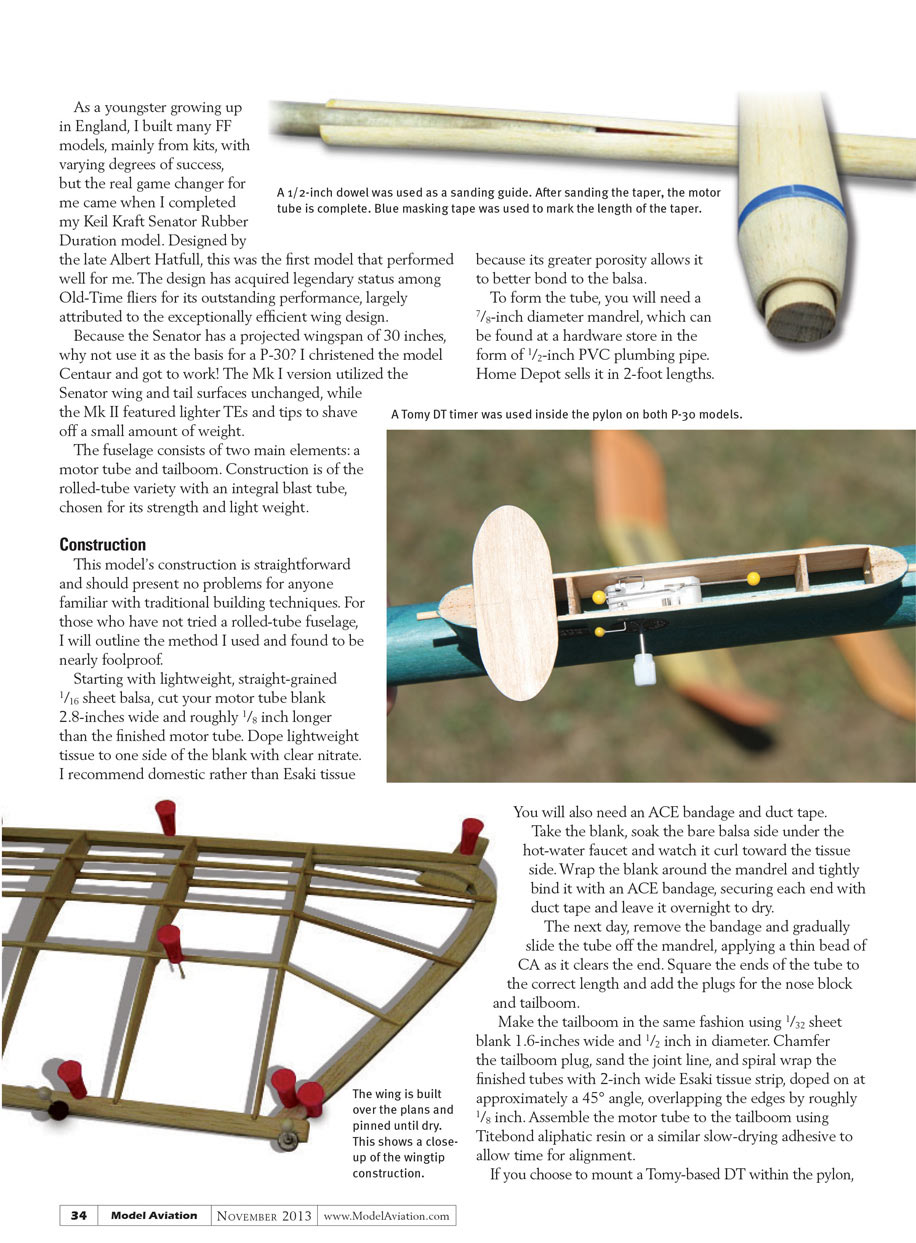
To form the tube, you will need a 7/8-inch diameter mandrel, which can be found at a hardware store in the form of 1/2-inch PVC plumbing pipe. Home Depot sells it in 2-foot lengths.
You will also need an ACE bandage and duct tape. Take the blank, soak the bare balsa side under the hot-water faucet and watch it curl toward the tissue side. Wrap the blank around the mandrel and tightly bind it with an ACE bandage, securing each end with duct tape and leave it overnight to dry.
The next day, remove the bandage and gradually slide the tube off the mandrel, applying a thin bead of CA as it clears the end. Square the ends of the tube to the correct length and add the plugs for the nose block and tailboom.
Make the tailboom in the same fashion using 1/32 sheet blank 1.6-inches wide and 1/2 inch in diameter. Chamfer the tailboom plug, sand the joint line, and spiral wrap the finished tubes with 2-inch wide Esaki tissue strip, doped on at approximately a 45° angle, overlapping the edges by roughly 1/8 inch. Assemble the motor tube to the tailboom using Titebond aliphatic resin or a similar slow-drying adhesive to allow time for alignment.
If you choose to mount a Tomy-based DT within the pylon, it should be installed before adding the second pylon side cheek. After the pylon is constructed, wrap sandpaper around the motor tube mandrel and slide the pylon back and forth to provide a mating surface on the underside. Don't permanently mount the pylon until the model is completed, because it may be necessary to move it forward and aft to establish the correct CG.
The wing, tailplane, and fin are built over the plans in the usual manner. The undercambered wing section requires adding lower wing spars after wing panels are removed from plans. I find it easier to add outer panel spars after joining panels together.
After sanding, cover the wing and tail with Esaki tissue using thinned Elmer's white glue, a glue stick, or clear dope to adhere to the framework. The undercambered wing requires that the underside of all wing ribs and spars be coated with adhesive. Lightly shrink the tissue with water and follow with two coats of 50/50 thinned clear dope for the entire model.
I chose to use a GizmoGeezer adjustable-thrust button in conjunction with the regulation 9.5-inch diameter Czech propeller. A six-strand Super Sport rubber motor approximately 19 inches in length meets the 10-gram weight limit. Mount the tailplane, attach the wing to the pylon, and temporarily rubber band them to the fuselage.
Flying
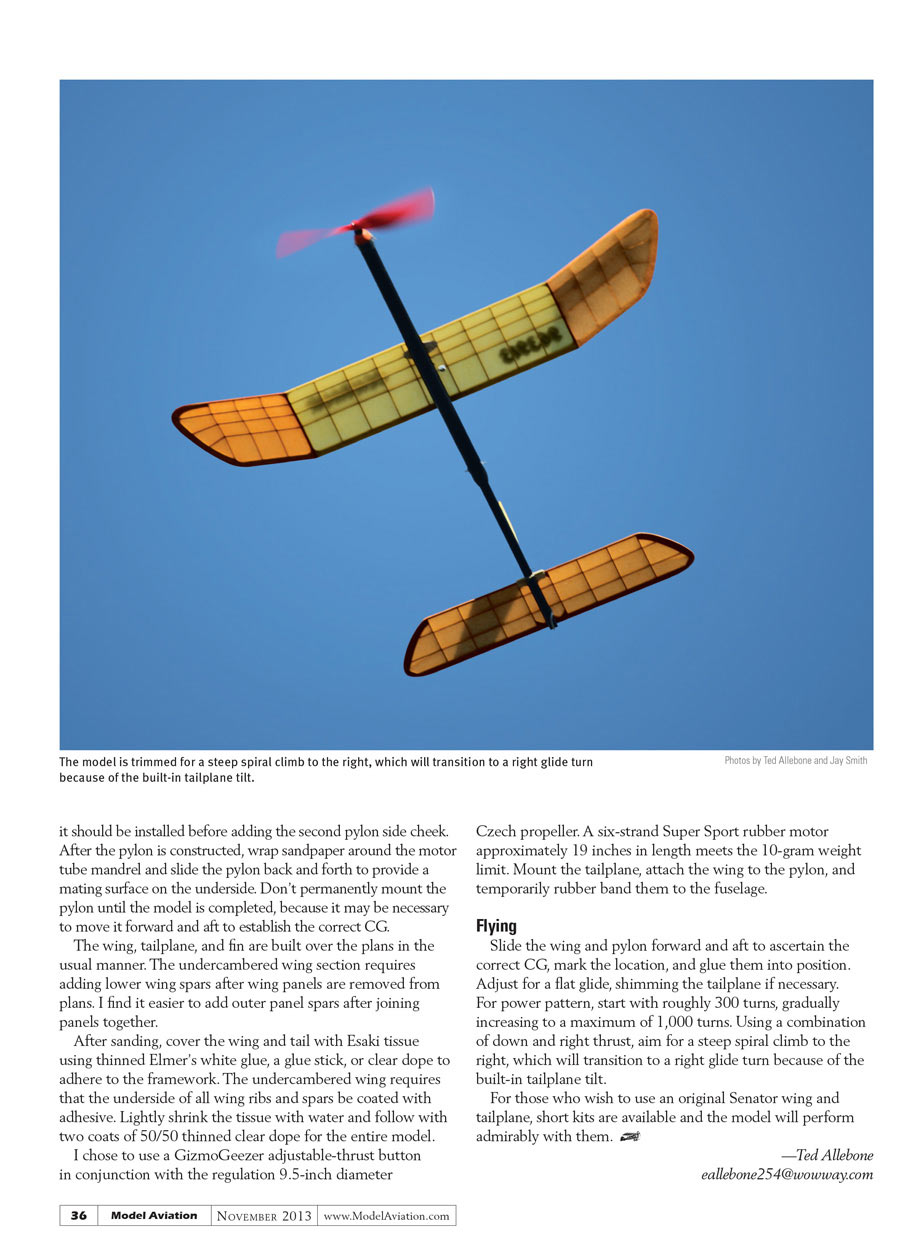
Slide the wing and pylon forward and aft to ascertain the correct CG, mark the location, and glue them into position. Adjust for a flat glide, shimming the tailplane if necessary. For power pattern, start with roughly 300 turns, gradually increasing to a maximum of 1,000 turns. Using a combination of down and right thrust, aim for a steep spiral climb to the right, which will transition to a right glide turn because of the built-in tailplane tilt.
For those who wish to use an original Senator wing and tailplane, short kits are available and the model will perform admirably with them.
—Ted Allebone [email protected]
Transcribed from original scans by AI. Minor OCR errors may remain.

