
Aero Mail
Clearing the Air
I have been a model airplane builder and flyer for over 65 years, working on every aspect of modeling from five-cent solid models up to turbines. At this point in life, I have no interest in turbines other than reading about them. For the past 15 or so years most of my modeling time has gone to RC scale sailplanes.
The reason for telling you this is that I have a fairly good knowledge of building all different kinds of model airplanes. They all have at least one thing in common: they require cutting various materials, gluing, sanding, and finishing. I never gave much thought to the dust caused, other than that it is always a pain to clean up sometimes. This is going to change starting on St. Patrick’s Day.
I will stop construction of the 1/4-scale German WWII troop carrier Me 321 Gigant and fabricate and install one of your shop filters. I read James “Bo” Lovell’s article “Workshop Air Pollution” in the March issue of MA while in a mall with my wife.
James, your article was the best and most informative that I have read in many years—perhaps ever. This is the first time I have responded to any article in any publication. That is how much I appreciate your article.
Gordon Pearson via e-mail
Keep the Air Cleaner Clean
Jim Lovell’s article on workshop air pollution is an excellent reminder of how vulnerable we are to the materials we use in the hobby. My personal nemesis, for example, is latex spackle. Breathing the sanding dust will pack up my sinuses like concrete.
Longer ago than I like to remember, I built a “Dust Sucker” to cut back on workshop dust. I used an ordinary box fan, with a furnace filter duct-taped on each side of it. When I checked the filters, I found lots of nasty stuff in them. So I’d usually set up my Dust Sucker and let it run while I worked.
One day, when I was getting ready to set up my paint sprayer, I started the Dust Sucker and began vacuuming. When I turned off the vacuum, I heard an odd popping noise. Turning around, I saw the Dust Sucker fan was in flames. I quickly unplugged the fan, opened the door, and tossed the flaming fan onto the snowy lawn (it was January in Anchorage, Alaska, and I was not going to run outside with the fan!).
After the fan hit the snow, the flames died away, so I got some shoes on and trotted out to fetch it. Taking a careful, close look at the fan, I saw that the hub had been thick with balsa dust. All that use as a Dust Sucker had loaded dust around the hub, where it got soaked with oil. Once it got hot enough, a spark from the fan motor was all it took to start it burning.
When I realized what had happened, I started shaking.
Remember, I used to let the fan run while I painted. Another five or ten minutes, and I’d have been spraying highly flammable epoxy paint. Had the fan waited until then to start burning, the results would have been terminal for me and for the others in our building.
So I strongly suggest periodically checking any fan or other device with an electric motor that is exposed to balsa dust for buildup. If you see dust collecting around the motor, clean it out.
Since that day, I’ve made it a policy to periodically check the motors in my shop fans, vacuums, saws, Dremels, and so forth. Likewise, I make sure any fan I use around spray paint is specifically made for use around flammable vapors.
Bill Bowne Browns Mills, New Jersey
Bill has a valid point; however, only in the most extreme conditions. From the research I did to write the article to the checking I just did on box fans, their motors, and fire hazards, I have concluded the following.
Aero Mail
Continued from page 7
- If you are generating enough wood dust for the spark or arcing of a brushed motor in a box fan to ignite a wood-dust cloud, you are at an industrial level of wood dust and must be aware of its hazards.
- If fumes from paint or propellants from sprays are gathering in an amount concentrated enough for a box fan to ignite them, you should probably not be in the room without a respirator, oxygen tank, or industrial hood-venting system.
- Bill’s assumption that, like his, most shops are closed is another sticking point. My shop is open to the rest of my house, and a gas pilot light has proven more likely to ignite fumes or dust clouds than box fans have ever been.
- I did find several government and manufacturer-related recalls on box fans by Lasko and other manufacturers related to faulty motors and box-fan power cords causing fires, but none related to particulate matter or fumes doing so. One article I read warned against installing a box fan in your attic for summer ventilation due to fire hazard, but only because the remote location of the fan prevents most people from cleaning it and the high temperatures and amounts of dust that collect in an attic would only exacerbate the need for cleaning the fan and motor.
I found examples of “explosion-proof” box fans and other types of explosion-proof fans. They were all for industrial applications and venting. In all the examples I’ve seen, the motor is outside the fan and ducting area, thus preventing it from direct contact with matter being drawn through the fan.
In addition, at least in my own case, the fan is not really gathering any more dust or other particles than it would be if I had placed it in the doorway pointed out into the hall. I reiterate: if you have enough dust or fumes gathering together in a closed environment for the electric motor of a box fan to ignite, I would hope common sense would have told you long ago that you need more than a cardboard box and a $20 box fan.
Growing up in the South, maybe I am more experienced with these types of fans than people in other parts of the country. I’ve always had to (and this is pretty serious) make sure that the motor and motor windings on my electric floor fans were free of “dust bunnies,” lint, paper, or any other matter that might be flammable or cause the fan motor to overheat.
I have several fans that are over 20 years old, and I’ve had to take them apart to clean the blades and the motor. The factory uses a light oil in the manufacturing process of these electric motors. Coupled with static charges from air movement and the electromagnetic nature of the electric motor, the oil and the magnetism of the motor automatically collect dust, hair, carpet fibers, and all sorts of things. Sometimes cleaning out one of the older ones is pretty gross.
And if you don’t clean them out, they may run more slowly, the motors heat up, and they either don’t keep you cool or they quit working altogether. I’ve never had one catch on fire or ignite anything, although I’m sure it could happen.
Taking nothing away from Bill’s e-mail and his concern for my body staying in one piece at a reasonable 98.6°F, I think it would be an extreme case indeed for his concerns to be realized by the everyday modeler. And with as many ARFs as there are out there, how much dust and fumes do you create putting one of those together?
James “Bo” Lovell Birmingham, Alabama
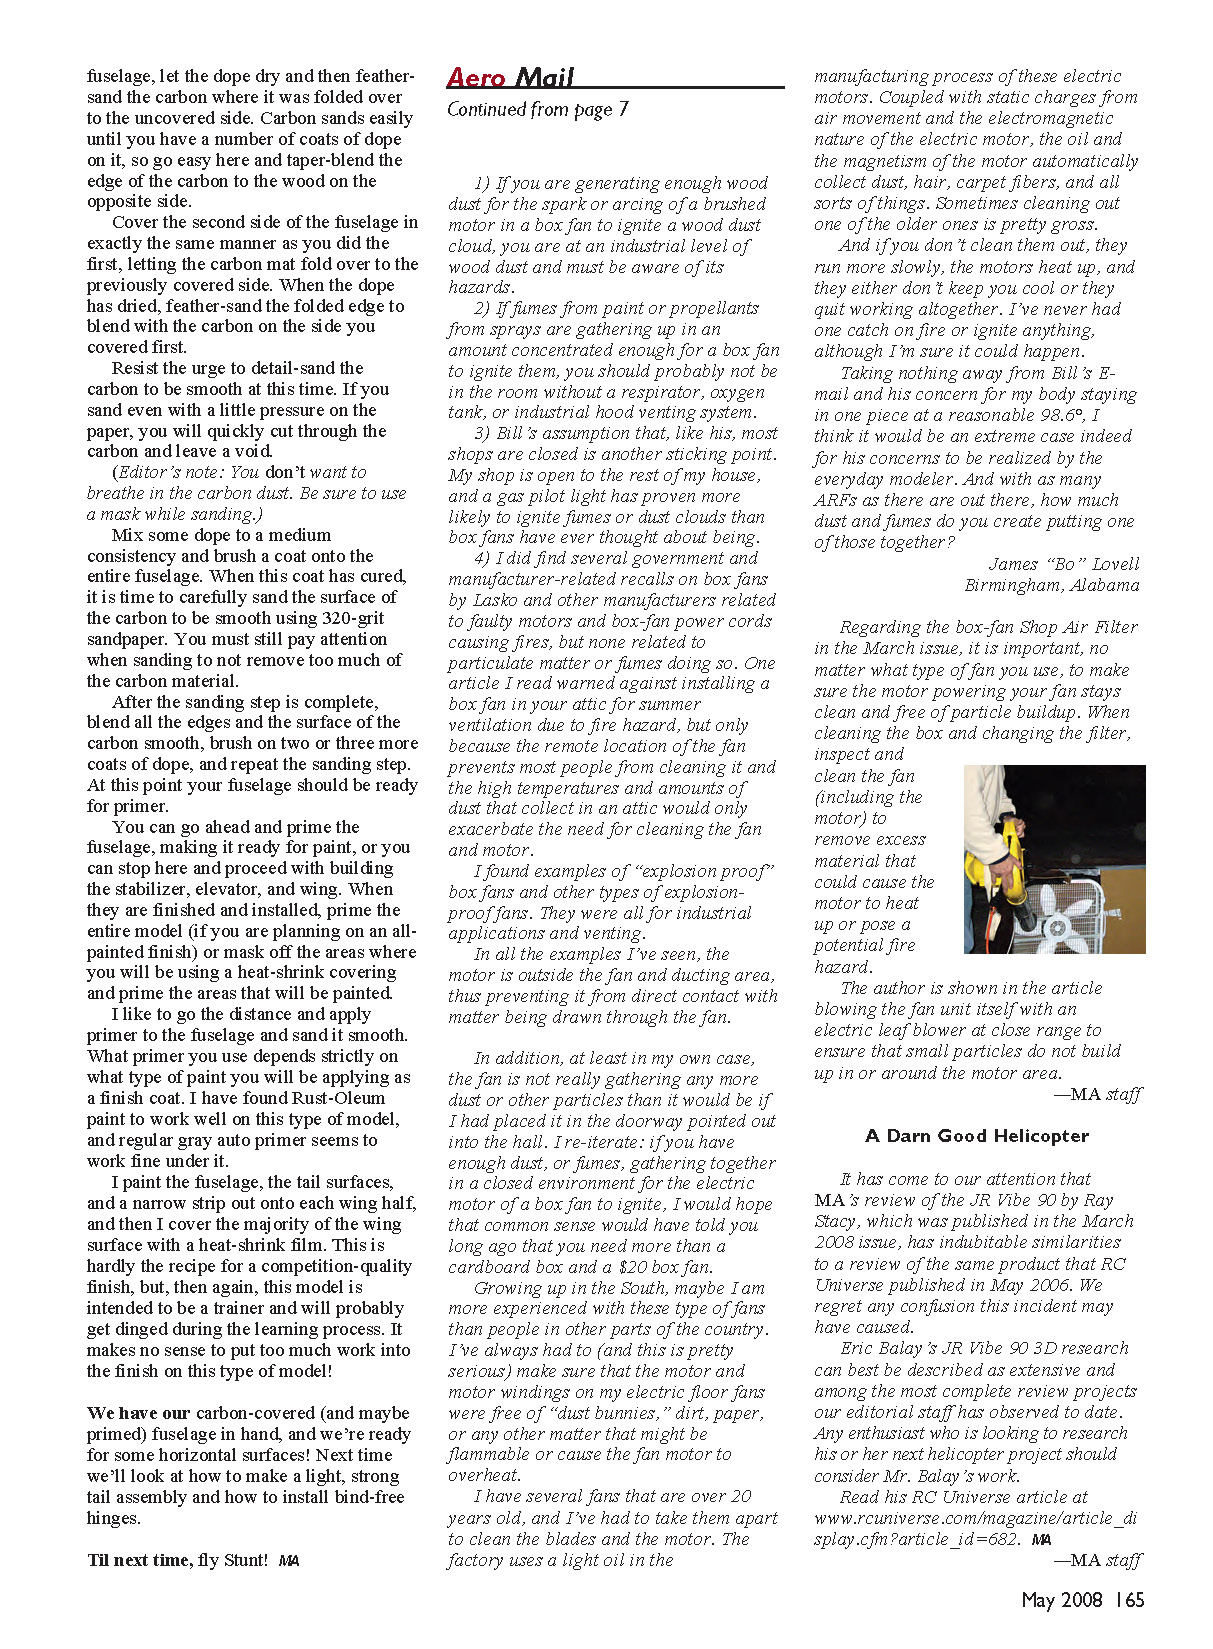
Regarding the box-fan Shop Air Filter in the March issue, it is important, no matter what type of fan you use, to make sure the motor powering your fan stays clean and free of particle buildup. When cleaning the box and changing the filter, inspect and clean the fan (including the motor) to remove excess material that could cause the motor to heat up or pose a potential fire hazard.
The author is shown in the article blowing the fan unit itself with an electric leaf blower at close range to ensure that small particles do not build up in or around the motor area.
—MA staff
Transcribed from original scans by AI. Minor OCR errors may remain.

