
Around the Patch 2014/01
The Caudron project
“The process of bringing a new model into existence should be savored like a fine meal, not gulped down like a Big Mac and fries at Mickey Ds.” —Manuel Cisneros
Manuel Cisneros is a lifelong modeler who built his first FF (free-flight) airplane when he was eight years old. To put his quote into context, his current project is an enlarged version of a BD-4 Embryo, scaled to 24 inches. He preceded the quote with these words: “Planning on taking it slow so I’ll be using Titebond. The last model I built, a Gillespie Zephyr, was done with CA and went too fast.” Manuel relishes his hobby and eloquently epitomizes the pleasure of cherished time in the workshop.
I did get the Caudron finished in time for the Northeast Electric Aircraft Technology (NEAT) Fair. There was strong interest in our air racing demonstration and, because one of our goals was to encourage people to build, I decided to share how I set up its controls.
The Caudron was a sleek racer and I wanted to preserve its elegant lines with internal controls. Call me slightly particular, but I really didn’t want control horns, clevises, and pushrods disturbing its silhouette. Full-house controls plus flaps means seven control surfaces in play and plenty of opportunity for drag.
Starting at the Tail
The elevator installation is traditional, with its pushrod running to a brass control arm silver-soldered to a conventional wire joiner.
Like the elevator, the rudder is driven with an internal pushrod linked to a music-wire tiller bar, also with a silver-soldered control arm. There isn’t a tailwheel bracket to anchor this wire’s lower end, so I needed to stabilize it for crisp control.
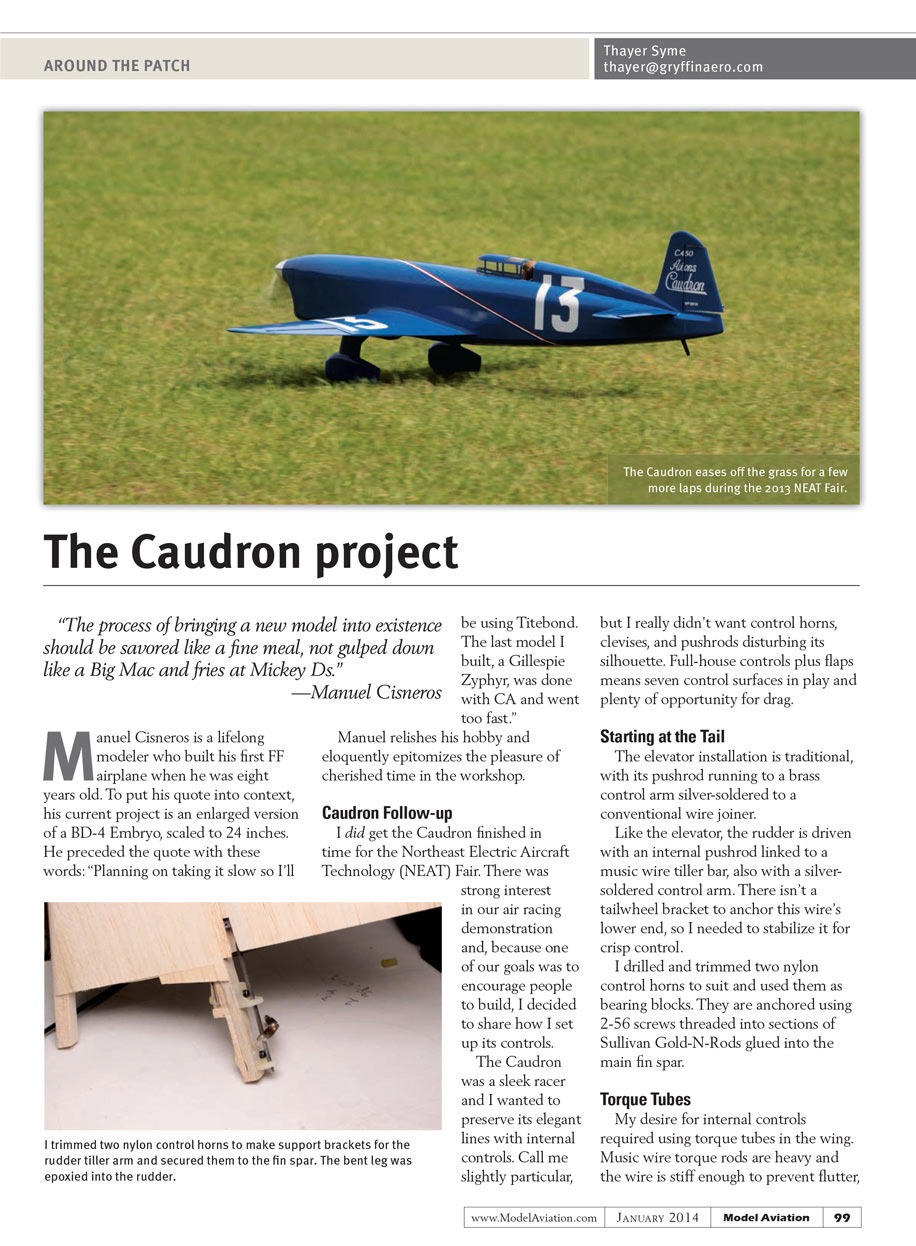
I drilled and trimmed two nylon control horns to suit and used them as bearing blocks. They are anchored using 2-56 screws threaded into sections of Sullivan Gold-N-Rods glued into the main fin spar.
Torque Tubes
My desire for internal controls required using torque tubes in the wing. Music wire torque rods are heavy and the wire is stiff enough to prevent flutter, but would have been an unacceptable weight gain. I instead made torque tubes using K&S aluminum tubing from the hobby shop. I selected two adjacent sizes and glued the larger tubes into the wing as bearings.
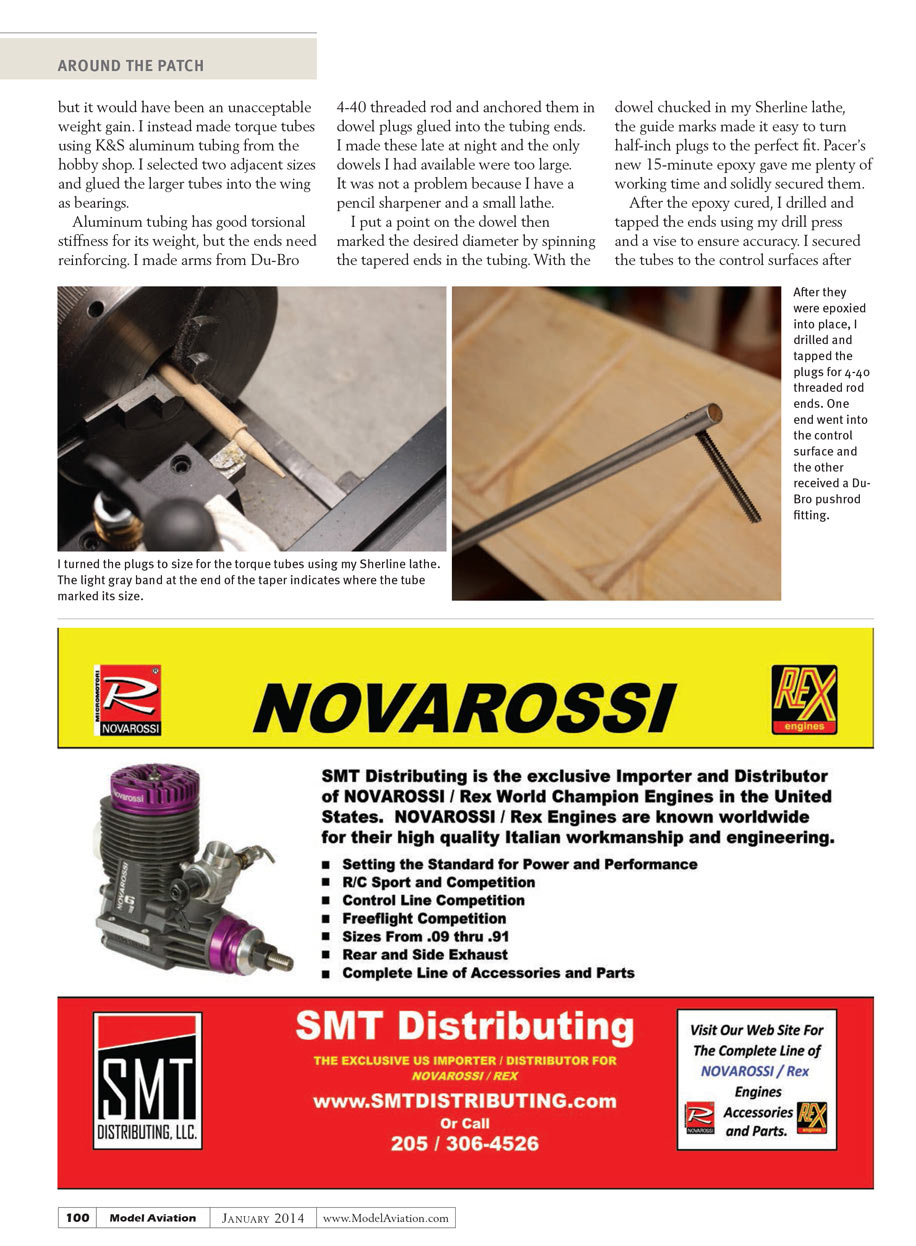
Aluminum tubing has good torsional stiffness for its weight, but the ends need reinforcing. I made arms from Du-Bro 4-40 threaded rod and anchored them in dowel plugs glued into the tubing ends. I made these late at night and the only dowels I had available were too large. It was not a problem since I have a pencil sharpener and a small lathe.
I put a point on the dowel then marked the desired diameter by spinning the tapered ends in the tubing. With the dowel chucked in my Sherline lathe, the guide marks made it easy to turn half-inch plugs to the perfect fit. Pacer’s new 15-minute epoxy gave me plenty of working time and secured them solidly.
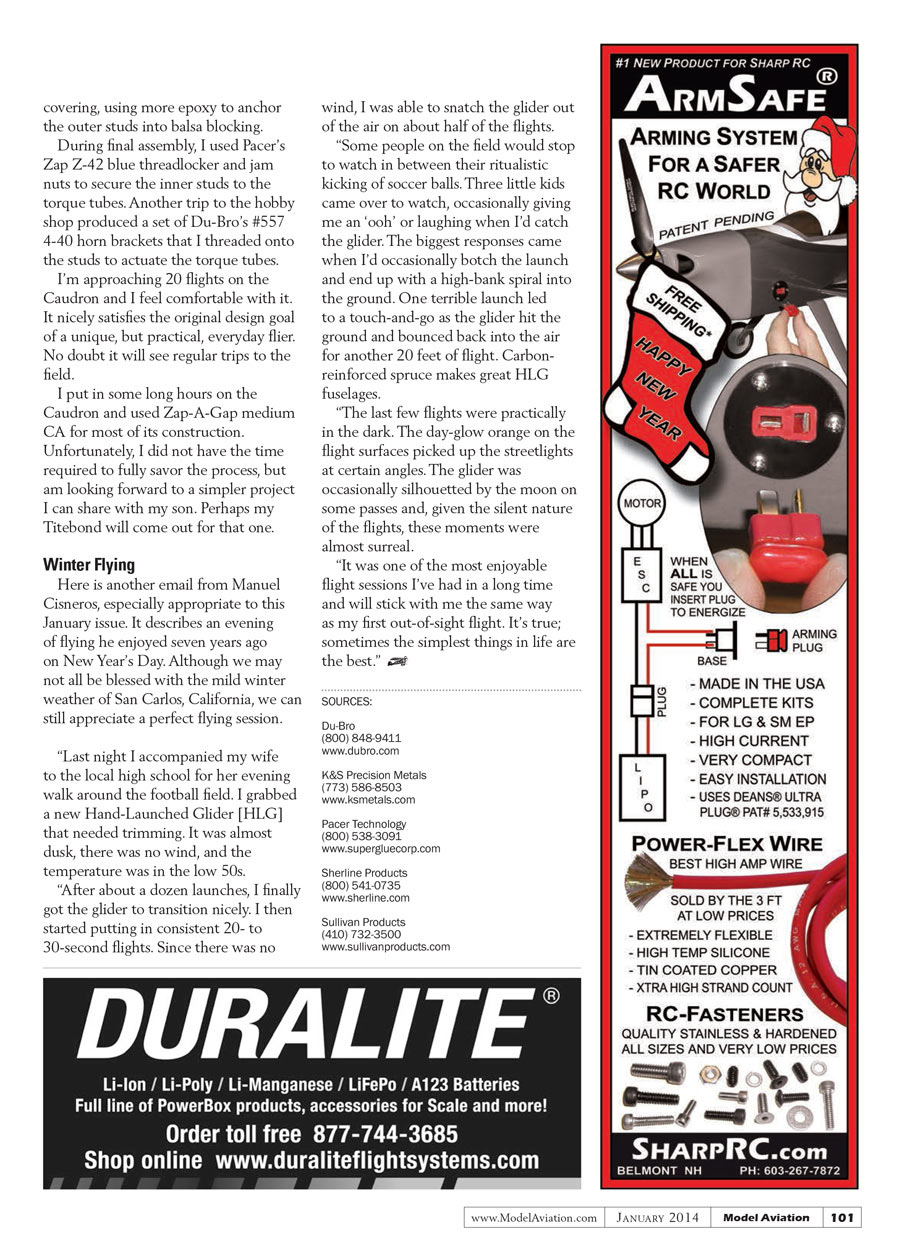
After the epoxy cured, I drilled and tapped the ends using my drill press and a vise to ensure accuracy. I secured the tubes to the control surfaces after covering, using more epoxy to anchor the outer studs into balsa blocking. During final assembly, I used Pacer’s Zap Z-42 blue threadlocker and jam nuts to secure the inner studs to the torque tubes. Another trip to the hobby shop produced a set of Du-Bro #557 4-40 horn brackets that I threaded onto the studs to actuate the torque tubes.
I’m approaching 20 flights on the Caudron and I feel comfortable with it. It nicely satisfies the original design goal of a unique, but practical, everyday flier. No doubt it will see regular trips to the field. I put in some long hours on the Caudron and used Zap-a-Gap medium CA for most of its construction. Unfortunately, I did not have the time required to fully savor the process, but am looking forward to a simpler project I can share with my son. Perhaps my Titebond will come out for that one.
Winter Flying
Here is another email from Manuel Cisneros, especially appropriate to this January issue. It describes an evening of flying he enjoyed seven years ago on New Year’s Day. Although we may not all be blessed with the mild winter weather of San Carlos, California, we can still appreciate a perfect flying session.
"Last night I accompanied my wife to the local high school for her evening walk around the football field. I grabbed a new Hand-Launched Glider (HLG) that needed trimming. It was almost dusk, there was no wind, and the temperature was in the low 50s.
"After about a dozen launches, I finally got the glider to transition nicely. I then started putting in consistent 20- to 30-second flights. Since there was no wind, I was able to snatch the glider out of the air on about half of the flights.
"Some people on the field would stop to watch in between their ritualistic kicking of soccer balls. Three little kids came over to watch, occasionally giving me an 'ooh' or laughing when I'd catch the glider. The biggest responses came when I'd occasionally botch the launch and end up with a high-bank spiral into the ground. One terrible launch led to a touch-and-go as the glider hit the ground and bounced back into the air for another 20 feet of flight. Carbon-reinforced spruce makes great HLG fuselages.
"The last few flights were practically in the dark. The day-glow orange on the flight surfaces picked up the streetlights at certain angles. The glider was occasionally silhouetted by the moon on some passes and, given the silent nature of the flights, these moments were almost surreal.
"It was one of the most enjoyable flight sessions I've had in a long time and will stick with me the same way as my first out-of-sight flight. It's true; sometimes the simplest things in life are the best."
SOURCES:
- Du-Bro
(800) 848-9411 www.dubro.com
- K&S Precision Metals
(773) 586-8503 www.ksmetals.com
- Pacer Technology
(800) 538-3091 www.supergluecorp.com
- Sherline Products
(800) 541-0735 www.sherline.com
- Sullivan Products
(410) 732-3500 www.sullivanproducts.com
Transcribed from original scans by AI. Minor OCR errors may remain.

