
The Balsa Builder's Basic Toolbox
by Paul Kohlmann
I heard from Model Aviation Editor-in-Chief Jay Smith regarding some feedback he had received since redesigning this magazine. He explained that Model Aviation readers had been randomly polled each month to get their opinions on the magazine. Surprising to both Jay and me, an overwhelming response was that many readers wanted more building-related content. In fact, the October 2013 build-themed issue was frequently cited as the most popular in recent memory.
As our discussion continued, Jay offered me an opportunity to write a series of articles introducing basic building techniques. The target audience would be those readers contemplating their first balsa build, but we plan to provide enough content to make it interesting for more experienced builders, too.
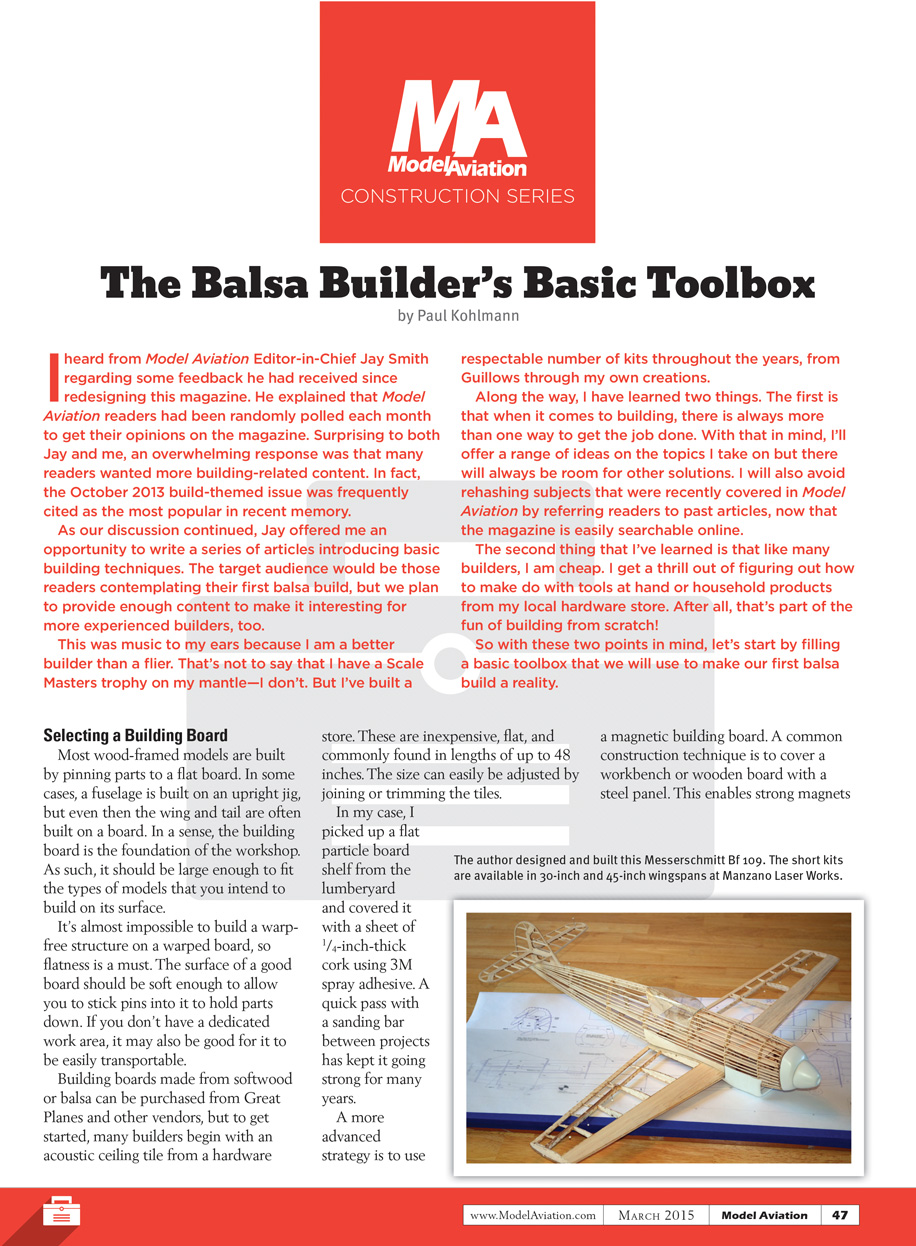
This was music to my ears because I am a better builder than a flier. That's not to say that I have a Scale Masters trophy on my mantle—I don't. But I've built a respectable number of kits throughout the years, from Guillows through my own creations.
Along the way, I have learned two things. The first is that when it comes to building, there is always more than one way to get the job done. With that in mind, I'll offer a range of ideas on the topics I take on, but there will always be room for other solutions. I will also avoid rehashing subjects that were recently covered in Model Aviation by referring readers to past articles, now that the magazine is easily searchable online.
The second thing that I've learned is that, like many builders, I am cheap. I get a thrill out of figuring out how to make do with tools at hand or household products from my local hardware store. After all, that's part of the fun of building from scratch!
Two things I've learned
- There is always more than one way to get the job done; I'll present a range of ideas and acknowledge other solutions.
- Cost-conscious improvisation can be rewarding; household items and simple tools often suffice.
So with these two points in mind, let's start by filling a basic toolbox that we will use to make our first balsa build a reality.
Selecting a Building Board
Most wood-framed models are built by pinning parts to a flat board. In some cases, a fuselage is built on an upright jig, but even then the wing and tail are often built on a board. In a sense, the building board is the foundation of the workshop. As such, it should be large enough to fit the types of models that you intend to build on its surface.
It's almost impossible to build a warp-free structure on a warped board, so flatness is a must. The surface of a good board should be soft enough to allow you to stick pins into it to hold parts down. If you don't have a dedicated work area, it may also be good for it to be easily transportable.
Building boards made from softwood or balsa can be purchased from Great Planes and other vendors, but to get started, many builders begin with an acoustic ceiling tile from a hardware store. These are inexpensive, flat, and commonly found in lengths of up to 48 inches. The size can easily be adjusted by joining or trimming the tiles.
In my case, I picked up a flat particle-board shelf from the lumberyard and covered it with a sheet of 1/4-inch-thick cork using 3M spray adhesive. A quick pass with a sanding bar between projects has kept it going strong for many years.
A more advanced strategy is to use a magnetic building board. A common construction technique is to cover a workbench or wooden board with a steel panel. This enables strong magnets to square up and hold down parts instead of pins. A thorough explanation was provided by Mark Freeland in the "Top Five Building Tips" article in the October 2014 issue of Model Aviation. These systems cost slightly more to set up, but the ability to create fixtures and jigs is a significant advantage.
After you have selected your board, it is time to mount the plans. It may be necessary to fold them to fit onto the board. Tape the plans down with low-tack tape and then cover them with waxed or parchment paper to keep them clean. The waxed paper also allows parts to be easily removed after gluing. This is a good time for reflection. I like to pause over the clean plans to think through my goals for the project and to plan its path.
Tools of the Trade
Parts are typically held in place during assembly with pins, clamps, or magnets, depending on your building board and setup.
Transcribed from original scans by AI. Minor OCR errors may remain.

