
How to determine if you are flying too much airplane on a given battery
Red Scholefield | [email protected]
It's the second anniversary of "The Battery Clinic." Just how much can you write about batteries and chargers? That question went through my head two years ago, but from the emails I get it seems that there is a knowledge leak somewhere; the more that I try to pump in, there never seems to be an overflow.
I received the following sad story from a reader:
“I just lost a beautiful 60-inch-span S.E.5a WW I fighter to possible receiver battery failure. I’m using a JR XP8103dt FM, digital 811 servos (five), with a 600 mAh receiver pack. I flew for about 1.5 hours that fateful day when it hit Mother Earth.”
You are flying way too much airplane for a 600 mAh pack. Your problem is kind of like blaming the gasoline when you run out of gas.
One should have a good idea of how much his or her airplane is drawing in flight. This is not difficult to determine. Complete details are presented at the Battery Clinic at www.rcbatteryclinic.com.
An excerpt from that article charges you to know what your system consumes in the way of energy per minute of flight. You can figure this by charging a pack and then discharging it on a cycler to determine how much capacity it has—fully charged. Then recharge and go fly.
Record your system on time and immediately discharge the pack when you return home. This will tell you how much capacity you have left.
Let’s say you fly for 40 minutes and get 390 mAh when you discharge the pack. From the initial discharge from a fully charged pack you got 585 mAh.
That means you discharged 195 mAh in the 40 minutes you flew, or approximately 5 mAh per minute. From this you know your pack is good for 116 minutes of flight time under the actual flight loads.
You don’t want to take it this close, so give yourself (and your model) a margin of safety of 25%. That would set your safe flight time to 75% of 116 minutes, or one hour, 27 minutes.
You should do this for each airplane. You should also do it for your transmitter at least once to accurately characterize its “flight time.” The system usage will vary depending on your flying style, airplane size, and number of servos used.
If you have no means of checking battery capacity, you are essentially flying in the dark. I recommend as a minimum an ESV (Expanded Scale Voltmeter) so you can check the pack before each flight to see how it is holding up.
As for packs themselves, any Sanyo brand, which a number of suppliers provide, is as good as you can get in quality. You should have a minimum of 1200 mAh for your setup.
One way to achieve that is by running a dual-pack setup, also explained in detail at The Battery Clinic. This way you can use your present 600 mAh packs and the wall-wart chargers that come with your radio.
Otherwise you will have to get a charger that is capable of handling the large-capacity packs. Although there are numerous good systems on the market, several modelers have proven Great Planes' Triton to be an extremely capable unit.
Another reader wrote:
"I have been away for a while. I thought that I had mentioned the type of radio I had. It's a JR X378 radio that holds the small tiny white female plug at the end. How do I connect to the battery pack when it is removed from the transmitter?"
Make a male plug to match the white female plug. I use a small piece of 1/8" plywood and push two straight pins through it to match the spacing on the transmitter plug, solder wires to this, protect it with heat-shrink tubing, then connect the other end to a socket that matches my transmitter charger plug (available at RadioShack) or the particular charger I plan on using.
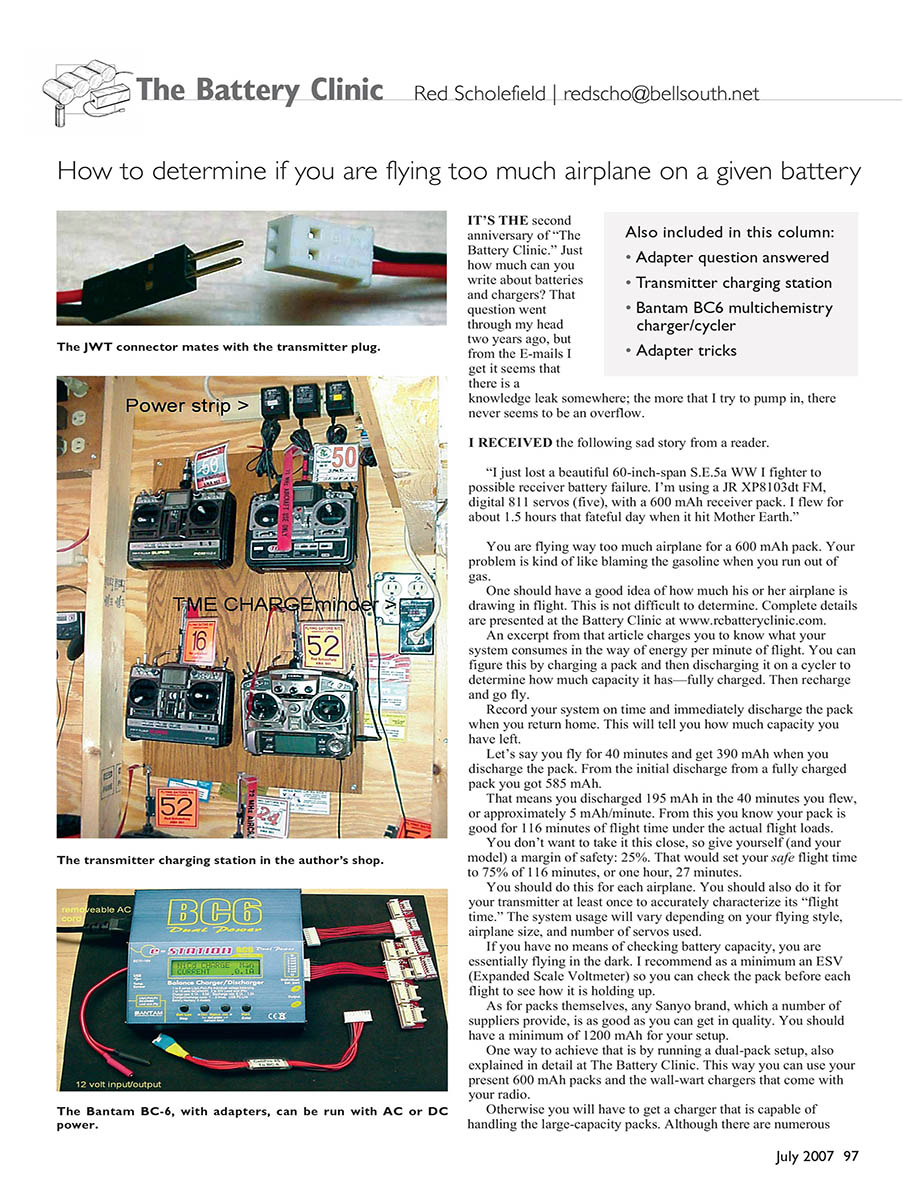
Another approach is to acquire a JWT male plug (used in park flyer setups). This matches the transmitter plug perfectly.
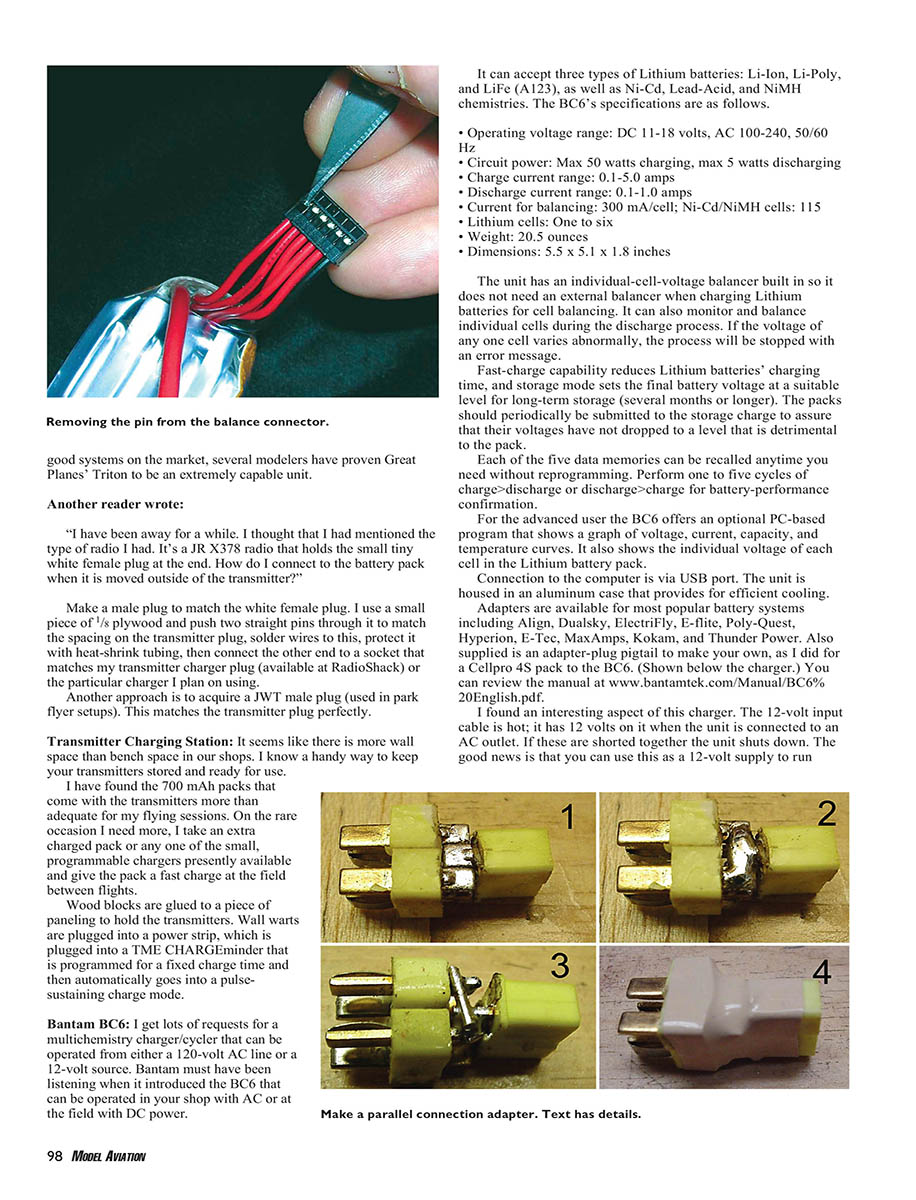
Transmitter Charging Station
It seems like there is more wall space than bench space in our shops. I know a handy way to keep your transmitters stored and ready for use.
I have found the 700 mAh packs that come with the transmitters more than adequate for my flying sessions. On the rare occasion I need more, I take an extra charged pack or any one of the small, programmable chargers presently available and give the pack a fast charge at the field between flights.
Wood blocks are glued to a piece of paneling to hold the transmitters. Wall warts are plugged into a power strip, which is plugged into a time-charge timer that is programmed for a fixed charge time and then automatically goes into a pulse-sustaining charge mode.
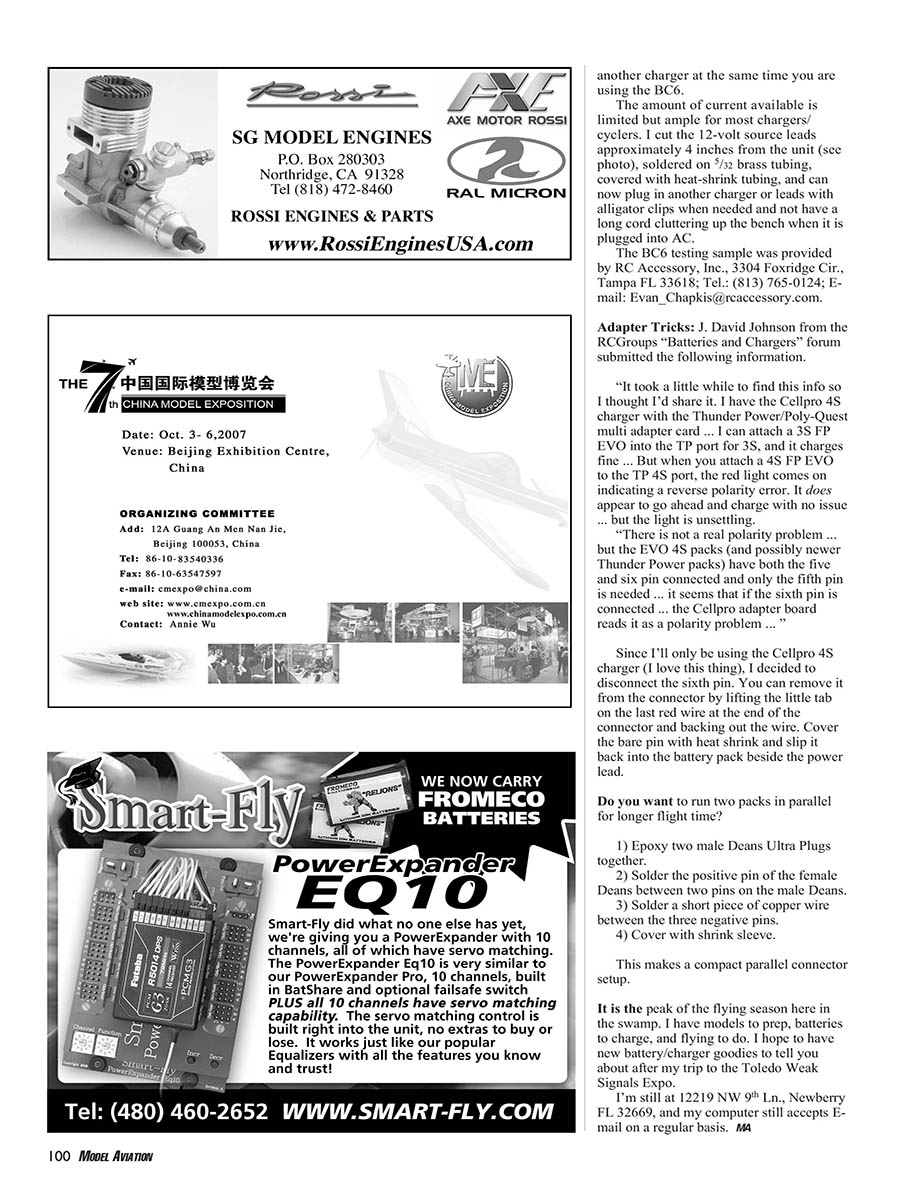
Bantam BC6
I get lots of requests for a multichemistry charger/cycler that can be operated from either a 120-volt AC line or a 12-volt source. Bantam must have been listening when it introduced the BC6 that can be operated in your shop with AC or at the field with DC power.
It can accept three types of Lithium batteries: Li-Ion, Li-Poly, and LiFe (A123), as well as Ni-Cd, Lead-Acid, and NiMH chemistries. The BC6's specifications are as follows.
- Operating voltage range: DC 11–18 volts, AC 100–240 V, 50/60 Hz
- Circuit power: Max 50 watts charging, max 5 watts discharging
- Charge current range: 0.1–5.0 amps
- Discharge current range: 0.1–1.0 amps
- Current for balancing: 300 mA/cell; Ni-Cd/NiMH cells: 115 mA/cell
- Lithium cells: One to six
- Weight: 20.5 ounces
- Dimensions: 5.5 x 5.1 x 1.8 inches
The unit has an individual-cell-voltage balancer built in so it does not need an external balancer when charging Lithium batteries for cell balancing. It can also monitor and balance individual cells during the discharge process. If the voltage of any one cell varies abnormally, the process will be stopped with an error message.
Fast-charge capability reduces Lithium batteries' charging time, and storage mode sets the final battery voltage at a suitable level for long-term storage (several months or longer). The packs should periodically be submitted to the storage charge to assure that their voltages have not dropped to a level that is detrimental to the pack.
Each of the five data memories can be recalled anytime you need without reprogramming. Perform one to five cycles of charge→discharge or discharge→charge for battery-performance confirmation.
For the advanced user the BC6 offers an optional PC-based program that shows a graph of voltage, current, capacity, and temperature curves. It also shows the individual voltage of each cell in the Lithium battery pack. Connection to the computer is via USB port. The unit is housed in an aluminum case that provides for efficient cooling.
Adapters are available for most popular battery systems including Align, Dualsky, ElectriFly, E-flite, Poly-Quest, Hyperion, E-Tec, MaxAmps, Kokam, and Thunder Power. Also supplied is an adapter-plug pigtail to make your own, as I did for a Cellpro 4S pack to the BC6. You can review the manual at www.bantamtek.com/Manual/BC6%20English.pdf.
I found an interesting aspect of this charger. The 12-volt input cable is hot; it has 12 volts on it when the unit is connected to an AC outlet. If these are shorted together the unit shuts down. The good news is that you can use this as a 12-volt supply to run another charger. The amount of current available is limited but ample for most chargers/cyclers. I cut the 12-volt source leads approximately 4 inches from the unit, soldered on 5/32" brass tubing, covered with heat-shrink tubing, and can now plug in another charger or leads with alligator clips when needed and not have a long cord cluttering up the bench when it is plugged into AC.
The BC6 testing sample was provided by RC Accessory, Inc., 3304 Foxridge Cir., Tampa FL 33618; Tel.: (813) 765-0124; E-mail: [email protected].
Adapter Tricks
J. David Johnson from the RCGroups "Batteries and Chargers" forum submitted the following information:
"It took a little while to find this info so I thought I'd share it. I have the Cellpro 4S charger with the Thunder Power/Poly-Quest multi adapter card. I can attach a 3S FP EVO into the TP port for 3S, and it charges fine. But when you attach a 4S FP EVO to the TP 4S port, the red light comes on indicating a reverse polarity error. It does appear to go ahead and charge with no issue, but the light is unsettling.
"There is not a real polarity problem, but the EVO 4S packs (and possibly newer Thunder Power packs) have both the five and six pin connected and only the fifth pin is needed. It seems that if the sixth pin is connected the Cellpro adapter board reads it as a polarity problem."
Since I'll only be using the Cellpro 4S charger (I love this thing), I decided to disconnect the sixth pin. You can remove it from the connector by lifting the little tab on the last red wire at the end of the connector and backing out the wire. Cover the bare pin with heat-shrink and slip it back into the battery pack beside the power lead.
Do you want to run two packs in parallel for longer flight time?
- Epoxy two male Deans Ultra Plugs together.
- Solder the positive pin of the female Deans between the two pins on the male Deans.
- Solder a short piece of copper wire between the three negative pins.
- Cover with shrink sleeve.
This makes a compact parallel connector setup.
It is the peak of the flying season here in the swamp. I have models to prep, batteries to charge, and flying to do. I hope to have more battery/charger goodies to tell you about after my trip to the Toledo Weak Signals Expo.
I'm still at 12219 NW 9th Ln., Newberry FL 32669, and my computer still accepts e-mail on a regular basis.
MA
Transcribed from original scans by AI. Minor OCR errors may remain.

