
Beginners Guide to RC Helicopters
Andrew Griffith
AN OVERVIEW OF ALL THINGS ROTOR-RELATED
NOT LONG AGO, RC helicopters were nothing more than a curiosity. There was only a handful of kits on the market and you practically had to be a mechanical engineer to put one together.
There might be one—or if you were lucky, two—helicopter pilots at a local flying field. Helicopter pilots would usually be left to themselves, subject to an array of whispered jokes such as, “Those things don’t fly, they are so ugly the ground repels them,” or “They don’t fly, they beat the air into submission,” and others. Knowing looks were exchanged by the airplane pilots that said, “He’s a nice enough guy but he’s a little strange; he flies helicopters.”
Fast forward to today. At many flying fields, the helicopters present at a field can equal or even exceed the number of airplanes. Even if they are hidden in the back seat of their trucks, many of the sneering airplane pilots secretly own an electric helicopter or two.
Now there are so many kits available in nearly every imaginable shape and size that a beginner interested in getting started in the hobby can easily be overwhelmed. Offerings range from RTF helis that you can unpack, charge, and fly, to kits that you have to build from bags of parts.
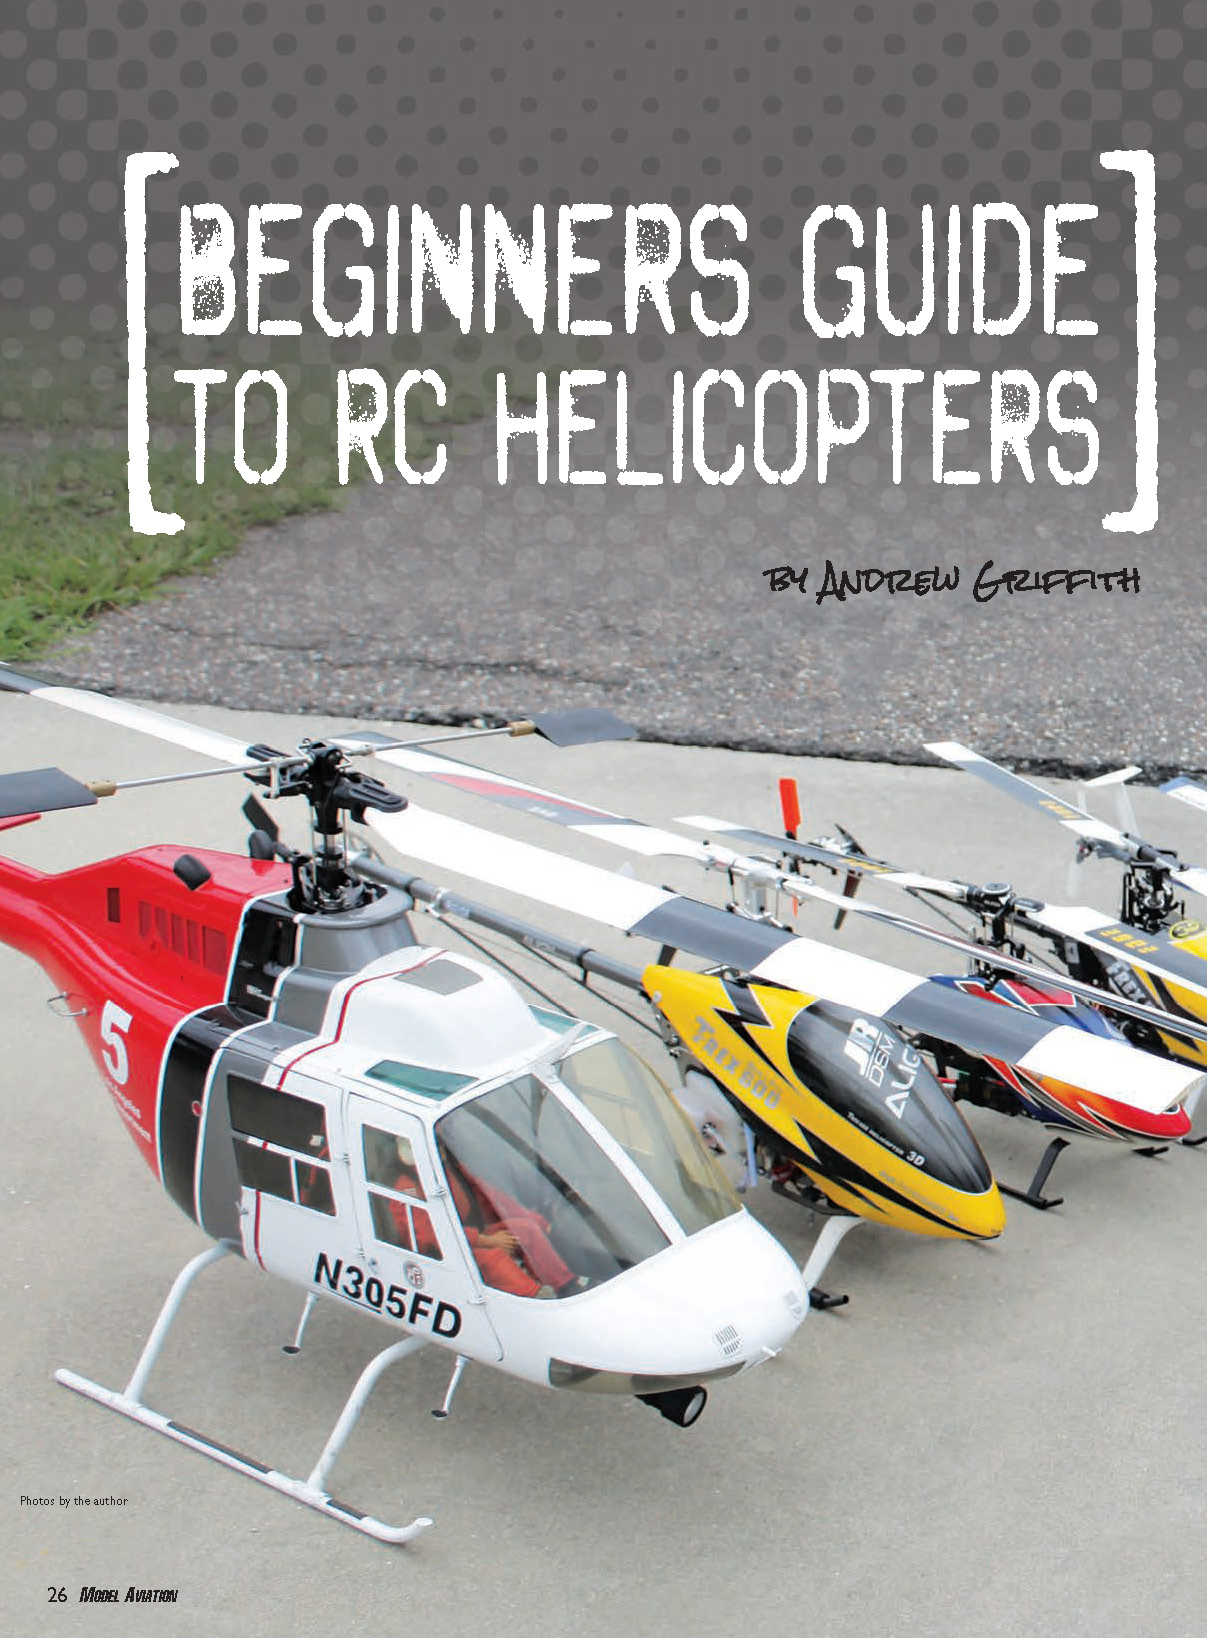
Sizes range from diminutive electric-powered models that you can fly in your living room to turbine-powered scale masterpieces that require a trailer to transport them to the flying field. A first-time helicopter buyer is likely to encounter a confusing array of terms such as ARF, RTF, BNF, coaxial, fixed pitch, collective pitch, electric, nitro, and gas.
What this article is going to attempt to do is explain these terms and help the first-time helicopter buyer make an informed decision concerning which category best suits his or her needs and interests.
Sizes: Model helicopters used to be classified by the displacement of their nitro- and methanol-fueled engines. The .30 and .60 size engines were the most common in the past with the .30 size turning 500mm to 550mm blades and running engines from .28 to .32 cu. in.
In the never-ending quest for “more power,” the .30 size evolved into the .37 to .39 range, then .46 and finally today’s .50 to .56 cu. in. engines. Blades got longer and booms had to be stretched to absorb the increased power. A modern .50-class helicopter usually turns 600mm to 620mm main rotor blades.
The next class up was the more expensive and complicated .60-size models that have evolved into today’s fire-breathing .90-size monsters turning 700mm blades.
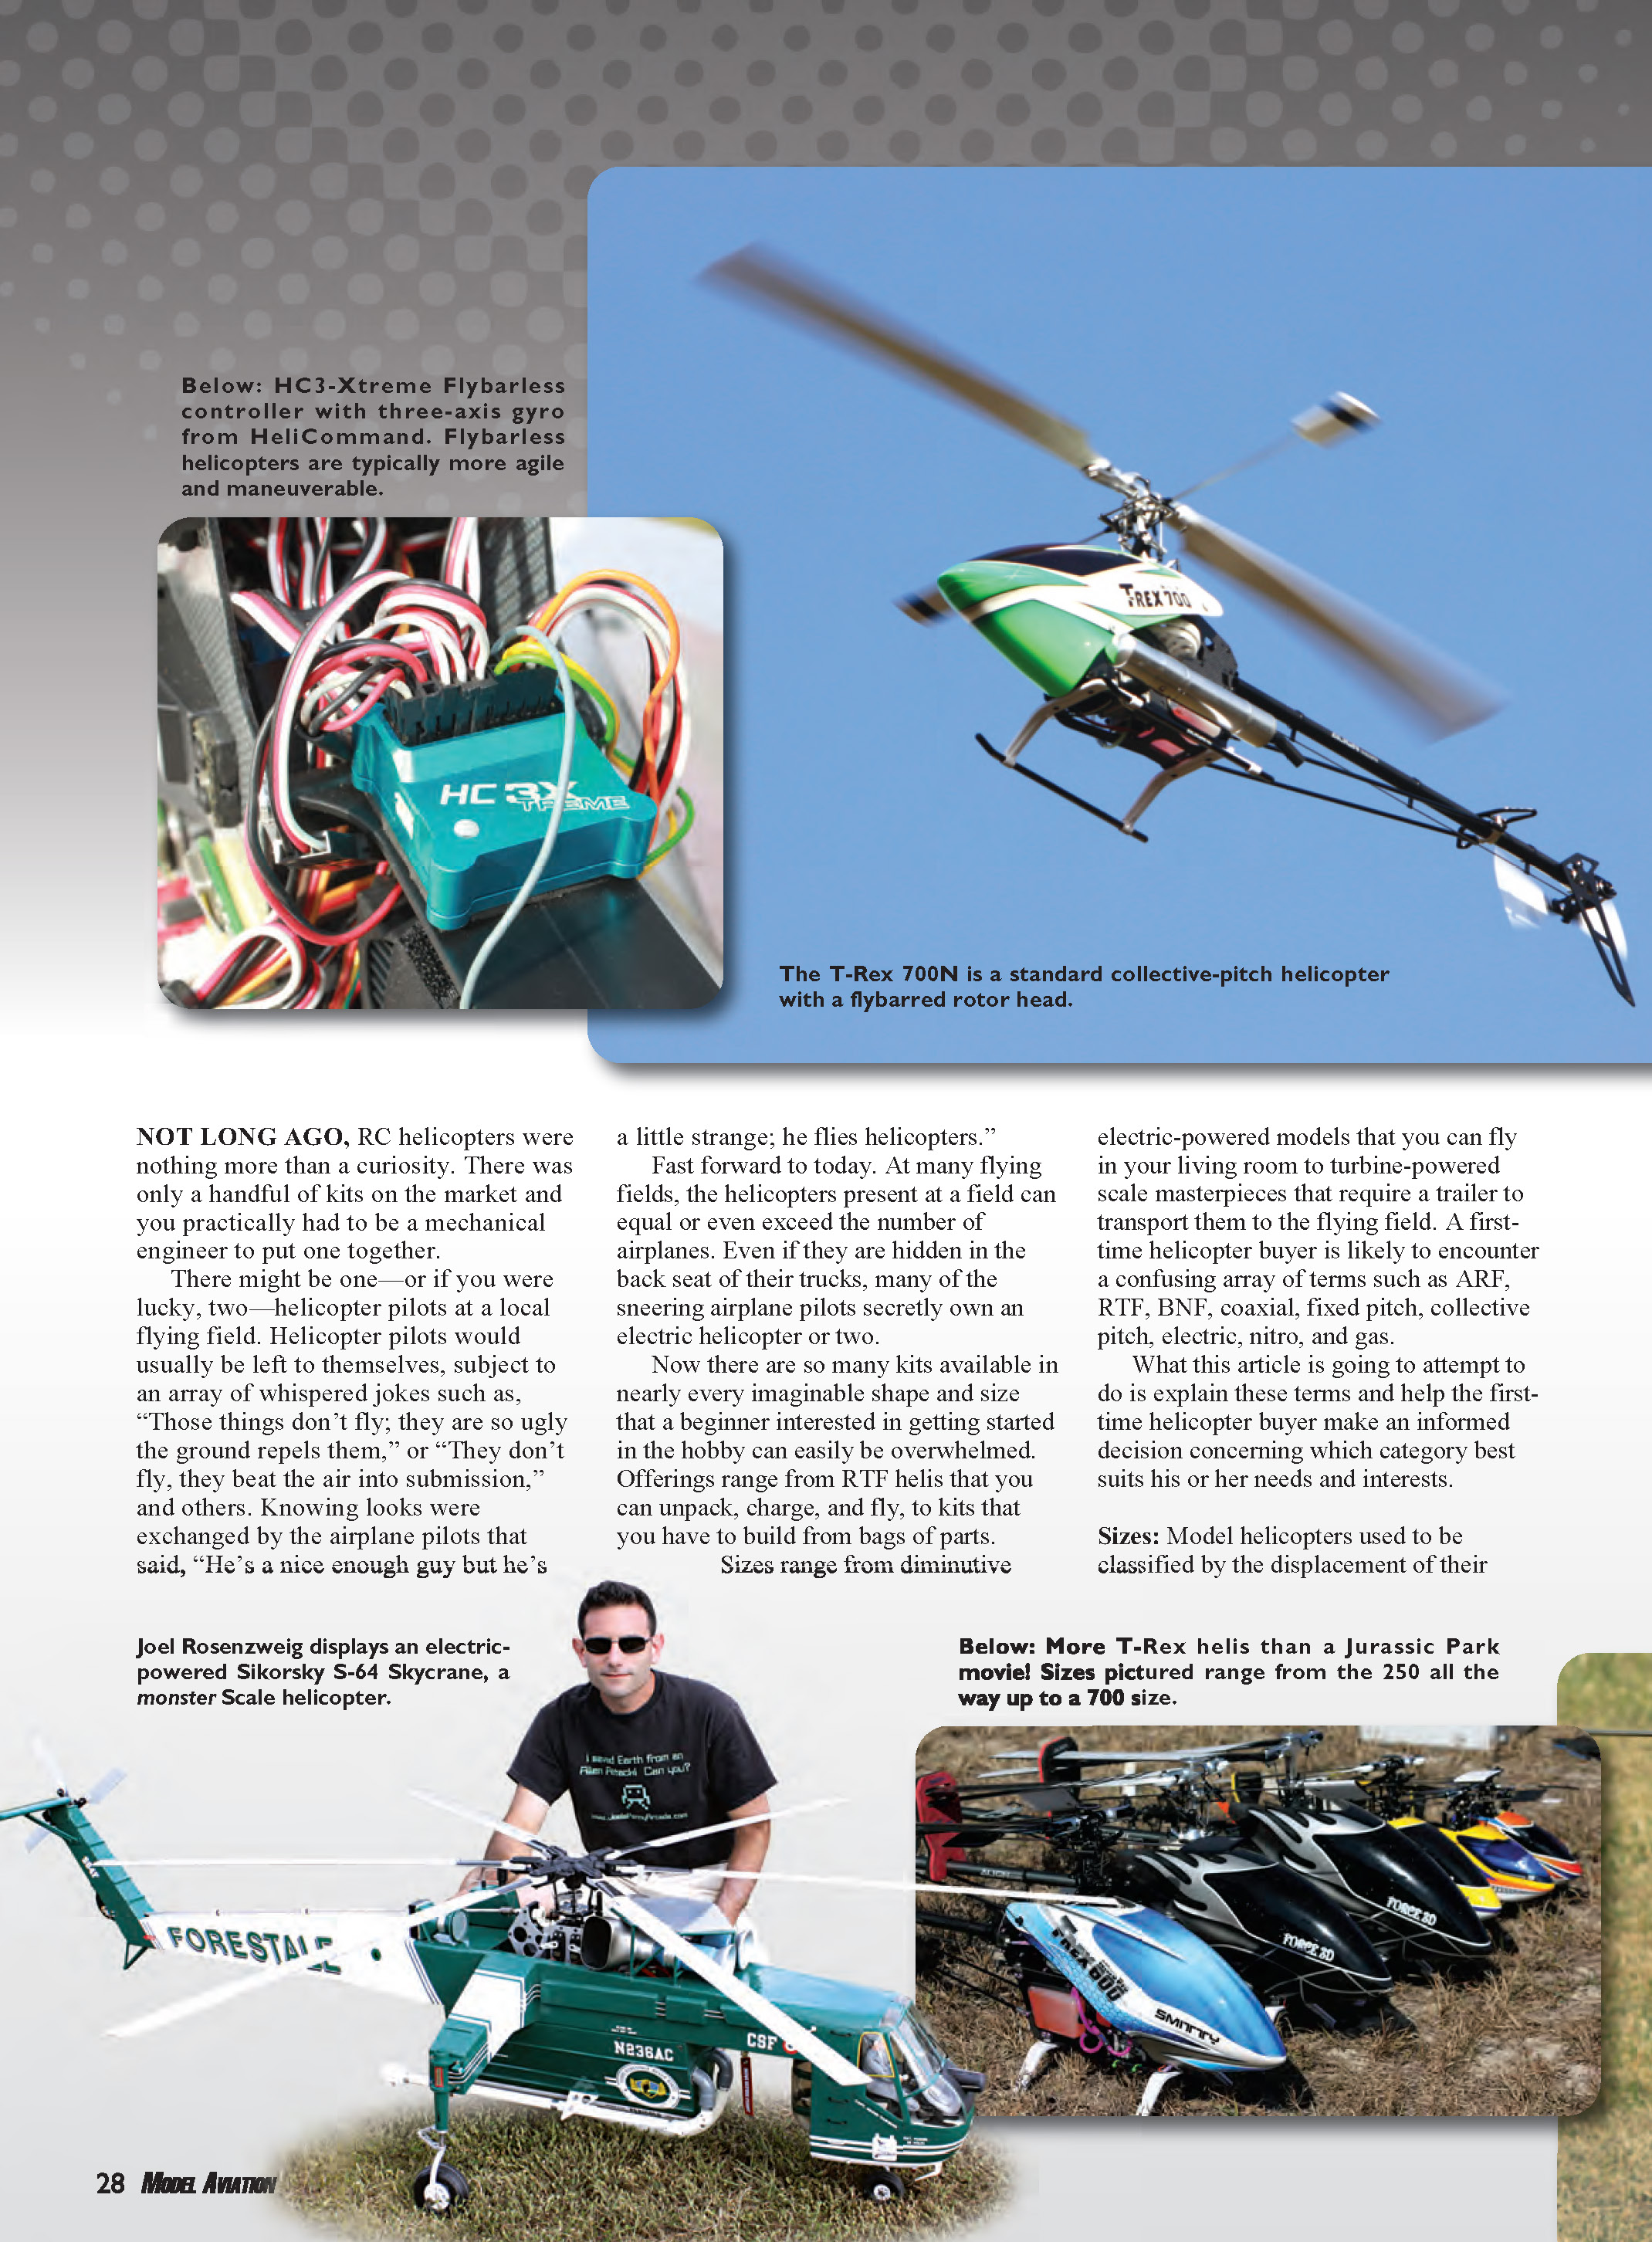
Modern electric-powered helicopters are slightly more difficult to classify size wise, but they generally range from rotor spans in the 7-inch range (the tiny T-Rex 100) to the 700 size, spanning nearly 5½ feet. I’ve seen an electric-powered Scale helicopter with a main rotor span of slightly more than 90 inches!
Loose comparisons can be made to nitro-powered helicopters. A 550 electric is roughly the same size as a .30-size fuel-powered helicopter; a 600 electric is .50 size, and a 700 electric is .90 size. The 100 through 450-size smaller electrics have no mainstream fuel-powered equivalent.
Many factors go into deciding which size helicopter to purchase. The first deciding factor should be price. Make a realistic assessment of how much you can afford to spend on your purchase.
Budget for everything you need including the kit, radio, servos, gyro, or flybarless unit, and support equipment. Don’t forget to allow for replacement parts. If you spend your entire budget on the radio and kit but can’t afford to replace commonly crash-damaged parts such as blades, the main shaft, servo gears, etc., you’re going to be frustrated.
Imagine what would happen if you crash on your first weekend outing and your helicopter has to sit in a heap for a long time until you can replace the broken parts. Unfortunately, I see a number of people who fall into this trap, come out a few times, and never come back.
Great strides are being made in gyros, stabilization systems, and quality of the smaller, less-expensive helicopters on the market now, but still, bigger flies better. Larger helicopters are both more stable and easier to see.
The downside, of course, is the bigger they are the more expensive they are to purchase and operate. There are RTF electrics that come complete with a basic transmitter that don’t cost much more than a set of carbon blades for a .90-size machine.
Where you intend to fly is another factor to consider in your purchasing decision. Any nitro-powered helicopter, as well as 500 size and larger electric-powered helis, needs a fair bit of room in which to be safely flown. These things can be dangerous; safety should be your first consideration when choosing when and where to fly.
Flight Controls:
Not unlike an airplane, a helicopter requires four primary flight controls: pitch (elevator), roll (aileron), yaw (rudder or tail rotor), and throttle. The elevator and ailerons are combined on the right stick (Mode 2) in what is called the cyclic control. This is what gives us directional control of the helicopter.
Rudder control is generally accomplished either by a variable-speed or variable-pitch tail rotor that’s controlled by the rudder stick. The rudder control rotates the helicopter around its main rotor shaft. There are two special cases where yaw is controlled differently (coaxial and tandem rotor helicopters) that I will explain later.
Collective-pitch helis require an additional channel to control the pitch of the main rotor blades so that the pitch is raised or lowered at the same time. This is mixed with the throttle on nitro-powered machines so that when you raise the pitch the throttle increases to hold rotor speed and when you lower the pitch the throttle decreases. With electric helicopters this mixing is not necessary because the motor and ESC are typically configured to maintain rotor rpm as pitch is changed.
Rudder control is the most difficult to master because it must constantly be changing to compensate for the torque of the main rotor, and the amount of compensation required changes with throttle and collective pitch changes. This is why a well-functioning tail system is critical to smooth flight. A sticky tail rotor or loose linkages will make learning to hover and perform basic maneuvers much harder.
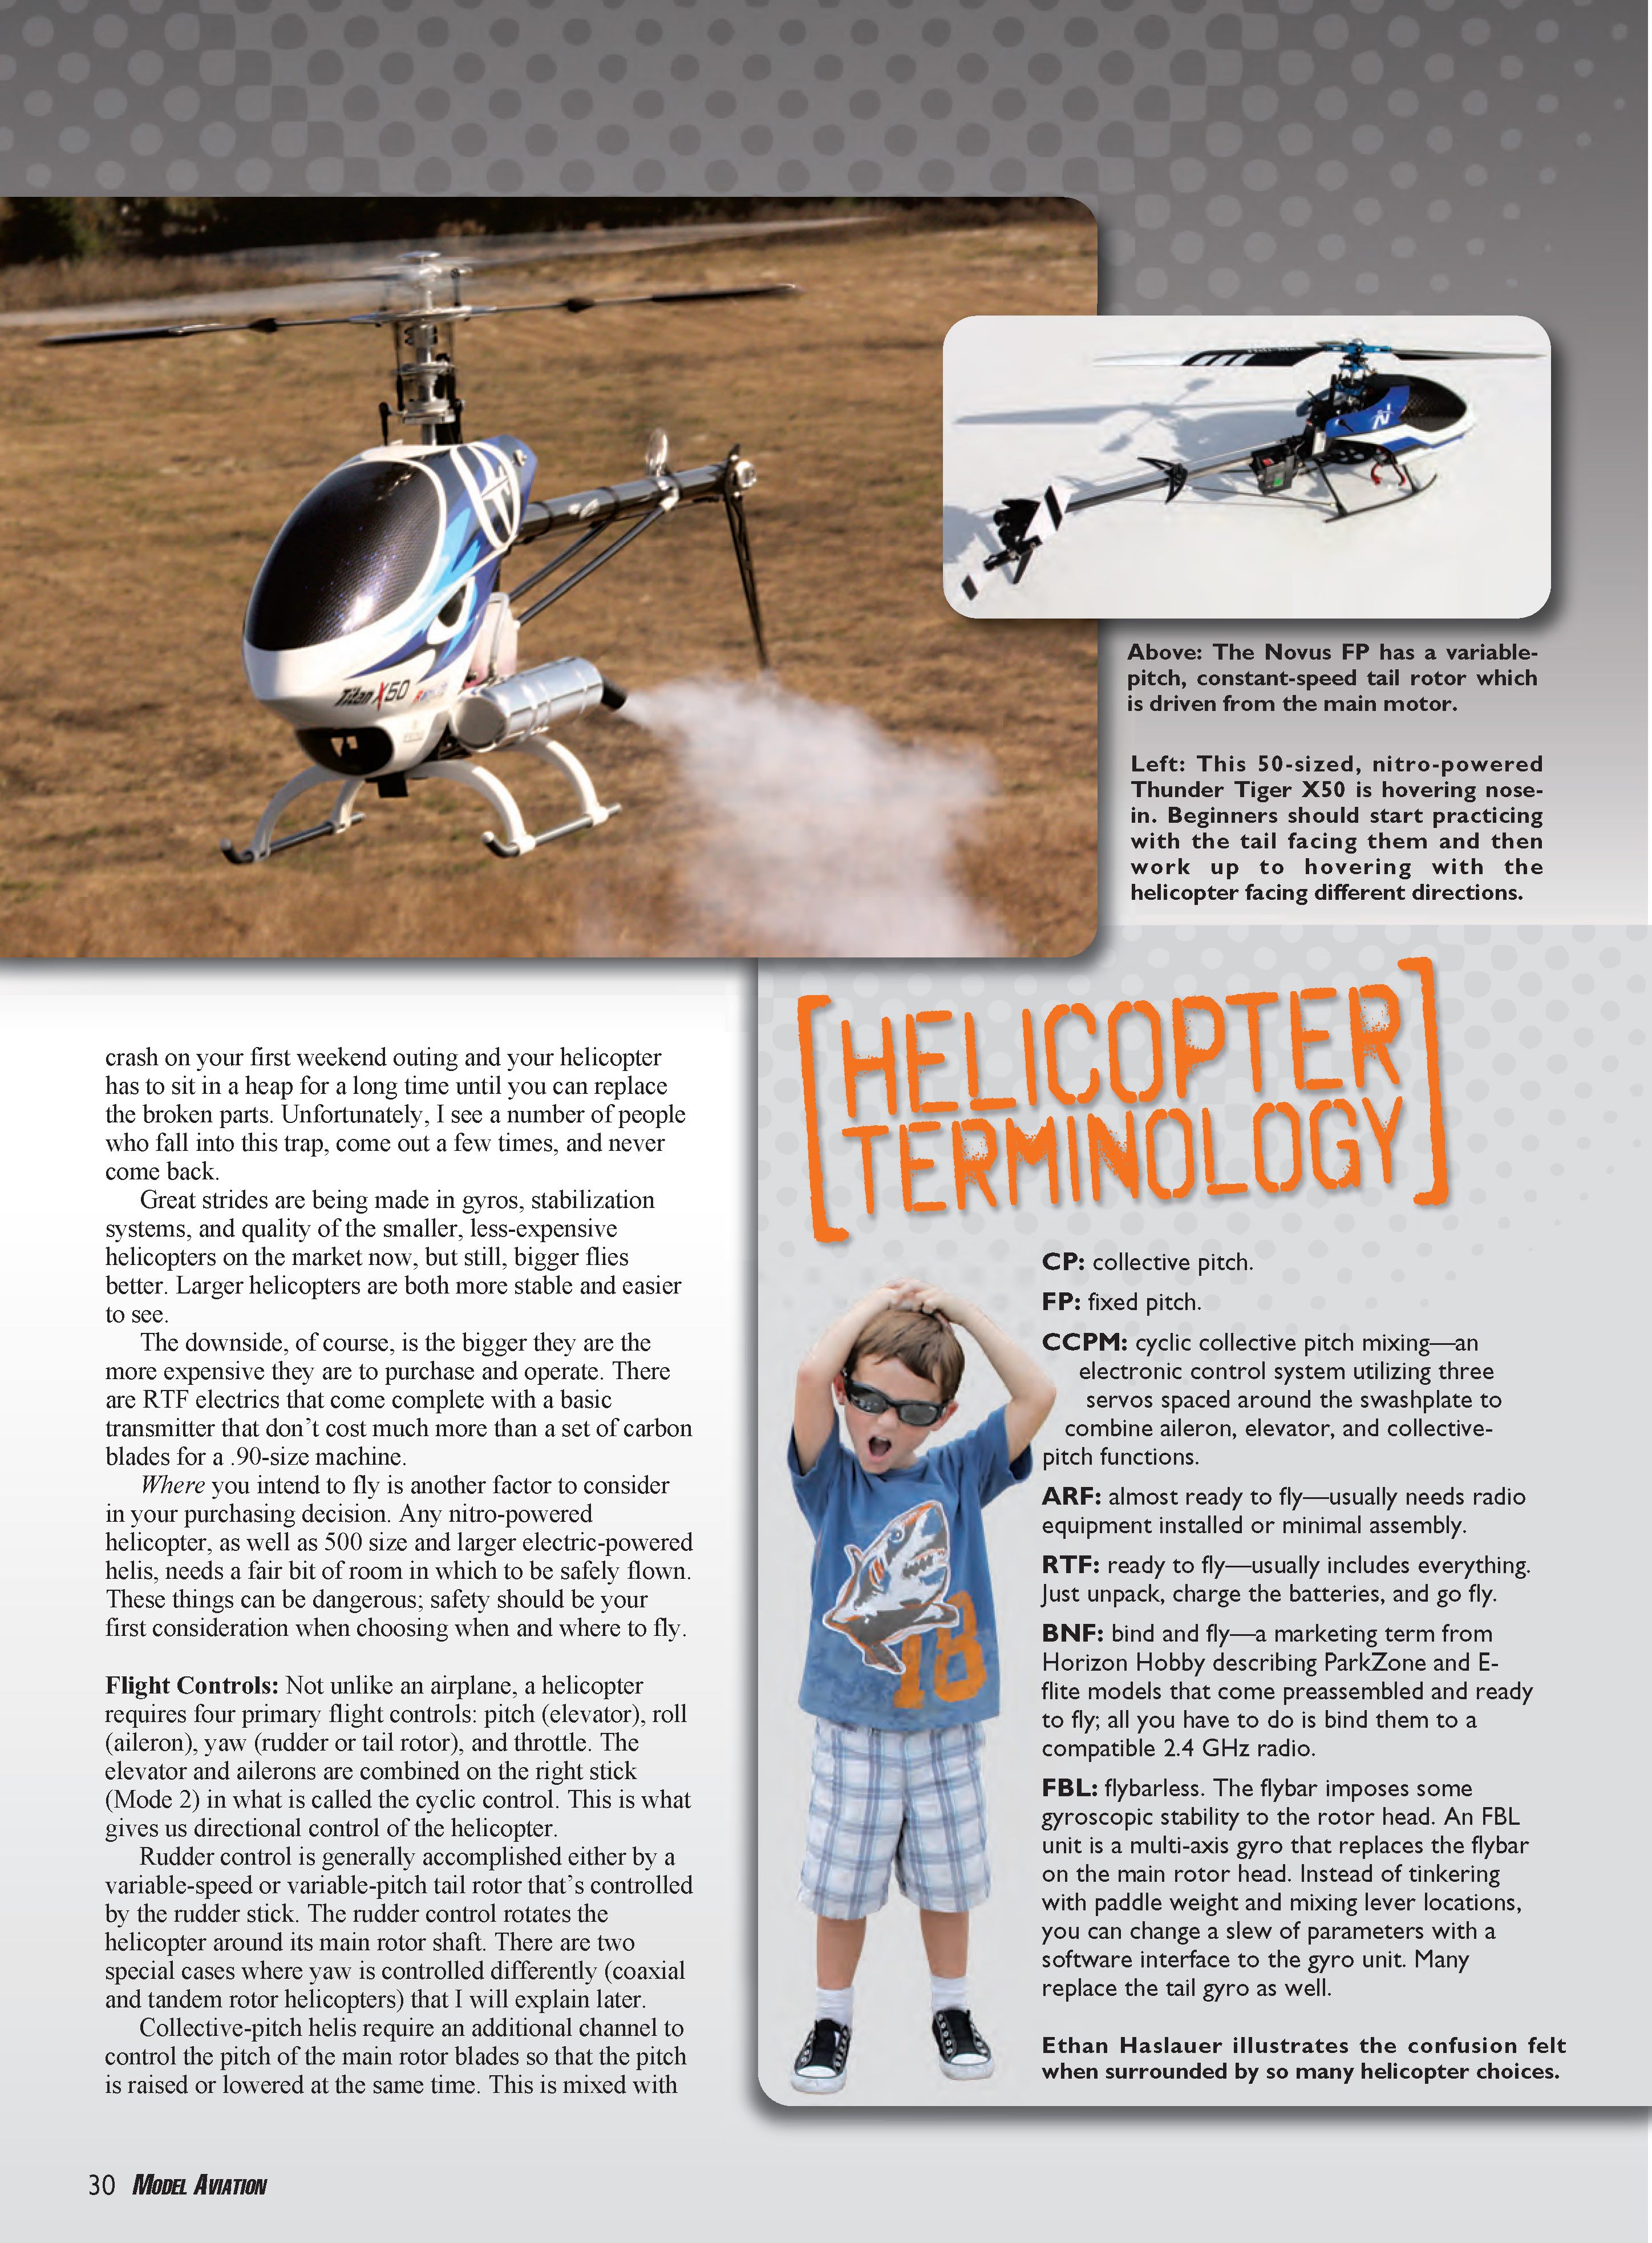
Training and practice: Start with the basics and don’t rush into 3-D or aggressive aerobatics. Hovering with the tail toward you is the best initial orientation because the controls are more intuitive. Once comfortable, work on hovering with the helicopter facing different directions, then progress to basic translations and gentle turns. Use a buddy box and instructor if possible; an experienced pilot can prevent many crashes and accelerate learning.
Maintenance and safety: Keep spare parts on hand, especially blades, tail blades, and common linkage hardware. Regularly inspect your helicopter before and after each flight for loose screws, cracked parts, or worn bearings. Balance your blades and check rotor head geometry frequently. Always follow a preflight checklist, and when practicing maneuvers, keep within your personal skill limits and the performance envelope of your helicopter.
Choosing an instructor or club: If you’re new to helicopters, find a local club or an experienced instructor. Clubs often have training aircraft and experienced members who are willing to help. Flying with others also improves situational awareness and can lead to long-term enjoyment of the hobby.
With patience, proper setup, and consistent practice, learning to fly RC helicopters can be extremely rewarding. Take your time, prepare for the occasional crash, and enjoy the process of improving your skills.
Rotor Head Designs: As mentioned, we generally have two types of main rotor head design: fixed pitch and collective pitch. The advantage of fixed pitch is that the design is simple so it’s inexpensive to produce.
As the name implies, the pitch angle of the main rotor blades is fixed and the amount of lift produced varies by changing the rotor head’s rpm. In addition to the simplicity of the design, a fixed-pitch rotor head requires only one channel to control altitude.
The disadvantages of fixed pitch are that performance is somewhat limited, and if you get the rotor head too slow while descending, you might not get the rpm back in time to prevent impact with Mother Earth.
While basic aerobatics can be accomplished with some models by employing speed, sustained inverted flight is impossible; once inverted, the helicopter would be forced straight down.
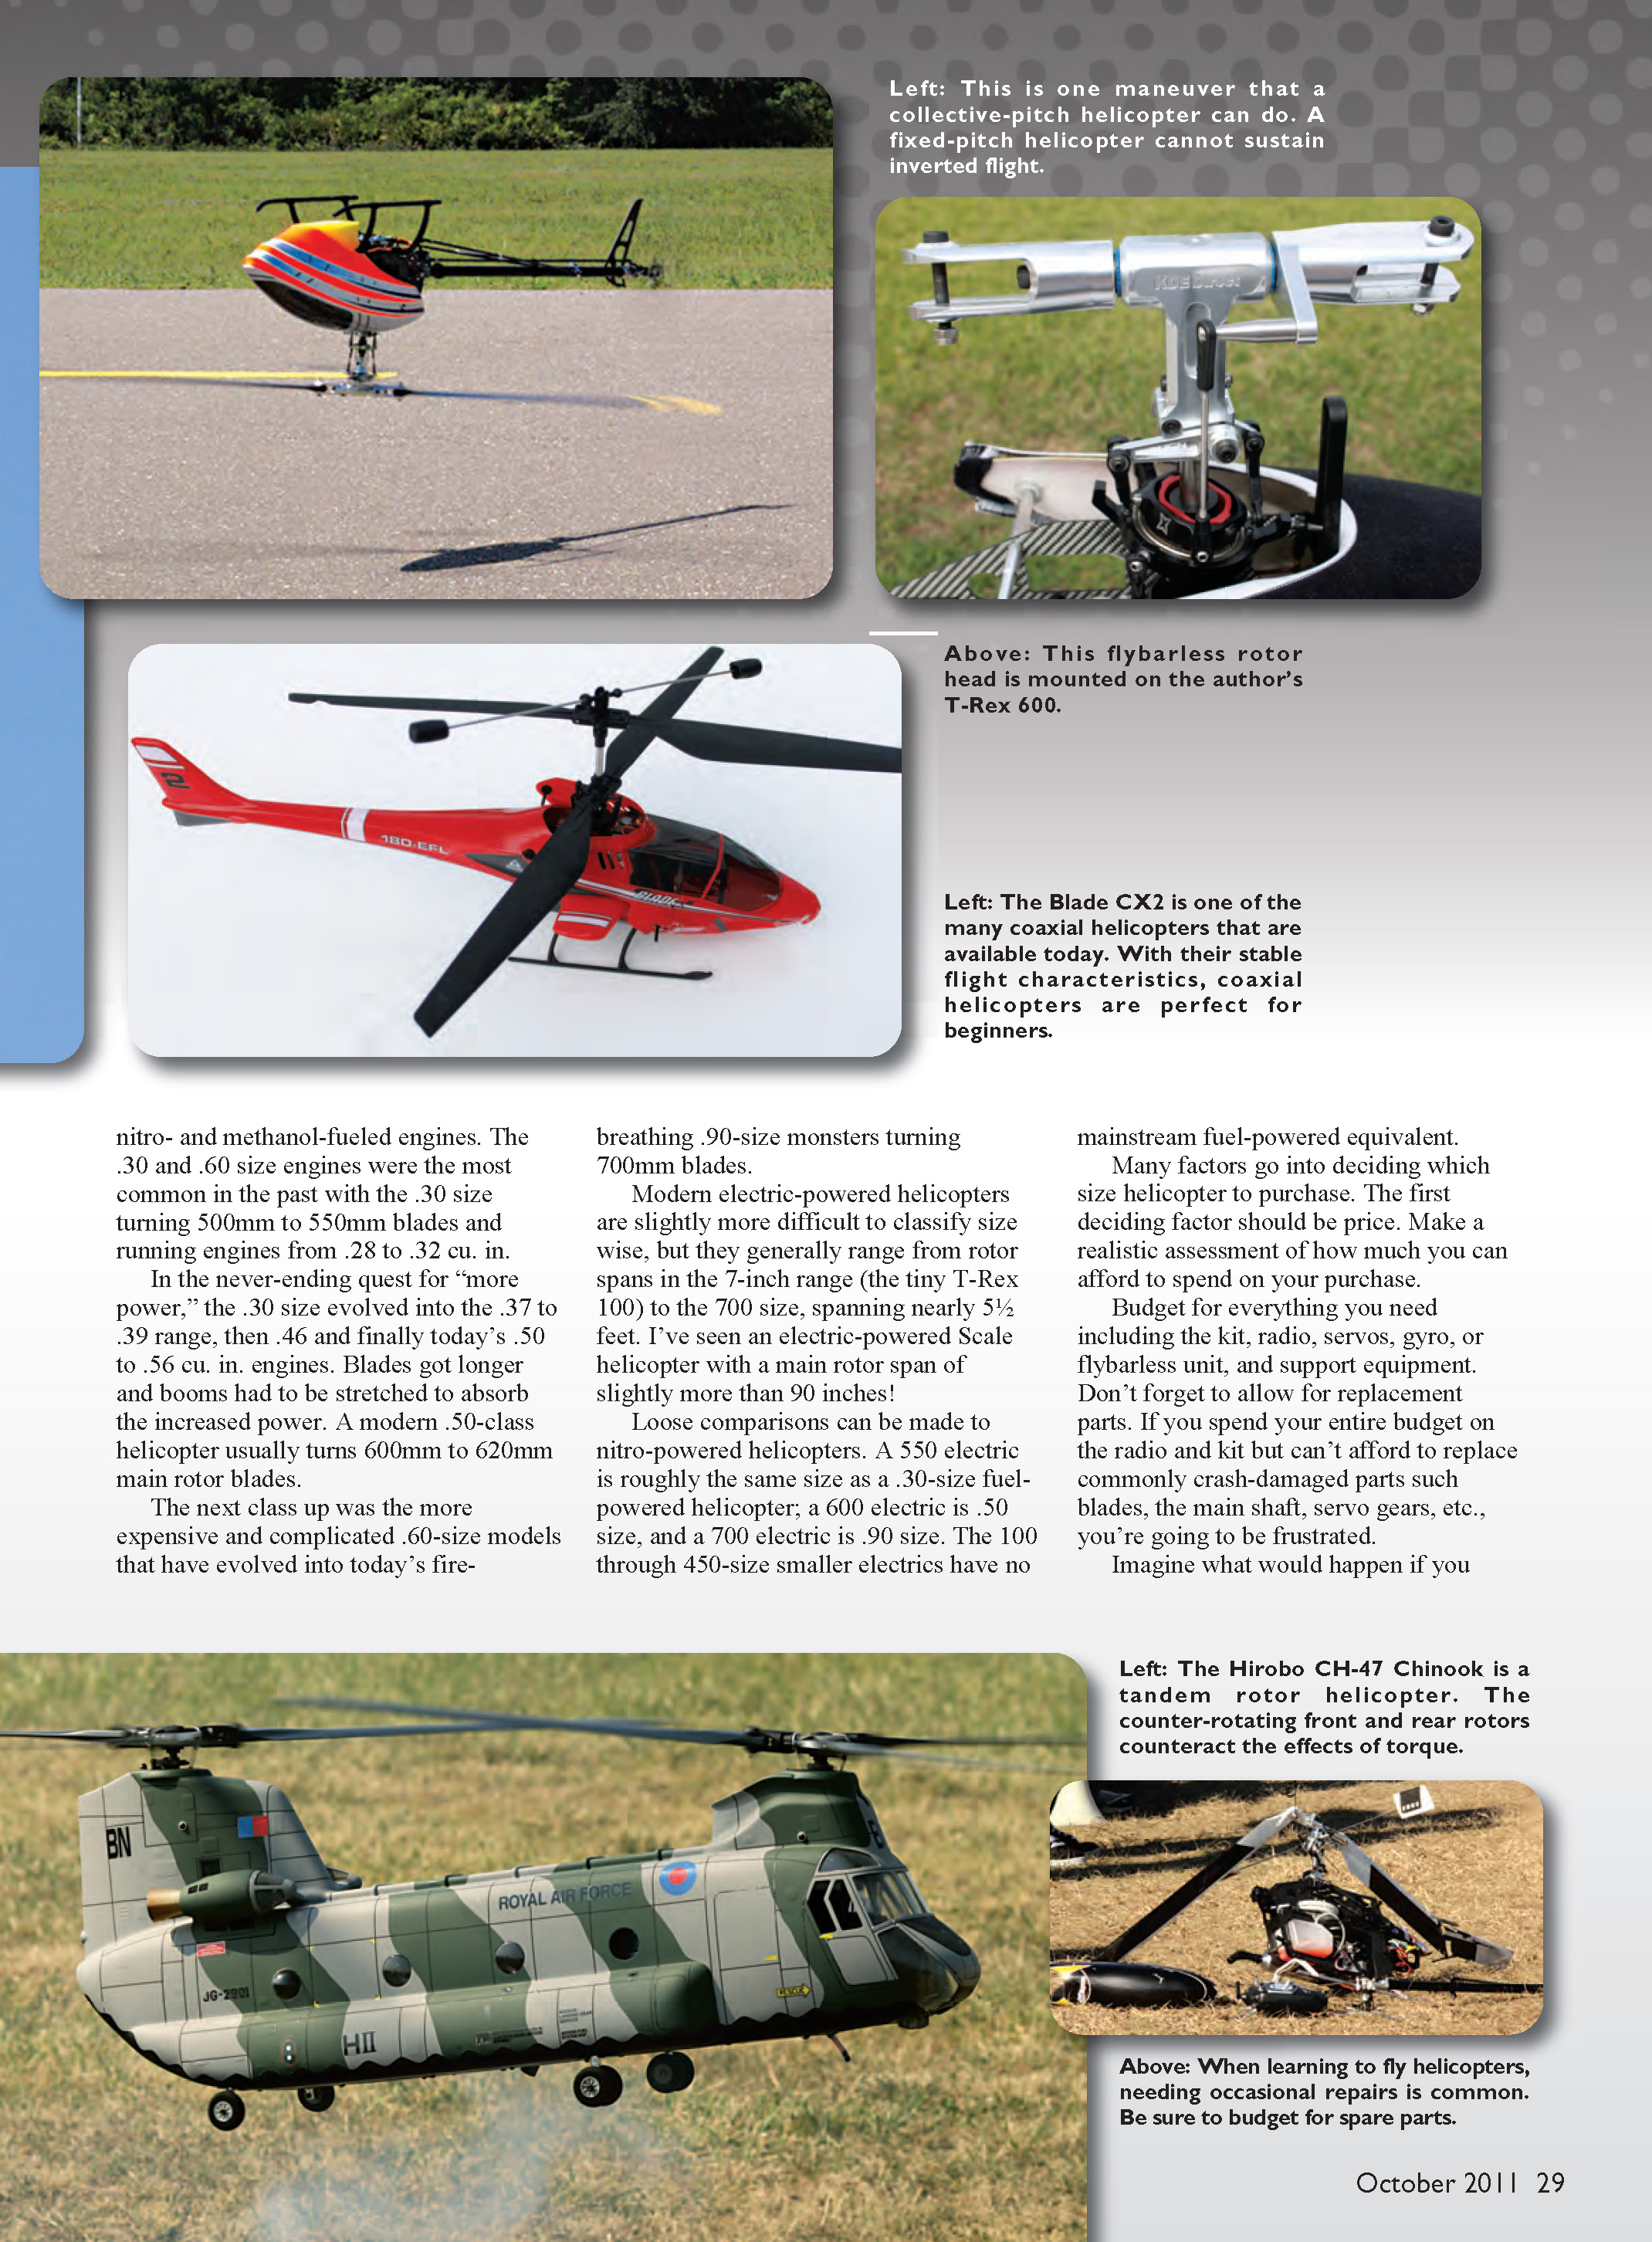
Collective-pitch helicopters vary the amount of lift in the rotor system by changing the pitch of the main rotor blades. The advantages are precise control of altitude, and since the blades can be programmed for negative pitch, sustained inverted and 3-D flight is possible.
When you see the amazing flying of some of the best pilots such as Bert Kammerer, Bobby Watts, and others, they are flying a collective-pitch helicopter with an extremely high power-to-weight ratio.
The disadvantage is that the rotor head has more parts so it’s more expensive and harder to fix. Collective pitch also requires an additional channel and a radio with helicopter programming to slave the throttle and pitch channels.
The bottom line is that if you want inexpensive and simple, a fixed-pitch helicopter is probably the way to go. They are small, fairly easy to fly (especially the coaxial type), and can be flown with a simple four-channel radio. If you want aerobatics you will need collective pitch and your purchase price will go up accordingly.
Tail control: Torque produced by the main rotor has to be counteracted or the heli’s fuselage will spin in the opposite direction of the main rotor. Typically this is accomplished by the addition of a tail rotor.
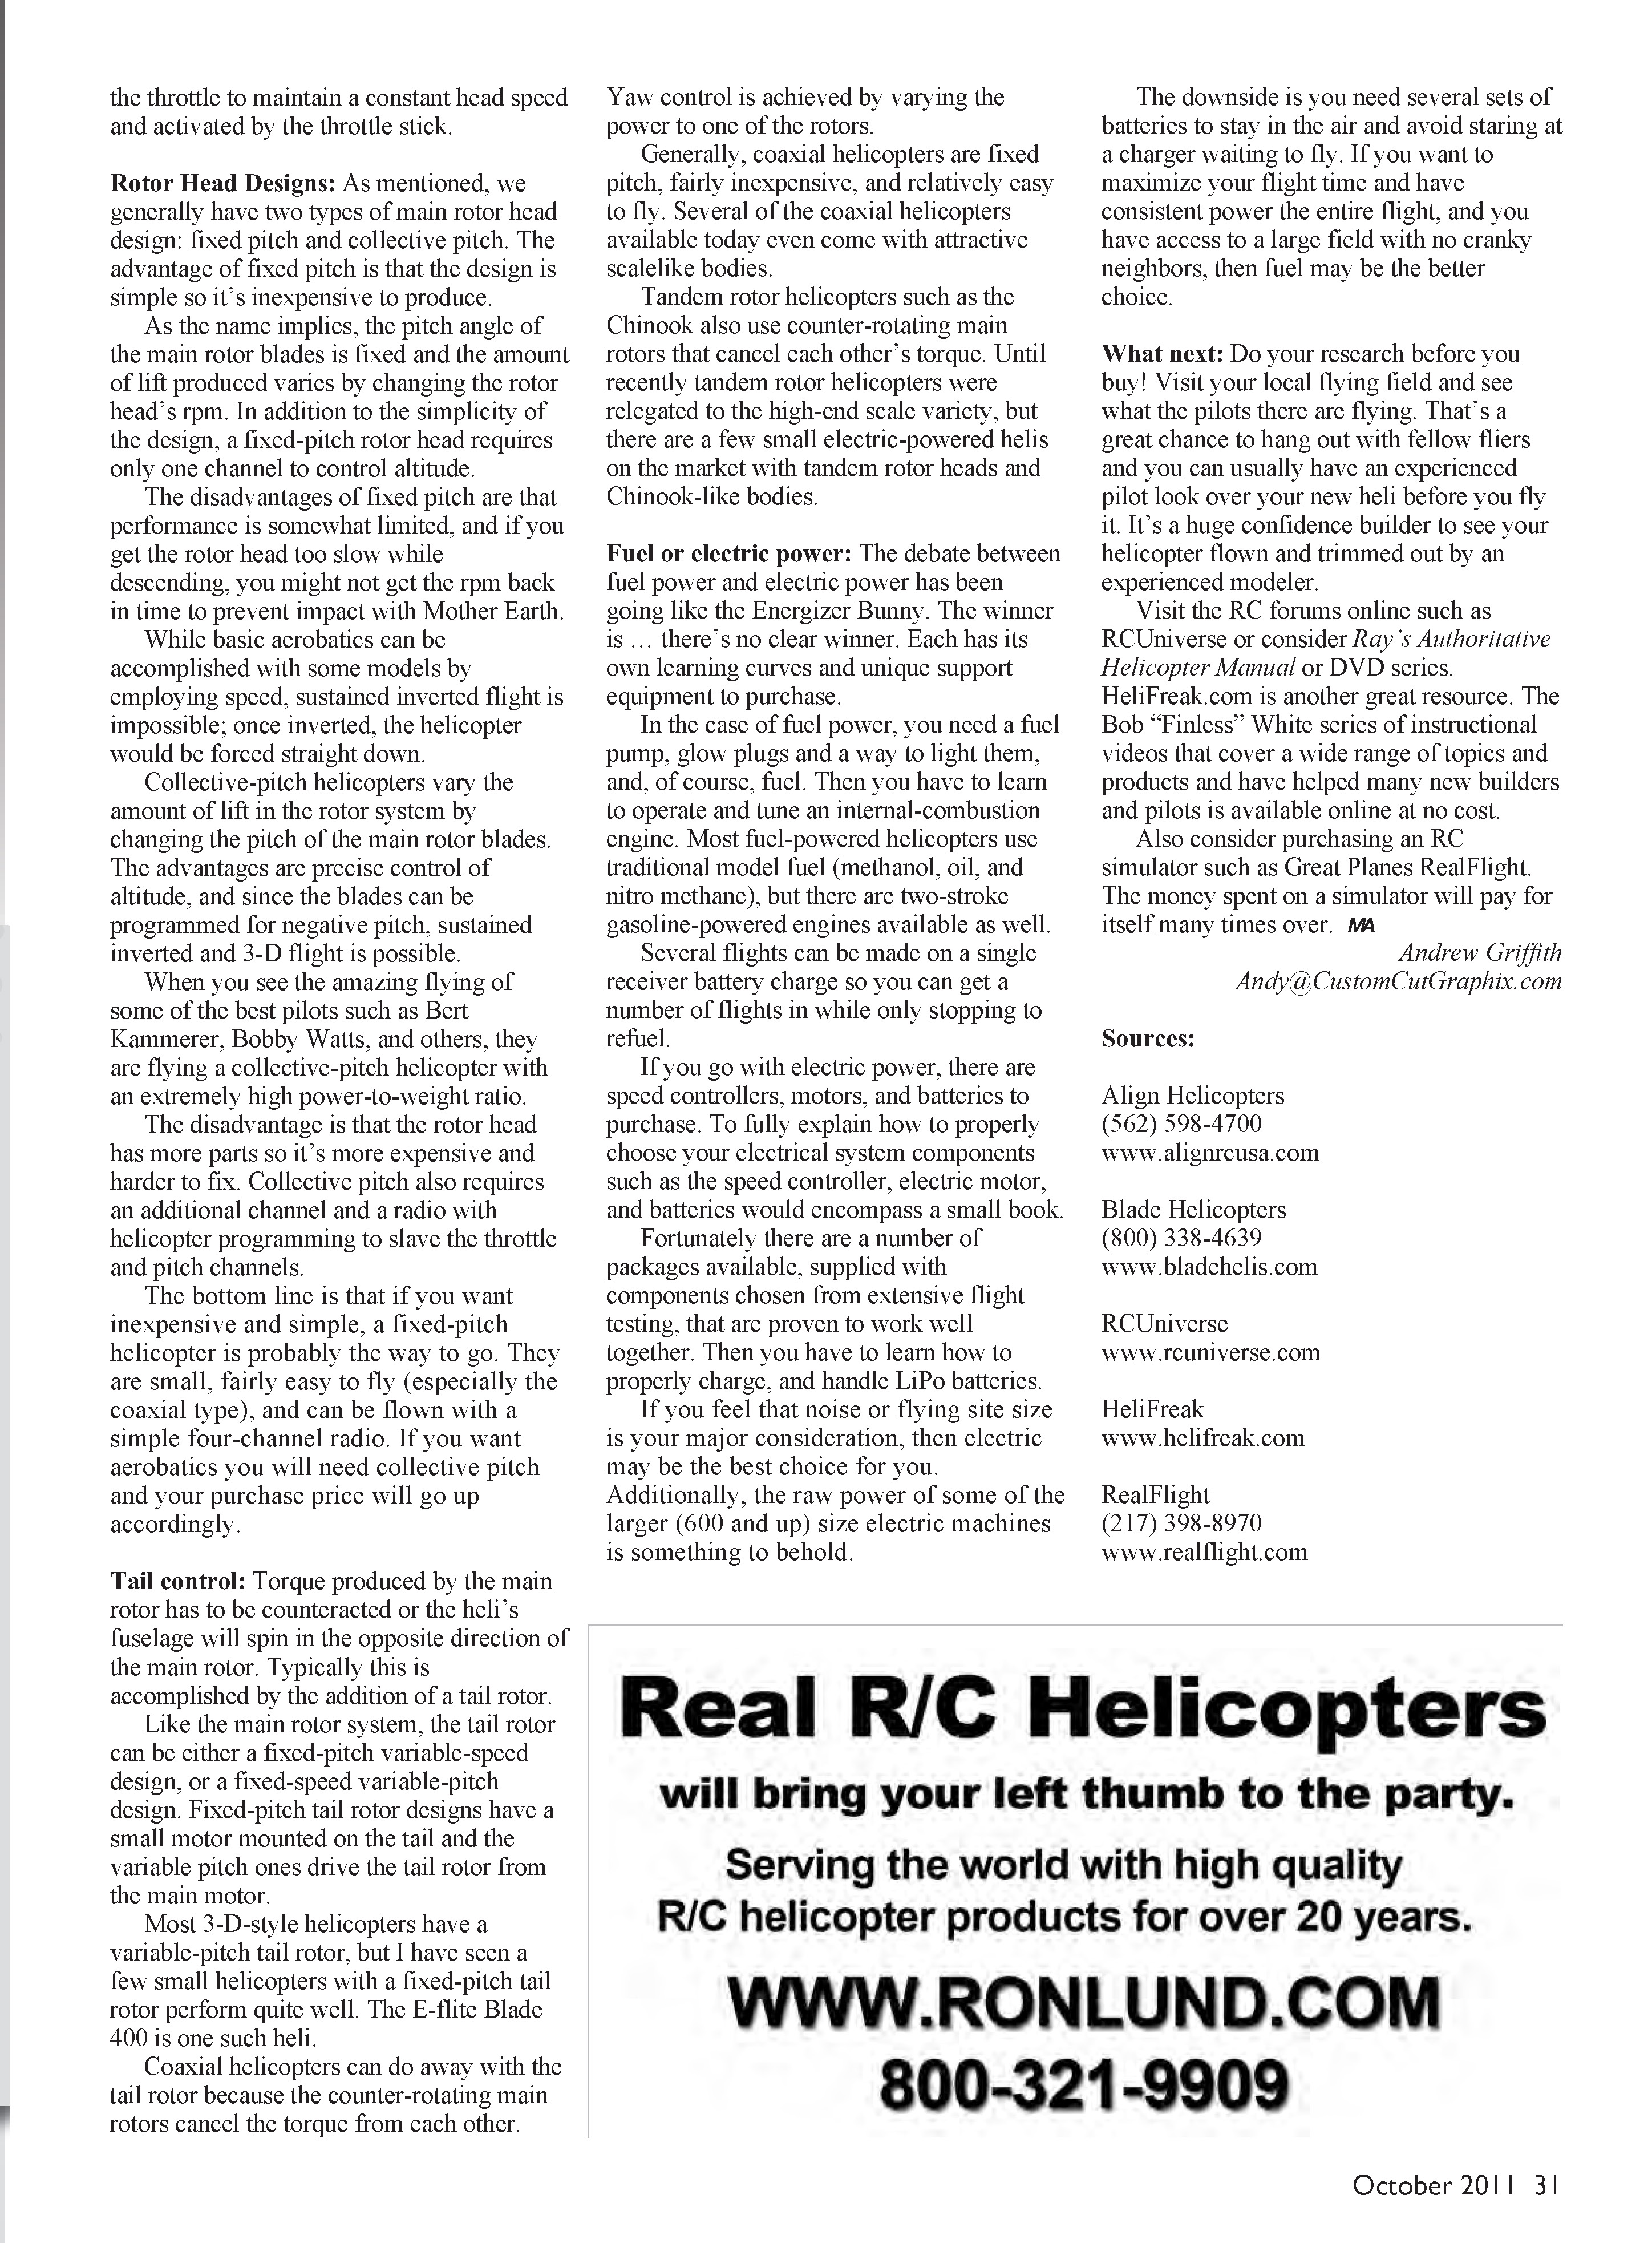
Like the main rotor system, the tail rotor can be either a fixed-pitch variable-speed design, or a fixed-speed variable-pitch design. Fixed-pitch tail rotor designs have a small motor mounted on the tail and the variable pitch ones drive the tail rotor from the main motor.
Most 3-D-style helicopters have a variable-pitch tail rotor, but I have seen a few small helicopters with a fixed-pitch tail rotor perform quite well. The E-flite Blade 400 is one such heli.
Coaxial helicopters can do away with the tail rotor because the counter-rotating main rotors cancel the torque from each other.
Yaw control is achieved by varying the power to one of the rotors.
Generally, coaxial helicopters are fixed pitch, fairly inexpensive, and relatively easy to fly. Several of the coaxial helicopters available today even come with attractive scalelike bodies.
Tandem rotor helicopters such as the Chinook also use counter-rotating main rotors that cancel each other’s torque. Until recently tandem rotor helicopters were relegated to the high-end scale variety, but there are a few small electric-powered helis on the market with tandem rotor heads and Chinook-like bodies.
Fuel or electric power: The debate between fuel power and electric power has been going like the Energizer Bunny. The winner is … there’s no clear winner. Each has its own learning curves and unique support equipment to purchase.
In the case of fuel power, you need a fuel pump, glow plugs and a way to light them, and, of course, fuel. Then you have to learn to operate and tune an internal-combustion engine. Most fuel-powered helicopters use traditional model fuel (methanol, oil, and nitro methane), but there are two-stroke gasoline-powered engines available as well.
Several flights can be made on a single receiver battery charge so you can get a number of flights in while only stopping to refuel.
If you go with electric power, there are speed controllers, motors, and batteries to select. To fully explain how to properly choose your electrical system components such as the speed controller, electric motor, and batteries would encompass a small book.
Fortunately there are a number of packages available, supplied with components chosen from extensive flight testing, that are proven to work well together. Then you have to learn how to properly charge, and handle LiPo batteries.
If you feel that noise or flying site size is your major consideration, then electric may be the best choice for you.
Additionally, the raw power of some of the larger (600 and up) size electric machines is something to behold.
The downside is you need several sets of batteries to stay in the air and avoid staring at a charger waiting to fly. If you want to maximize your flight time and have consistent power the entire flight, and you have access to a large field with no cranky neighbors, then fuel may be the better choice.
What next: Do your research before you buy! Visit your local flying field and see what the pilots there are flying. That’s a great chance to hang out with fellow fliers and you can usually have an experienced pilot look over your new heli before you fly it. It’s a huge confidence builder to see your helicopter flown and trimmed out by an experienced modeler.
Visit the RC forums online such as RCUniverse or consider Ray’s Authoritative Helicopter Manual or DVD series. HeliFreak.com is another great resource. The Bob “Finless” White series of instructional videos that cover a wide range of topics and products and have helped many new builders and pilots is available online at no cost.
Also consider purchasing an RC simulator such as Great Planes RealFlight. The money spent on a simulator will pay for itself many times over.
Andrew Griffith [email protected]
Sources:
- Align Helicopters
(562) 598-4700 www.alignrcusa.com
- Blade Helicopters
(800) 338-4639 www.bladehelis.com
- RCUniverse
- HeliFreak
- RealFlight
(217) 398-8970 www.realflight.com
Transcribed from original scans by AI. Minor OCR errors may remain.

