
Born to Fly
Jim T. Graham | [email protected]
Introduction
Have you ever watched someone really tear up the sky doing 3-D maneuvers? Have you seen a video online and thought, "Man, I wish I could fly like that?" Me too. The first time I saw this new thing called "3-D" was around 2002, and from that day it has been the only kind of RC flying I wanted to do.
It can be hard to wrap your head around 3-D. When you learn to fly, the goal is usually to keep the airplane in one piece. The rudder is often feared and rarely used, so doing rolling harriers inches off the deck seems counterintuitive. The most intimidating part of flying 3-D is figuring out where to begin. Below are tips from some of the top pilots in the country.
Andrew Jesky
- Don’t take things too fast. New RC pilots see competition pilots doing insane maneuvers and try to jump directly to that level. You have to walk before you can run.
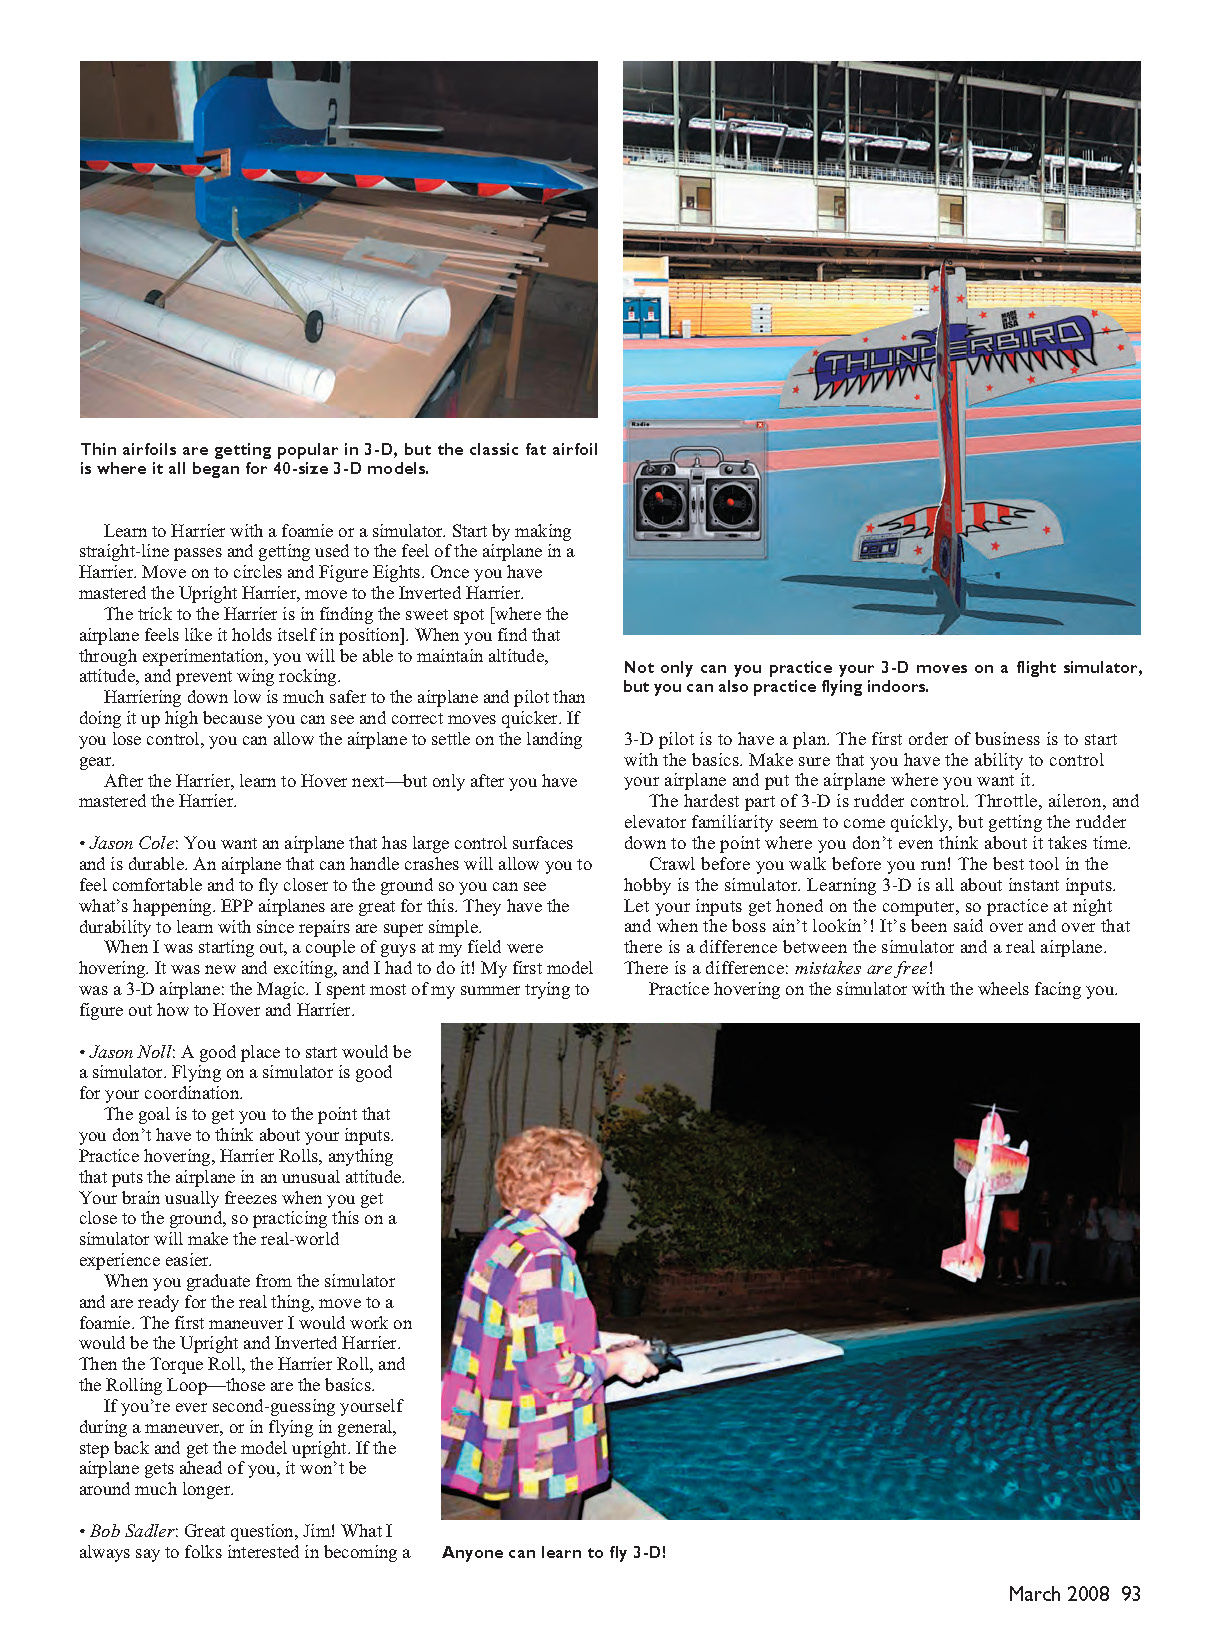
- The first maneuver I would suggest learning well is the harrier. Start with a foamie—they are cheap and do 3-D really well.
David Payne
- Start out with a simulator, and then move to a foamie. Practice is the key factor.
- The first maneuver I suggest working on is a top-facing hover. All the controls still work normally in that orientation (the canopy is facing you), so you don’t have to think in reverse. The goal is to hold it in a standstill; the hover will teach you reaction and timing.
- My grandfather used to say, "If you don’t like what it’s doing, then do something else." I don’t think left or right most of the time; I just fly. If you’re in a torque roll and the belly rolls around, just touch the rudder. If it goes the wrong way, hit the rudder the other way. You don’t want to translate what you need to do in your head; you want to react to the airplane without thinking.
Jeremy Chinn
- The first thing I recommend is to learn how to harrier. The harrier is the fundamental maneuver of all 3-D and teaches you how to use the rudder, a required skill for 3-D.
- Learn the harrier with a foamie or a simulator. Start by making straight-line passes to get used to the feel of the airplane in a harrier. Move on to circles and figure eights.
- Once you have mastered the upright harrier, move to the inverted harrier. The trick is finding the sweet spot where the airplane feels like it holds itself in position. When you find that, you can maintain altitude and attitude and prevent wing rocking.
- Harriering down low is safer for the airplane and pilot because you can see and correct moves quicker. If you lose control, you can allow the airplane to settle on the landing gear.
- After the harrier, learn to hover—but only after you have mastered the harrier.
Jason Cole
- Choose an airplane with large control surfaces and durability. An airframe that can handle crashes lets you feel comfortable and fly closer to the ground so you can see what’s happening.
- EPP airplanes are great for this: durable, easy to repair, and forgiving. Repairs are simple.
- My first model was a 3-D airplane (the Magic). I spent most of that summer figuring out how to hover and harrier.
Jason Noll
- A good place to start is a simulator. Flying on a simulator is good for your coordination and gets you to the point where you don’t have to think about your inputs.
- Practice hovering, harrier rolls, and anything that puts the airplane in unusual attitudes. Your brain usually freezes when you get close to the ground, so practicing on a simulator makes the real-world experience easier.
- When you graduate from the simulator and are ready for the real thing, move to a foamie. Start with upright and inverted harriers, then learn torque rolls, harrier rolls, and the rolling loop—those are the basics.
- If you ever second-guess yourself during a maneuver, step back and get the model upright. If the airplane gets ahead of you, it won’t be around much longer.
Bob Sadler
- Have a plan. Start with the basics and make sure you can control your airplane and put it where you want it.
- The hardest part of 3-D is rudder control. Throttle, aileron, and elevator familiarity come quickly, but getting the rudder to the point where you don’t even think about it takes time. Crawl before you walk before you run.
- The best tool in the hobby is the simulator. Learning 3-D is all about instant inputs—let your inputs get honed on the computer. Practice at night and when the boss isn’t looking! The difference between a simulator and a real airplane is that mistakes are free on the sim.
- Practice hovering on the simulator with the wheels facing you. That awkward orientation is hard to master, but when it becomes automatic it’s time to apply those skills to real models.
- Foamies are great for 3-D: good power-to-weight ratio, easy to repair, and inexpensive. They require faster inputs and can be harder to master, but are excellent learning platforms.
- Progress to profile models once you’re comfortable. A fat-winged profile is almost impossible to stall, forgiving, and if built with a tube fuselage it’s tough. A good 40-size 3-D profile is reasonably priced and will grow with you.
- A good profile airplane with throws turned down makes an excellent first model. Learn how to bail out at any attitude and safely push the envelope.
- Best learning tip for torque rolling (from Frank Noll): "If you wanna learn the secret of torque rolling, give me $100. I’ll hand you the $100 back and tell you to take $100 worth of gas and practice!"
Final thoughts
Now you have tips from the guys who do this every day. I learned to fly on an old, heavy trainer, and my next model accidentally became a scratchbuilt profile 3-D airplane. I don’t think many non-3-D pilots would consider a 3-D airplane as a trainer, but they can make excellent trainers if you choose a forgiving design.
If you want to be a 3-D pilot: start with a simulator, move to a foamie or forgiving profile, practice the harrier and hover, get rudder control, and keep practicing. Get out there and do it!
Transcribed from original scans by AI. Minor OCR errors may remain.

