
From the Build Table of..... - 2012/02
Polyurethane glue's unique features
Keith Sparks | [email protected]
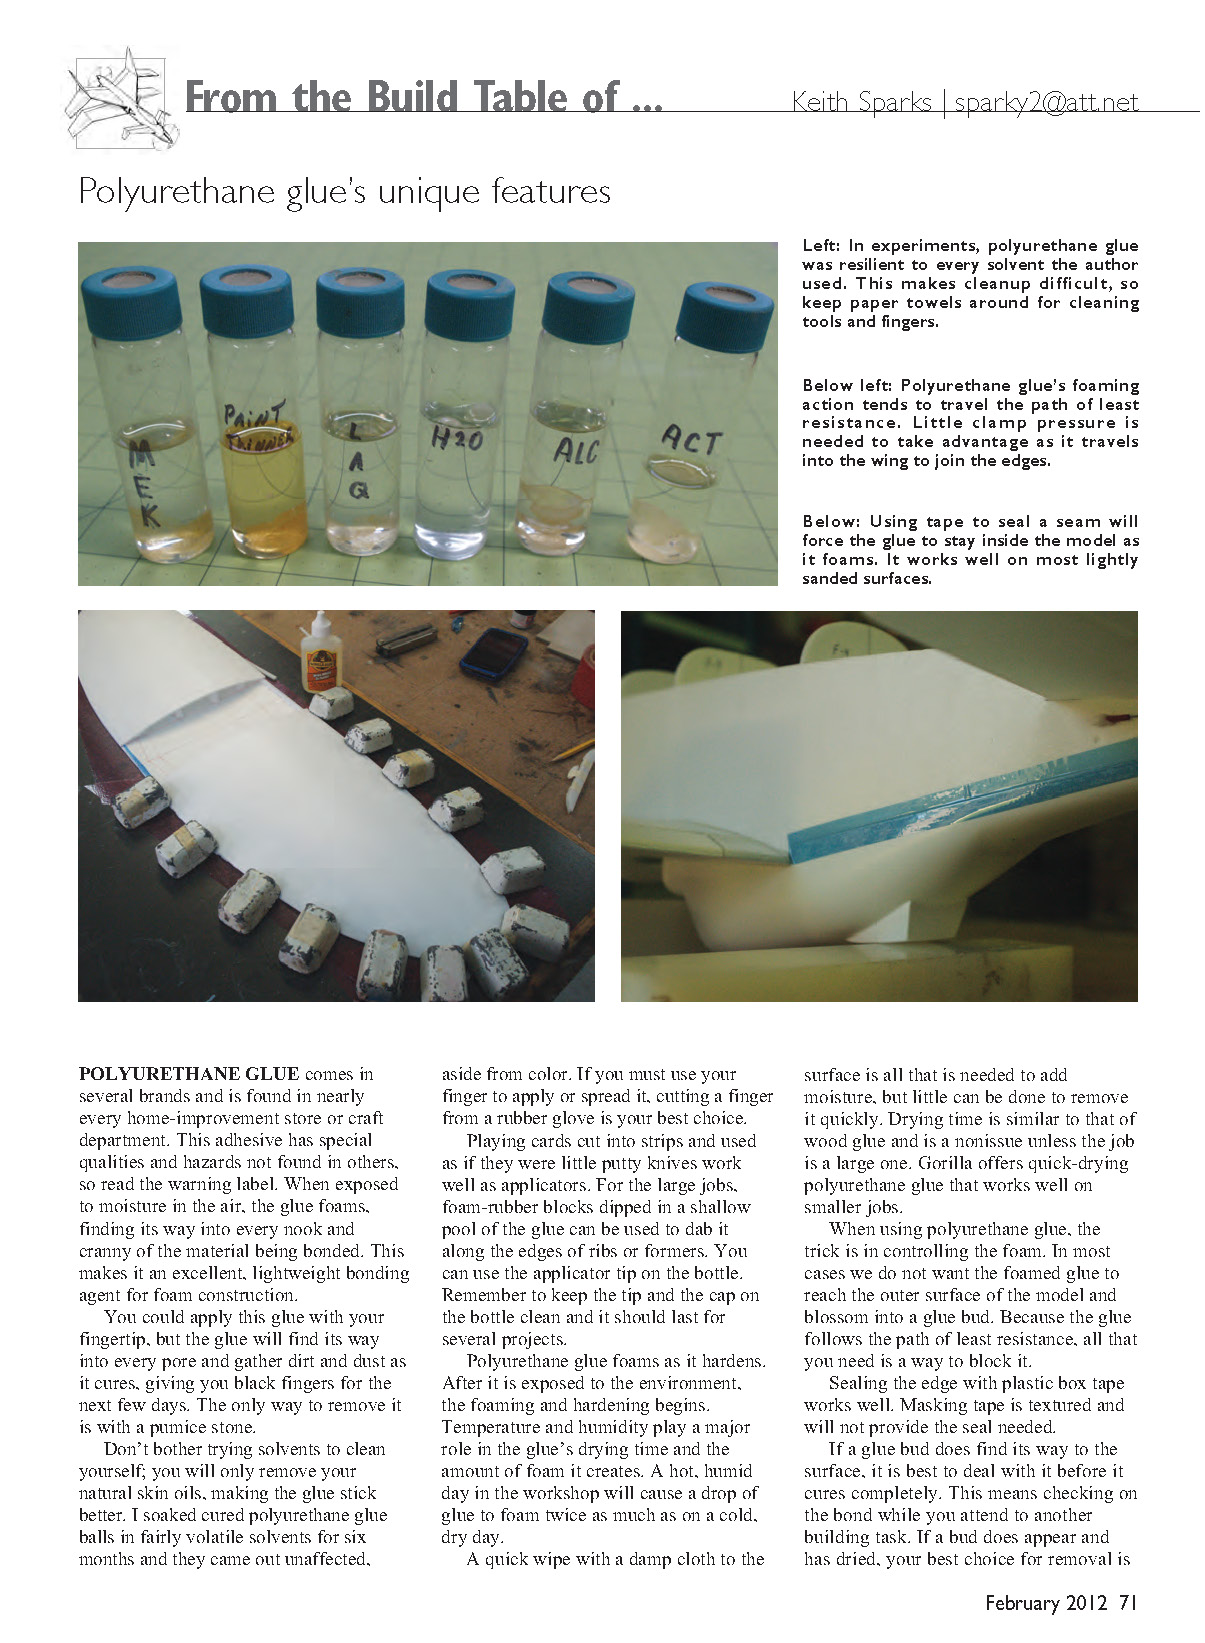
POLYURETHANE GLUE comes in several brands and is found in nearly every home-improvement store or craft department. This adhesive has special qualities and hazards not found in others, so read the warning label. When exposed to moisture in the air, the glue foams, finding its way into every nook and cranny of the material being bonded. This makes it an excellent, lightweight bonding agent for foam construction.
You could apply this glue with your fingertip, but the glue will find its way into every pore and gather dirt and dust as it cures, giving you black fingers for the next few days. The only reliable way to remove cured glue from skin is with a pumice stone.
Don't bother trying solvents to clean yourself; you will only remove your natural skin oils, making the glue stick better. I soaked cured polyurethane-glue balls in fairly volatile solvents for six months and they came out unaffected, aside from color. If you must use your finger to apply or spread it, cutting a finger from a rubber glove is your best choice.
Applicators and tips:
- Playing cards cut into strips and used as small putty knives work well as applicators.
- For large jobs, foam-rubber blocks dipped in a shallow pool of the glue can be used to dab it along edges of ribs or formers.
- You can also use the applicator tip on the bottle. Remember to keep the tip and the cap on the bottle clean and it should last for several projects.
Polyurethane glue foams as it hardens. After it is exposed to the environment, the foaming and hardening begins. Temperature and humidity play a major role in the glue's drying time and the amount of foam it creates. A hot, humid day in the workshop will cause a drop of glue to foam twice as much as on a cold, dry day.
A quick wipe with a damp cloth to the surface is all that is needed to add moisture, but little can be done to remove that moisture quickly. Drying time is similar to that of wood glue and is a nonissue unless the job is a large one. Gorilla offers quick-drying polyurethane glue that works well on smaller jobs.
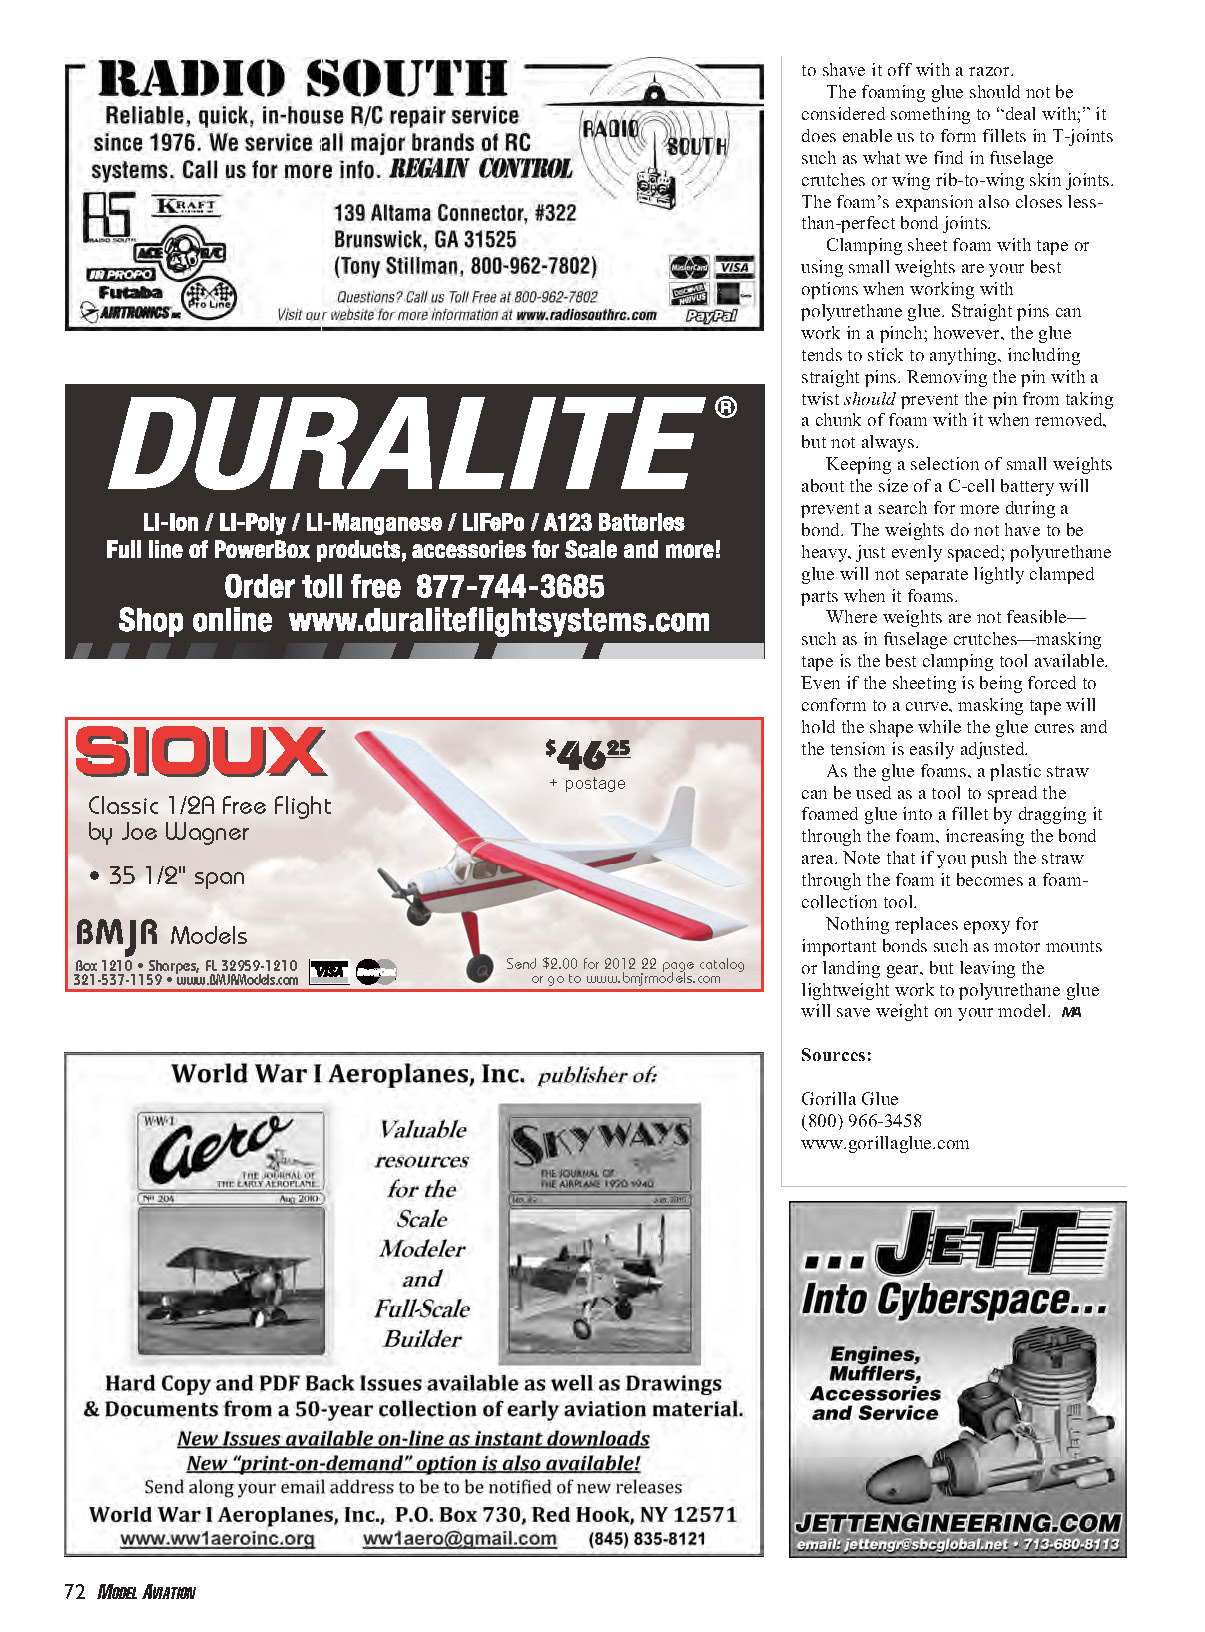
When using polyurethane glue, the trick is in controlling the foam. In most cases we do not want the foamed glue to reach the outer surface of the model and blossom into a glue bud. Because the glue follows the path of least resistance, all that you need is a way to block it. Sealing the edge with plastic box tape works well. Masking tape is textured and will not provide the seal needed.
If a glue bud does find its way to the surface, it is best to deal with it before it cures completely. This means checking on the bond while you attend to another building task. If a bud does appear and has dried, your best choice for removal is to shave it off with a razor.
The foaming glue should not be considered something merely to "deal with"; it does enable us to form fillets in T-joints such as those found in fuselage crutches or wing rib-to-skin joints. The foam's expansion also closes less-than-perfect bond joints. Clamping sheet foam with tape or using small weights are your best options when working with polyurethane glue.
Straight pins can work in a pinch; however, the glue tends to stick to anything, including straight pins. Removing the pin with a twist should prevent the pin from taking a chunk of foam with it when removed, but not always. Keeping a selection of small weights about the size of a C-cell battery will prevent a search for more during a bond. The weights do not have to be heavy, just evenly spaced; polyurethane glue will not separate lightly clamped parts when it foams.
Where weights are not feasible — such as in fuselage crutches — masking tape is the best clamping tool available. Even if the sheeting is being forced to conform to a curve, masking tape will hold the shape while the glue cures and the tension is easily adjusted.
As the glue foams, a plastic straw can be used as a tool to spread the foamed glue into a fillet by dragging it through the foam, increasing the bond area. Note that if you push the straw through the foam it becomes a foam-collection tool.
Nothing replaces epoxy for important bonds such as motor mounts or landing gear, but leaving the lightweight work to polyurethane glue will save weight on your model.
MA
Sources
- Gorilla Glue
- (800) 966-3458
- www.gorillaglue.com
Transcribed from original scans by AI. Minor OCR errors may remain.

