
Trimming with ChromaBase Paints
by Bob Hunt [email protected]
In my January 2012 column, I related the story about the finishing of my Crossfire Extreme, shortly before last year’s Nats. To recap a bit, I used the DuPont ChromaBase Basecoat/Clearcoat paint system to finish the model in record time (at least for me).
A freak accident, resulting in severe damage to the wing a week before leaving for the Nats, led to my discovery that ChromaBase paints are also easy to repair. I promised to write more about painting with the ChromaBase paint system.
Because I applied the white basecoat more than a year before I applied the trim, I had to scuff the paint’s surface using a 3M Scotch-Brite Ultra Fine Hand Pad (part number 37448) before applying the trim colors. If the ChromaBase paint is allowed to dry or “cure” for more than 48 hours, subsequent coats of paint, trim, or clear will not adhere properly. Scuffing the surface breaks the “skin” of the paint and yields some “tooth” for subsequent layers of paint or clear.
I applied the original coats of white basecoat paint using an Iwata HVLP “baby series” spray gun (part number LPH-50-062G). Auto body people usually refer to this gun as a “jam gun” because it is typically used to spray small areas such as door jams on cars.
I’ve owned a number of spray guns and the Iwata is the best one I’ve owned and used for painting models. It put down an extremely flat, smooth layer of white ChromaBase paint, and when it dried I was happy with the surface.
When I used the Scotch-Brite pad to scuff the eggshell-like surface a year later, the result was a matte, flat surface that had no obvious flaws and looked absolutely even and smooth, even when examined closely. I was delighted with this working surface on which to apply trim colors!
My good friend Buddy Wieder had finished his Ryan’s Eagle using the ChromaBase system a year earlier and he also had let the basecoat of white sit for more than 48 hours before beginning to apply the trim colors. He did not scuff the surface with the Scotch-Brite pad before applying the trim and didn’t experience any adhesion problems. Perhaps he just got lucky.
Buddy tried several types of tape for laying out the trim on his model, and found that the 3M Scotch 471 Series Blue Fine Line Tape worked best for him on the ChromaBase paint’s surface. He didn’t need to seal the edges with clear before spraying on the trim colors. This paint covers incredibly well. Because it can be sprayed on in thin layers and dries quickly, sealing the edges of the tape is unnecessary. Buddy also found out that there is no need to clean up the paint edges by scraping them with a credit card or other tool. When the tape is peeled back, the edge is perfect and when the thin layer of paint is applied properly, it’s almost imperceptible to the touch.
While I applied the trim to the Crossfire Extreme, I experimented with Scotch Fine Line Blue Tape and Scotch 218 Series Green Polypropylene Fine Line Tape. The Fine Line Blue Tape is superior when working with the ChromaBase paint system. It has the proper amount of tack, and is easy to position and easy to work around curves, although there are not many curves in the Crossfire Extreme’s paint scheme.
There was no tendency for the tape to pull up the basecoat of paint as I removed it from the airplane after painting. This can be a problem with dope-based finishes, especially when a blocking coat of silver has been used. The silver dope (and dope products in general) does not grip the model nearly as well as do the ChromaBase paints.
To be fair, I have not yet tried to use a ChromaBase silver as a blocking coat under the white basecoat. I plan to try that soon and I have even purchased the paint.
Why the silver? Metallic paints of any type show off and even amplify flaws in the surface preparation, and can be used as an "indicator coat." After this coat of silver has been applied you can critically examine the model's base finish and fix the flaws before applying the actual color coats.
Silver is close to the color value of white, and many—if not most—competition CL Stunt models feature white as the base color. It takes less white paint to cover silver than it does to cover a darker, blotchier basecoat.
Having written that, I'll tell you that I sprayed the white coat on the Crossfire Extreme over the filled and sanded 0.2-ounce carbon fiber that I used to cover the entire model. The carbon is black and is probably the toughest to cover with white paint. To my surprise, one coat of ChromaBase white covered it completely!
Could I have saved weight by using the silver paint first, as an indicator/primer coat? I intend to try it on my next airplane and keep accurate weight records as I go. Working the surface of the silver paint with the Ultra Fine Scotch-Brite Pad will yield a perfect base on which to apply the basecoat of color paint, so I need to try it.
Metallic paint tends to cover more quickly and add less weight per coat. A thin coat of silver that is burnished even thinner using the Scotch-Brite pad might be the very best blocking and primer-coat option.
Applying Trim with ChromaBase
The most fun part of the finishing process for me is applying the color trim to the airplane's surface. This is usually a multiday process, applying no more than one trim color per day. With the ChromaBase paints, that has changed! The ChromaBase paints dry so quickly that you can easily apply three, four, or even five trim colors in one day.
I usually have to wait several hours to ensure that the paint has dried before removing the masking tape when I use dope colors for trim. With the ChromaBase paints, I could shoot the paint, set the gun down, and begin unmasking with no fear that there would be any ragged edges or any tendency for the substrate (basecoat) to pull up with the tape.
One reason for this is the ChromaBase paint's amazing coverage properties. Only a single, thin coat of color is required, and because of that the paint dries almost instantly. It does not have enough buildup to cause a significant edge that needs to be cleaned up afterwards.
Typically, I let the trim paint set for about a half hour before masking over it to prepare for the next trim color. You can apply multiple trim colors in a short amount of time, and you can apply each subsequent color's masking trim over the previous color trim areas without fearing that you will pull up the trim that you just applied.
Add to this the fact that you can spray during virtually any type of weather, and you can see where this is an efficient painting method for those who are late in getting their models painted for the season. No humidity worries at all!
Little trim color is required for an average airplane, so you can buy your paint in half-pint quantities and then mix it one-to-one with the reducer (not hardener—this paint is air dry and does not require a catalyst) before spraying. A half pint turns into a full pint of material when reduced, and that should last a long time. The paint is expensive, but it goes a long way!
You knew that there would be a negative somewhere in this system. I found that some of the colors I used for trim would dissolve a bit when wiped with DuPont Prep-Sol cleaner or Final-Klean, and the color would smear out onto the white base. Yuk! I had to respray white in a few places when this happened, and I was fearful that I would not be able to adequately clean the airframe before applying the two-part clear coat without further smearing the colors.
I spoke with the technician at my local auto paint store and he told me that I should seal the colors with a thin coat of DuPont’s 930 clear; this would prevent the cleaner from dissolving the color. I spoke with a friend of mine who is an auto body man, and he told me that he’s never had the smearing problem that I encountered. I talked with my lifelong friend Phil Granderson about this smearing problem and he told me that if you use Windex to clean the model before applying the clear coats, you will not have any problems.
I carefully cleaned up to and around the color-trimmed areas on the Crossfire Extreme, but did not actually seal the colors with any non-catalyzed clear before applying the two-part clear coat and I had no problems with contamination. I intend to seal the color-trim areas on my next painted model and I’ll report the results.
I have had such good results with the system I have used to date that I have no hesitancy in recommending it to others.
On the Crossfire Extreme I used computer-cut painting stencils for the first time; yes, I’m old-fashioned and not quick to adopt new technology.
Lettering and Numbers
In the past, I used to create my own letters and numbers on my models by hand. Phil Granderson has been in the graphics industry for most of his life and he has been making computer-cut graphics and stencils for his personal airplanes for several years. He's a master designer, craftsman, and painter. His paint schemes are augmented with an abundance of creative lettering elements and computer-generated graphics.
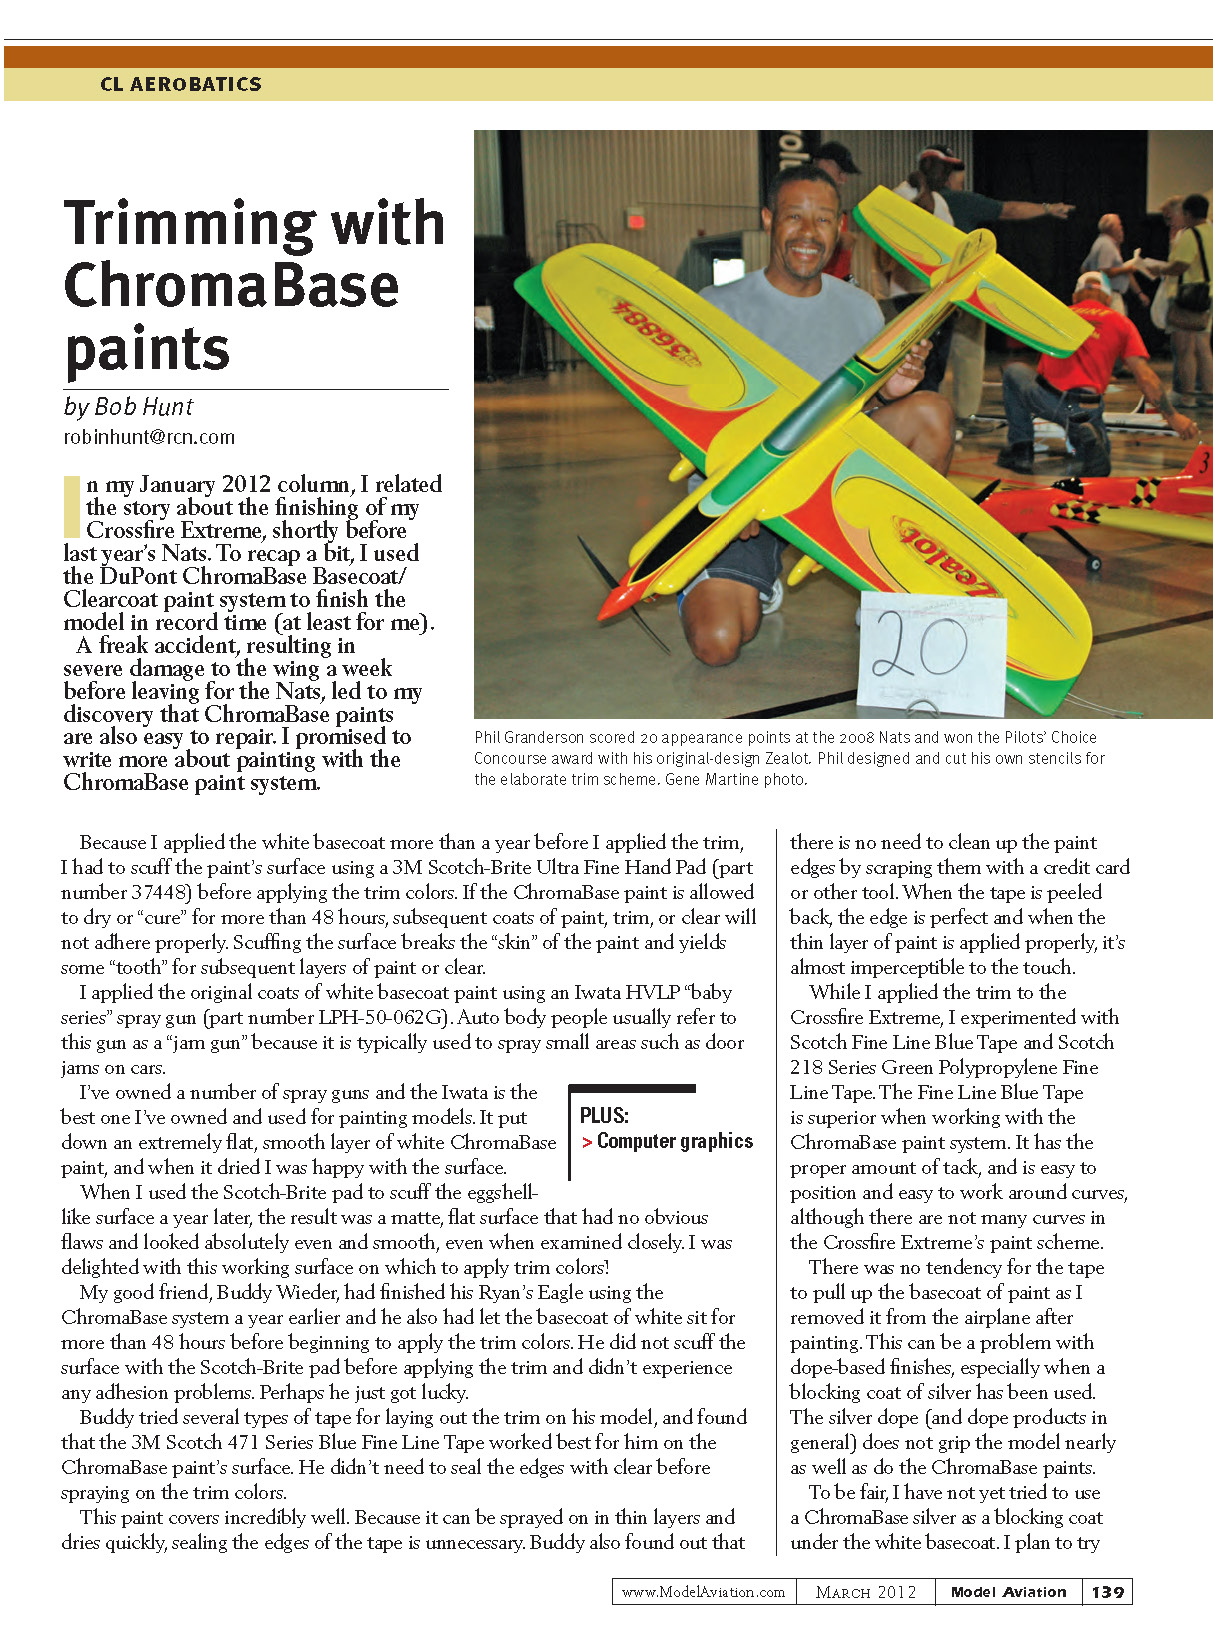
Phil's Zealot design sat all alone on the front row at the 2008 Nats, and it displayed all of Phil's considerable talents for graphic design and finishing. It was one of the very few 20-point appearance models in the history of the Nats and it also captured the coveted Pilots' Choice Concourse award.
Shortly after that model appeared at the Nats, many other fliers began to seriously experiment with more creative letters and numbers on their models using computer-designed and computer-cut graphics.
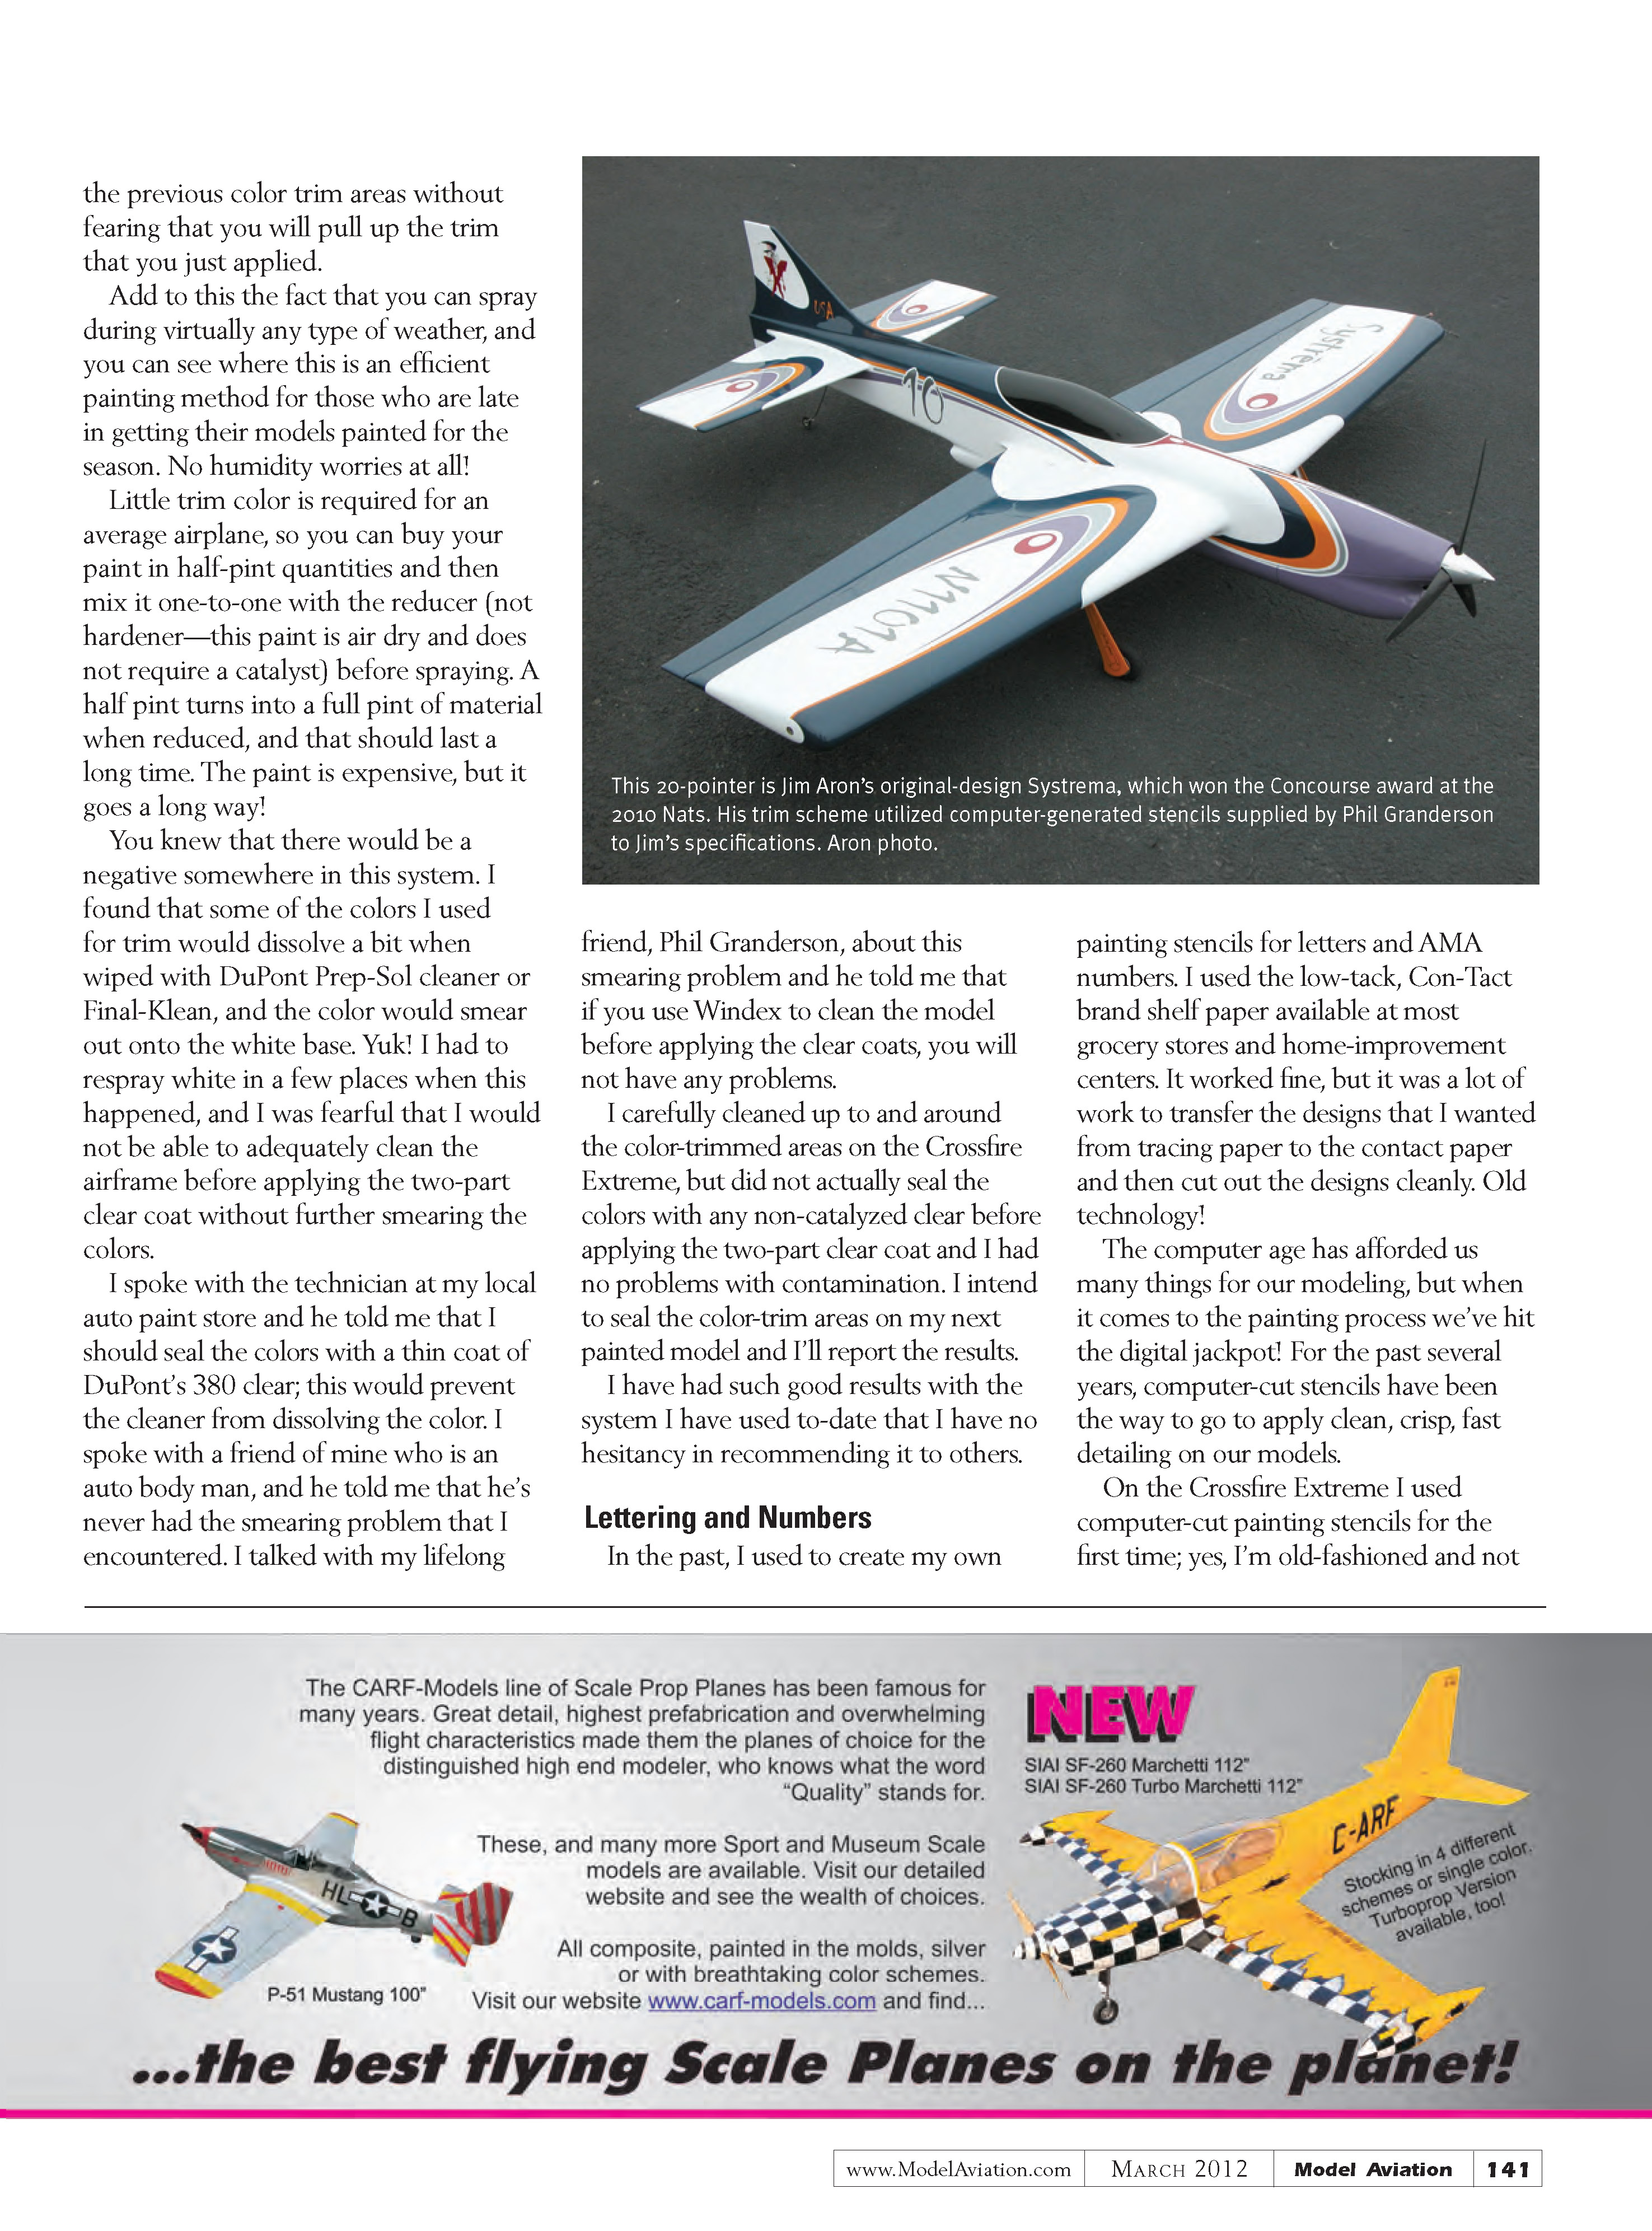
Jim Aron's Systrema is one such model. It sat on the Nats front row with 20 appearance points and received the Concourse award. Jim created the trim scheme design and worked with Phil to produce the many stencils required to finish the job.
It will take me a while to warm up to some of the wild graphics and schemes that are now being applied to some of the models seen at the Nats, but I certainly applaud the creativity and the forward-thinking application of a new technology to our discipline.
I finally conceded to technology and asked Phil to cut me a couple of stencils for my Crossfire Extreme. I chose a font and a size and sent a file to Phil.
What I received in return were several ready-to-use sets of stencils. I measured and made alignment marks on small pieces of tape that I applied to the wing’s surface, peeled the backing sheet off of one of the stencils, and with my buddy Joe Adamusko’s help, deftly applied the stencil perfectly flat against the wing. The outer sheet was peeled back to reveal a perfectly aligned and sealed stencil.
“This is just cheating,” I thought. That thought became even more entrenched when I sprayed the ChromaBase Fleet Black onto the stencil, let it dry, and then began to unmask the wing. I’ve never had a more perfect result in painting letters and numbers! I highly recommend that if you have not yet tried computer-cut stencils, you should try them on your next model!
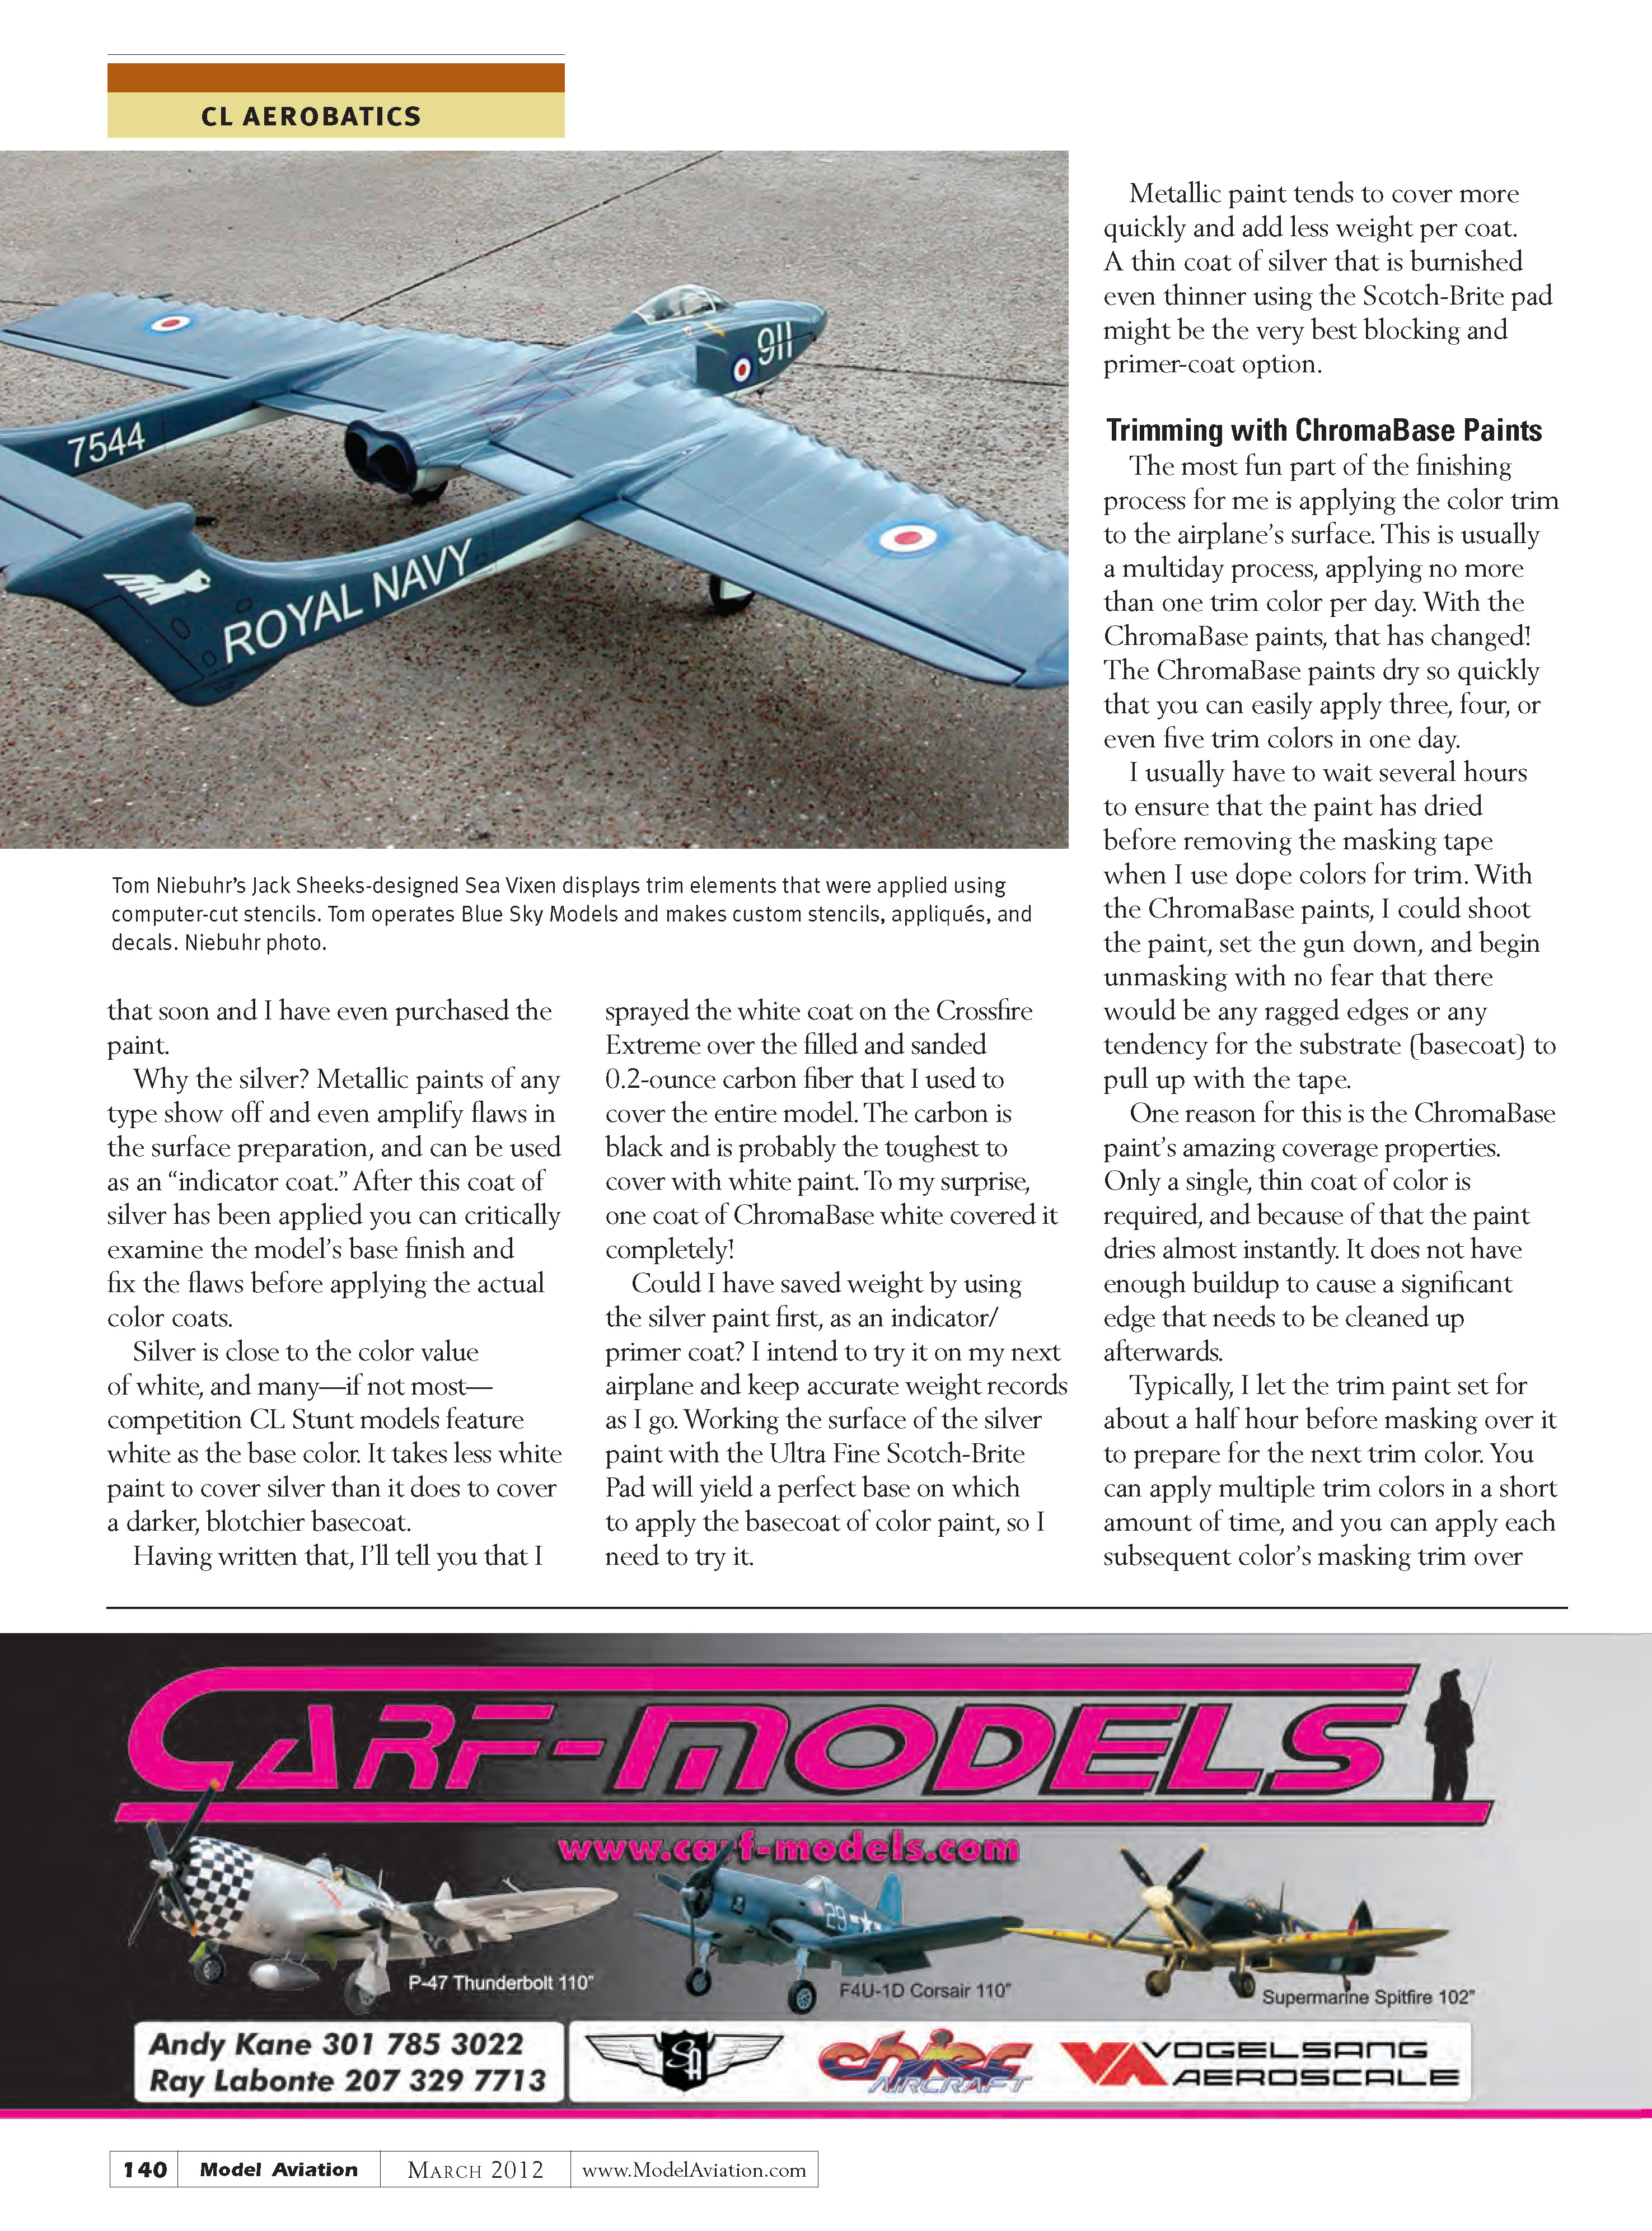
If you are interested in trying either computer-cut painting stencils, or computer-generated and cut appliqués, I recommend contacting Tom Niebuhr who owns Blue Sky Models. Tom cuts custom masks for lettering, graphics, and vinyl appliqués, and can also provide made-to-order decals. He provided me with examples of his work and it is outstanding.
Tom can work from any TrueType font and has hundreds of them available. His contact information is listed in “Sources.”
One Last Thought
My final thought on using any of the basecoat/clearcoat systems is that there is an abundance of information available in data sheets from the manufacturers of these paint systems. I suggest downloading them from the various websites and studying them before trying this type of paint.
There are dozens of video how-tos available for viewing on YouTube, so search a bit and you will learn a lot.
Till next time, fly Stunt!
SOURCES
- Blue Sky Models
(469) 487-1256 www.blueskymodels.net
- DuPont ChromaSystems Paints
- 3M / Scotch-Brite
(888) 364-3577 www.3m.com
- Iwata
(503) 253-7308 www.iwata-medea.com
- Precision Aerobatics Model Pilots Association
Transcribed from original scans by AI. Minor OCR errors may remain.

