

Turbulent times, part two
by Bob Hunt [email protected]
I ended my last column with a brief discussion about flying in turbulence. It was suggested that virtually every turbulent field has a spot or "venturi" through which the spoiled air normally exits. If you can identify its location and place your maneuvers there, you can fly a reasonable pattern even in extremely dirty air.
Another suggestion was to fly faster than normal and blast through the turbulent air.
There is no way you will be able to fly a perfect-looking pattern in extremely turbulent conditions. Our lightweight aircraft are simply not designed to fly in a Mixmaster! Accepting that perfection is not possible, the challenge is to achieve an illusion of perfection. Again, flying fast will help your model go through fairly rough air with sheer momentum. Fly too fast, however, and your timing will be off and the illusion will suffer.
I've found that slightly heavier models will penetrate better than ultra-lightweight models in turbulence, but this doesn't mean you should intentionally build a heavy airplane. If you know you will be flying on a turbulent field at a contest, consider not taking your lightest model.
Models with high-aspect-ratio wings generally do poorly in turbulence. They are rolled by gusts, and the long wing accentuates the degree of the roll. Choose a model that has a slightly wider chord and a shorter-than-normal wingspan.
We should take a page out of the NASCAR race teams' book. They drive cars specifically built for different types of tracks. They typically don't use a super-speedway car at a short track, nor do they take a 1½-mile track car to a road course.
It makes sense for us to construct models that have the desired characteristics for flying in specific conditions. What would a turbulent-field model look like?
Choosing a model for turbulence
I would prefer it to be a slightly smaller model than I might choose for "runway air" conditions. It would be in the midrange of the acceptable weight envelope for its wing area and powered by a high-thrust, high-torque system. I'd want it to be lightweight enough to fly on 0.015 braided—or even on 0.012 solid—flying lines. Lines are draggy and you don't want that in turbulent conditions! My model would have a thin wing to aid penetration, and it would not have a tall fin. Anything too far above or below the vertical CG will be prone to catch a gust and try to roll the model. I want the airplane to knife through rough air, and that requires having as little vertical side area as possible.
Flying to create the illusion of perfection
Assume the judges are positioned dead upwind of what I have determined is the field's exhaust venturi. How do I try to create the illusion of perfection?
I will have to give up something to the conditions, so I give up pattern size. I won't try for a tight 45° pattern. Instead I'll go fast and try to fly cleanly through slightly larger maneuvers, keeping my airplane's speed and penetration properties in mind. I'll accentuate the bottoms and the shapes, and try to keep the intersections where they should be. A good judge will still deduct for maneuver size, but will also reward a pattern that has good shapes, bottoms, and intersections. Those who try to fly the pattern strictly by the book will have a challenge. If they can manage to "do it all," then hats off to them, but they will not be able to fly a clean rule-book pattern in such conditions.
Body position is a key element when flying in turbulence. Position your body so you can quickly and smoothly move backward if the model rolls toward you or line tension is reduced. By quickly pulling back and up with your arm at exactly the right moment, you can transmit plenty of speed into the model through the lines, and that translates into line tension.
Pilots often prematurely bail out of a maneuver. The sudden loss of line tension caused by the model rolling toward the pilot can be so scary that the pilot will bail out too soon. In most cases, a smooth, quick shift rearward will regain line tension and allow the maneuver to be completed.
Getting through the first half of the pattern in turbulence is relatively easy compared with the second half. When you have to use the top half of the flight hemisphere, the model will probably be subjected to even worse turbulence and likely some crosswind components, but there is a technique that will help.
The art of whipping
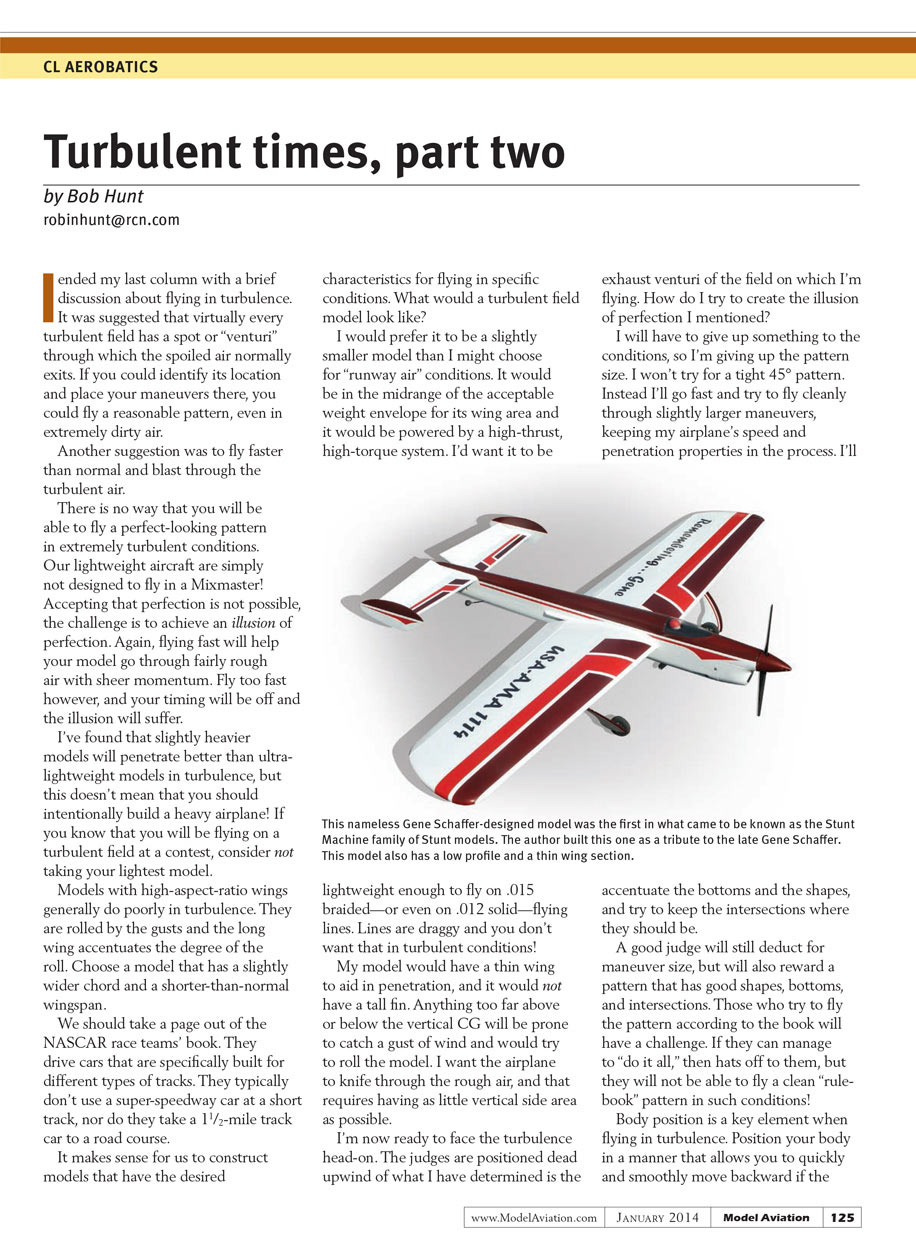
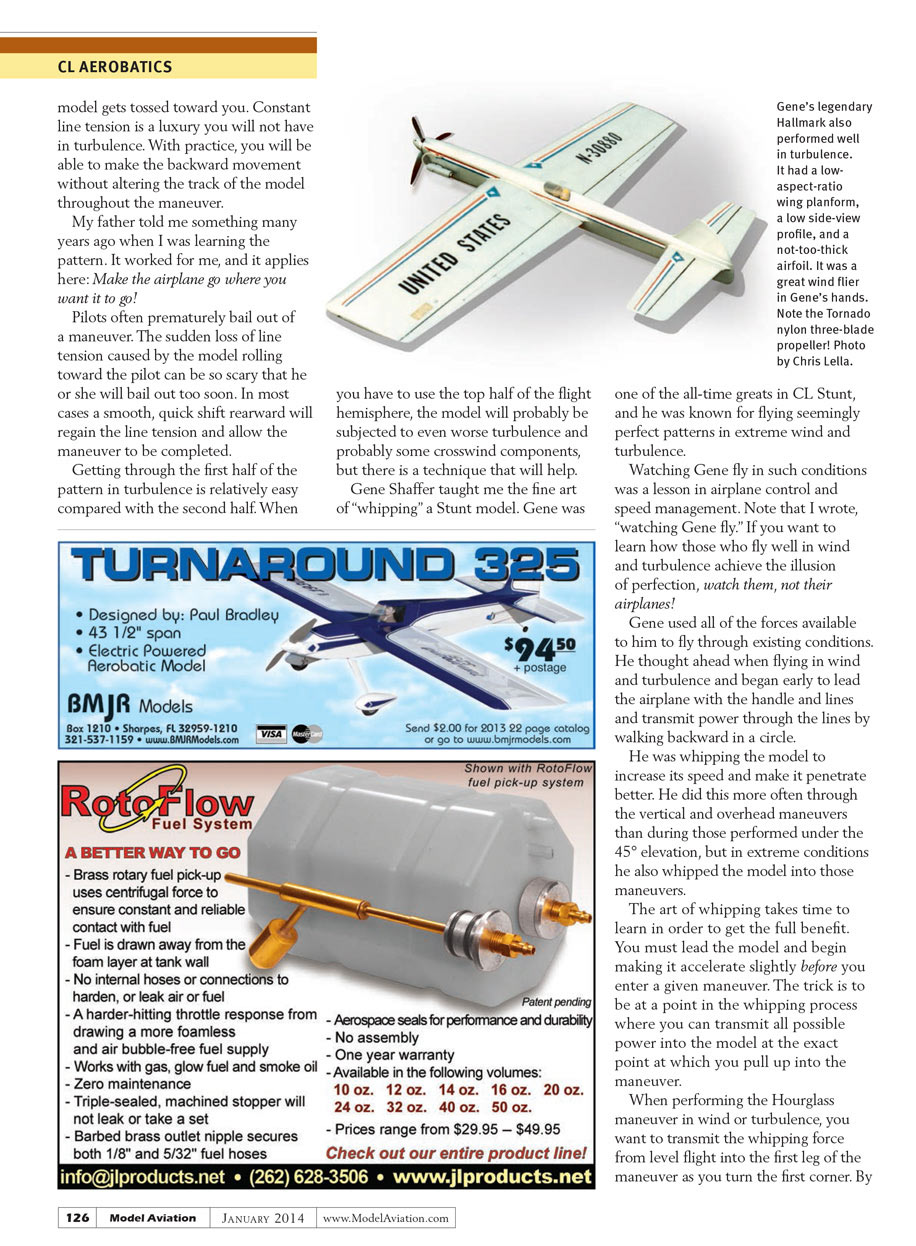
Gene Shaffer taught me the fine art of "whipping" a stunt model. Gene was one of the all-time greats in CL stunt, known for flying seemingly perfect patterns in extreme wind and turbulence.
Watching Gene fly in such conditions was a lesson in airplane control and speed management. Note that I wrote "watching Gene fly." If you want to learn how those who fly well in wind and turbulence achieve the illusion of perfection, watch them, not their airplanes!
Gene used all of the forces available to him to fly through existing conditions. He thought ahead when flying in wind and turbulence and began early to lead the airplane with the handle and lines and transmit power through the lines by walking backward in a circle.
He was whipping the model to increase its speed and make it penetrate better. He did this more often through the vertical and overhead maneuvers than during those performed under the 45° elevation, but in extreme conditions he also whipped the model into those maneuvers.
The art of whipping takes time to learn to get the full benefit. You must lead the model and begin making it accelerate slightly before you enter a given maneuver. The trick is to be at a point in the whipping process where you can transmit all possible power into the model at the exact point at which you pull up into the maneuver.
When performing the Hourglass maneuver in wind or turbulence, transmit the whipping force from level flight into the first leg as you turn the first corner. By doing this the first leg has energy and the model will be able to continue on through the top of the maneuver more cleanly. This is a good place to whip the model because the top half of the hourglass is generally where turbulence has the most effect.
To get the most from whipping, practice it in less-than-ideal conditions; begin by whipping the model into the vertical lines when there is just a light crosswind. Once you get the feel for transmitting all of the lines' potential into the airplane, you will be able to do it more often and more effectively when conditions deteriorate.
One caution: don't overwhip. Too much whipping can make the airplane overspeed and ruin the maneuver.
Practice the whipping technique in ideal flying conditions until you can consistently transmit the whipping power to the model at the desired point. If you try this technique in turbulence or heavy wind before perfecting it, you might misplace the transmission point and inhibit the model's penetration exactly where you want to enhance it. You will know when you have perfected the technique.
Sources
- Precision Aerobatics Model Pilots Association
- www.control-line.org
Transcribed from original scans by AI. Minor OCR errors may remain.

