

A void that can never be filled
by Bob Hunt [email protected]
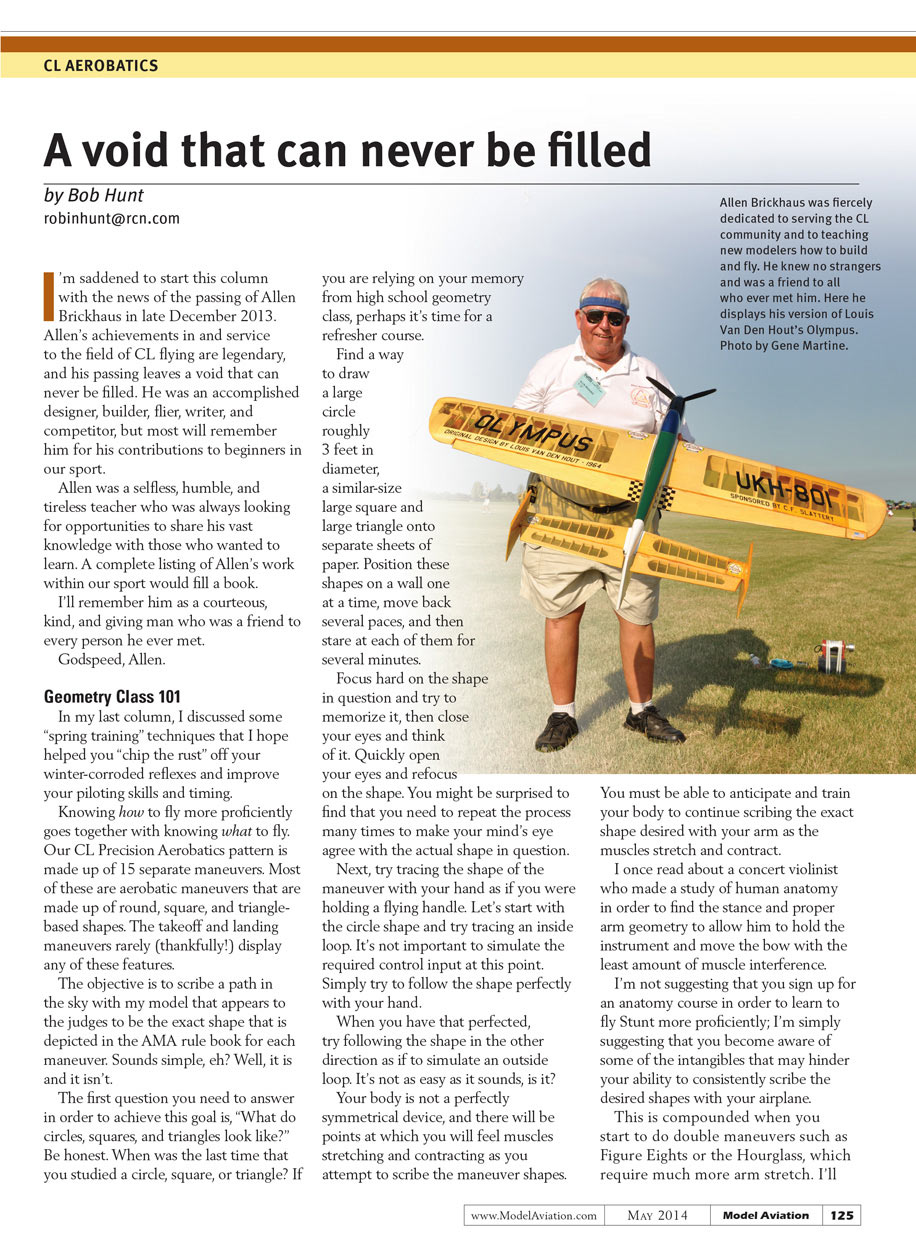
I'm saddened to start this column with the news of the passing of Allen Brickhaus in late December 2013. Allen's achievements in and service to the field of CL flying are legendary, and his passing leaves a void that can never be filled. He was an accomplished designer, builder, flier, writer, and competitor, but most will remember him for his contributions to beginners in our sport.
Allen was a selfless, humble, and tireless teacher who was always looking for opportunities to share his vast knowledge with those who wanted to learn. A complete listing of Allen's work within our sport would fill a book.
I'll remember him as a courteous, kind, and giving man who was a friend to every person he ever met.
Godspeed, Allen.
Geometry Class 101
In my last column, I discussed some "spring training" techniques that I hope helped you chip the rust off your winter-corroded reflexes and improve your piloting skills and timing.
Knowing how to fly more proficiently goes together with knowing what to fly. Our CL Precision Aerobatics pattern is made up of 15 separate maneuvers. Most of these are aerobatic maneuvers that are made up of round, square, and triangle-based shapes. The takeoff and landing maneuvers rarely (thankfully!) display any of these features.
The objective is to scribe a path in the sky with my model that appears to the judges to be the exact shape that is depicted in the AMA rule book for each maneuver. Sounds simple, eh? Well, it is and it isn't.
The first question you need to answer in order to achieve this goal is, "What do circles, squares, and triangles look like?" Be honest. When was the last time that you studied a circle, square, or triangle? If you are relying on your memory from high school geometry class, perhaps it's time for a refresher course.
Find a way to draw a large circle roughly 3 feet in diameter, a similar-size large square and large triangle onto separate sheets of paper. Position these shapes on a wall one at a time, move back several paces, and then stare at each of them for several minutes.
Focus hard on the shape in question and try to memorize it, then close your eyes and think of it. Quickly open your eyes and refocus on the shape. You might be surprised to find that you need to repeat the process many times to make your mind's eye agree with the actual shape in question.
Next, try tracing the shape of the maneuver with your hand as if you were holding a flying handle. Let's start with the circle shape and try tracing an inside loop. It's not important to simulate the required control input at this point. Simply try to follow the shape perfectly with your hand. When you have that perfected, try following the shape in the other direction as if to simulate an outside loop. It's not as easy as it sounds, is it?
Your body is not a perfectly symmetrical device, and there will be points at which you will feel muscles stretching and contracting as you attempt to scribe the maneuver shapes. You must be able to anticipate and train your body to continue scribing the exact shape desired with your arm as the muscles stretch and contract. I once read about a concert violinist who made a study of human anatomy in order to find the stance and proper arm geometry to allow him to hold the instrument and move the bow with the least amount of muscle interference. I'm not suggesting that you sign up for an anatomy course in order to learn to fly Stunt more proficiently; I'm simply suggesting that you become aware of some of the intangibles that may hinder your ability to consistently scribe the desired shapes with your airplane.
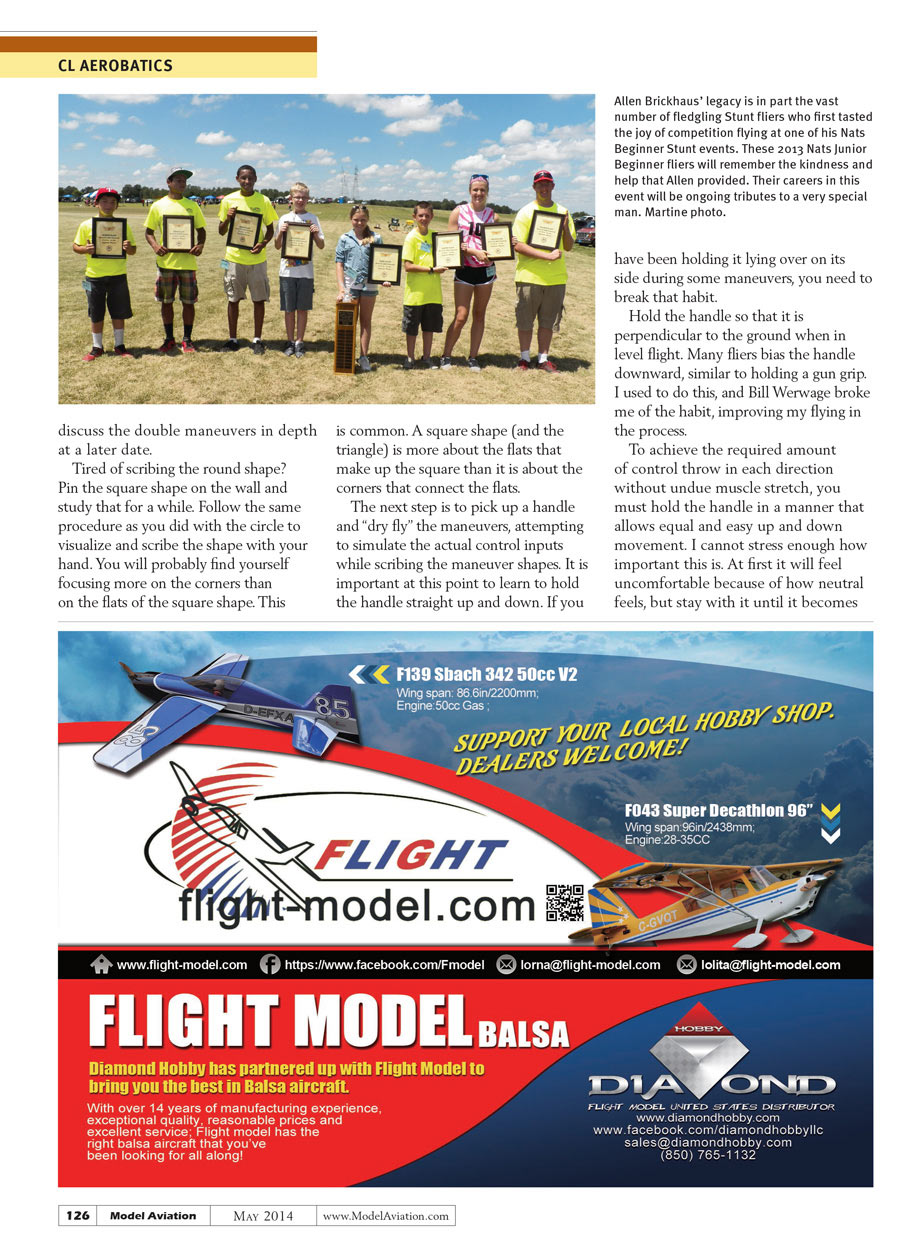
This is compounded when you start to do the double maneuvers such as figure eights or the hourglass, which require much more arm stretch. I'll discuss the double maneuvers in depth at a later date.
Tired of scribing the round shape? Pin the square shape on the wall and study that for a while. Follow the same procedure as you did with the circle to visualize and scribe the shape with your hand. You will probably find yourself focusing more on the corners than on the flats of the square shape. This is common. A square shape (and the triangle) is more about the flats that make up the square than it is about the corners that connect the flats.
The next step is to pick up a handle and "dry fly" the maneuvers, attempting to simulate the actual control inputs while scribing the maneuver shapes. It is important at this point to learn to hold the handle straight up and down. If you have been holding it lying over on its side during some maneuvers, you need to break that habit.
Hold the handle so that it is perpendicular to the ground when in level flight. Many fliers bias the handle downward, similar to holding a gun grip. I used to do this, and Bill Werwage broke me of the habit, improving my flying in the process.
To achieve the required amount of control throw in each direction without undue muscle stretch, you must hold the handle in a manner that allows equal and easy up and down movement. I cannot stress enough how important this is. At first it will feel uncomfortable because of how neutral feels, but stay with it until it becomes natural and your flying will improve.
Let's start this first dry-fly exercise with round loops. Try to simulate and induce the required control to make the model climb into the shape of the loop, while at the same time scribing the proper shape with your arm and hand. Raise your arm high enough to allow you to simulate sighting out your arm and down the lines. Many fliers hold their hands too low to allow this sighting action, and consequently have to fly the maneuver with only their eyes.
Having a sighting device or using a natural sighting action allows you to scribe more precise shapes. Shooting a gun from the hip is not as accurate as sighting down the barrel, and the same holds true for flying accurately shaped CL Stunt maneuvers. If you ever have the chance to watch Paul Walker or Bill Werwage fly, you will see great examples of this sighting action.
Remember, when simulating the control inputs, back off slightly when the model is on the descending arc of the loop. That's one more thing to add to the equation while still scribing a perfectly round maneuver with your hand in the handle. When satisfied with the inside round shapes, practice the outside rounds.
I've again run out of room too soon, so practice dry-flying in your shop and strive to scribe perfectly round maneuvers. In my next column, I'll discuss dry-flying squares and double maneuvers and maybe get to the field and fly for real!
Sources
- Precision Aerobatics Model Pilots Association (PAMPA)
- www.control-line.org
Transcribed from original scans by AI. Minor OCR errors may remain.

