
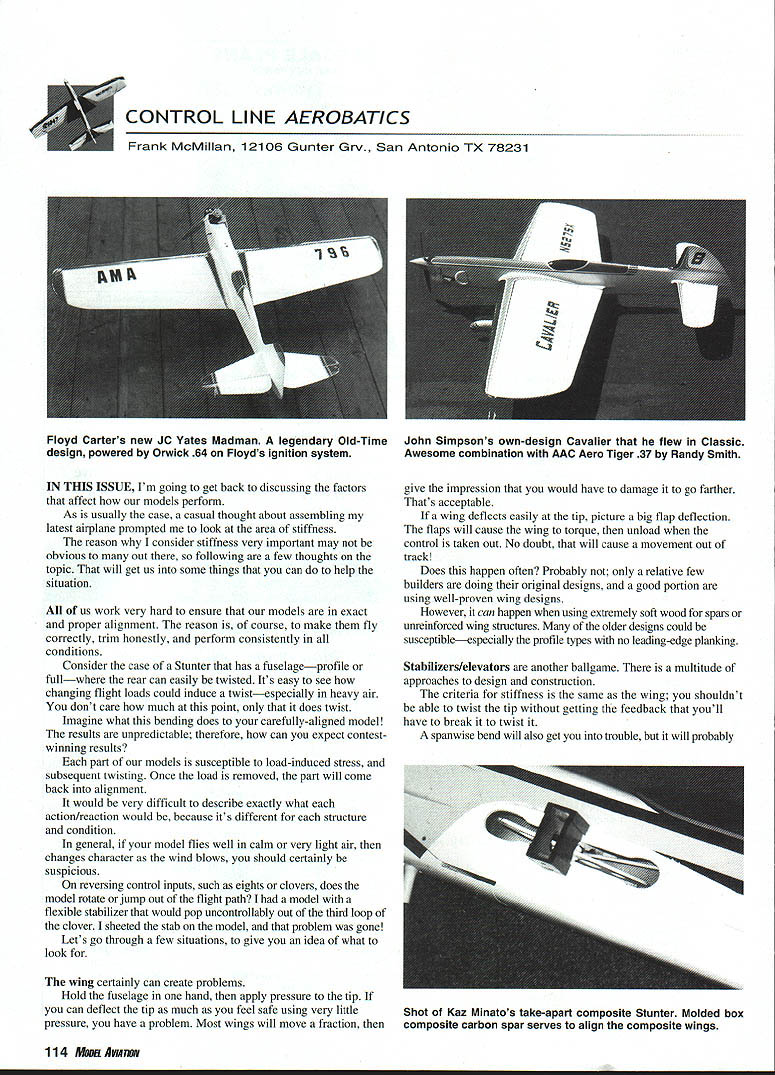
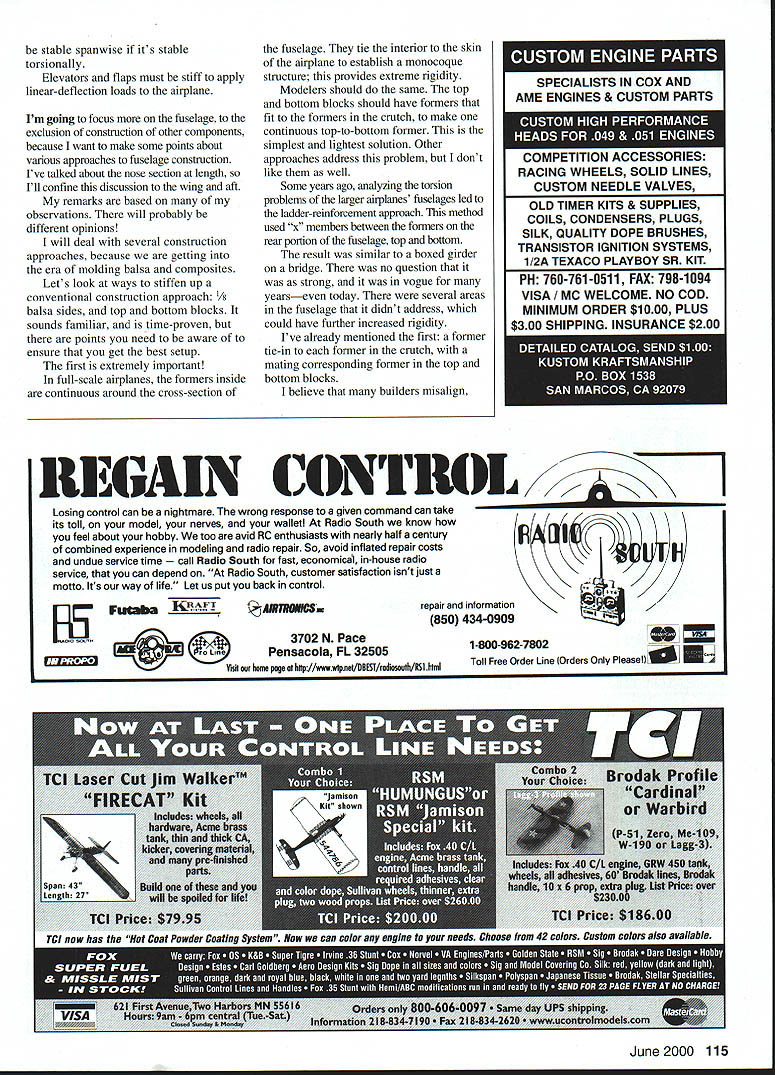
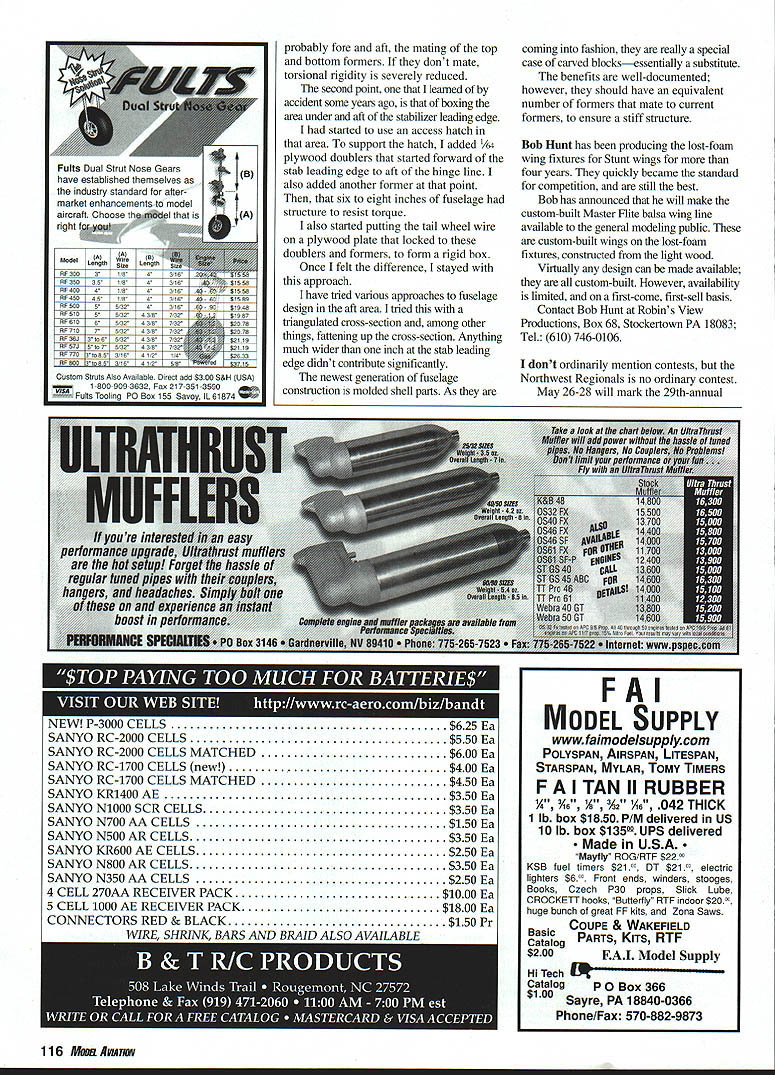
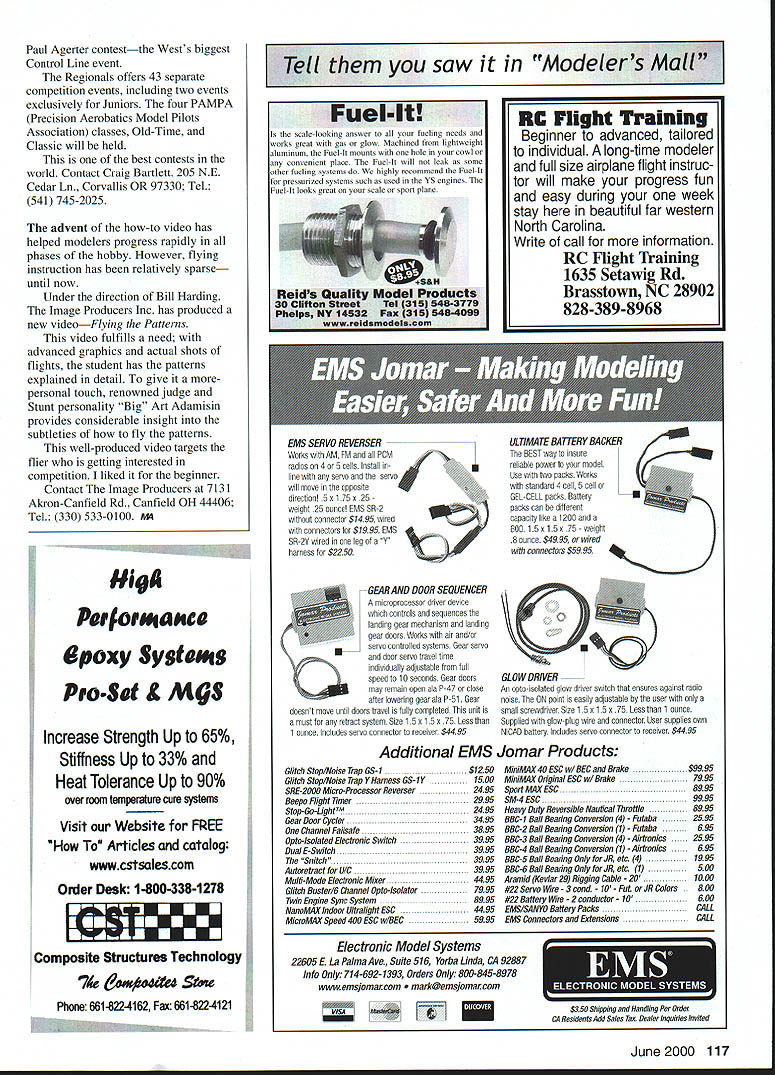
CL Aerobatics
Frank McMillan, 12106 Gunter Grv., San Antonio TX 78231
IN THIS ISSUE, I'm going to get back to discussing the factors that affect how our models perform.
As is usually the case, a casual thought about assembling my latest airplane prompted me to look at the area of stiffness.
The reason why I consider stiffness very important may not be obvious to many out there, so following are a few thoughts on the topic. That will get us into some things that you can do to help the situation.
All of us work very hard to ensure that our models are in exact and proper alignment. The reason is, of course, to make them fly correctly, trim honestly, and perform consistently in all conditions.
Consider the case of a Stunter that has a fuselage—profile or full—where the rear can easily be twisted. It's easy to see how changing flight loads could induce a twist—especially in heavy air. You don't care how much at this point, only that it does twist.
Imagine what this bending does to your carefully aligned model! The results are unpredictable; therefore, how can you expect contest-winning results?
Each part of our models is susceptible to load-induced stress and subsequent twisting. Once the load is removed, the part will come back into alignment.
It would be very difficult to describe exactly what each action/reaction would be, because it's different for each structure and condition.
In general, if your model flies well in calm or very light air, then changes character as the wind blows, you should certainly be suspicious.
On reversing control inputs, such as eights or clovers, does the model rotate or jump out of the flight path? I had a model with a flexible stabilizer that would pop uncontrollably out of the third loop of the clover. I sheeted the stab on the model, and that problem was gone!
What to look for — wings
- The wing can create problems if it's not stiff enough.
- Hold the fuselage in one hand, then apply pressure to the tip. If you can deflect the tip easily with very little pressure, you have a problem. Most wings will move a fraction, then give the impression that you would have to damage it to go farther. That's acceptable.
- If a wing deflects easily at the tip, picture a big flap deflection. The flaps will cause the wing to torque, then unload when the control is taken out. No doubt that will cause a movement out of track.
- Does this happen often? Probably not; only a relative few builders are doing their original designs, and a good portion are using well-proven wing designs.
- However, it can happen when using extremely soft wood for spars or unreinforced wing structures. Many of the older designs could be susceptible—especially the profile types with no leading-edge planking.
Stabilizers and elevators
- Stabilizers/elevators are another ballgame; there is a multitude of approaches to design and construction.
- The criteria for stiffness is the same as the wing: you shouldn't be able to twist the tip without getting the feedback that you'll have to break it to twist it.
- A spanwise bend will also get you into trouble, but it will probably give the impression that you would have to damage it to go farther. That's acceptable.
- Elevators and flaps must be stiff to apply linear-deflection loads to the airplane.
Fuselage stiffness — approaches and observations
I'm going to focus more on the fuselage, to the exclusion of construction of other components, because I want to make some points about various approaches to fuselage construction. I've talked about the nose section at length, so I'll confine this discussion to the wing and aft.
My remarks are based on many of my observations. There will probably be different opinions!
I will deal with several construction approaches, because we are getting into the era of molded balsa and composites. Let's look at ways to stiffen up a conventional construction approach: 1/8 balsa sides and top and bottom blocks. It sounds familiar and is time-proven, but there are points you need to be aware of to ensure that you get the best setup.
The first is extremely important.
- In full-scale airplanes, the formers inside are continuous around the cross-section of the fuselage. They tie the interior to the skin of the airplane to establish a monocoque structure; this provides extreme rigidity. Modelers should do the same.
- The top and bottom blocks should have formers that fit to the formers in the crutch, to make one continuous top-to-bottom former. This is the simplest and lightest solution. Other approaches address this problem, but I don't like them as well.
Some years ago, analyzing the torsion problems of the larger airplanes' fuselages led to the ladder-reinforcement approach. This method used "X" members between the formers on the rear portion of the fuselage, top and bottom.
- The result was similar to a boxed girder on a bridge. There was no question that it was strong, and it was in vogue for many years—even today.
- There were several areas in the fuselage that it didn't address, which could have further increased rigidity. I've already mentioned the first: a former tie-in to each former in the crutch, with a mating corresponding former in the top and bottom blocks.
- I believe that many builders misalign, probably fore and aft, the mating of the top and bottom formers. If they don't mate, torsional rigidity is severely reduced.
The second point, one that I learned of by accident some years ago, is that of boxing the area under and aft of the stabilizer leading edge.
- I had started to use an access hatch in that area. To support the hatch, I added 1/64" plywood doublers that started forward of the stab leading edge to aft of the hinge line. I also added another former at that point.
- Then, that six to eight inches of fuselage had structure to resist torque.
- I also started putting the tail wheel wire on a plywood plate that locked to these doublers and formers, to form a rigid box.
- Once I felt the difference, I stayed with this approach.
I have tried various approaches to fuselage design in the aft area. I tried this with a triangulated cross-section and, among other things, fattening up the cross-section. Anything which had one inch at the stab leading edge didn't contribute significantly.
The newest generation of fuselage construction is molded shell parts. As they are coming into fashion, they are really a special case of carved blocks—essentially a substitute. The benefits are well-documented; however, they should have an equivalent number of formers that mate to current formers, to ensure a stiff structure.
Resources and notes
- Bob Hunt has been producing the lost-foam wing fixtures for stunt wings for more than four years. They quickly became the standard for competition, and are still the best.
- Bob has announced that he will make the custom-built Master Flite balsa wing line available to the general modeling public. These are custom-built wings on the lost-foam fixtures, constructed from light wood.
- Virtually any design can be made available; they are almost custom-built. However, availability is limited, and on a first-come, first-serve basis.
- Contact Bob Hunt at Robin's View Productions, Box 68, Stockertown PA 18083; Tel.: (610) 746-0106.
I don't ordinarily mention contests, but the Northwest Regionals is no ordinary contest. May 26-28 will mark the 29th-annual Paul Agerter contest—the West's biggest Control Line event.
- The Regionals offers 43 separate competition events, including two events exclusively for Juniors. The four PAMPA (Precision Aerobatics Model Pilots Association) classes, Old-Time, and Classic will be held.
- This is one of the best contests in the world.
- Contact Craig Bartlett, 205 N.E. Cedar Ln., Corvallis OR 97330; Tel.: (541) 745-2025.
The advent of the how-to video has helped modelers progress rapidly in all phases of the hobby. However, flying instruction has been relatively sparse—until now.
- Under the direction of Bill Harding, The Image Producers Inc. has produced a new video—Flying the Patterns.
- This video fulfills a need; with advanced graphics and actual shots of flights, the student has the patterns explained in detail.
- To give it a more personal touch, renowned judge and Stunt personality "Big" Art Adamisin provides considerable insight into the subtleties of how to fly the patterns.
- This well-produced video targets the flier who is getting interested in competition. I liked it for the beginner.
- Contact The Image Producers at 7131 Akron-Canfield Rd., Canfield OH 44406; Tel.: (330) 533-0100.
MA
Transcribed from original scans by AI. Minor OCR errors may remain.

