
CL Speed
Scott Newkirk, 4840 N. Glendale, Bel Aire KS 67220
THERE HAS BEEN a great deal of talk lately of changing the fuel on 1/2A's to the standard 10% fuel that all the other events are currently running.
This is a good idea for the following reasons: engine life will be much longer; plug life will be increased; and the models will be slowed somewhat, but it will affect everybody equally.
All currently competitive Schnuerle-ported engines available run well on the lower-nitro fuel. If you disagree, get your two bits in with the North American Speed Society (NASS) immediately and let your vote be counted.
Are you a NASS member?
This is the place to be if you are a Speed flier or want to be a Speed flier. It is the officially recognized Special Interest Group for Speed flying. The newsletter is Speed Times. It comes out quarterly, and it contains a lot of good information you should have.
The newsletter tracks regional records, and has a Speed plans service, a listing of sources for specialty parts, and an annual membership listing.
As Speed Times editor Chris Sackett would say, "Be there or be square."
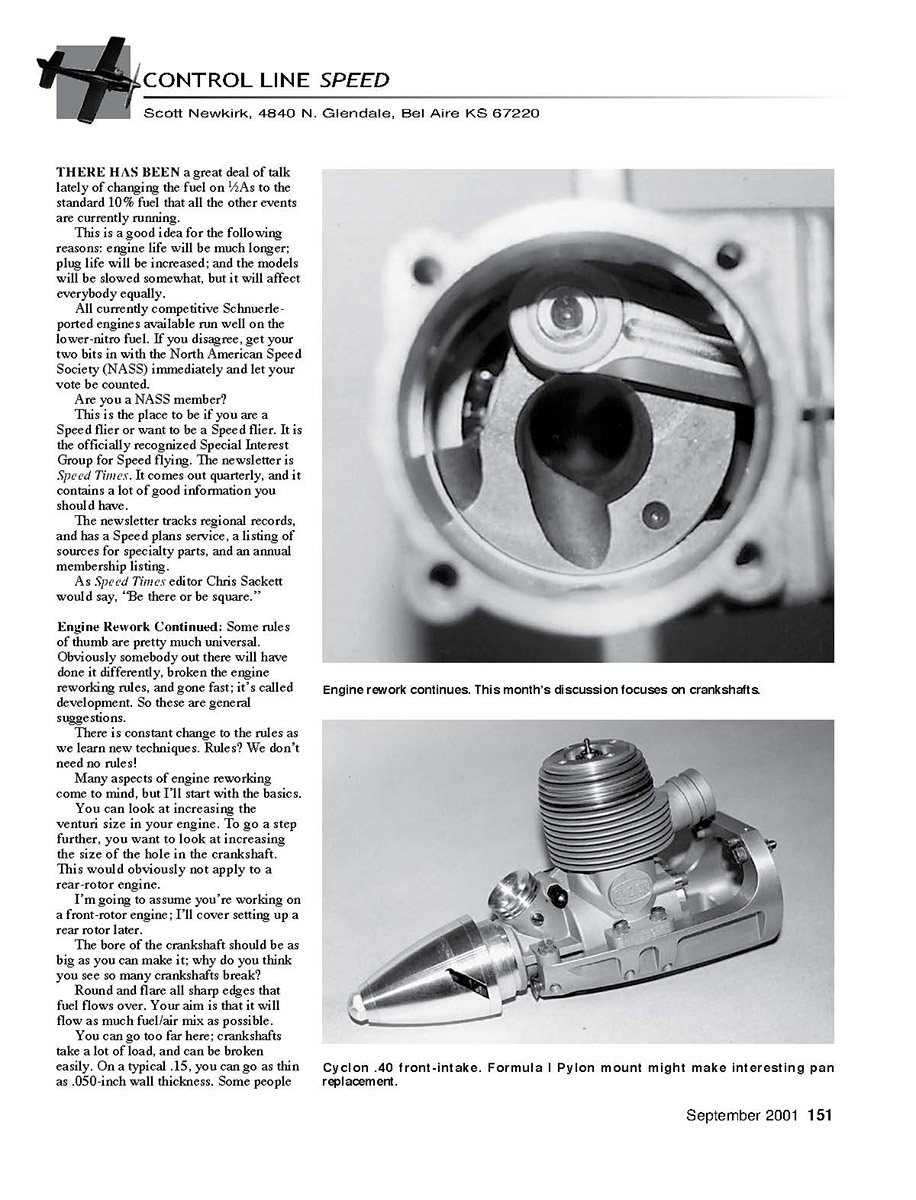
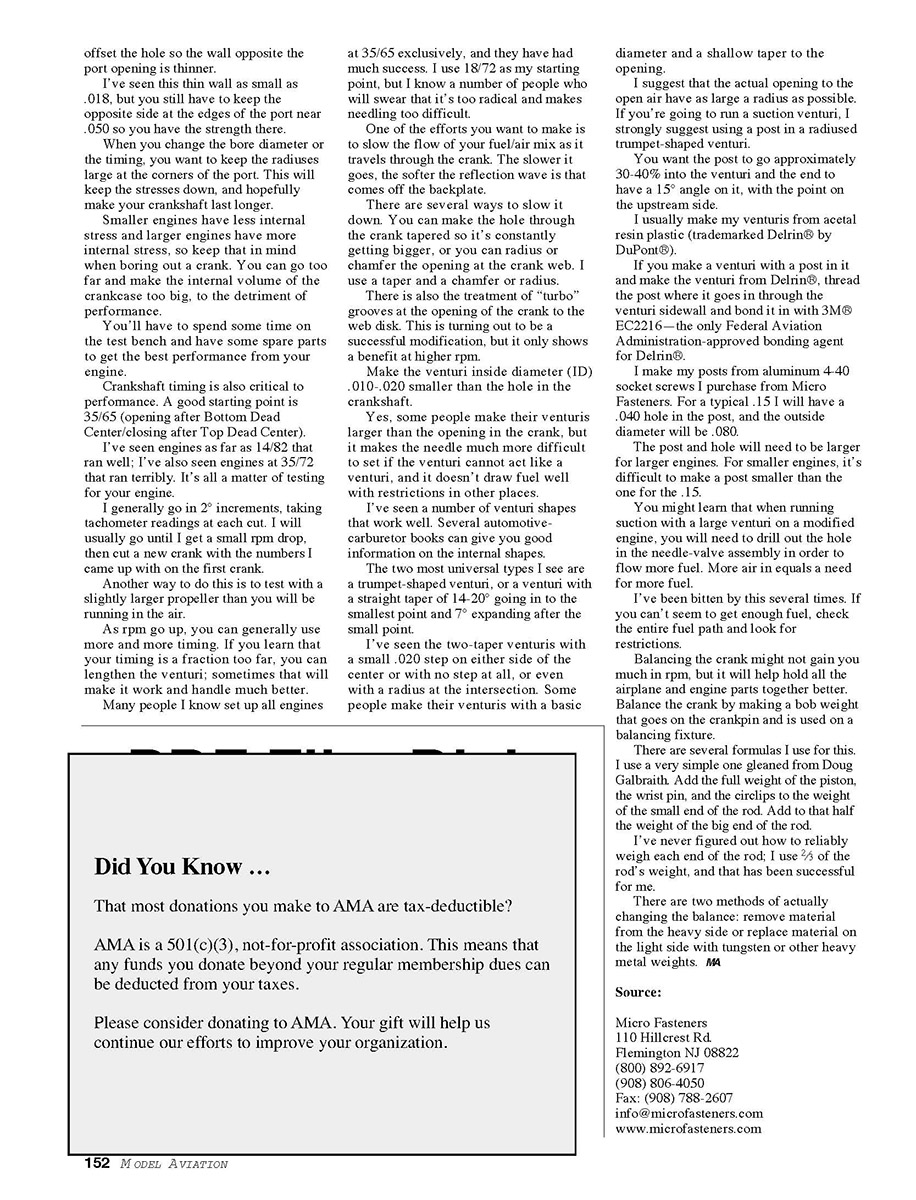
Engine Rework Continued
Some rules of thumb are pretty much universal. Obviously somebody out there will have done it differently, broken the engine reworking rules, and gone fast; it's called development. So these are general suggestions.
There is constant change to the rules as we learn new techniques. Rules? We don't need no rules!
Many aspects of engine reworking come to mind, but I'll start with the basics.
You can look at increasing the venturi size in your engine. To go a step further, you want to look at increasing the size of the hole in the crankshaft. This would obviously not apply to a rear-rotor engine.
I'm going to assume you're working on a front-rotor engine; I'll cover setting up a rear rotor later.
The bore of the crankshaft should be as big as you can make it; why do you think you see so many crankshafts break?
Round and flare all sharp edges that fuel flows over. Your aim is that it will flow as much fuel/air mix as possible.
You can go too far here; crankshafts take a lot of load, and can be broken easily. On a typical .15, you can go as thin as .050-inch wall thickness. Some people offset the hole so the wall opposite the port opening is thinner.
I've seen this thin wall as small as .018, but you still have to keep the opposite side at the edges of the port near .050 so you have the strength there.
When you change the bore diameter or the timing, you want to keep the radiuses large at the corners of the port. This will keep the stresses down, and hopefully make your crankshaft last longer.
Smaller engines have less internal stress and larger engines have more internal stress, so keep that in mind when boring out a crank. You can go too far and make the internal volume of the crankcase too big, to the detriment of performance.
You'll have to spend some time on the test bench and have some spare parts to get the best performance from your engine.
Crankshaft timing is also critical to performance. A good starting point is 35/65 (opening after Bottom Dead Center/closing after Top Dead Center).
I've seen engines as far as 14/82 that ran well; I've also seen engines at 35/72 that ran terribly. It's all a matter of testing for your engine.
I generally go in 2° increments, taking tachometer readings at each cut. I will usually go until I get a small rpm drop, then cut a new crank with the numbers I came up with on the first crank.
Another way to do this is to test with a slightly larger propeller than you will be running in the air.
As rpm go up, you can generally use more and more timing. If you learn that your timing is a fraction too far, you can lengthen the venturi; sometimes that will make it work and handle much better.
Many people I know set up all engines at 35/65 exclusively, and they have had much success. I use 18/72 as my starting point, but I know a number of people who will swear that it's too radical and makes needling too difficult.
One of the efforts you want to make is to slow the flow of your fuel/air mix as it travels through the crank. The slower it goes, the softer the reflection wave is that comes off the backplate.
There are several ways to slow it down:
- Make the hole through the crank tapered so it's constantly getting bigger.
- Radius or chamfer the opening at the crank web.
I use a taper and a chamfer or radius.
There is also the treatment of "turbo" grooves at the opening of the crank to the web disk. This is turning out to be a successful modification, but it only shows a benefit at higher rpm.
Make the venturi inside diameter (ID) .010-.020 smaller than the hole in the crankshaft.
Yes, some people make their venturis larger than the opening in the crank, but it makes the needle much more difficult to set if the venturi cannot act like a venturi, and it doesn't draw fuel well with restrictions in other places.
I've seen a number of venturi shapes that work well. Several automotive-carburetor books can give you good information on the internal shapes.
The two most universal types I see are:
- A trumpet-shaped venturi.
- A venturi with a straight taper of 14-20° going in to the smallest point and 7° expanding after the small point.
I've seen the two-taper venturis with a small .020 step on either side of the center or with no step at all, or even with a radius at the intersection. Some people make their venturis with a basic diameter and a shallow taper to the opening.
I suggest that the actual opening to the open air have as large a radius as possible. If you're going to run a suction venturi, I strongly suggest using a post in a radiused trumpet-shaped venturi.
You want the post to go approximately 30-40% into the venturi and the end to have a 15° angle on it, with the point on the upstream side.
I usually make my venturis from acetyl resin plastic (trademarked Delrin® by DuPont®).
If you make a venturi with a post in it and make the venturi from Delrin®, thread the post where it goes in through the venturi sidewall and bond it in with 3M® EC2216—the only Federal Aviation Administration-approved bonding agent for Delrin®.
I make my posts from aluminum 4-40 socket screws I purchase from Micro Fasteners. For a typical .15 I will have a .040 hole in the post, and the outside diameter will be .080.
The post and hole will need to be larger for larger engines. For smaller engines, it's difficult to make a post smaller than the one for the .15.
You might learn that when running suction with a large venturi on a modified engine, you will need to drill out the hole in the needle-valve assembly in order to flow more fuel. More air in equals a need for more fuel.
I've been bitten by this several times. If you can't seem to get enough fuel, check the entire fuel path and look for restrictions.
Balancing the crank might not gain you much in rpm, but it will help hold all the airplane and engine parts together better. Balance the crank by making a bob weight that goes on the crankpin and is used on a balancing fixture.
There are several formulas I use for this. I use a very simple one gleaned from Doug Galbraith. Add the full weight of the piston, the wrist pin, and the circlips to the weight of the small end of the rod. Add to that half the weight of the big end of the rod.
I've never figured out how to reliably weigh each end of the rod; I use 2/3 of the rod's weight, and that has been successful for me.
There are two methods of actually changing the balance:
- Remove material from the heavy side.
- Replace material on the light side with tungsten or other heavy metal weights.
MA
Transcribed from original scans by AI. Minor OCR errors may remain.

