

CONTROL LINE AEROBATICS
Curt Contrata, 6783 Nightwind Cir., Orlando FL 32818; E-mail: [email protected]
Visibility and Purpose
The difficulty in writing a column about paint schemes is that everyone has preferences and opinions on what "looks good," but this column is about what presents well in the air. There is a difference.
When deciding on a paint scheme, take into consideration the nature of our event and what we are trying to accomplish. Our models fly a series of maneuvers at more than 60 mph and have their paths judged for geometric precision by people who are standing 150 feet away. The backdrop for our performances could be trees, soybean fields, or even a parking lot. For maximum visibility, your model's paint scheme should not look like anything on the horizon.
Any colors can be used, provided you choose a combination that has enough contrast to be visible from a distance. Paul Walker's Impacts with their fluorescent colors and checkerboard trim always showed up well against trees or sky, but you do not have to get that wild. Stan Powell has a white Dove with sky-blue trim that presents surprisingly well.
Using Trim to Shape Perception
A paint scheme should not only make your model more visible to the judges, but it should help the model's appearance in the air. A scheme that makes flat sides look flatter and rounds appear rounder is what one should strive for. Keep in mind that the same style scheme I am describing can do the opposite: it can reveal bad bottoms and crooked sides. It can accentuate flat spots in rounds and make round intersections look eight feet long. It can exaggerate your mistakes, but your good stuff can really look great.
A scheme that presents well will accentuate the path of flight against the background. Trim on the fuselage should help the model look as though it is flying level, and not tail up or down. Avoid lines on the fuselage that are unparallel with the thrustline, and make sure that you measure the long, straight lines twice.
Les McDonald's Stiletto 660 article in the July 1977 Model Aviation suggested that horizontal lines on the fuselage should follow the thrustline to "enhance the square stuff." Les ended his horizontal trim lines at the stabilizer, thinking that if the trim was more centered on the pivot point, it would give the illusion of a tighter corner. His models and their paint schemes had hard horizontal references, which really helped him achieve a "flying on rails" look.
Your scheme should attempt to "stretch and shape" the model in the right directions and complement its design. Painting wingtips in a contrasting color will often give the model a "clipped wing" look in the air, and spanwise trim will give the model a larger, more powerful appearance. Just as painted tips can visually clip the wing in flight, the same can happen if you paint the tip of the vertical stabilizer.
Gene Martine had a bright model that was the first of his John Deere series of SV-22s. He had painted the wheel pants and the top of the vertical stabilizer dark green. Although the model was bright overall, it blended into the horizon and looked small. Gene repainted the top of the vertical stabilizer yellow and reversed the trim on the SV-22's wheel pants. These simple changes resulted in a model that presented much better against the typical horizon and had a much more commanding appearance.
Keep in mind that I am referring to fantasy designs—not semiscale schemes for which your trim choices may be more limited. Bill Werwage has been successful in combining the two by subtly working classic Stunter trim-scheme concepts into scale-looking models.
Although a two-color scheme can be effective, a third color will often add depth to an otherwise simple scheme. The extra detail can help make the model easier to see, and it will certainly be more interesting to look at. After all, shouldn't it be your goal to have a model that the judges want to keep their eyes on?
Camera vs. Human Eye
You should not be fooled by a video camera when choosing your scheme. A model that reads well on your television screen may have been difficult to see with the naked eye, and the reverse is also true. A camera cannot see as much detail, nor can it deal with contrast ratios as well as the human eye can.
To a human, black-and-white checkerboards look nothing like the plants growing on the horizon. A video camera prefers larger objects with less detail, resulting in a larger number of pixels on the screen that are the same color. More colors and small detail can work the same as camouflage to a video camera, becoming just a blur on the screen.
Templates and Masking
Whatever scheme you end up with, it is best to use full-size templates to mark the model for the masking process. Using full-size templates instead of a ruler can dramatically reduce the time it takes to accurately lay out a model's trim.
- Cut several pairs of holes in the centers of open areas approximately 1/4-inch square on the full-size pattern.
- Place a piece of tape over one hole of each pair. Flip the pattern over and tape the remaining holes. That is how the pattern will stay in place as you mark the model.
- Cut a hole at every intersection of two colors, at every change of angle, and one every eight inches or so along long, straight trim. These holes will allow you to put marks on the model exactly where the masking will go.
With a light touch use a soft pencil to mark the model through the holes. Avoid putting too many marks on the model; it will only confuse you. Work one color at a time, in one section at a time. As you make a mark on the inboard side, flip the pattern over and do the same one on the opposite panel. (That is why half of the tape goes over the holes from the other side.)
On most wings you will have to align from the tip when working at the tip and from the fuselage at the center when flipping the pattern back and forth because of asymmetry. Try to use a reference line such as the trailing edge for aligning the pattern on the model.
If your scheme involves curves, you will have to cut away more of the pattern to expose the shape so you can trace it. Take your time when cutting out curves; you will often need the part you cut off. Sometimes it is easier to lay tape along the edge of the pieces you cut out, so don't throw them away.
This method works on almost every surface of the model, but sometimes you will have to be a bit creative.
Using Thread for Long Trim
For places such as stripes running the length of the fuselage, first mark their vertical locations with a template. Stretch a long piece of thread across the marks, and use a small piece of tape at the nose and tail to keep the stretched thread in place.
It is much easier to adjust the thread than masking tape, so keep moving it until it is right. Once perfect, you have the option to use the thread as a guide to make your pencil marks, or you may choose to simply lay tape along its edge.
Using thread in this fashion, you will be amazed by how easy it is to make fuselage trim symmetrical, especially for trim that goes from the spinner to the rudder. It is also useful when trim continues around to the underside of a surface and on compound curves.
Finishing Tips
To remove pencil marks, use a soft, white eraser and a light touch. Even the lightest marks can show through certain colors, so it is best to remove them all. Once you spray over them, they are there forever (especially under yellow).
You should also try to use natural lines as aids when laying out your scheme. It can be a real advantage to place the edges of trim along construction lines such as the edges of sheeting and top/bottom block seams. You will be more likely to have a symmetrical scheme and, for certain, one that is easier to mask. It can also help you avoid buffing through trim, and it is easier to knock down the edges of color trim, making a bump-free edge.
Using natural lines on the model as trimming aids will also be more prone to hide building flaws by distracting the viewer. The best way to hide a seam is to put a stripe at its edge. The best way to hide any flaw is to put something else there for people to focus on when they get up close. The real trick is making what you do look as if it was supposed to be there.
Reader Feedback
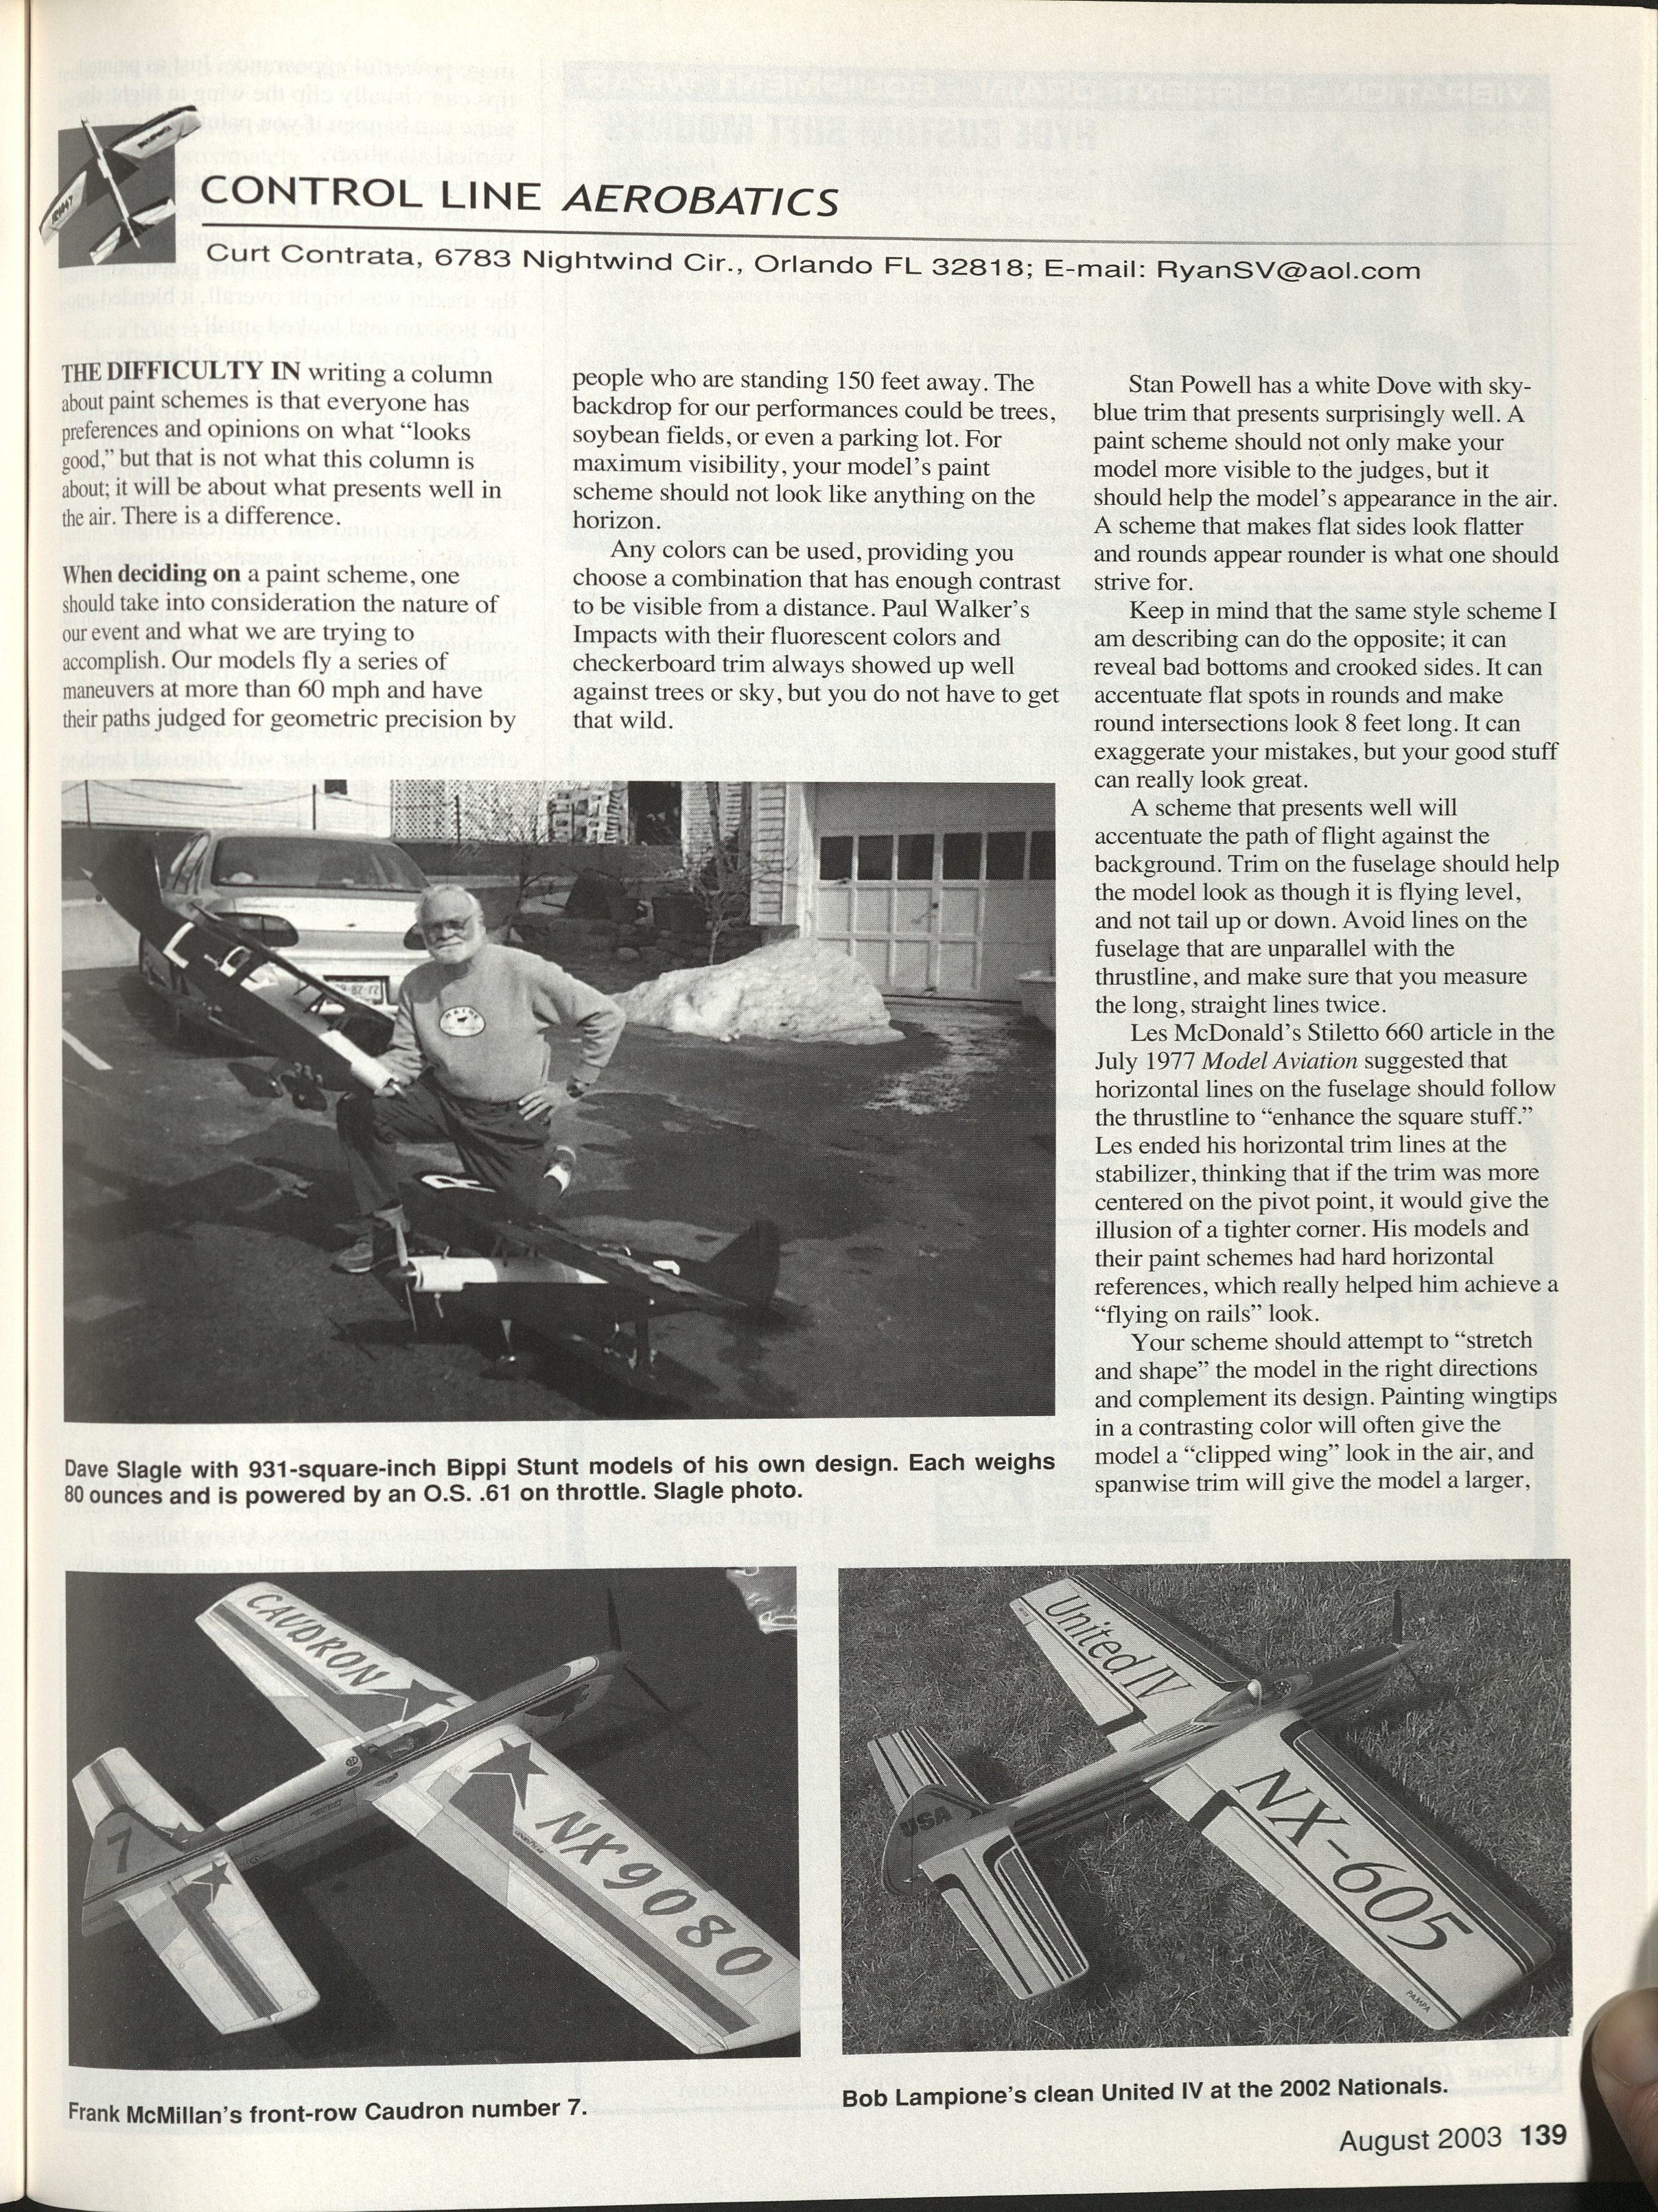
One thing I really enjoy as a result of writing this column are the letters, E-mail, and photographs from readers. Please keep them coming; they are always appreciated. This month I received a note from PAMPA (Precision Aerobatics Model Pilots Association) Hall of Fame member and three-time Walker Cup winner Dave Slagle. MA
Transcribed from original scans by AI. Minor OCR errors may remain.

