
Control Line Aerobatics — Bob Hunt [[email protected]]
Electric project report
I live in the Northeast and the weather has not been so good of late, so a flight report on the retrofitted Genesis Extreme will have to wait awhile. The concept of the rear bearing support I have written about in this column works extremely well in actual use, as evidenced by Crist Rigotti's work with his similar system, which flew most of the past year and has been flown repeatedly in competition with great success. I'll get back to finishing the Genesis Extreme project as soon as possible.
Each day I receive a number of phone calls and e-mail messages from modelers who ask one or more questions about building and/or flying. Of late, the questions are centered more on building subjects. That comes as no surprise, since we are at the start of building season (as I write this).
The questions run the gamut from, "How do you set up your shop to build a Stunt model?" to "How do you determine which glue to use for a certain building operation?" There are dozens of other questions that relate to virtually everything one might encounter in the model-building experience.
With that in mind, I'm going to craft a series here that will endeavor to answer the most often-asked questions. Let's start at the beginning, with the basic shop setup. As my buddy Dean Pappas says, "There really is only one hobby: spending money!"
This is especially true when it comes to preparing and equipping a proper building area. For many of us aeromodelers, setting up a shop is an excuse to go on a spending spree and surround ourselves with all sorts of tools and gadgets we may or may not ever use in building a model airplane. Equipping the shop is a sort of secondary hobby all unto itself!
As much as I'd like to get right to the subject of buying the latest and greatest power tool (I can hear Tim "The Tool Man" Taylor grunting right now), I'll restrain myself and give you what I feel is a logical progression of setup and spending.
The first thing on the list is a building area. Some will have nothing more than oversized closets available, and some will have entire basements in which to work. Either way, the first two considerations are:
- Lighting
- A flat bench
Lighting
As do surgeons, we aeromodelers need to be able to see what we are doing to achieve perfection. Your shop must be lit so that no work areas are in shade. When you think you have enough lighting, double it. I'm serious; you cannot have too much light in a building area. Lighting is a tool.
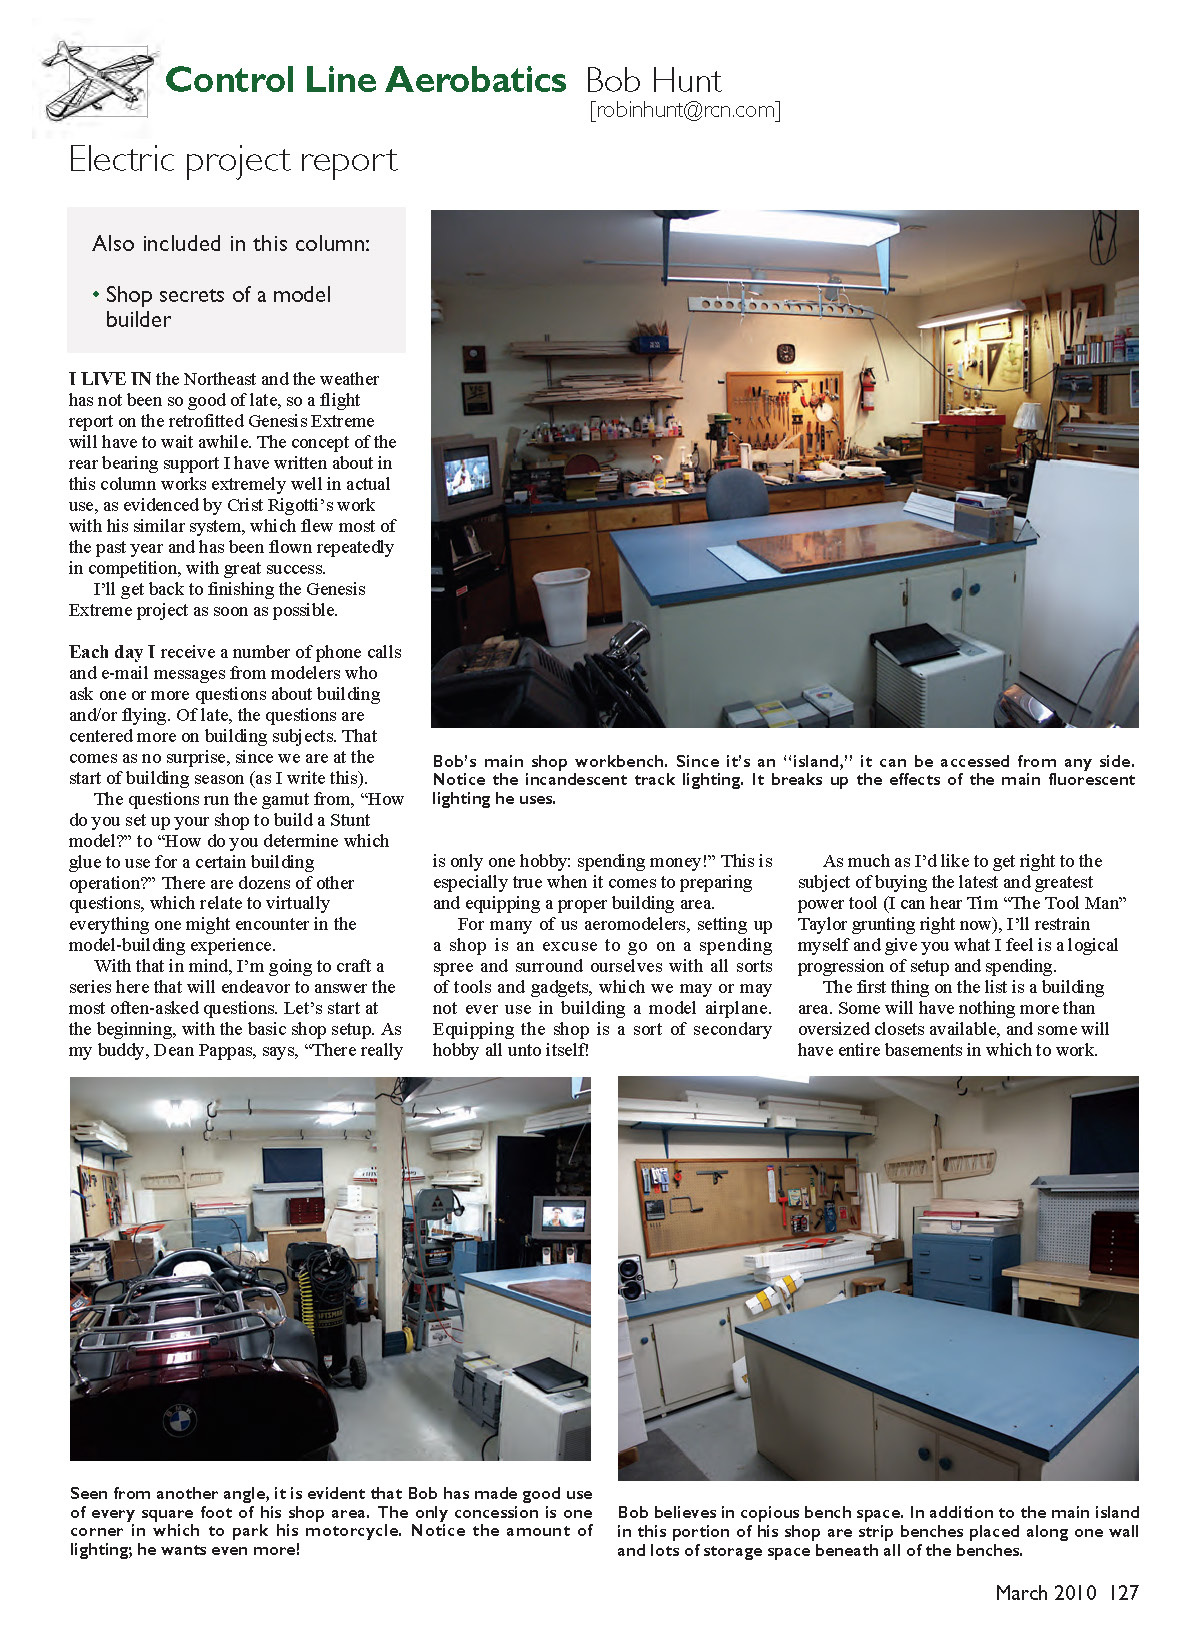
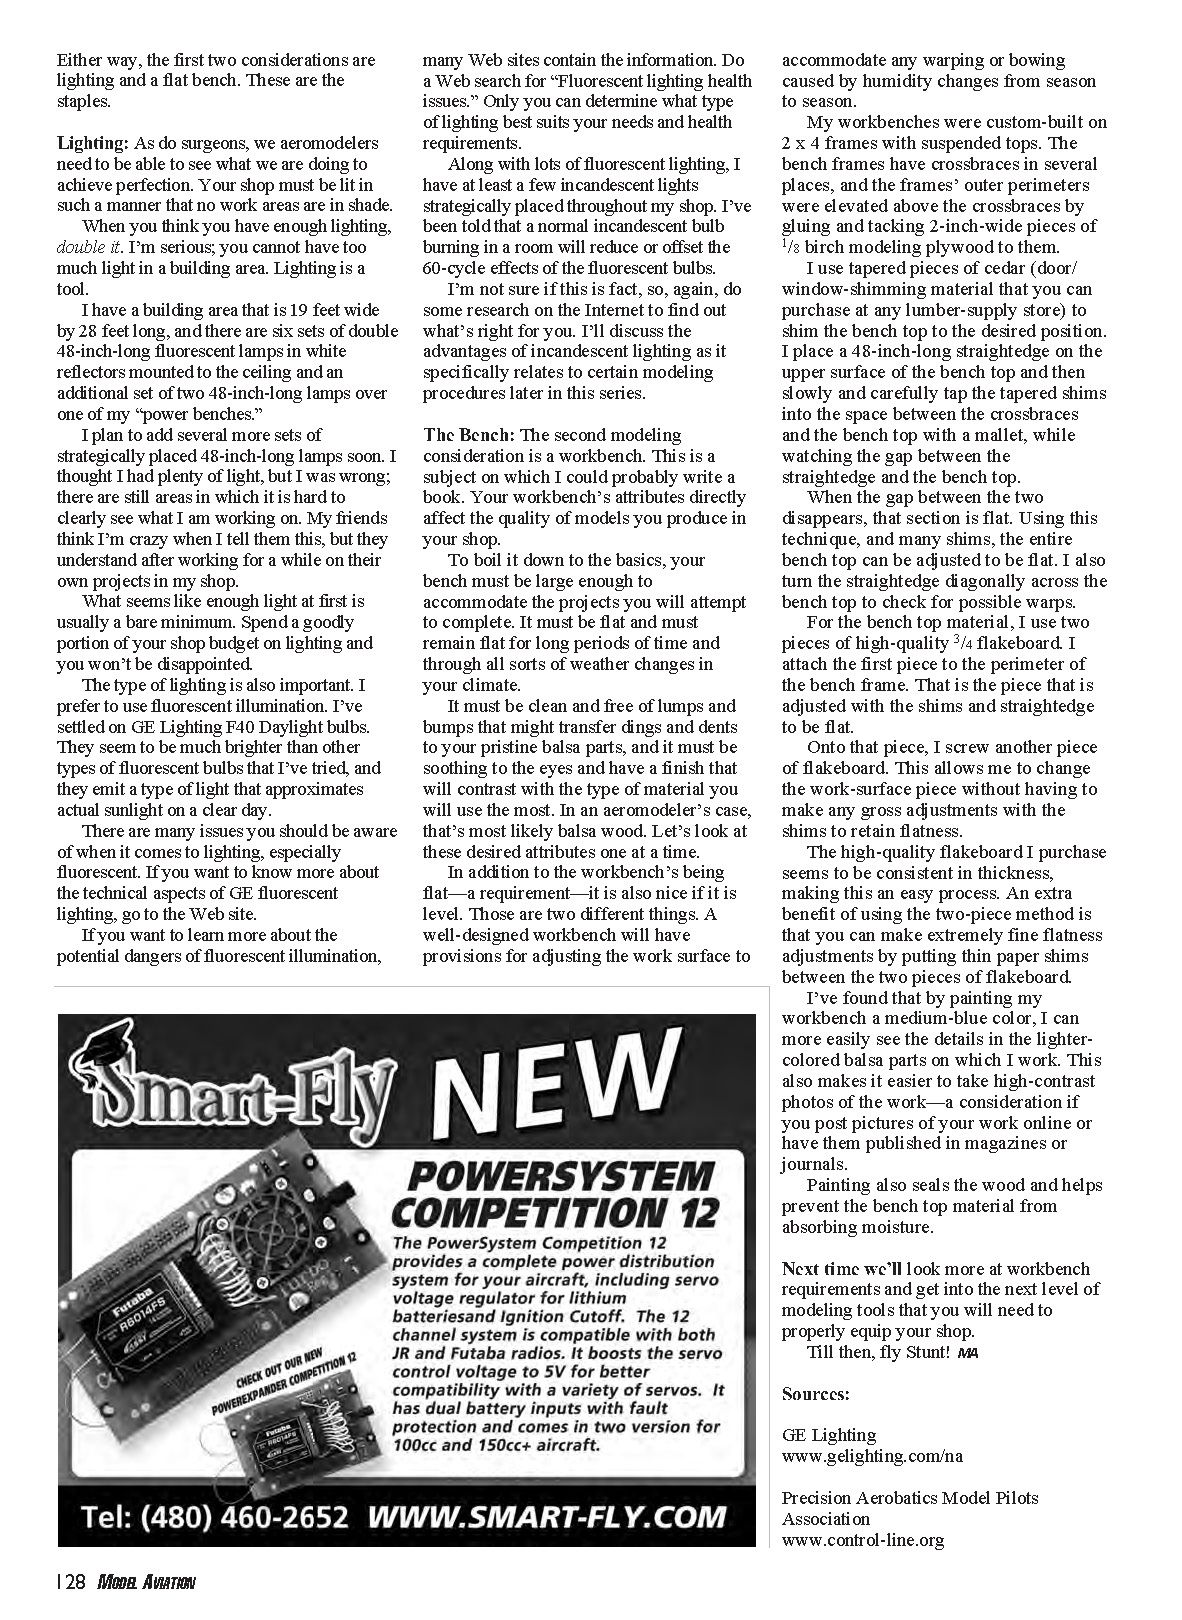
I have a building area that is 19 feet wide by 28 feet long, and there are six sets of double 48-inch fluorescent lamps in white reflectors mounted to the ceiling and an additional set of two 48-inch lamps over one of my "power benches." I plan to add several more sets of strategically placed 48-inch lamps soon. I thought I had plenty of light, but I was wrong; there are still areas where it is hard to clearly see what I am working on. My friends think I'm crazy when I tell them this, but they understand after working for a while on their own projects in my shop. What seems like enough light at first is usually a bare minimum.
The type of lighting is also important. I prefer fluorescent illumination. I've settled on GE Lighting F40 Daylight bulbs. They seem to be much brighter than other types of fluorescent bulbs that I've tried, and they emit a type of light that approximates actual sunlight on a clear day.
There are many issues to be aware of when it comes to lighting, especially fluorescent. If you want to know more about the technical aspects of GE fluorescent lighting, go to the Web site. If you want to learn more about the potential dangers of fluorescent illumination, many Web sites contain the information—do a Web search for "fluorescent lighting health issues." Only you can determine what type of lighting best suits your needs and health requirements.
Along with lots of fluorescent lighting, I have at least a few incandescent lights strategically placed throughout my shop. I've been told that a normal incandescent bulb burning in a room will reduce or offset the 60-cycle effects of the fluorescent bulbs. I'm not sure if this is fact, so again, do some research on the Internet to find out what's right for you. I'll discuss the advantages of incandescent lighting as it specifically relates to certain modeling procedures later in this series.
The Bench
The second modeling consideration is a workbench. This is a subject on which I could probably write a book. Your workbench's attributes directly affect the quality of the models you produce in your shop.
To boil it down to the basics, your bench must be large enough to accommodate the projects you will attempt to complete. It must be flat and must remain flat for long periods of time and through all sorts of weather changes in your climate. It must be clean and free of lumps and bumps that might transfer dings and dents to your pristine balsa parts, and it must be soothing to the eyes and have a finish that will contrast with the type of material you will use the most. In an aeromodeler's case, that's most likely balsa wood. Let's look at these desired attributes one at a time.
In addition to the workbench being flat—a requirement—it is also nice if it is level. Those are two different things. A well-designed workbench will have provisions for adjusting the work surface to accommodate any warping or bowing caused by humidity changes from season to season.
My workbenches were custom-built on 2x4 frames with suspended tops. The bench frames have crossbraces in several places, and the frames' outer perimeters were elevated above the crossbraces by gluing and tacking 2-inch-wide pieces of 1/8-inch birch modeling plywood to them.
I use tapered pieces of cedar (door/window-shimming material that you can purchase at any lumber-supply store) to shim the bench top to the desired position. I place a 48-inch straightedge on the upper surface of the bench top and then slowly and carefully tap the tapered shims into the space between the crossbraces and the bench top with a mallet, while watching the gap between the straightedge and the bench top. When the gap between the two disappears, that section is flat. Using this technique and many shims, the entire bench top can be adjusted to be flat. I also turn the straightedge diagonally across the bench top to check for possible warps.
For the bench top material, I use two pieces of high-quality 3/4-inch flakeboard. I attach the first piece to the perimeter of the bench frame. That is the piece adjusted with the shims and straightedge to be flat. Onto that piece I screw another piece of flakeboard. This allows me to change the work-surface piece without having to make any gross adjustments with the shims to retain flatness.
The high-quality flakeboard I purchase seems to be consistent in thickness, making this an easy process. An extra benefit of using the two-piece method is that you can make extremely fine flatness adjustments by putting thin paper shims between the two pieces of flakeboard.
I've found that by painting my workbench a medium-blue color I can more easily see the details in the lighter-colored balsa parts on which I work. This also makes it easier to take high-contrast photos of the work—a consideration if you post pictures of your work online or have them published in magazines or journals. Painting also seals the wood and helps prevent the bench top material from absorbing moisture.
Next time we'll look more at workbench requirements and get into the next level of modeling tools that you will need to properly equip your shop.
Till then, fly Stunt! — Bob Hunt
Sources
- GE Lighting: www.gelighting.com/na
- Precision Aerobatics Model Pilots Association: www.control-line.org
Transcribed from original scans by AI. Minor OCR errors may remain.

