

Control Line Aerobatics
Bob Hunt [[email protected]]
The most important tool in the workshop
No tool is more valuable to me in the shop than sandpaper. That's a strong statement, I know, and there are so many important and useful tools for modeling that it might even seem a bit arrogant. But it's true.
In the last column I promised to continue the shop-stocking thread I am on by covering sanding and filing tools. I could write a fairly good-sized book on the subject of sanding alone, but here I'll try to define the minimums needed and augment that list later.
If it's true that "God is in the details," then sandpaper is a divine material. Sanding technique is what separates the outstanding models from the okay-looking models. Having the appropriate sanding and filing tools and knowing how to use them is where the art of this hobby—at least as far as building is concerned—lies.
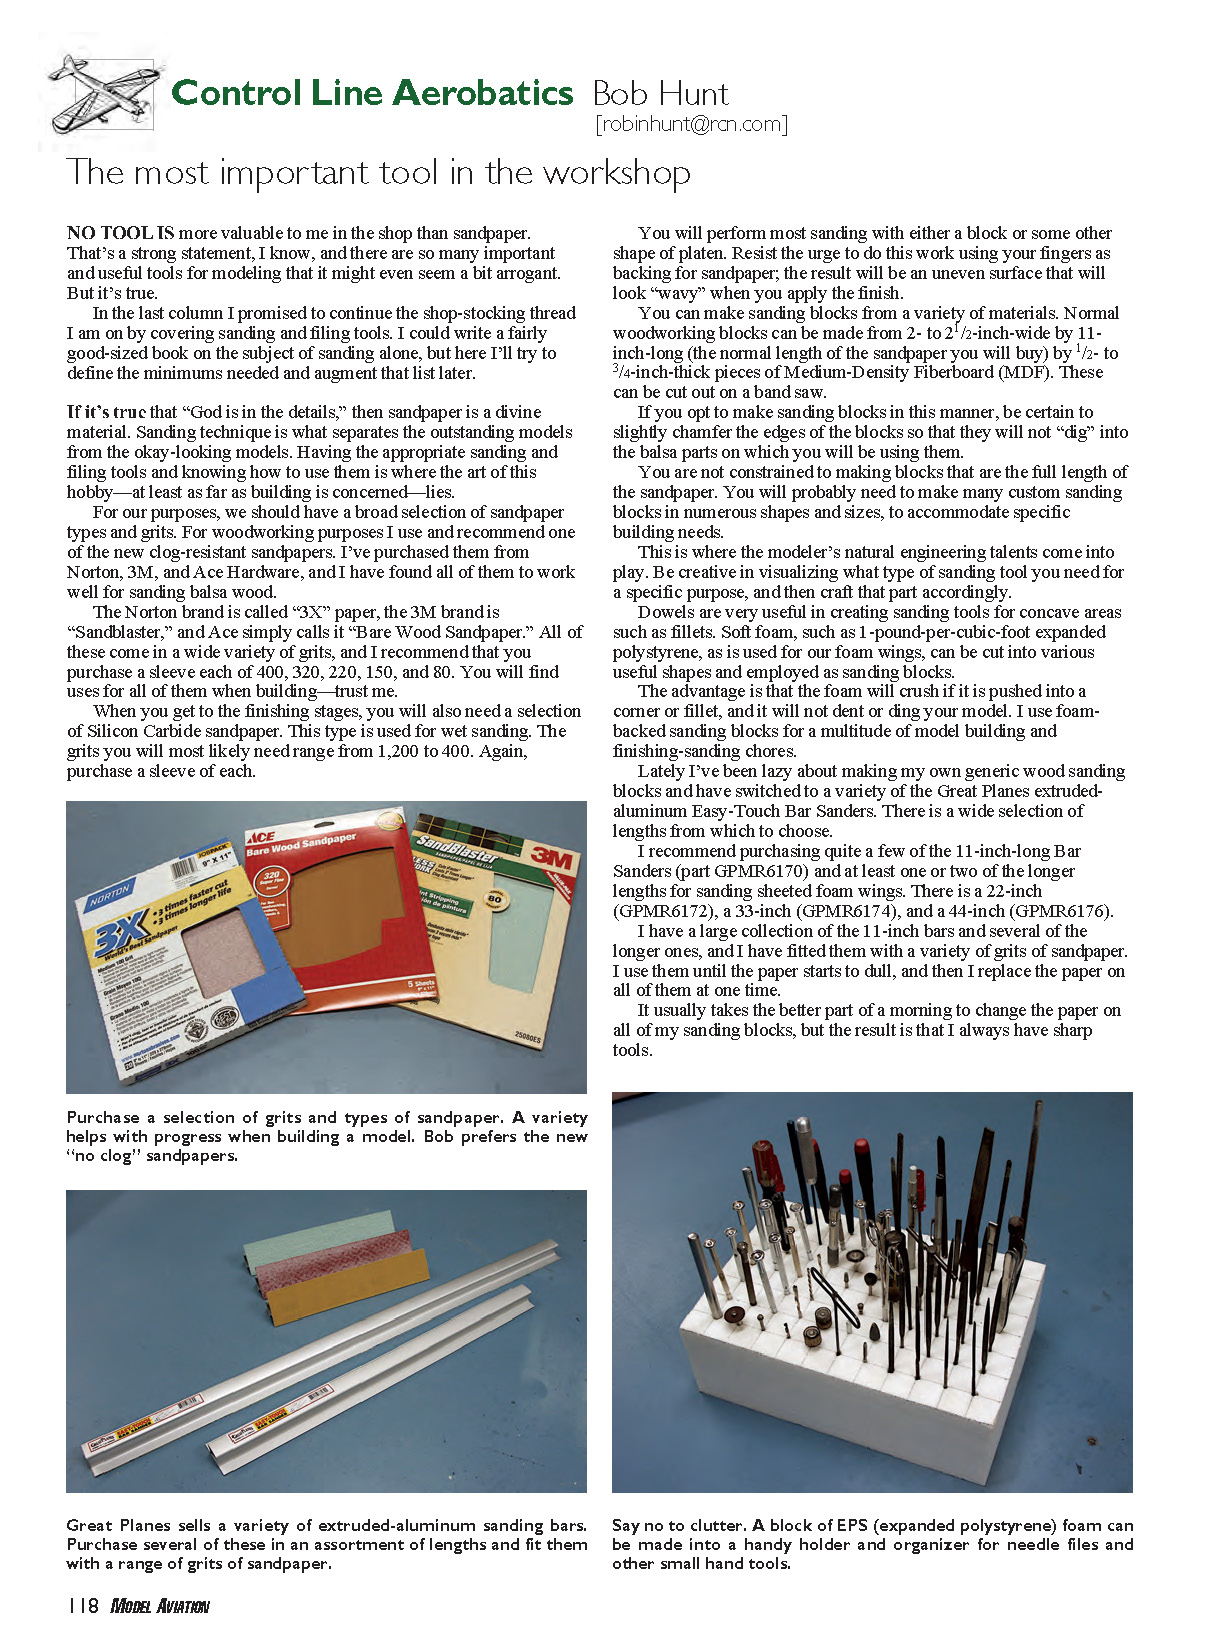
For our purposes, we should have a broad selection of sandpaper types and grits. For woodworking purposes I use and recommend one of the new clog-resistant sandpapers. I've purchased them from Norton, 3M, and Ace Hardware, and I have found all of them to work well for sanding balsa wood.
- Norton: "3X" paper
- 3M: "Sandblaster"
- Ace: "Bare Wood Sandpaper"
All of these come in a wide variety of grits. I recommend that you purchase a sleeve each of 400, 320, 220, 150, and 80 — you will find uses for all of them when building.
When you get to the finishing stages, you will also need a selection of silicon carbide sandpaper for wet sanding. The grits you will most likely need range from 400 to 1,200. Again, purchase a sleeve of each.
You will perform most sanding with either a block or some other shape of platen. Resist the urge to do this work using your fingers as backing for sandpaper; the result will be an uneven, "wavy" surface when you apply the finish.
You can make sanding blocks from a variety of materials. Normal woodworking blocks can be made from 2 to 2-1/2 inch wide by 11 inches long (the normal length of the sandpaper you will buy) by 1/2 to 3/4 inch thick pieces of Medium-Density Fiberboard (MDF). These can be cut out on a bandsaw.
If you opt to make sanding blocks in this manner, be certain to slightly chamfer the edges of the blocks so they will not "dig" into the balsa parts on which you will be using them.
You are not constrained to making blocks that are the full length of the sandpaper. You will probably need many custom sanding blocks in numerous shapes and sizes to accommodate specific building needs. This is where the modeler's natural engineering talents come into play: be creative in visualizing the type of sanding tool needed for a specific purpose, and then craft that part accordingly.
Dowels are very useful in creating sanding tools for concave areas such as fillets. Soft foam, such as 1-lb-per-cubic-foot expanded polystyrene (as used for foam wings), can be cut into various useful shapes and employed as sanding blocks. The advantage is that the foam will crush if pushed into a corner or fillet, and it will not dent or ding your model. I use foam-backed sanding blocks for a multitude of model-building and finishing-sanding chores.
Lately I've been lazy about making my own generic wood sanding blocks and have switched to a variety of the Great Planes extruded-aluminum Easy-Touch Bar Sanders. There is a wide selection of lengths from which to choose.
Recommended Great Planes bar sanders:
- 11-inch: GPMR6170 (buy several of these)
- 22-inch: GPMR6172
- 33-inch: GPMR6174
- 44-inch: GPMR6176
I have a large collection of the 11-inch bars and several of the longer ones, and I have fitted them with a variety of grits of sandpaper. I use them until the paper starts to dull, and then I replace the paper on all of them at one time. It usually takes the better part of a morning to change the paper on all of my sanding blocks, but the result is that I always have sharp tools.
I use 3M Super 77 spray adhesive to attach the sandpaper to the aluminum blocks. I apply the adhesive to the back of the paper and let it get tacky. Then I place the sanding block facedown on the paper against a clean, flat surface, and press hard to make sure the sandpaper is attached completely to the flat surface of the sanding bar.
Next I roll the edges of the sanding bar so the sandpaper conforms to them. This prevents the paper from gouging my balsa parts when I use the bar. I trim the edges against the side of the block with a single-edge razor blade and reroll the edges again just to be sure.
To remove the sandpaper when it has worn out, lay the blocks in a shallow bath of mineral spirits for a few minutes. I use a shallow cookie sheet for this and leave it outside while the sandpaper delaminates from the block. (This cookie sheet is a dedicated shop item and is never used for cookie making.) I wipe the surface of the sanding bars clean with a fresh paper towel, and they are ready to be resurfaced.
For finishing purposes, foam-backed sanding blocks are the ticket. They are soft enough to avoid denting anything, but supportive enough to allow the surface to be sanded smooth and flat.
I cut a piece of 1/2-inch-thick foam that is the exact size of a full sheet of sandpaper, and then I attach the sandpaper to the foam backing. I used to use 3M Formula 77 for this, but the formula has been changed and now it (or its solvents) will attack the foam. You can use one of the new polyurethane adhesives instead, or even a thin coat of epoxy. The curing time before use will be longer, so make several sheets at one time and slice the size of block you need from one sheet. You can cut tiny blocks for detail work or longer blocks to sand large areas.
Another great sanding tool is an industrial-grade emery board (professional grade). These boards, or "sanding sticks," are typically 7 inches long and backed with Mylar. They come in several grits, and some have different grits on each side. I get mine from See Temp, but you can also find them at beauty-supply stores or online. Once you try emery boards, you will probably never want to build without them.
Files
Get a set of good-quality files. Minimum recommended:
- Flat file, approximately 3/4 inch wide
- Half-round file
- Several round (rat-tail) files
- High-quality needle files for fine work (at least a round and a three-cornered needle file)
Keep an eye on tool-store specials and add to your collection over time — you'll find uses for them.
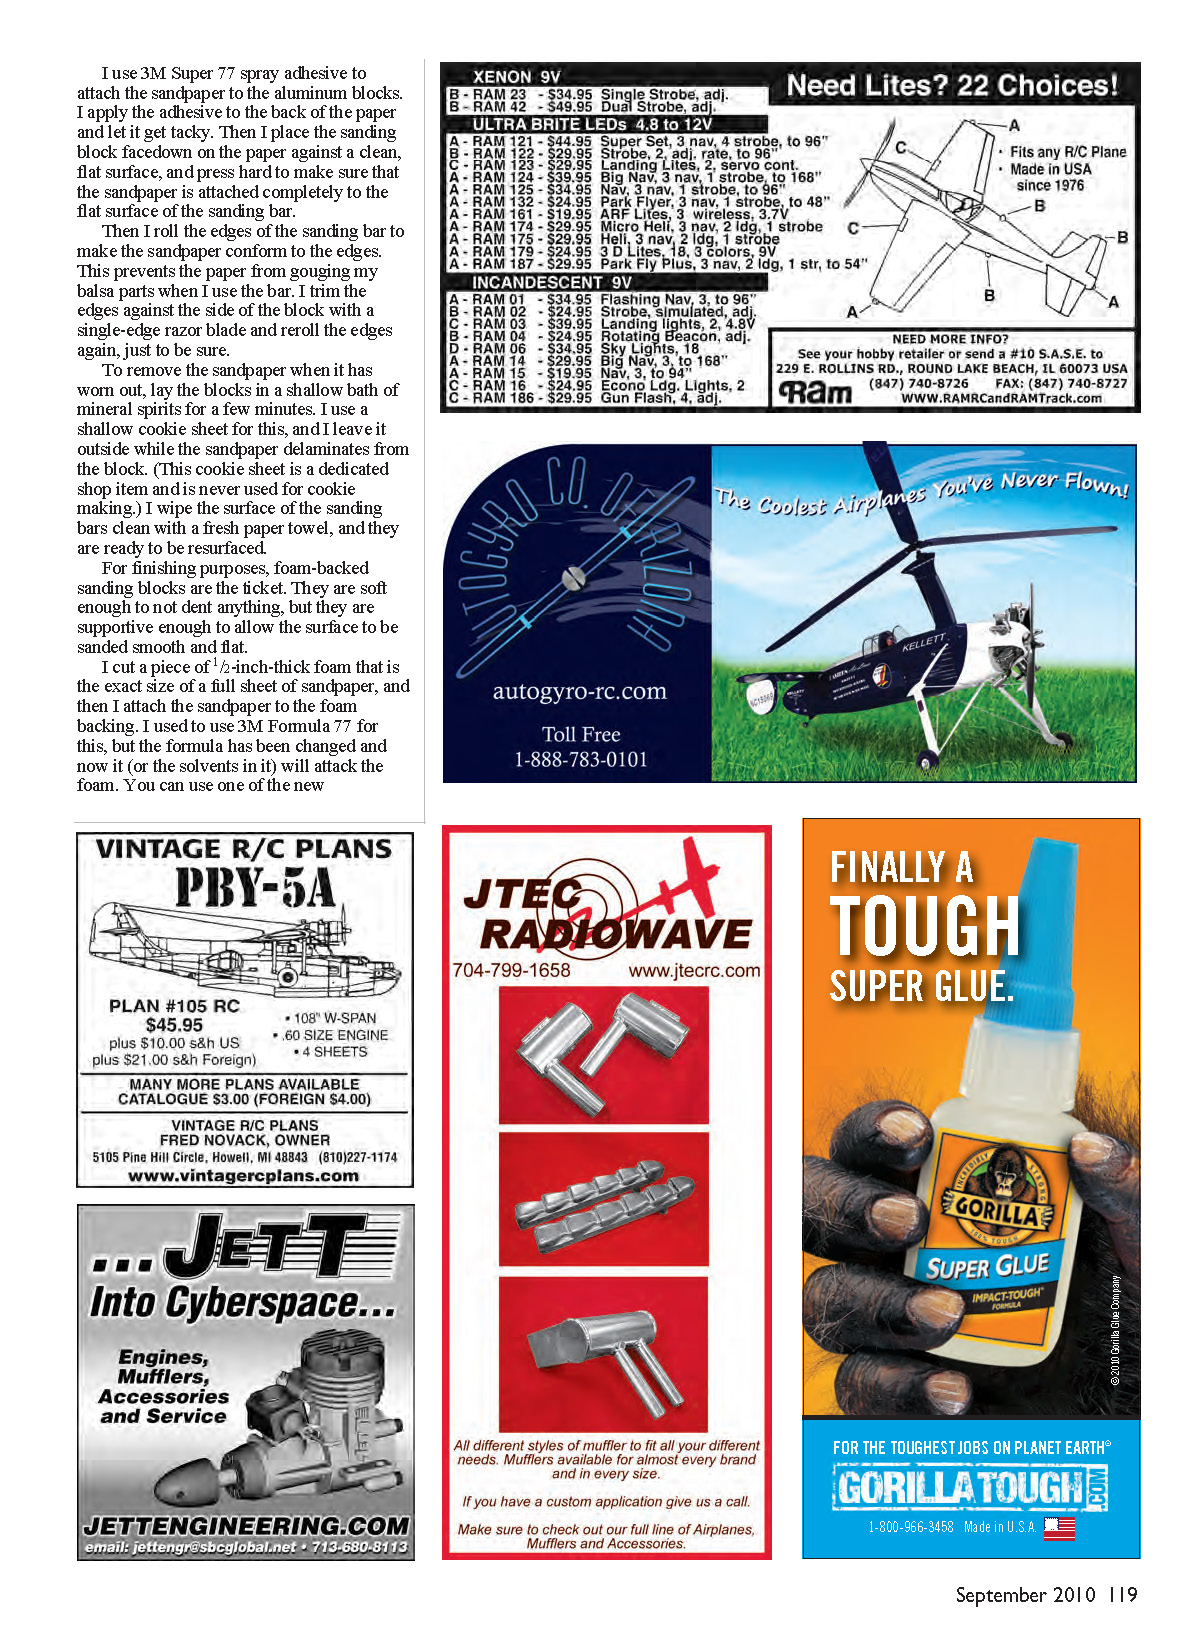
To store my needle files and various other small hand tools and have them ready at a moment's notice, I use a block of foam with a grid pattern drawn on the top surface. At each grid intersection I punch a hole that accepts a file, screwdriver, spinner wrench, etc. This "organizer" makes it much easier to find the necessary tool quickly and keeps the bench neat and free of clutter.
I am out of space again and have not yet discussed the most useful and amazing line of sanding and filing tools. I'll keep you in suspense about these until next time.
Until then, fly Stunt! M4
Sources:
- Great Planes — (800) 637-7660 — www.greatplanes.com
- See Temp — www.seetemp.com
- Precision Aerobatics Model Pilots Association — www.control-line.org
Transcribed from original scans by AI. Minor OCR errors may remain.

