
The Reverse Wingover is supposed to be easy
by Bob Hunt [email protected]
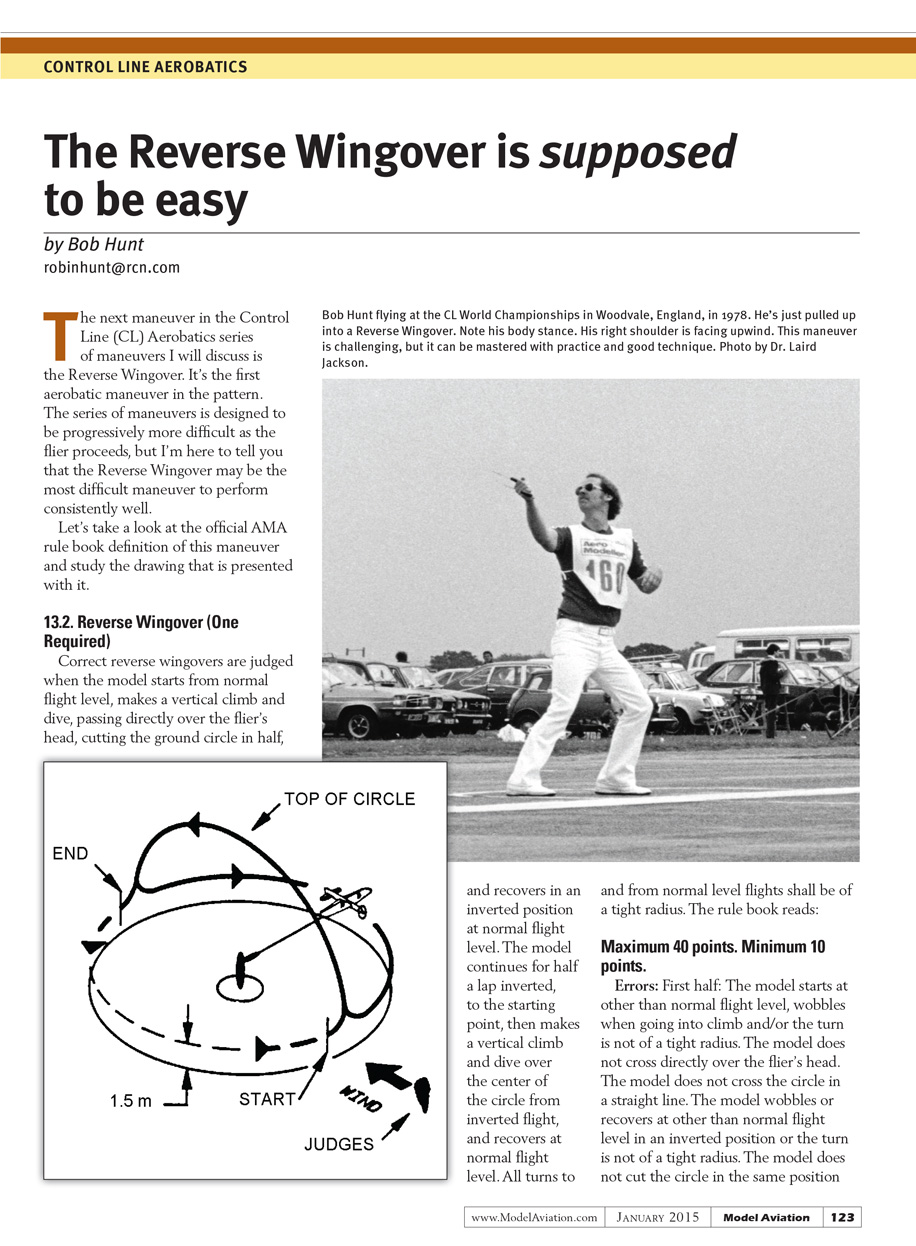
The next maneuver in the Control Line (CL) Aerobatics series of maneuvers I will discuss is the Reverse Wingover. It's the first aerobatic maneuver in the pattern. The series of maneuvers is designed to be progressively more difficult as the flier proceeds, but I'm here to tell you that the Reverse Wingover may be the most difficult maneuver to perform consistently well.
Let's take a look at the official AMA rule book definition of this maneuver and study the drawing that is presented with it.
13.2. Reverse Wingover (One Required)
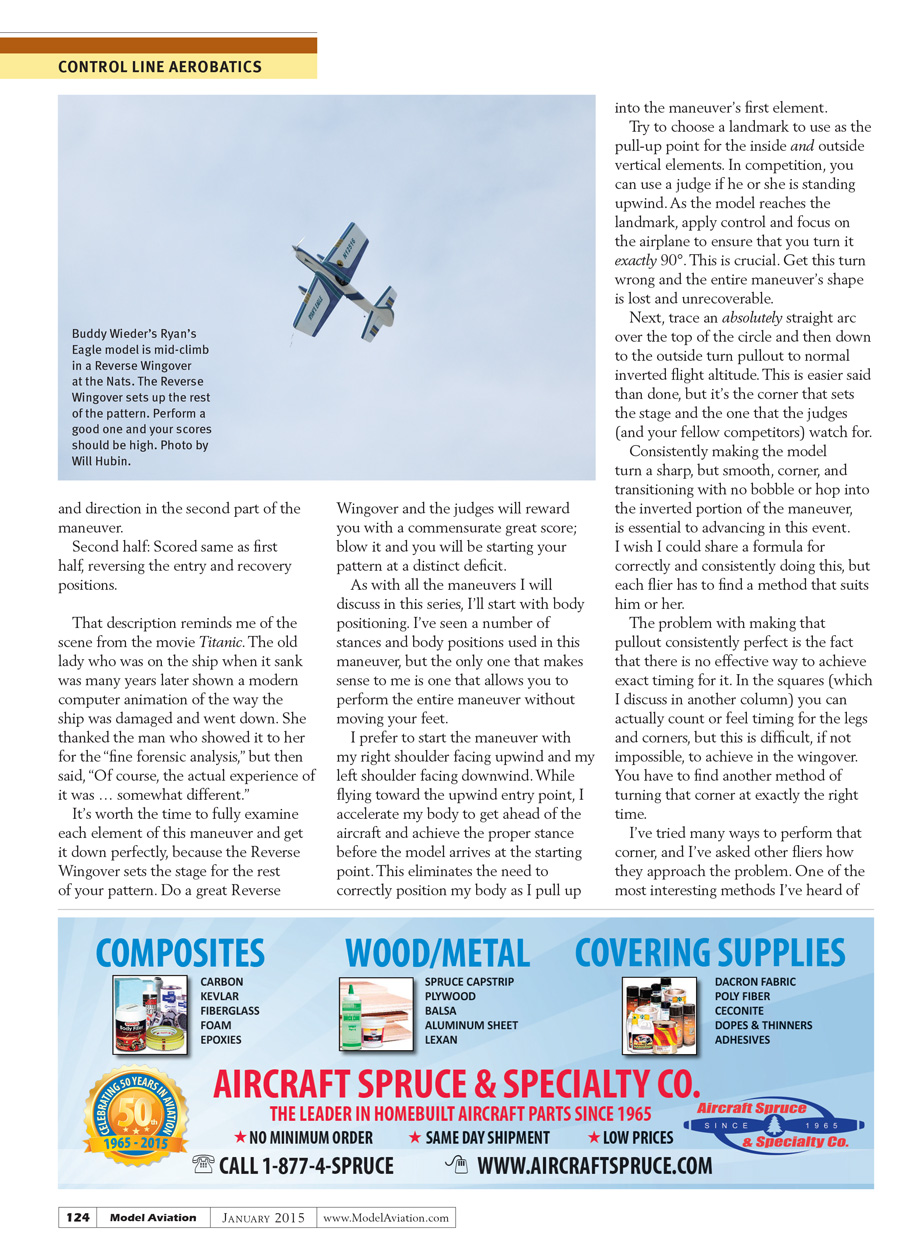
Correct reverse wingovers are judged when the model starts from normal flight level, makes a vertical climb and dive, passing directly over the flier's head, cutting the ground circle in half, and recovers in an inverted position at normal flight level. The model continues for half a lap inverted, to the starting point, then makes a vertical climb and dive over the center of the circle from inverted flight, and recovers at normal flight level. All turns to and from normal level flights shall be of a tight radius. The rule book reads:
Maximum 40 points. Minimum 10 points.
Errors: First half: The model starts at other than normal flight level, wobbles when going into climb and/or the turn is not of a tight radius. The model does not cross directly over the flier's head. The model does not cross the circle in a straight line. The model wobbles or recovers at other than normal flight level in an inverted position or the turn is not of a tight radius. The model does not cut the circle in the same position and direction in the second part of the maneuver. Second half: Scored same as first half, reversing the entry and recovery positions.
That description reminds me of the scene from the movie Titanic. The old lady who was on the ship when it sank was many years later shown a modern computer animation of the way the ship was damaged and went down. She thanked the man who showed it to her for the "fine forensic analysis," but then said, "Of course, the actual experience of it was ... somewhat different."
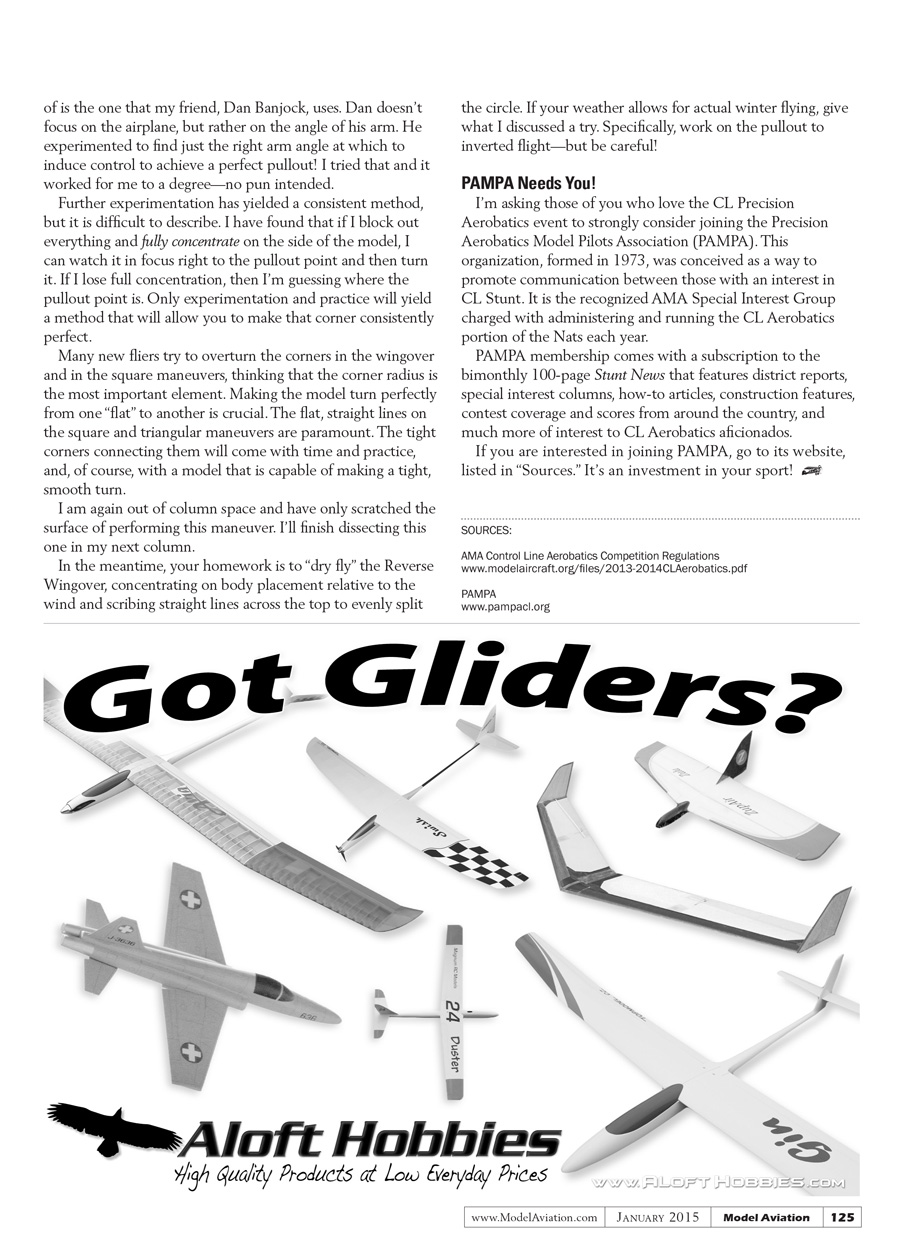
It's worth the time to fully examine each element of this maneuver and get it down perfectly, because the Reverse Wingover sets the stage for the rest of your pattern. Do a great Reverse Wingover and the judges will reward you with a commensurate great score; blow it and you will be starting your pattern at a distinct deficit.
As with all the maneuvers I will discuss in this series, I'll start with body positioning. I've seen a number of stances and body positions used in this maneuver, but the only one that makes sense to me is one that allows you to perform the entire maneuver without moving your feet. I prefer to start the maneuver with my right shoulder facing upwind and my left shoulder facing downwind. While flying toward the upwind entry point, I accelerate my body to get ahead of the model and achieve the proper stance before the model arrives at the starting point. This eliminates the need to correctly position my body as I pull up into the maneuver's first element.
Try to choose a landmark to use as the pull-up point for the inside and outside vertical elements. In competition, you can use a judge if he or she is standing upwind. As the model reaches the landmark, apply control and focus on the airplane to ensure that you turn it exactly 90°. This is crucial. Get this turn wrong and the entire maneuver's shape is lost and unrecoverable.
Next, trace an absolutely straight arc over the top of the circle and then down to the outside turn pullout to normal inverted flight altitude. This is easier said than done, but it's the corner that sets the stage and the one that the judges (and your fellow competitors) watch for. Consistently making the model turn a sharp but smooth corner, and transitioning with no bobble or hop into the inverted portion of the maneuver, is essential to advancing in this event.
I wish I could share a formula for correctly and consistently doing this, but each flier has to find a method that suits him or her.
The problem with making that pullout consistently perfect is the fact that there is no effective way to achieve exact timing for it. In the squares (which I discuss in another column) you can actually count or feel timing for the legs and corners, but this is difficult, if not impossible, to achieve in the wingover. You have to find another method of turning that corner at exactly the right time.
I've tried many ways to perform that corner, and I've asked other fliers how they approach the problem. One of the most interesting methods I've heard of is the one that my friend, Dan Banjock, uses. Dan doesn't focus on the airplane, but rather on the angle of his arm. He experimented to find just the right arm angle at which to induce control to achieve a perfect pullout. I tried that and it worked for me to a degree—no pun intended.
Further experimentation has yielded a consistent method, but it is difficult to describe. I have found that if I block out everything and fully concentrate on the side of the model, I can watch it in focus right to the pullout point and then turn it. If I lose full concentration, then I'm guessing where the pullout point is. Only experimentation and practice will yield a method that will allow you to make that corner consistently perfect.
Many new fliers try to overturn the corners in the wingover and in the square maneuvers, thinking that the corner radius is the most important element. Making the model turn perfectly from one "flat" to another is crucial. The flat, straight lines on the square and triangular maneuvers are paramount. The tight corners connecting them will come with time and practice, and, of course, with a model that is capable of making a tight, smooth turn.
I am again out of column space and have only scratched the surface of performing this maneuver. I'll finish dissecting the one in my next column.
In the meantime, your homework is to "dry fly" the Reverse Wingover, concentrating on body placement relative to the wind and scribing straight lines across the top to evenly split the circle. If your weather allows for actual winter flying, give what I discussed a try. Specifically, work on the pullout to inverted flight—but be careful!
PAMPA Needs You!
I'm asking those of you who love the CL Precision Aerobatics event to strongly consider joining the Precision Aerobatics Model Pilots Association (PAMPA). This organization, formed in 1973, was conceived as a way to promote communication between those with an interest in CL Stunt. It is the recognized AMA Special Interest Group charged with administering and running the CL Aerobatics portion of the Nats each year.
PAMPA membership comes with a subscription to the bimonthly, 100-page Stunt News that features district reports, special interest columns, how-to articles, construction features, contest coverage and scores from around the country, and much more of interest to CL Aerobatics aficionados.
If you are interested in joining PAMPA, go to its website, listed in "Sources." It's an investment in your sport!
SOURCES:
- AMA Control Line Aerobatics Competition Regulations
www.modelaircraft.org/files/2013-2014CLAerobatics.pdf
- PAMPA
Transcribed from original scans by AI. Minor OCR errors may remain.

