
CONTROL LINE COMBAT — 2004/06
Rich von Lopez 8334 Colegio Dr., Los Angeles, CA 90045
Money contest (July 12–13, 2004)
In the April column I mentioned the possibility of having a money contest on Monday and Tuesday, July 12–13, 2004, immediately following the Control Line World Championships. I have begun a serious effort to secure funding so that we might offer a substantial purse. My goal is to have at least $3,000 to divide among the top finishers. This will be a fairly new approach to Combat: the idea is to use FAI F2D models with AMA Fast Combat rules.
Andy and Bobby Mears ran a similar contest in Lubbock, Texas, last year and had a lot of fun. There is considerable interest in this event on both sides of the Atlantic. In the United States, a number of pilots who have never made it onto the US team are extremely good. There are also those, such as myself, who have had one crack at the world’s best pilots and would like another opportunity to fly against them.
It looks as though this will be quite a large contest. Plenty of Americans will be entered, and it is hoped that the Europeans will want to have a go at the cash. After every World Championships there are leftover models galore. Since this will be an open-to-all event, the mechanics and helpers from the European teams will be eligible to participate.
If you have not decided to go to the World Championships and National Championships, perhaps this event will spark your interest. As assistant team manager for the US, I will be rather busy during the World Championships but ready to pick up a control handle the instant it is over.
Event format and rationale
F2D competitions often end in ties, requiring numerous reflys with a great deal of wasted time. Contributing to this are the simultaneous launch and the "no-kill-wins-the-match" option. The preparation of two models per bout also contributes to the time required in processing before the match.
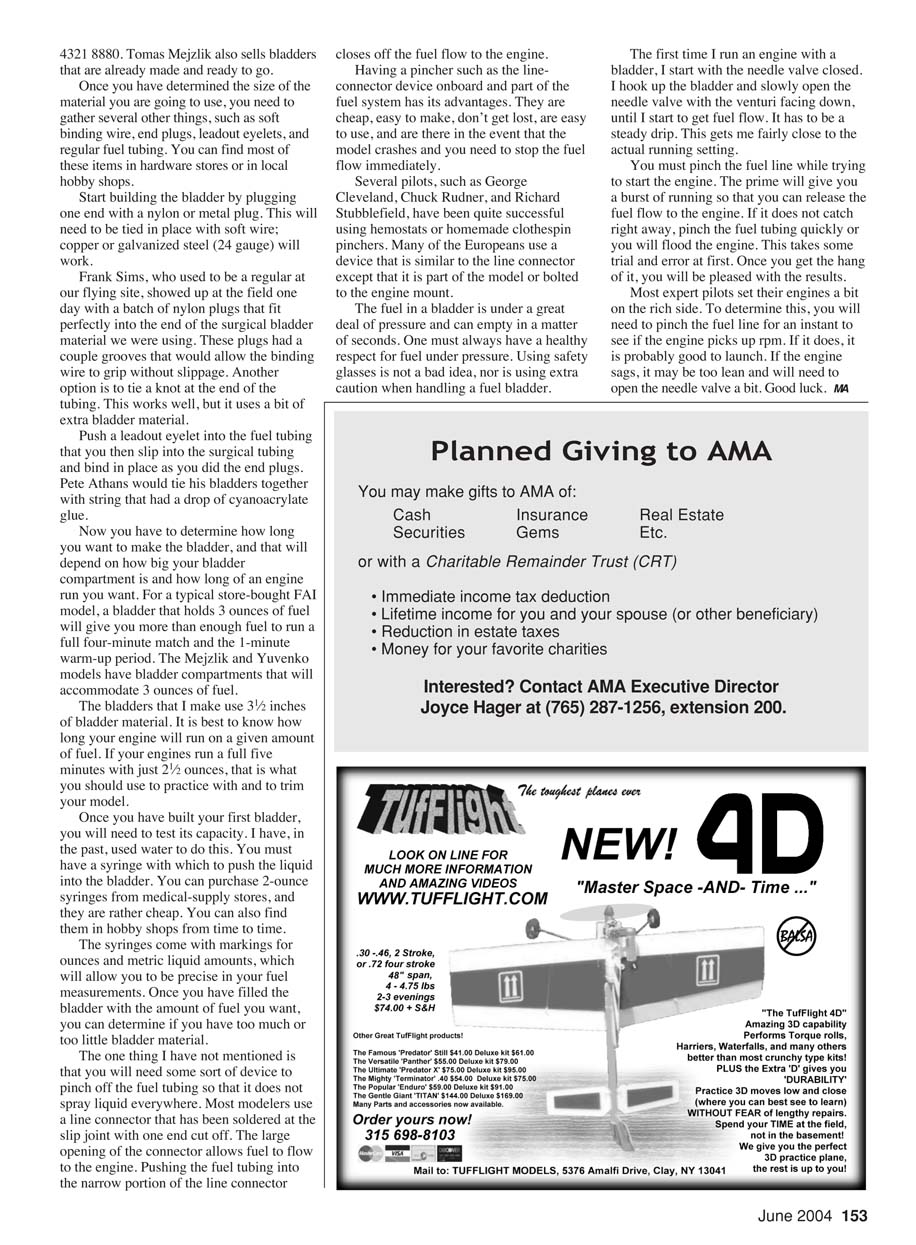
With the use of the AMA Fast starting procedure, the chances of a tie based solely on airtime are remote. Kills will end the match instantly. This will save equipment and keep the contest moving at a lively pace. Also, the long kill zone on F2D streamers (approximately 9 feet 9 inches) will make getting a kill a bit easier than with a regulation 7-foot Fast Combat streamer.
This sort of event will have a better chance of attracting the Europeans than regular AMA events such as Fast and 1/2A Combat will. The pilots will already have equipment that is sorted out and legal for the event.
Manpower and judging
One concern is the manpower needed to run a full-on F2D competition. You need teams of judges and plenty of pit personnel and jury members. There is considerably less to do with fewer people for an AMA Fast Combat contest. It’s necessary to keep the matching board accurate and the win–loss board up to date, but the judging is fairly easy. I expect that many of the participants will be called on to judge several matches during the event. Once a kill is registered, the judging is done. Expect a full report in a future column.
Bladder fuel systems — overview
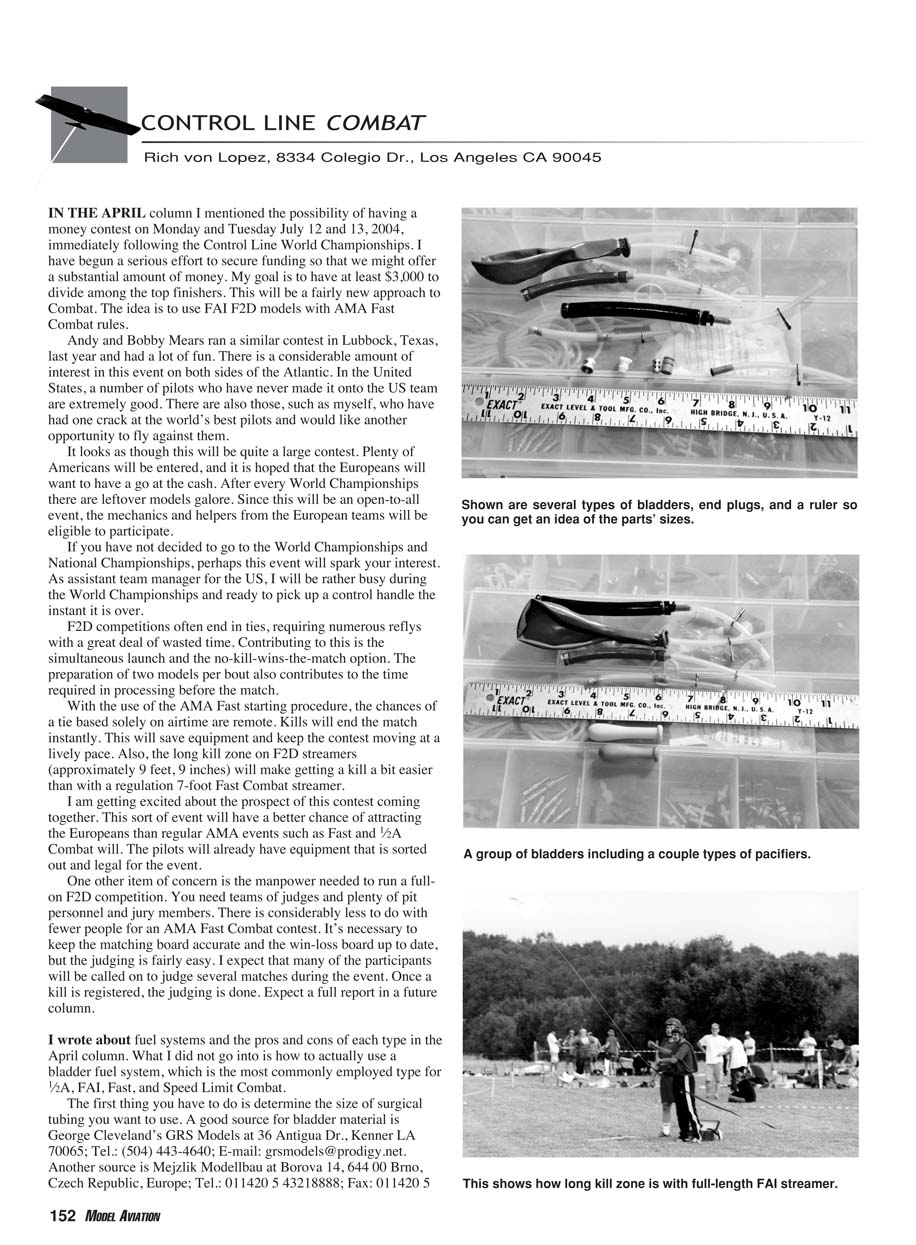
In April I wrote about fuel systems and the pros and cons of each type. I did not go into how to actually use a bladder fuel system, the most commonly employed type for 1/2A, FAI, Fast, and Speed Limit Combat. Below are practical instructions and tips for building and using bladder systems.
Sources for bladder material and parts
- GRS Models (George Cleveland)
36 Antigua Dr., Kenner, LA 70065 Tel.: (504) 443-4640 E-mail: [email protected]
- Mejzlik Modellbau (Tomas Mejzlik)
Borova 14, 644 00 Brno, Czech Republic Tel.: +420 5 432 18888 Fax: +420 5 432 18880
Tomas Mejzlik also sells bladders that are already made and ready to go.
Supplies needed
- Surgical tubing (choose size appropriate to desired capacity)
- Soft binding wire (copper or galvanized steel, about 24 gauge)
- End plugs (nylon or metal) or plan to tie a knot in the tubing
- Leadout eyelets
- Regular fuel tubing
- Syringe (2-ounce recommended) for capacity testing
- Pinching device (line-connector pincher, hemostats, or clothespin-style device)
- Optional: string and a drop of cyanoacrylate to tie bladders together
Most of these items can be found at hardware stores or local hobby shops.
Building the bladder — step by step
- Determine tubing size and bladder length based on your bladder compartment and desired engine run time. For a typical store-bought FAI model, a bladder that holds 3 ounces of fuel will give you more than enough for a full four-minute match plus the one-minute warm-up. I make bladders using about 3-1/2 inches of bladder material for those models. Know your engine’s fuel consumption: if it runs five minutes on 2-1/2 ounces, use that amount when trimming and practicing.
- Plug one end of the surgical tubing with a nylon or metal plug. Tie the plug in place with soft wire; the wire should grip without slipping. An alternative is to tie a knot at the end of the tubing (uses a bit more material).
- Prepare the leadout: push a leadout eyelet into the fuel tubing, then slip that fuel tubing into the surgical tubing and bind in place as you did the end plugs. Some pilots (e.g., Pete Athans) tie bladders together with string and a drop of cyanoacrylate.
- Test the bladder’s capacity using water and a syringe. A 2-ounce syringe with ounce and metric markings allows precise measurement. Fill the bladder with the target amount of liquid to confirm the bladder length and capacity are appropriate.
Pinching devices and safety
- Most modelers use a line-connector pincher: a line connector soldered at the slip joint with one end cut off. The large opening allows fuel to flow; pushing the fuel tubing into the narrow portion closes off the flow. These are cheap, easy to make, and convenient in a crash to stop fuel flow quickly.
- Other options: hemostats or homemade clothespin pinchers (used successfully by pilots such as George Cleveland, Chuck Rudner, and Richard Stubblefield).
- Many Europeans use a similar device integrated into the model or bolted to the engine mount.
The fuel in a bladder is under a great deal of pressure and can empty in seconds. Always respect fuel under pressure. Use safety glasses and exercise extra caution when handling a fuel bladder.
Starting procedure with a bladder
- Start with the needle valve closed. Hook up the bladder and slowly open the needle valve with the venturi facing down until you get a steady drip—this gets you close to running setting.
- Pinch the fuel line while trying to start the engine. The prime will give a burst of running so you can release the fuel flow. If the engine does not catch right away, pinch the fuel tubing quickly to avoid flooding the engine. This takes some trial and error at first.
- Most expert pilots set their engines a bit on the rich side. To check, pinch the fuel line for an instant; if the engine picks up rpm it is probably good to launch. If the engine sags, it may be too lean and will need the needle valve opened a bit.
Good luck.
Rich von Lopez
Transcribed from original scans by AI. Minor OCR errors may remain.

