
CONTROL LINE NAVY CARRIER
Dick Perry 427 Live Oak Ln. NE, Albuquerque NM 87122 E-mail: [email protected]
World Championships and CL Navy Carrier demonstration
As I write this, the 2004 Control Line World Championships are history, as is the CL Navy Carrier demonstration that the Navy Carrier Society hosted during the event. The competition consisted of AMA Profile Carrier and Class I Carrier, with a 10% fuel requirement. The latter was held to encourage CL modelers from other countries who were attending the World Championships to try the event. There were many spectators, with many questions about the events and how they are flown, although only US modelers flew in the competition. Ted Kraver was busy with his camera, and I anticipate more information will be included in other articles. I'm sorry to have had to miss the festivities in Muncie, Indiana, this summer.
Profile Martin Mauler and nostalgia
The Profile Martin Mauler that Bob Smurthwaite designed and I wrote about in the August column generated a pleasant surprise. I received a letter from Clair Sieverling accompanied by a copy of the April 1964 Model Airplane News article he wrote.
Clair started flying Navy Carrier with the Sturdi-Built Mauler powered by a .35 engine, then he upped the ante for Carrier in Arizona by moving to a McCoy .60 engine with a Johnson carburetor.
Carrier was still flown as a single class with no engine-size limits when Bill Netzeband had his little 30-inch-span, 125-square-inch Guardian design published. That article inspired Clair to build a smaller Navy Carrier model using the Mauler as the prototype. His design was the subject of the Model Airplane News article he sent me.
That Mauler was the first Navy Carrier model I built, in 1967, and I powered it with a SuperTigre G-21 .40 engine. I learned a great deal with that model, and I put the lessons to use in my Seamew design in 1972 and my Class II (aluminum-wing) Martin MO-1 in 1973.
I'd lost my original Mauler plans in one of my many moves. Last winter Leroy Cordes sent me another copy of the original Sieverling Mauler plans that he found when cleaning out his files, so the memories were flooding back. Thanks, Clair and Leroy, for the nostalgia trip.
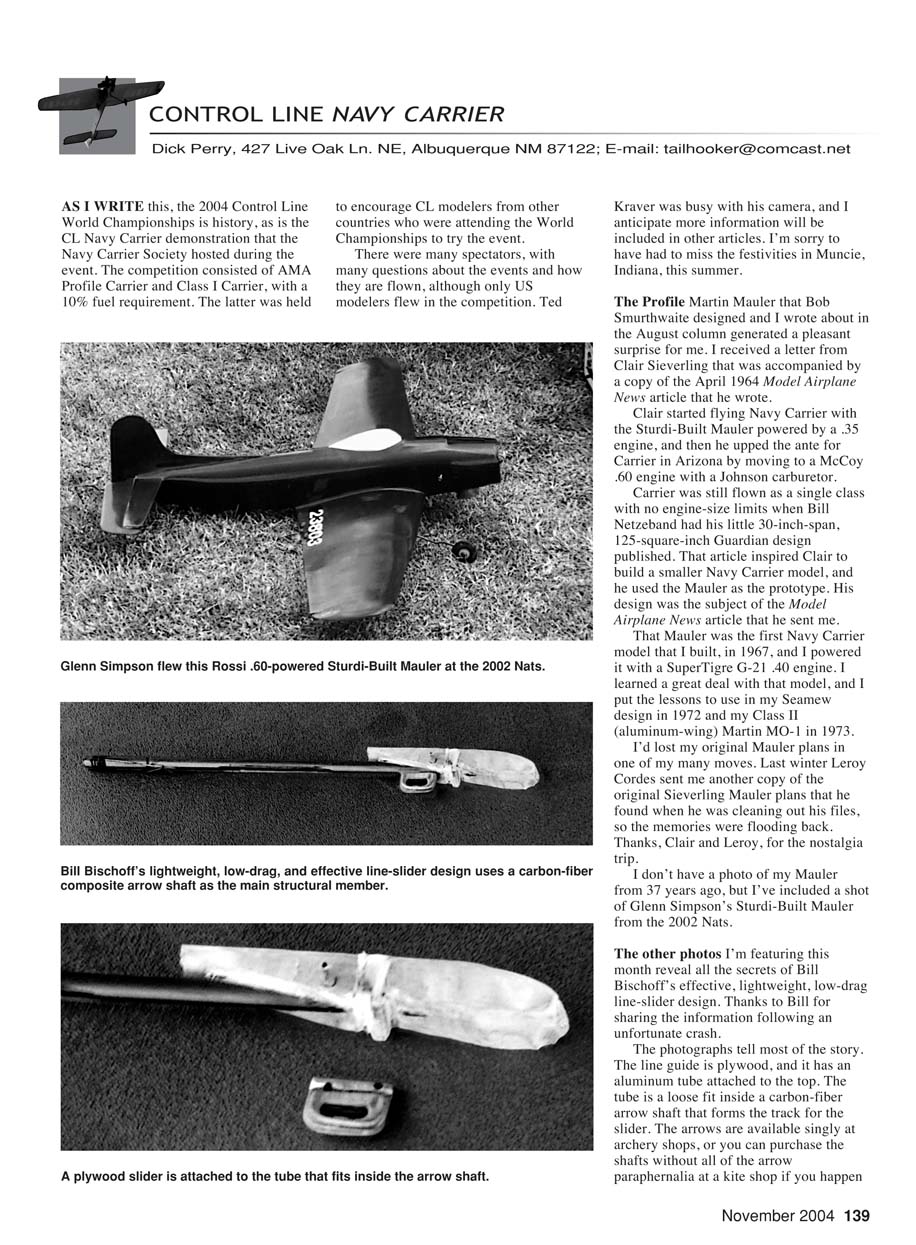
I don't have a photo of my Mauler from 37 years ago, but I've included a shot of Glenn Simpson's Sturdi-Built Mauler from the 2002 Nats.
Bill Bischoff's line-slider design
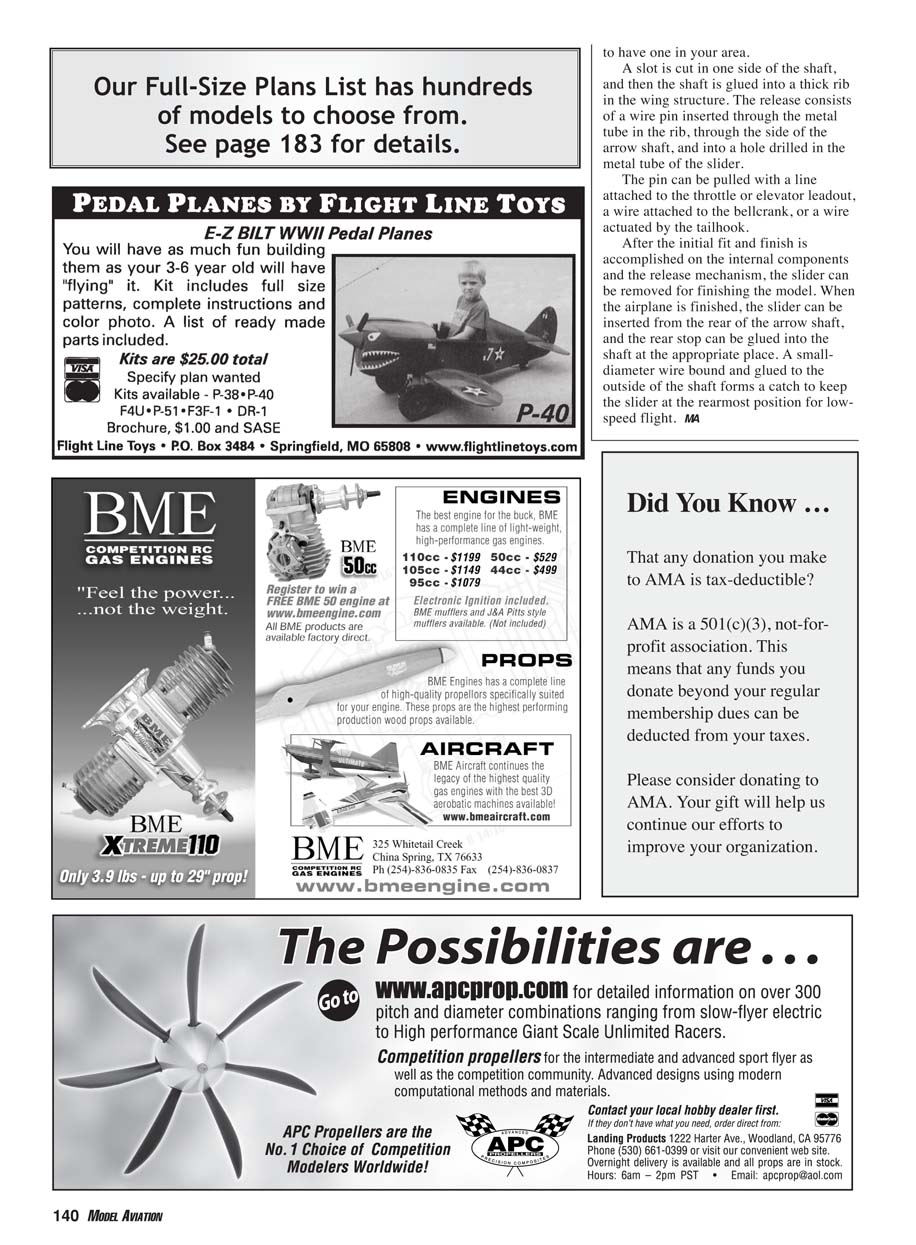
The other photos I'm featuring this month reveal the secrets of Bill Bischoff's effective, lightweight, low-drag line-slider design. Thanks to Bill for sharing the information following an unfortunate crash. The photographs tell most of the story.
Key components and construction details:
- The line guide is plywood with an aluminum tube attached to the top.
- The aluminum tube is a loose fit inside a carbon-fiber arrow shaft that forms the track for the slider.
- Arrow shafts are available singly at archery shops, or you can purchase the shafts (without arrow heads and fletching) at a kite shop.
- A slot is cut in one side of the shaft, and the shaft is glued into a thick rib in the wing structure.
- The release consists of a wire pin inserted through the metal tube in the rib, through the side of the arrow shaft, and into a hole drilled in the metal tube of the slider.
Release actuation options:
- A line attached to the throttle or elevator leadout.
- A wire attached to the bellcrank.
- A wire actuated by the tailhook.
Assembly and finishing steps:
- Fit and finish the internal components and the release mechanism so they operate correctly.
- Remove the slider for finishing the model.
- When the airplane is finished, insert the slider from the rear of the arrow shaft and glue the rear stop into the shaft at the appropriate place.
- A small-diameter wire bound and glued to the outside of the shaft forms a catch to keep the slider at the rearmost position for low-speed flight.
Transcribed from original scans by AI. Minor OCR errors may remain.

