

CONTROL LINE SPEED
Scott Newkirk 4840 N. Glendale, Bel Aire KS 67220
I'll start this column with a warning.
At the last meeting for my club, one flier announced that he had become sensitized to cyanoacrylate (CyA) glues and had considerable pain, and another warned about the paints in use on our models.
Since this is the middle of the building season for most in our hobby, the warning is timely. As much fun as building is for most of us, the chemicals and tools common to our building methods subject us to some noxious stuff. We see a great deal of information on propeller safety, but it's important to be aware of several other areas.
I've seen a number of people develop dermatitis from CyA or super glues, and I know several fliers who have developed it from epoxy resins. These are particularly painful types of dermatitis. You should wear impervious gloves—latex or polyvinyl chloride (PVC)—to protect yourself from these chemicals.
The more you use these adhesives, the more likely you are to become sensitized to them. Your system can only tolerate so much buildup of the chemicals, then it revolts—much to your displeasure and discomfort.
Many modelers are using two-part epoxy paints and two-part polyurethane paints, and most of the two-part polyurethane paints use cyanide as part of the catalyst. Use care, adequate ventilation, and proper respiratory protection when painting and building your models.
What's New?
I received a letter from Nick Arpino, who informed me he was retiring from making his DARP magnesium Speed pans. Nick has turned the title of "Master Pan Man" over to Mr. Barry Tippett, who will supply the entire line of Speed pans.
I purchased a couple of RB Concepts .21 engines. I believe NovaRossi in Italy makes these for Rody Roem in France. The main advantage to Rody's product line for our purposes is that they are lighter than the NovaRossi line. I purchased the C3, which is a five-port engine with single exhaust. I also got a Roem-modified C4 "Worlds" engine, with seven intake ports and three exhaust ports. I will report on this engine in the future; it has several unique features, including a dished piston and an asymmetrical head shape. These engines are available in the US from Sigma Trading.
Cyclon .40 front-intake engines have finally been produced, and have arrived in the US. The craftsmanship is superb, and the performance has been excellent.
Contest News
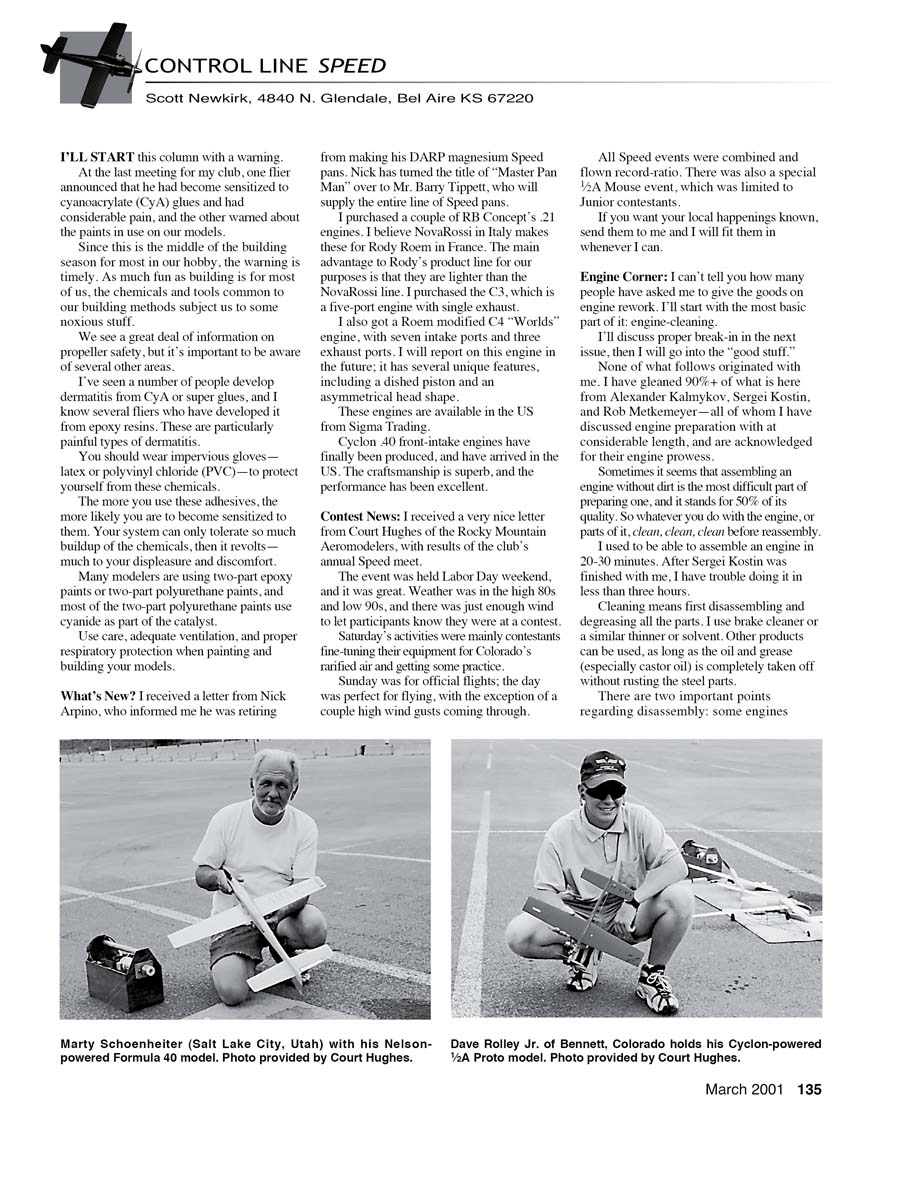
I received a very nice letter from Court Hughes of the Rocky Mountain Aeromodelers, with results of the club's annual Speed meet. The event was held Labor Day weekend, and it was great. Weather was in the high 80s and low 90s, and there was just enough wind to let participants know they were at a contest. Saturday's activities were mainly contestants fine-tuning their equipment for Colorado's rarified air and getting some practice. Sunday was for official flights; the day was perfect for flying, with the exception of a couple high wind gusts coming through. All Speed events were combined and flown record-ratio. There was also a special 1/2A Mouse event, which was limited to Junior contestants. If you want your local happenings known, send them to me and I will fit them in whenever I can.
Engine Corner
I can't tell you how many people have asked me to give the goods on engine rework. I'll start with the most basic part of it: engine cleaning. I'll discuss proper break-in in the next issue, then I will go into the "good stuff."
None of what follows originated with me. I have gleaned 90%+ of what is here from Alexander Kalmykov, Sergei Kostin, and Rob Metkemeyer—all of whom I have discussed engine preparation with at considerable length, and are acknowledged for their engine prowess.
Sometimes it seems that assembling an engine without dirt is the most difficult part of preparing one, and it stands for 50% of its quality. So whatever you do with the engine, or parts of it, clean, clean, clean before reassembly.
I used to be able to assemble an engine in 20–30 minutes. After Sergei Kostin was finished with me, I have trouble doing it in less than three hours.
Cleaning means first disassembling and degreasing all the parts. I use brake cleaner or a similar thinner or solvent. Other products can be used, as long as the oil and grease (especially castor oil) are completely taken off without rusting the steel parts.
There are two important points regarding disassembly:
- Some engines require heat to remove the cylinder.
- Most engines require heat to remove and reinstall the bearings.
I usually start at 300°F, and go to 350°F if the lower setting is inadequate. Most oil that has not been removed attempts to make itself a permanent part of the crankcase at 350°F, and you start to anneal the crankcase at 425°F.
Clean all the parts separately. Dirt tends to spread rather than wash away. If you try to clean a complete ball race in an ultrasonic cleaner, all the dirt that is in safe places will move to harmful places. The result is that the bearing will be useless until you take it apart and clean each piece.
Yes, I take my bearings apart and clean them ball by ball. The care is the same for the piston/connecting rod/piston wrist pin assembly: the components come apart and get a thorough cleaning.
The crankcase and the head need their own pre-cleaning bath; they get very dirty on the outside, and this dirt should not reach the inside of the engine.
Cleaning should take place in at least two, and preferably three, stages. The last stage should be done in new, super-clean fluid. In the second stage, I scrub the parts with a toothbrush and liquid dishwashing detergent. I learned this from Sasha Guievsky.
The ports in the cylinder especially need this type of attention; it is difficult to see the dirt inside the ports, and the toothbrush does an excellent job of getting into the tight corners.
Remember the holes in the wrist pin and the wrist-pin holes in the piston; the dirt that comes out here will harm the piston skirt directly!
Using an ultrasonic cleaner is preferred for the last stage. The risk of spreading the smallest particles to places you don't want them to be is present. Following the ultrasonic cleaning with a compressed-air blast will drive away the small particles and dry the parts.
I use the liquid dish soap and water in my ultrasonic cleaner. Some liquid detergents are too strong, and will discolor your aluminum if they get warm. Some people use acetone, solvent, kerosene, or other flammable materials, but I prefer not to.
You should assemble the parts with clean hands in a clean room (usually not your workshop). Take the parts you are prepared to assemble directly from the clean bath, and grease them lightly with non-oxidizing oil (steel parts rust when degreased); I prefer to use kerosene.
Use castor oil for the big and small ends of the rod, and for the wrist pin to the piston. I use kerosene for assembling the piston to the cylinder and the crankshaft to case and the bearings. I like to use a small amount of antiseize compound in the threaded holes in aluminum.
The cleaning and oiling process is very important for preventing wear and tear on your expensive and carefully set-up engine.
Once it's clean, bag your engine and set it aside. I don't usually put my engines in my airplanes until I'm ready to fly them.
If I do leave an engine in an airplane after flying, I flush it out with brake cleaner and generously apply kerosene. Then I plug the intake and exhaust, and put a bag around the whole front end of the model.
If you're not having fun, you're not doing it right! MA
Sources:
- RB Concepts engines: Sigma Trading, Box 510589, New Berlin WI 53151. Fax: (262) 789-8108. www.sigmatrading.com, www.rbproducts.com
- DARP pans: Barry Tippett, 31052 Mason St., Livonia MI 48154-4336, (734) 266-7250
- Cyclon engines: Alexander Kalmykov, pr. Dzerzhinskogo 2-67, Russia, 630112 Novosibirsk. Preferably via e-mail: [email protected]
- North American Speed Society (NASS): Box 82294, North Burnaby, British Columbia, Canada, V5C 5P7
Transcribed from original scans by AI. Minor OCR errors may remain.

