
The Engine Shop
927 Pine Ave., Ozark AL 36360
Contact and Apology
Apologies to readers who have recently tried to reach me by E-mail. I made the mistake of accessing my "engineshop1" server during an electrical storm a few months ago, and that disrupted something in my E-mail processing program. Since then, as several readers have notified me by letter, this column's E-mail service hasn't been functioning right. Looks like it's back to snail mail again for reader correspondence.
Oil for Gasoline-Based Spark-Ignition Engine Fuel
Several readers have asked about the oil used in gasoline-based spark-ignition engine fuel. They brought up the point that today's "70-weight" oil isn't the same as the old standard "SAE 70." It's noticeably less viscous, and many spark-ignition fliers wonder whether this thinner oil is safe for use in model engine fuel.
The answer appears to be yes. Although "70-weight" oil (aircraft grade, or from a Harley-Davidson® motorcycle shop) is indeed less viscous at room temperature than the old SAE 70, its lubricating ability and heat resistance have not declined. My son David and I confirmed that on Labor Day weekend at a Free Flight contest at Lost Hills, California.
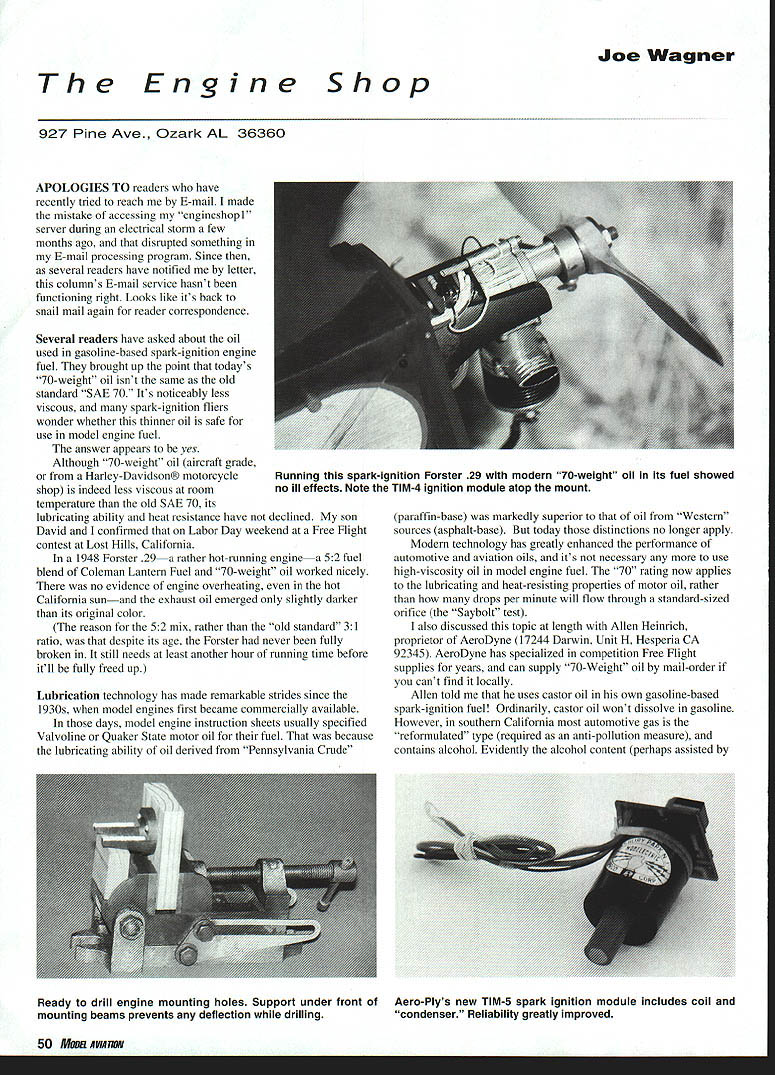
In a 1948 Forster .29—a rather hot-running engine—a 5:2 fuel blend of Coleman Lantern Fuel and "70-weight" oil worked nicely. There was no evidence of engine overheating, even in the hot California sun—and the exhaust oil emerged only slightly darker than its original color.
(The reason for the 5:2 mix, rather than the "old standard" 3:1 ratio, was that despite its age, the Forster had never been fully broken in. It still needs at least another hour of running time before it'll be fully freed up.)
Lubrication technology has made remarkable strides since the 1930s, when model engines first became commercially available.
In those days, model engine instruction sheets usually specified Valvoline or Quaker State motor oil for their fuel. That was because the lubricating ability of oil derived from "Pennsylvania Crude" (paraffin-base) was markedly superior to that of oil from "Western" sources (asphalt-base). But today those distinctions no longer apply.
Modern technology has greatly enhanced the performance of automotive and aviation oils, and it's not necessary any more to use high-viscosity oil in model engine fuel. The "70" rating now applies to the lubricating and heat-resisting properties of motor oil, rather than how many drops per minute will flow through a standard-sized orifice (the "Saybolt" test).
Castor Oil and Reformulated Gasoline
I also discussed this topic at length with Allen Heinrich, proprietor of AeroDyne (17244 Darwin, Unit H, Hesperia CA 92345). AeroDyne has specialized in competition Free Flight supplies for years, and can supply "70-Weight" oil by mail-order if you can't find it locally.
Allen told me that he uses castor oil in his own gasoline-based spark-ignition fuel! Ordinarily, castor oil won't dissolve in gasoline. However, in southern California most automotive gas is the "reformulated" type (required as an anti-pollution measure), and contains alcohol. Evidently the alcohol content (perhaps assisted by the "detergents" in the gasoline) is sufficient to prevent castor oil from separating out of Allen's sparker fuel.
Spark Ignition Modules
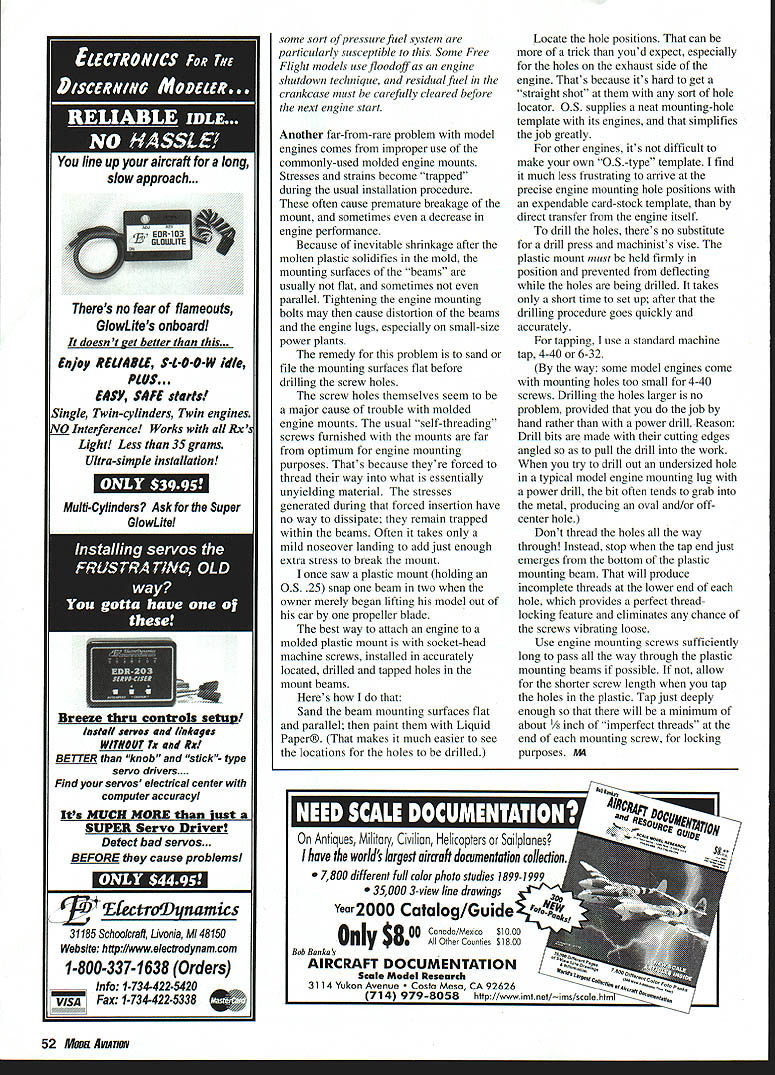
Floyd Carter at Aero-Ply Research (2029 Crist Dr., Los Altos CA 94024) now has available his TIM-5 transistorized spark ignition module, complete with spark coil.
This package is "integrally wired" and provides the neatest and most-compact spark-ignition installation possible. The only "wiring" left for the modeler to do is connecting the module's wires to the battery pack (three Ni-Cds), switch and/or timer, and to the engine's "breaker points."
Floyd also offers the earlier, coiless TIM-4 module—and a "Hall Effect" package, for converting glow engines to spark ignition. Yes, even 50+ years after the glow plug took over from spark in model engines, there still remain areas where spark ignition has advantages.
Hydraulic Lock Hazards (Electric Starting)
Most model engine users know about the danger of using an electric starter on diesels; their high compression makes "hydraulic lock" and bent connecting rods a distinct possibility during electric starting.
I learned at the Lost Hills meet that the same thing can happen with a glow engine.
An experienced Free Flight competitor instantly ruined a favorite engine on an electric starter. My "post-mortem" examination of the engine indicated what probably happened.
- The flier must have held his airplane nose-down for a while before trying to start the engine. That allowed a quantity of fuel to flow into the engine's case.
- When the flier jabbed his engine's prop nut into the spinning electric starter cone, the fuel in the case got flung upward into the combustion chamber.
- Result: immediate hydraulic lock—and a bent connecting rod.
Editor's note: This can occur anytime there is fuel in the crankcase, as from a flooded engine. Engines that are run on some sort of pressure fuel system are particularly susceptible to this. Some Free Flight models use floodoff as an engine shutdown technique, and residual fuel in the crankcase must be carefully cleared before the next engine start.
Problems with Molded Engine Mounts
Another far-from-rare problem with model engines comes from improper use of the commonly used molded engine mounts. Stresses and strains become "trapped" during the usual installation procedure. These often cause premature breakage of the mount, and sometimes even a decrease in engine performance.
Because of inevitable shrinkage after the molten plastic solidifies in the mold, the mounting surfaces of the "beams" are usually not flat and sometimes not even parallel. Tightening the engine mounting bolts may then cause distortion of the beams and the engine lugs, especially on small-size power plants.
The remedy for this problem is to sand or file the mounting surfaces flat before drilling the screw holes.
The screw holes themselves seem to be a major cause of trouble with molded engine mounts. The usual "self-threading" screws furnished with the mounts are far from optimum for engine mounting purposes. That's because they're forced to thread their way into what is essentially unyielding material. The stresses generated during that forced insertion have no way to dissipate; they remain trapped within the beams. Often it takes only a mild nose-over landing to add just enough extra stress to break the mount.
I once saw a plastic mount (holding an O.S. .25) snap one beam in two when the owner merely began lifting his model out of his car by one propeller blade.
The best way to attach an engine to a molded plastic mount is with socket-head machine screws, installed in accurately located, drilled and tapped holes in the mount beams.
Recommended Mounting Procedure
Here's how I do that:
- Sand the beam mounting surfaces flat and parallel; then paint them with Liquid Paper®. (That makes it much easier to see the locations for the holes to be drilled.)
- Locate the hole positions. That can be more of a trick than you'd expect, especially for the holes on the exhaust side of the engine. That's because it's hard to get a "straight shot" at them with any sort of hole locator. O.S. supplies a neat mounting-hole template with its engines, and that simplifies the job greatly.
- For other engines, make an expendable card-stock "O.S.-type" template. I find it much less frustrating to arrive at the precise engine mounting hole positions with a template than by direct transfer from the engine itself.
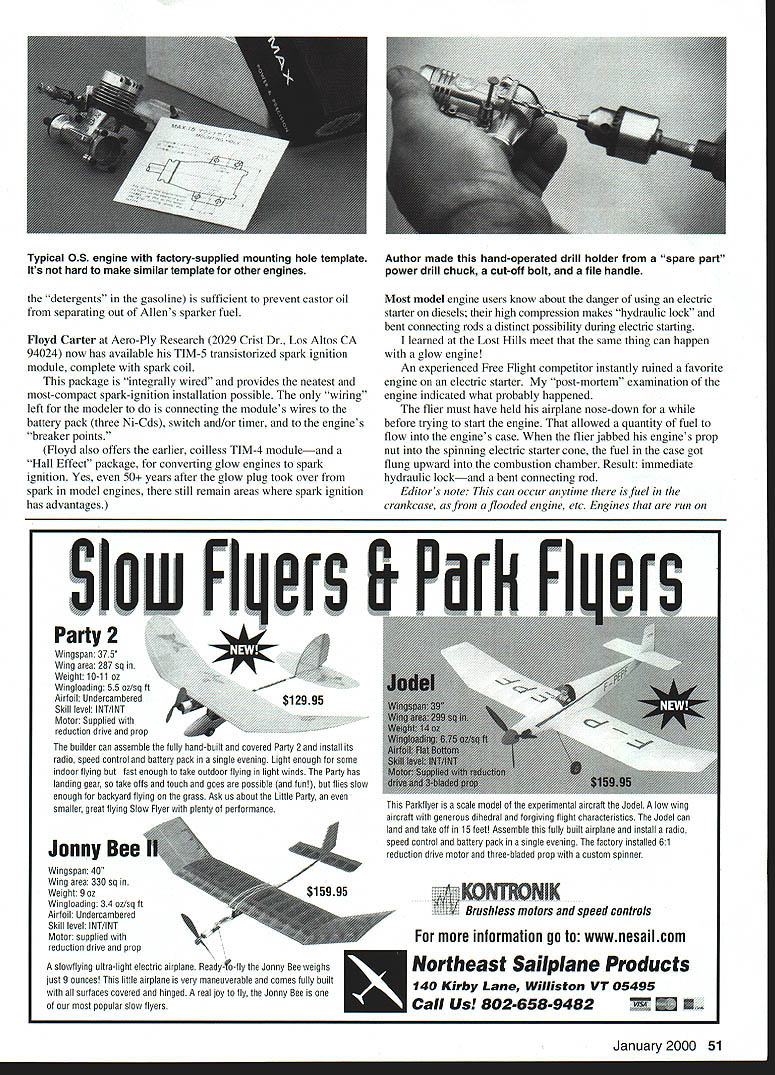
- To drill the holes, use a drill press and machinist's vise. The plastic mount must be held firmly in position and prevented from deflecting while the holes are being drilled. It takes only a short time to set up; after that the drilling procedure goes quickly and accurately.
- For tapping, use a standard machine tap, 4-40 or 6-32.
Notes and cautions:
- Some model engines come with mounting holes too small for 4-40 screws. Drilling the holes larger is no problem, provided that you do the job by hand rather than with a power drill. Reason: drill bits are made with their cutting edges angled so as to pull the drill into the work. When you try to drill out an undersized hole in a typical model engine mounting lug with a power drill, the bit often tends to grab into the metal, producing an oval and/or off-center hole.
- Don't thread the holes all the way through! Instead, stop when the tap end just emerges from the bottom of the plastic mounting beam. That will provide a nice incomplete thread at the lower end of each hole, which provides a perfect thread-locking feature and eliminates any chance of the screws vibrating loose.
- Use engine mounting screws sufficiently long to pass all the way through the plastic mounting beams if possible. If not, allow for the shorter screw length when you tap the holes in the plastic. Tap just deeply enough so that there will be a minimum of about 1/8 inch of "imperfect threads" at the end of each mounting screw, for locking purposes.
MA
Transcribed from original scans by AI. Minor OCR errors may remain.

