
The Engine Shop
Joe Wagner
212 S. Pine Ave., Ozark AL 36360
BILL BROWN died on January 8, 2003. I'm not going to write an obituary for him here. However, I do want to point out that Bill Brown accomplished the same thing for model-airplane engines—not once, but twice—that Thomas Edison did for electric light. Although neither man made the original inventions, each of these creative geniuses was the first to come up with practical-for-production versions that anyone could use.
Bill Brown developed his famous Brown Junior two-stroke model-airplane engine 70 years ago, while he was still in high school. A dozen years later he originated the CO2-powered model motor design that has become the basis for all other CO2 motors made since then. Consider the many OK, Campus, Buzz, Telco, Modela, G-Mot, and Gasparin CO2 motors; every one uses the same fundamental principles and basic design that Bill Brown worked out in the 1940s.
Two topics provide the subject material for most of the readers' mail I get in response to this column. One of those (of course!) is more power from model engines. Free Flighters are forever seeking faster climb; Radio Control (RC) fliers want "unlimited vertical" performance. But many attempts to extract increased power from model engines turn out to be quite disappointing. Then readers write to me about them to see if I can provide a solution.
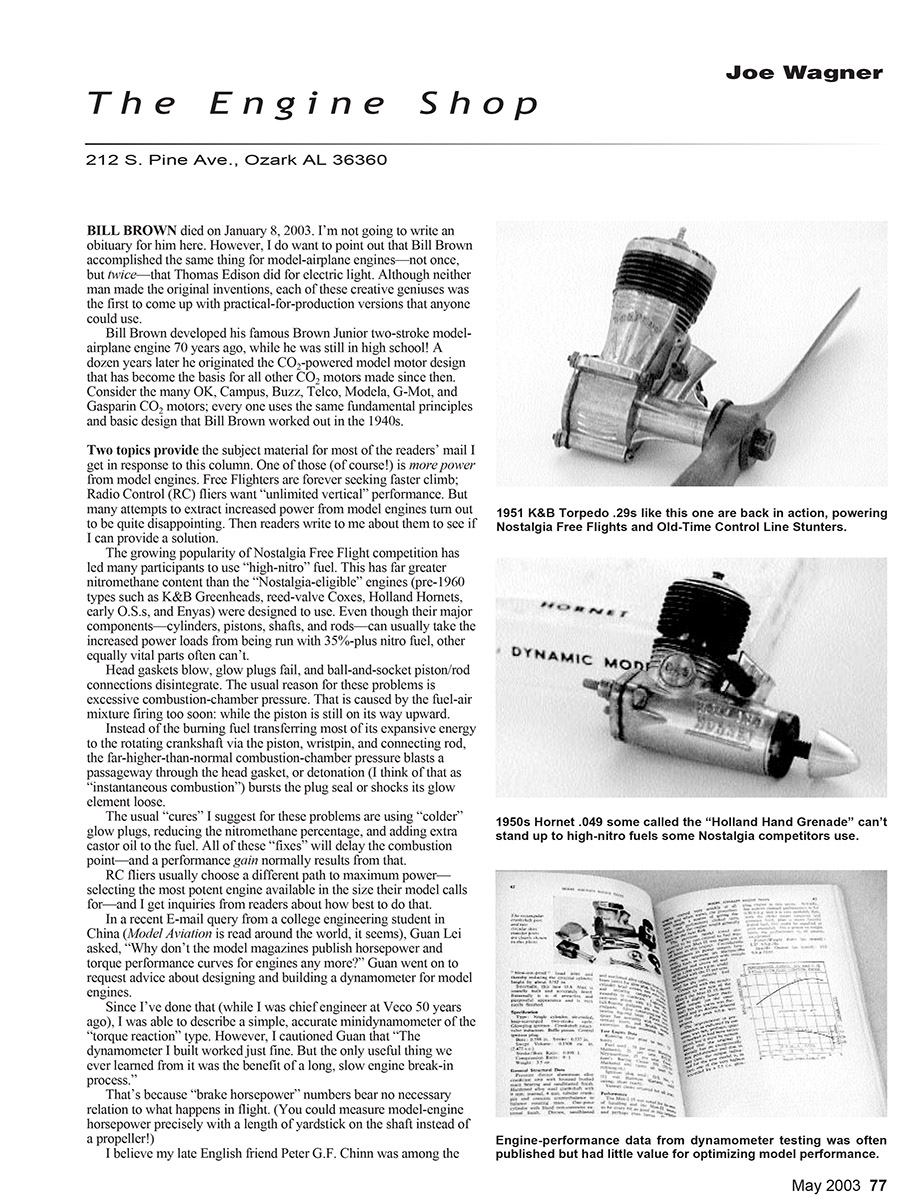
The growing popularity of Nostalgia Free Flight competition has led many participants to use "high-nitro" fuel. This has far greater nitromethane content than the "Nostalgia-eligible" engines (pre-1960 types such as K&B Greenheads, reed-valve Coxes, Holland Hornets, early O.S.s, and Enyas) were designed to use. Even though their major components—cylinders, pistons, shafts, and rods—can usually take the increased power loads from being run with 35%-plus nitro fuel, other equally vital parts often can't.
Head gaskets blow, glow plugs fail, and ball-and-socket piston/rod connections disintegrate. The usual reason for these problems is excessive combustion-chamber pressure. That is caused by the fuel-air mixture firing too soon: while the piston is still on its way upward. Instead of the burning fuel transferring most of its expansive energy to the rotating crankshaft via the piston, wristpin, and connecting rod, the far-higher-than-normal combustion-chamber pressure blasts a passageway through the head gasket, or detonation (I think of that as "instantaneous combustion") bursts the plug seal or shocks its glow element loose.
The usual "cures" I suggest for these problems are:
- Using "colder" glow plugs.
- Reducing the nitromethane percentage.
- Adding extra castor oil to the fuel.
All of these fixes will delay the combustion point—and a performance gain normally results from that.
RC fliers usually choose a different path to maximum power—selecting the most potent engine available in the size their model calls for—and I get inquiries from readers about how best to do that.
In a recent e-mail query from a college engineering student in China (Model Aviation is read around the world, it seems), Guan Lei asked, "Why don't the model magazines publish horsepower and torque performance curves for engines any more?" Guan went on to request advice about designing and building a dynamometer for model engines.
Since I've done that (while I was chief engineer at Veco 50 years ago), I was able to describe a simple, accurate minidynamometer of the "torque reaction" type. However, I cautioned Guan that "The dynamometer I built worked just fine. But the only useful thing we ever learned from it was the benefit of a long, slow engine break-in process." That's because "brake horsepower" numbers bear no necessary relation to what happens in flight. (You could measure model-engine horsepower precisely with a length of yardstick on the shaft instead of a propeller!)
I believe my late English friend Peter G.F. Chinn was among the first to accurately analyze model-airplane engine performance. Month after month in the 1950s he published detailed results of his engine tests in Model Airplane News and the British Model Aircraft magazine.
Pete's meticulous work and thorough reporting greatly impressed most of us model-engine enthusiasts at the time. Yet as accurate as it was, Pete's information didn't really help us model fliers much.
As I told Guan, "One of the engines that Peter Chinn tested was among my favorites for flying. I built and flew Free Flight, Control Line, and RC airplanes powered with these. Yet not one of those models performed at all well with the propellers that Pete got his best dynamometer readings from!"
We model fliers are primarily concerned with what our power plants do for us in flight. What happens on a test-bench dynamometer is largely irrelevant to us. That's no doubt the reason why not much "dyno data" is published in the model press anymore.
The second popular topic I find in my readers' mail is engine-cleaning methods. There are two distinct problems involved here, and one is baked-on sludge from long periods of flying between cleanups.
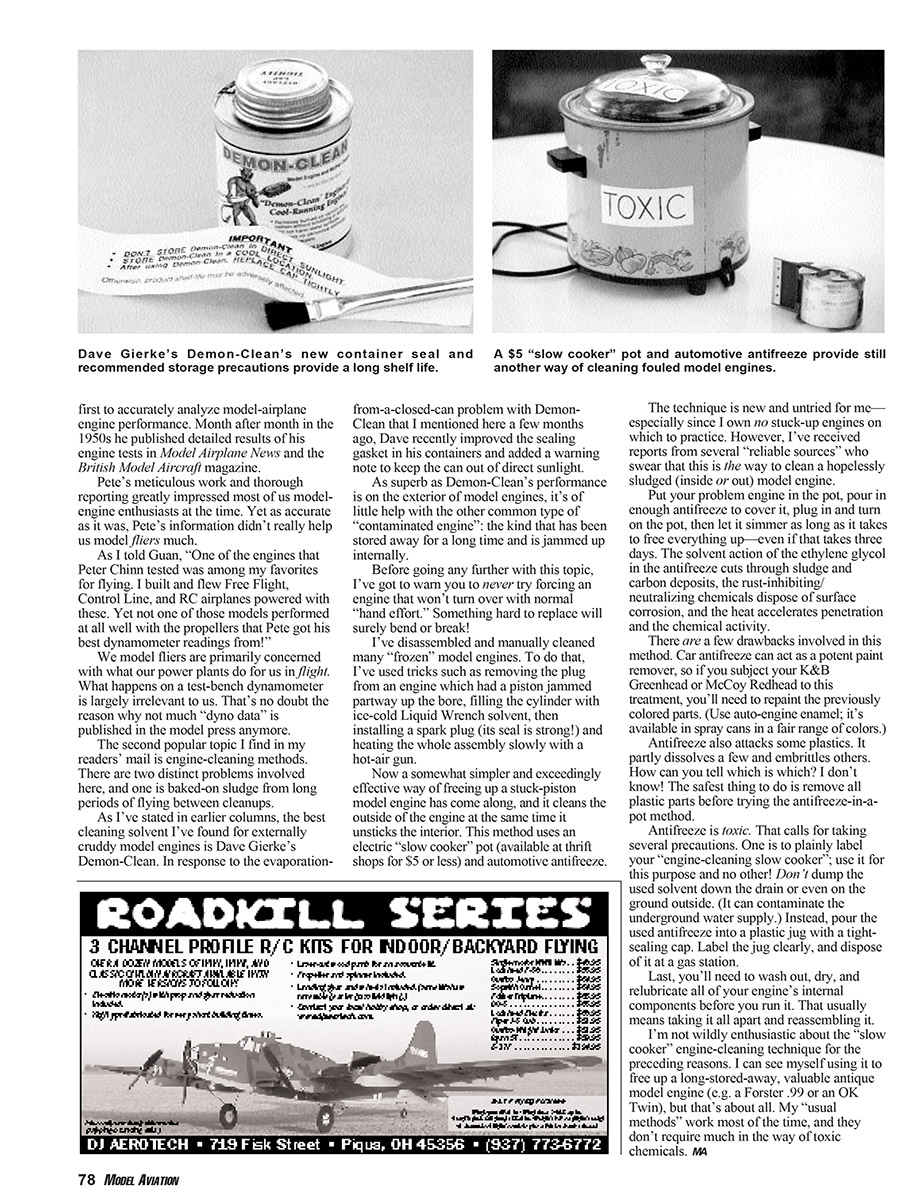
As I've stated in earlier columns, the best cleaning solvent I've found for externally cruddy model engines is Dave Gierke's Demon-Clean. In response to the evaporation-from-a-closed-can problem with Demon-Clean that I mentioned here a few months ago, Dave recently improved the sealing gasket in his containers and added a warning note to keep the can out of direct sunlight.
As superb as Demon-Clean's performance is on the exterior of model engines, it's of little help with the other common type of "contaminated engine": the kind that has been stored away for a long time and is jammed up internally.
Before going any further with this topic, I've got to warn you to never try forcing an engine that won't turn over with normal "hand effort." Something hard to replace will surely bend or break.
I've disassembled and manually cleaned many "frozen" model engines. To do that, I've used tricks such as removing the plug from an engine which had a piston jammed partway up the bore, filling the cylinder with ice-cold Liquid Wrench solvent, then installing a spark plug (its seal is strong!) and heating the whole assembly slowly with a hot-air gun.
Now a somewhat simpler and exceedingly effective way of freeing up a stuck-piston model engine has come along, and it cleans the outside of the engine at the same time it unsticks the interior. This method uses an electric "slow cooker" pot (available at thrift shops for $5 or less) and automotive antifreeze.
The technique is new and untried for me—especially since I now have no stuck-up engines on which to practice. However, I've received reports from several reliable sources who swear that this is the way to clean a hopelessly sludged (inside or out) model engine.
Put your problem engine in the pot, pour in enough antifreeze to cover it, plug in and turn on the pot, then let it simmer as long as it takes to free everything up—even if that takes three days. The solvent action of the ethylene glycol in the antifreeze cuts through sludge and carbon deposits, the rust-inhibiting/neutralizing chemicals dispose of surface corrosion, and the heat accelerates penetration and the chemical activity.
There are a few drawbacks involved in this method:
- Car antifreeze can act as a potent paint remover, so previously colored parts may need repainting (use auto engine enamel; it's available in spray cans in a fair range of colors).
- Antifreeze attacks some plastics: it can partly dissolve a few and embrittle others. Remove all plastic parts before trying the antifreeze-in-a-pot method.
- Antifreeze is toxic.
Because of the toxicity and contamination risk, take these precautions:
- Plainly label your "engine-cleaning slow cooker" and use it only for this purpose.
- Do not dump used antifreeze down the drain or on the ground. Pour the used fluid into a plastic jug with a tight-sealing cap, label it clearly, and dispose of it at a gas station or other approved facility.
- After treatment, wash out, dry, and relubricate all of your engine's internal components before running it. That usually means a full disassembly and reassembly.
I'm not wildly enthusiastic about the "slow-cooker" engine-cleaning technique for the preceding reasons. I can see myself using it to free up a long-stored-away, valuable antique model engine (e.g., a Forster .99 or an OK Twin), but that's about all. My usual methods work most of the time, and they don't require much in the way of toxic chemicals.
MA
Transcribed from original scans by AI. Minor OCR errors may remain.

