
The Engine Shop
Joe Wagner 212 S. Pine Ave., Ozark, AL 36360
SuperTigre engines
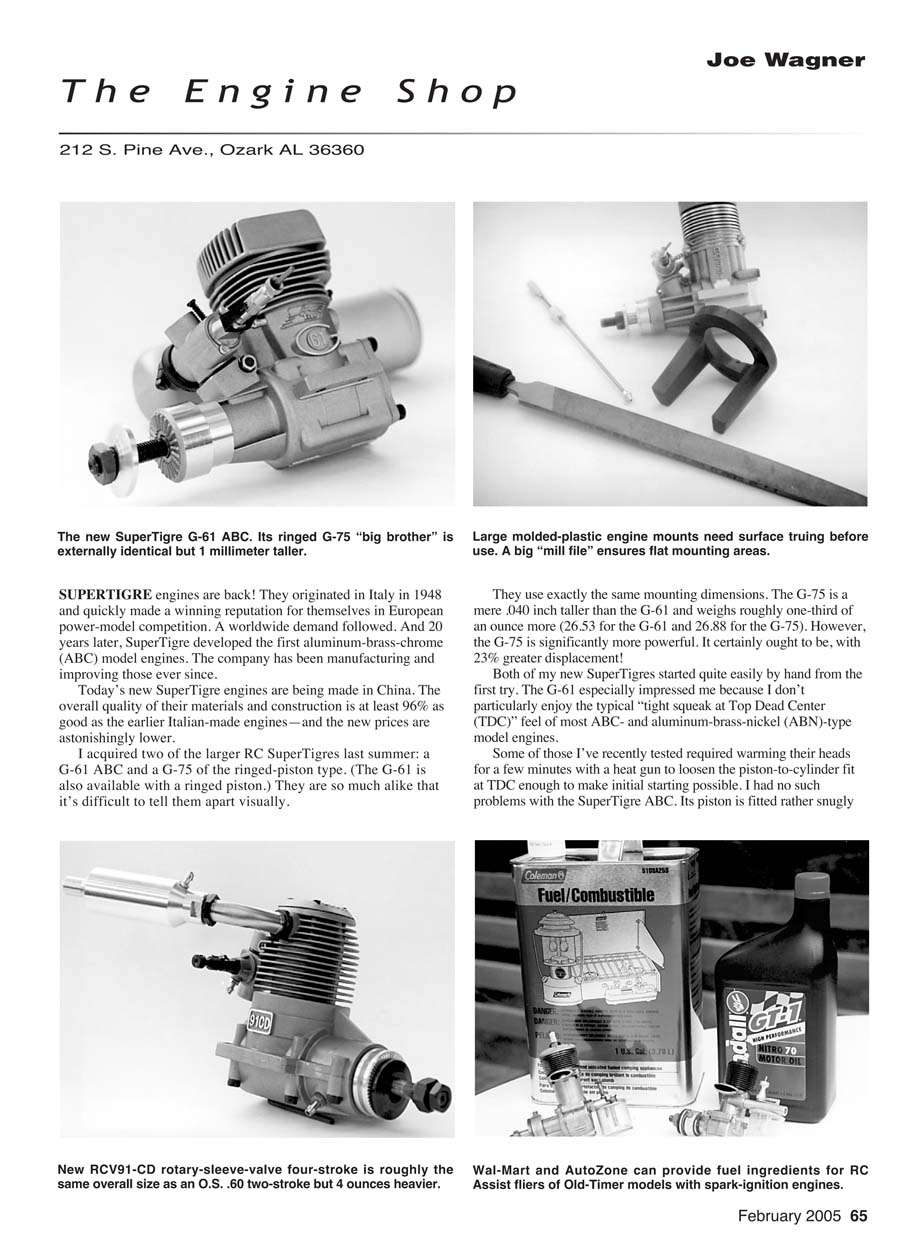
SUPERTIGRE engines are back! They originated in Italy in 1948 and quickly made a winning reputation for themselves in European power-model competition. A worldwide demand followed. And 20 years later, SuperTigre developed the first aluminum‑brass‑chrome (ABC) model engines. The company has been manufacturing and improving those ever since.
Today's new SuperTigre engines are being made in China. The overall quality of their materials and construction is at least 96% as good as the earlier Italian-made engines—and the new prices are astonishingly lower.
I acquired two of the larger RC SuperTigres last summer: a G-61 ABC and a G-75 of the ringed‑piston type. (The G-61 is also available with a ringed piston.) They are so much alike that it's difficult to tell them apart visually.
They use exactly the same mounting dimensions. The G-75 is a mere 0.040 inch taller than the G-61 and weighs roughly one-third of an ounce more (26.53 oz for the G-61 and 26.88 oz for the G-75). However, the G-75 is significantly more powerful. It certainly ought to be, with 23% greater displacement!
Both of my new SuperTigres started quite easily by hand from the first try. The G-61 especially impressed me because I don't particularly enjoy the typical "tight squeak at Top Dead Center (TDC)" feel of most ABC- and aluminum‑brass‑nickel (ABN)-type model engines.
Some of those I've recently tested required warming their heads for a few minutes with a heat gun to loosen the piston‑to‑cylinder fit at TDC enough to make initial starting possible. I had no such problems with the SuperTigre ABC. Its piston is fitted rather snugly in its bore at the top of its stroke—but not excessively so. Even at 60° ambient temperature, I could easily flip the propeller by hand and obtain immediate starting. I'm not really surprised, though. SuperTigre has been making ABCs for more than 35 years. By this time the company obviously knows precisely how to optimize the fits.
Documentation and accessories
SuperTigre provides plenty of useful documentation with its engines:
- A generic instruction booklet that covers all of the company's engines, from the G-34 to the G-2300. It includes clearly labeled photographs and line drawings illustrating correct installation, recommended propeller sizes, and recommended fuels.
- A two‑page troubleshooting "logic diagram" that lists major possible causes of engine malfunction and, in simple language, how to overcome them.
- A folder of exploded views: one of the particular-size engine itself and another of its carburetor. All individual parts are identified and listed for easy and accurate ordering of replacements.
- Complete engine mounting dimensions.
- A sizable sheet of company logo and tiger decals.
Everything comes neatly packaged in a protective foam‑compartmented box. Some assembly is necessary, but the only item that might prove a trifle bothersome to install is the brass nut which retains the carburetor's clamping bolt. Don't use long‑nose pliers to tighten this nut! There's not much clearance space around it, and pliers will inevitably slip and deform the soft brass. Even if you have to make the tool yourself, use nothing but a small open‑end wrench (or a metric socket) on this nut.
Mounting and the test stand
I did have some trouble setting up the two SuperTigres for test‑bench break‑in and running; they wouldn't fit conveniently in any of my universal test mounts. Instead, I bought a molded‑plastic radial mount that was the proper size to fit the SuperTigres so I could install it on a specially made hardwood fixture containing a fuel tank and a throttle pushrod arrangement. (I described and showed my custom test stand design in an earlier column.)
But when I removed the radial mount from its plastic bag, I immediately saw that its mounting surfaces were far from smooth and flat. That was the result of shrinkage that occurs when the molten injection‑molded plastic cools. (There's no way of avoiding this, especially in areas with thick cross‑sections.)
Flat mounting surfaces—on the engine‑beam tops and the rear surface that contacts the firewall—are essential for reliable, low‑vibration engine operation. To correct the uneven‑surface problem, I clamped my new plastic radial mount firmly in a vise and carefully filed the mounting surfaces flat with a big, sharp‑toothed mill file.
(Files do get dull, as do any cutting tools, and then they are as unsuitable for doing quick and accurate work as dull knives are. New files don't cost much, and they make the job much faster and easier.)
Mounting the SuperTigres to my filed‑flat radial mount provided a good opportunity for me to try a new tool: Tower Hobbies' Dead‑Center Hole Locator. It's a most ingenious device for accurately locating engine mounting‑hole positions—in beam‑mounting lugs and in models' firewalls.
This hole locator is much easier to use than to describe. It has a small drill bit at the end of a long, thin, spring‑loaded shaft. A knurled knob at one end of the tool is used to manually rotate the drill bit. The other end terminates in a conical guide that centers the bit precisely in an engine lug's mounting hole while the bit is being turned, making a pilot hole to accurately locate the mounting‑screw positions.
I discard the self‑tapping engine‑mounting screws that come with most molded‑plastic radial mounts. They are tough to install and even worse to remove. Instead, I use my drill press to make tapped holes for standard socket‑head machine screws. Doing the job that way takes only slightly longer to set up, and it saves far more time—and frustration—when installing and removing the engine‑attachment screws.
New engines coming up
I acquired another big, new engine that needs a specially made test mount before I can test‑run it: the RCV91‑CD, which is RCV's latest crankshaft‑drive four‑stroke. I greatly admired the earlier 58‑CD, and I expect its "big brother" to run just as well.
I'll report further on this engine in the next column—and on the special test‑mount design I've come up with to simplify the job of test‑running today's crop of big model engines.
Operating old spark‑ignition engines
Although almost all spark‑ignition model engines went out of production more than a half‑century ago, a surprising number of them have survived and are in good working condition. Flying the classic free‑flight designs of yesteryear with antique power plants has become fairly popular—especially via "RC Assist." That eliminates most of the cross‑country chasing and tree‑climbing that used to be such an unpleasant but inescapable part of gas‑model free‑flight activities.
Two aspects of operating old‑time spark engines nowadays have been presenting problems, one of which is fuel. The original "standard formula" was three parts of "white gas" and one part of 70‑weight nondetergent motor oil, but you can't find either of those at gas stations anymore.
Today's automotive gasoline isn't good for use in old‑time model engines. For one thing, its octane rating is much higher than that of "white gas," which can make for difficult starting. For another, modern gasoline will damage plastic fuel tanks—such as those made by Ohlsson's, Super Cyclone, Forster, and Brown—because of the additives in today's auto gasoline.
However, Coleman's stove and lantern fuel is available in Wal‑Mart's sporting‑goods department. It's similar to "white gas" in all of its characteristics.
As for 70‑weight oil, for a long time that old‑time, high‑viscosity lubricant was nearly unobtainable. But I learned from my old pal Zach Allerton (New Castle, Pennsylvania) that auto parts dealers (such as AutoZone) carry Kendall's Nitro 70 engine oil, and that's just like the stuff we used in model‑airplane fuel in the 1930s and 1940s!
Ignition systems
A further problem with old‑time model engines—especially for RC Assist flying—is the spark‑ignition system. The circuits we used 60 years ago were exceedingly troublesome for a variety of reasons. When they did work, they produced considerable radio‑frequency (RF) interference. That often made it impossible to control an RC model while its engine was running.
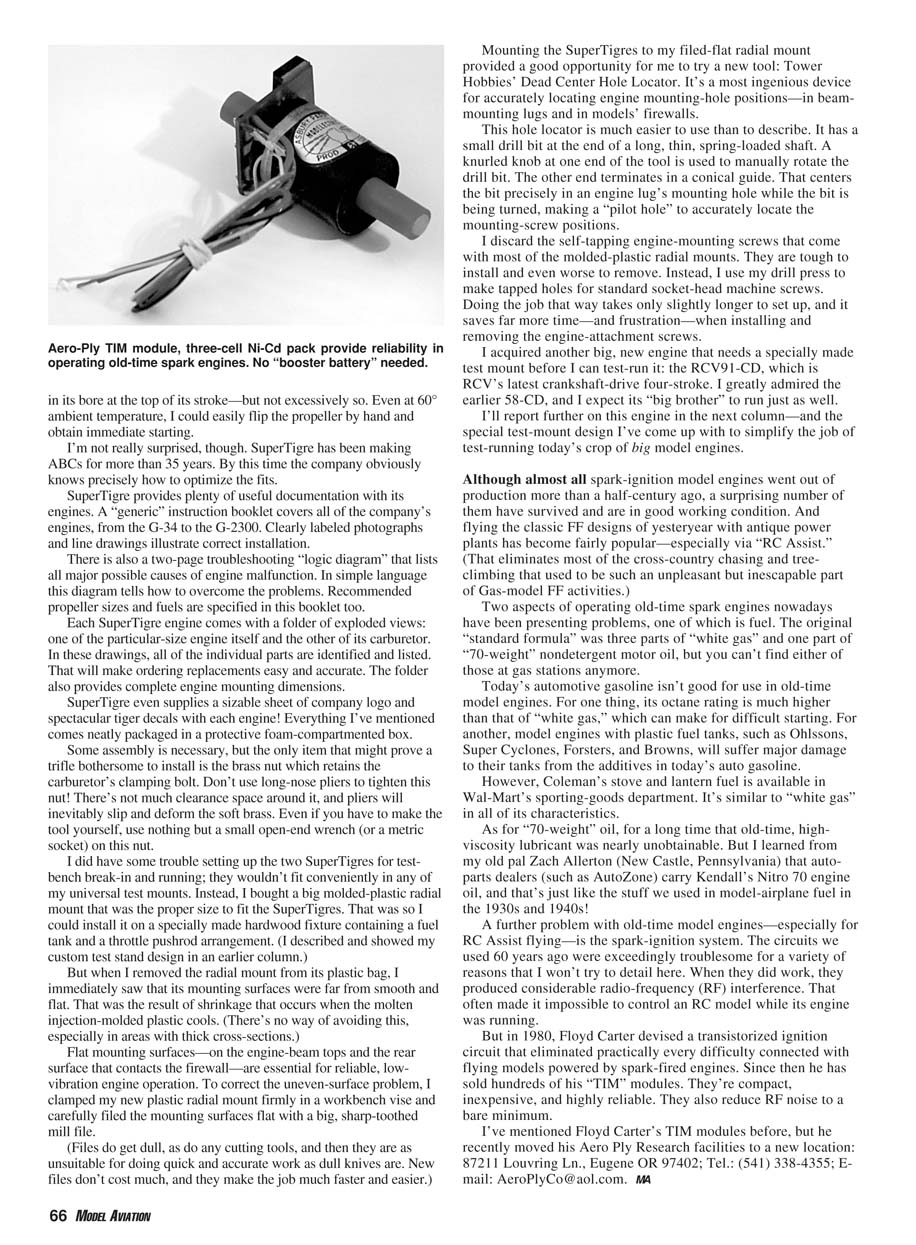
But in 1980, Floyd Carter devised a transistorized ignition circuit that eliminated practically every difficulty connected with flying models powered by spark‑fired engines. Since then he has sold hundreds of his "TIM" modules. They're compact, inexpensive, and highly reliable. They also reduce RF noise to a bare minimum.
I've mentioned Floyd Carter's TIM modules before, but he recently moved his Aero Ply Research facilities to a new location: 87211 Lourving Ln., Eugene, OR 97402; Tel.: (541) 338‑4355; E‑mail: [email protected].
Transcribed from original scans by AI. Minor OCR errors may remain.

