

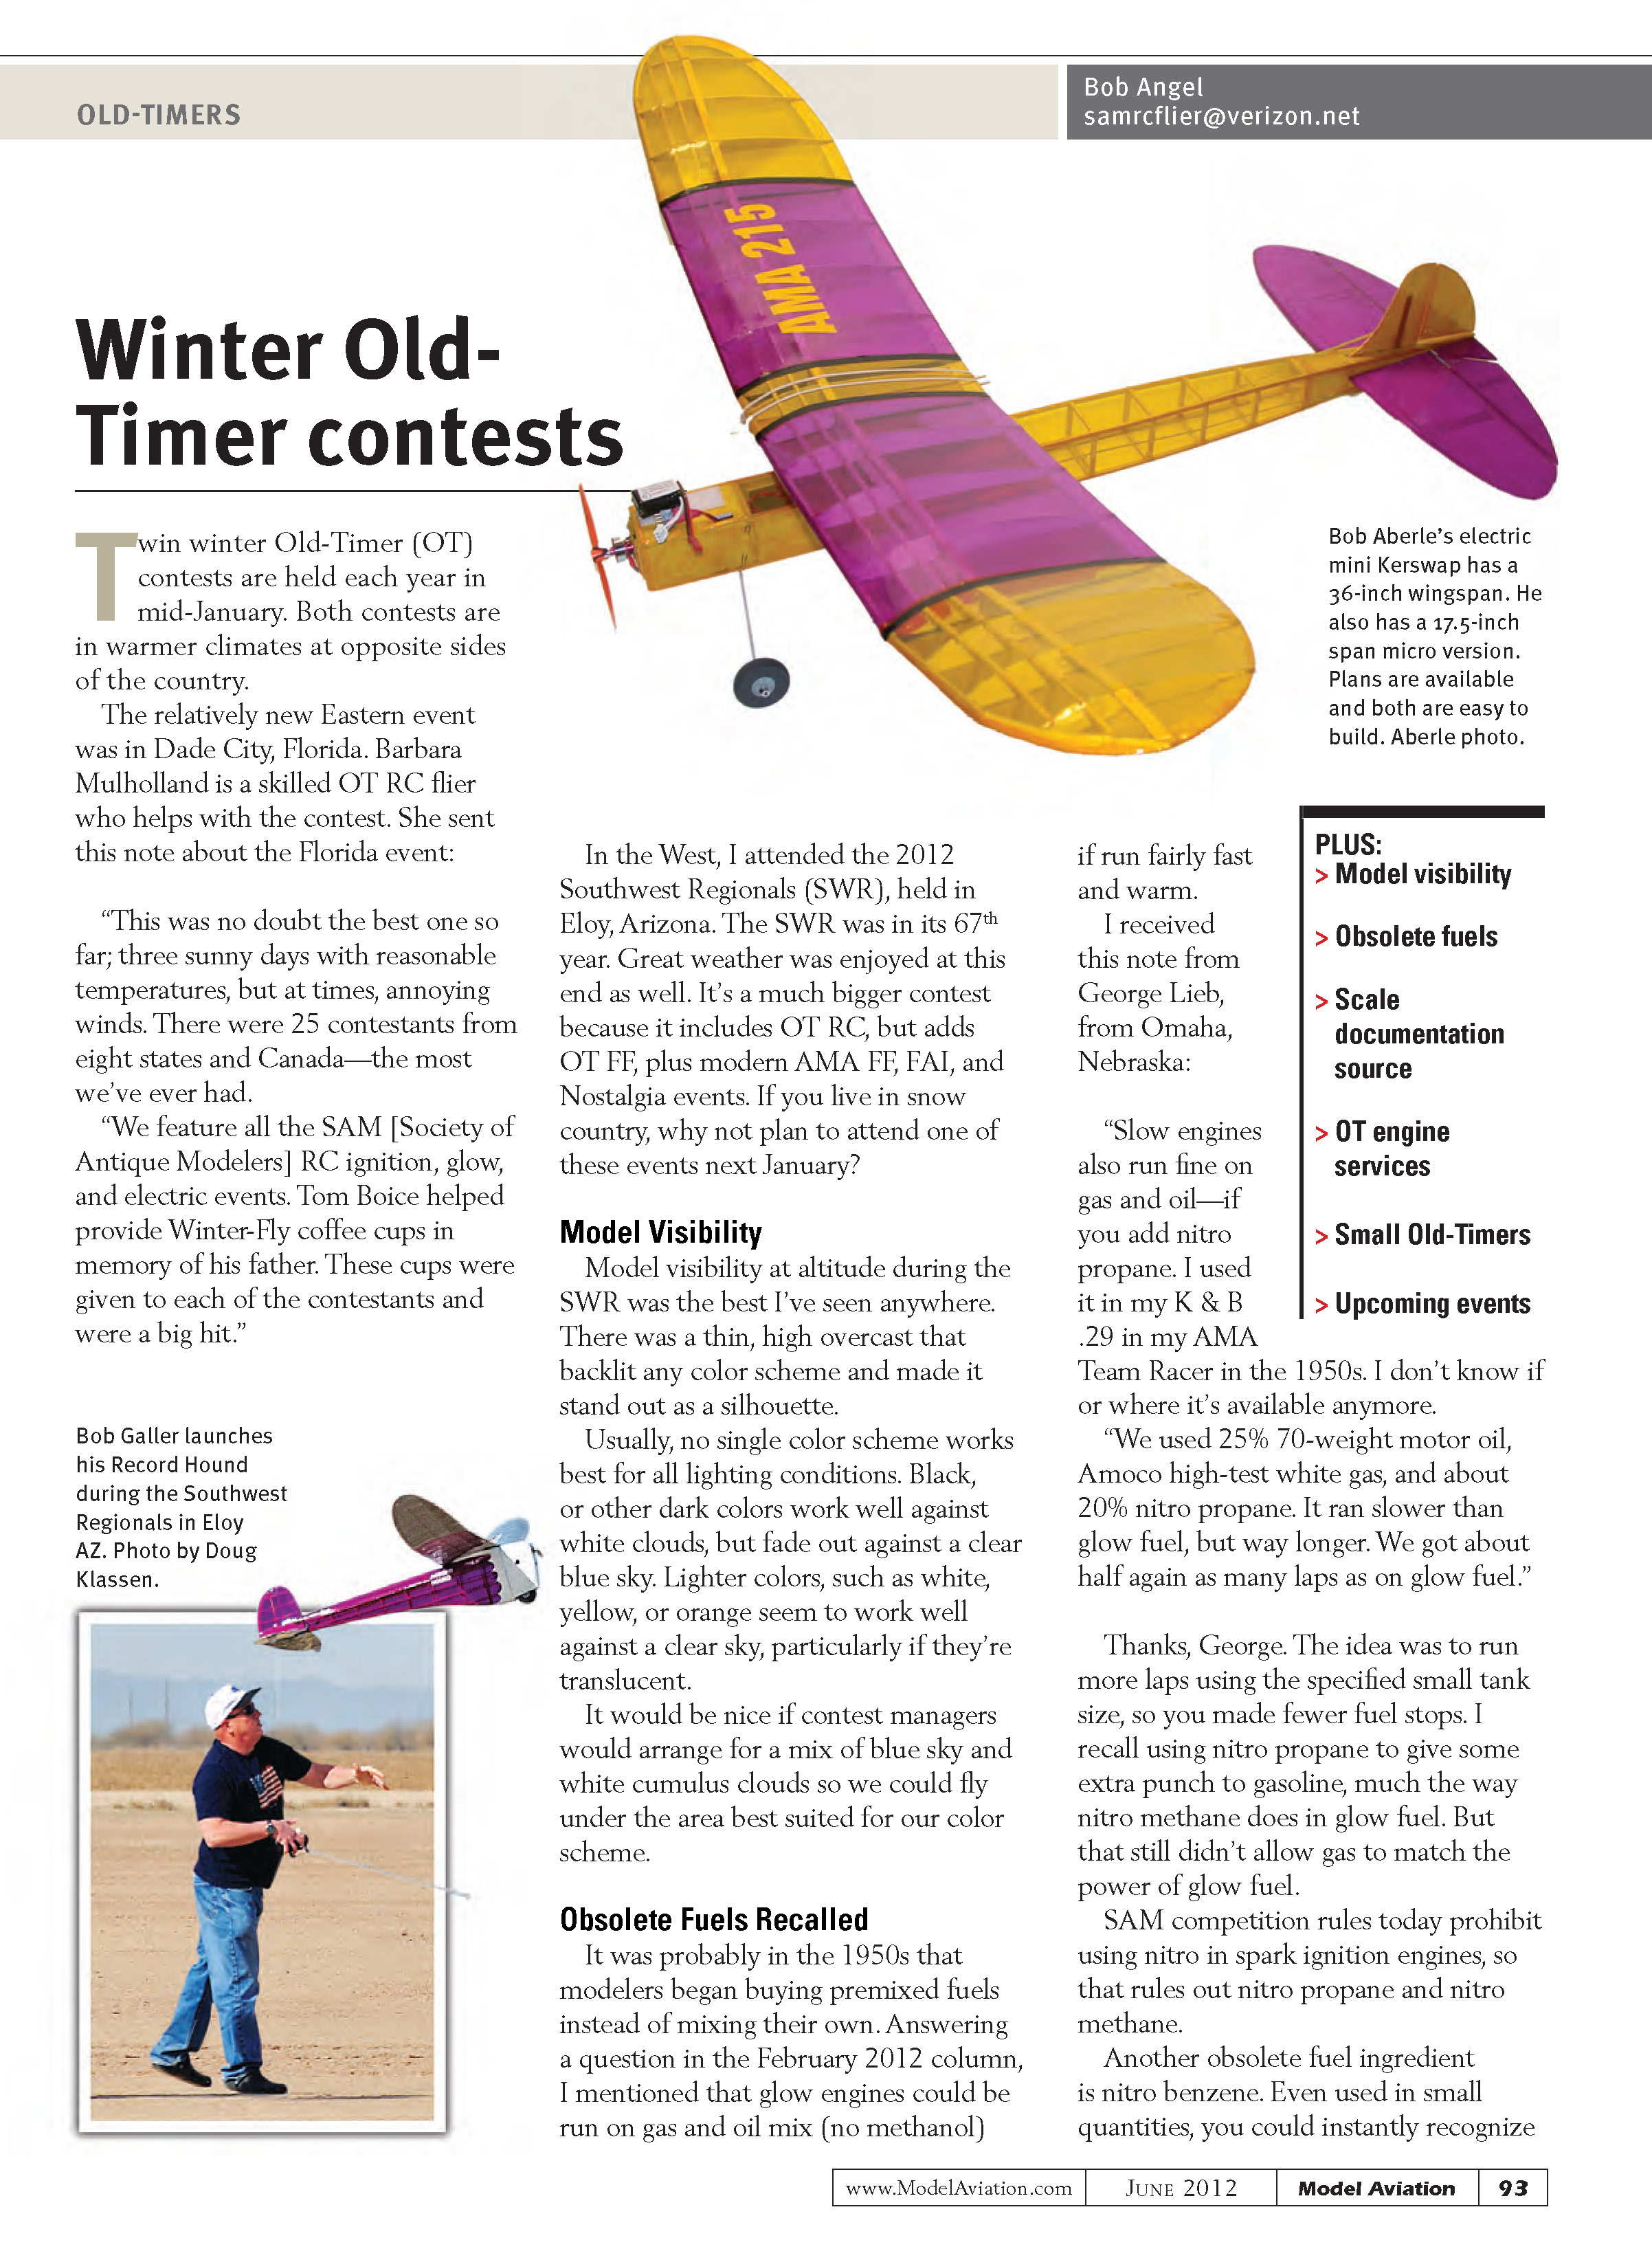
THE ENGINE SHOP - 2012/06
- Carburetor/needle assembly
- Plug
Reassembly tips
Most of the engine reassembly is a reversal of the disassembly process. Here are some tips for getting the harder parts back in correctly.
- Assemble the piston, connecting rod, and ring before installing them. Position the crankpin (big end) at top-dead-center as you did during disassembly. Use your photos of the original connecting-rod orientation to get the correct piston position relative to the exhaust port.
- Ensure the phosphor-bronze bearing chamfer faces forward to meet the flywheel portion of the crankshaft.
- Slide the piston forward on the wrist pin and press the connecting rod into place with your finger.
- Refit the liner with the piston already in the engine. Before sliding the liner in, position the piston ring so the ring gap is located at the anti-rotation pin in the ring groove.
- A fine-tip Sharpie mark on top of the piston can help when fitting the liner. If the ring gap is not correctly positioned, the liner will not go on—the liner chamfer compresses the ring into place as it slides into the crankcase barrel.
- To prevent warping of the aluminum cylinder head from uneven bolt tension, lightly snug down the head bolts evenly first. Visually ensure the head gasket is aligned. A drop of oil on top of the liner lip can help hold a copper head gasket in place.
- With five head bolts or more, tighten in an "opposite" pattern: each time you tighten a bolt, move the wrench to the bolt on the other side of the cylinder over the glow-plug hole. For a six-bolt head, tighten exactly diagonally opposite.
If you use a smartphone or digital camera to record everything you do, you’ll greatly improve your chances of success. Even experienced engine people benefit from keeping a record—it has saved my bacon many times.
If you’re unsure about taking apart a relatively new or expensive engine, consider buying old, used, or beat-up engines to practice on. I strongly advise sending engines that are still under warranty back to the manufacturer. Once the warranty has expired, you have little to lose and much to gain by servicing the engine yourself. I find it fun to take two beat-up engines and make one good one out of the pair—especially if I picked them up cheaply.
Inspection and servicing while the engine is apart
While the engine is apart, look for what could be wrong or needs servicing.
- Gaskets: Most people reuse old paper and copper gaskets, but I replace them wherever possible.
- Piston and ring: Inspect for scratches and gouges. If you find any, check the liner—something hard got in there. This is often the most expensive repair and may make you consider replacing the engine. Keep damaged engines for spare parts rather than throwing them away.
- Stuck rings: Rings can be stuck in the piston groove. Scrape out the carbon/burned-oil residue with an old, broken ring. I usually soak parts overnight in 50% denatured alcohol and acetone, and sometimes regular paint thinner, to clean gunk. The ring must be able to float to seal during combustion and relax before the next cycle. A new ring and/or liner is like having a new engine—use proper break-in procedures.
- Connecting rod and wrist pin play: Check for play at each end of the connecting rod, wrist pin, and crankshaft.
- Bearings: Look closely at the crankshaft. If the area under the main bearing is shiny, the main bearing’s inner ring may have been slipping—change both bearings and the crankshaft in most cases. To check bearings, press firmly with your thumb on the center ring and rotate one-half turn each way; any roughness or grit means change the bearings. Bearings support the shaft so it does not touch the crankcase; excessive clearance can allow gases to escape and reduce crankcase pressure transfer.
- Crankshaft straightness: Roll the shaft on a flat surface (such as a sheet of glass), leaving the flywheel hanging over the edge.
- Threads and cleaning: Keep a threaded die tool for popular crankshaft threads and clean the threads while the crankshaft is out of the engine.
- Cylinder head: Inspect the head—burned-oil stains in the fins are often fuel sprayed from the carburetor or muffler. Fuel can leak between the cylinder head and liner; check for head-gasket and cylinder-head-seat discoloration (often due to loose or uneven head bolts). Check the head for warping on a sheet of glass and replace if necessary. A new head gasket and even bolt tightening will usually restore minor distortion.
- Glow-plug threads: If you have a 1/4 x 32 tap, cleaning glow-plug threads in the head will do no harm. Remove carbon deposits with acetone; stubborn carbon can be removed with a wooden Popsicle stick.
- Bearings (final detail): Modern two-stroke engines usually have two bearings with different functions. The rear bearing is designed to handle the up-and-down action of the piston and the associated forces from combustion.
Transcribed from original scans by AI. Minor OCR errors may remain.

