
FREE FLIGHT DURATION
Louis Joyner, 183 Civitas St., Mt. Pleasant SC 29464
BLASTING AWAY
Back in the good old days, some 40 or 50 years ago, a staple shot in the model magazines was the photo of a rubber motor, taken just as the motor blew during winding. It was not a pretty sight. Pieces of balsa and tissue were flying everywhere, while the hapless holder (this was before the winding stooge) flinched and grimaced. One turn too many on the winder crank, and a week's work would be destroyed in an instant.
Along came the winding tube, and those photos and the shredded models became a distant memory. If the motor breaks during winding, the tube absorbs the exploding rubber motor, protecting the model.
The blast tube makes the often-frustrating process of removing a blown motor much quicker and easier. Using a winding tube also allows you to put in extra turns, pushing the rubber to its limit, knowing that the model will survive even if the motor doesn't.
If you are new to Free Flight or switching to a rubber motor from another category, a quick lesson in safe winding is in order.
WHAT IS A WINDING TUBE
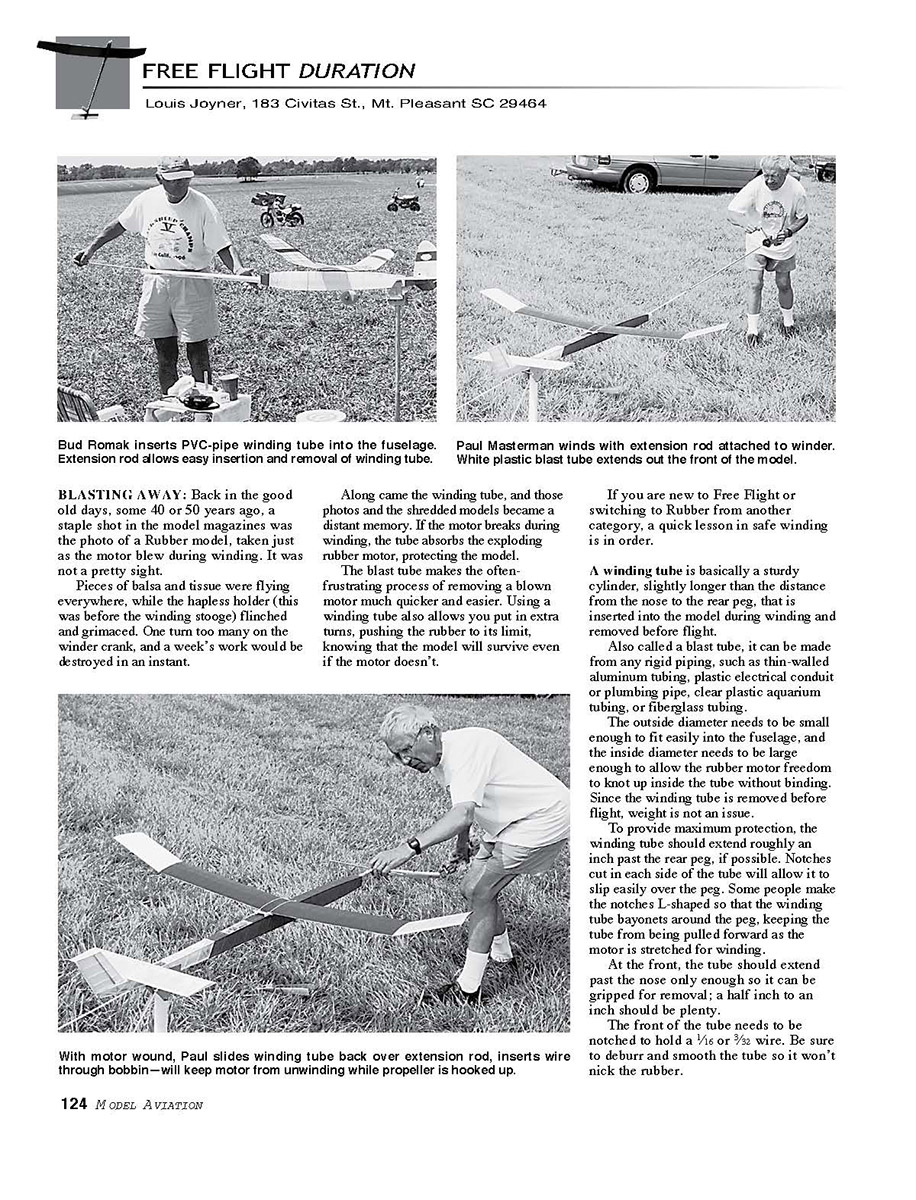
A winding tube is basically a sturdy cylinder, slightly longer than the distance from the nose to the rear peg, that is inserted into the model during winding and removed before flight.
Also called a blast tube, it can be made from any rigid piping, such as:
- thin-walled aluminum tubing
- plastic electrical conduit or plumbing pipe
- clear plastic aquarium tubing
- fiberglass tubing
The outside diameter needs to be small enough to fit easily into the fuselage, and the inside diameter needs to be large enough to allow the rubber motor freedom to knot up inside the tube without binding. Since the winding tube is removed before flight, weight is not an issue.
To provide maximum protection, the winding tube should extend roughly an inch past the rear peg, if possible. Notches cut in each side of the tube will allow it to slip easily over the peg. Some people make the notches L-shaped so that the winding tube bayonets around the peg, keeping the tube from being pulled forward as the motor is stretched for winding.
At the front, the tube should extend past the nose only enough so it can be gripped for removal; a half inch to an inch should be plenty.
The front of the tube needs to be notched to hold a 1/16 or 3/32 wire. Be sure to deburr and smooth the tube so it won't nick the rubber.
ADDITIONAL ITEMS NEEDED
Using the winding tube requires a few other items:
- a removable rubber hook or bobbin, so the model can be wound with the propeller removed
- a short piece of 1/16 or 3/32 wire to hold the wound motor
- an extension rod to remove the winding tube
Typically, the extension rod is heavy wire, thick-walled aluminum tubing, or a carbon-fiber arrow shaft. It needs to be several inches longer than the winding tube and strong enough to resist the torsion of the wound motor.
One end of the rod is fitted with a hook or other fitting that fits the bobbin or winding hook to which the rubber motor is attached. The other end of the extraction rod is typically fitted with a T-shaped handle.
Using a winding tube adds a few more steps to the flying process. But with a bit of practice, it only takes a few extra seconds per flight and can save a lot of time repairing or rebuilding.
WINDING PROCEDURE (STANDARD METHOD)
- Insert the winding tube into the model, then load the motor in the usual way, using a stuffer stick. Insert the wire through the bobbin or winding hook.
- Put the model in the stuffer, attach the winder to the bobbin, remove the wire, stretch the motor, and begin winding.
- After the motor is wound, insert the piece of wire through the bobbin, fitting it into the notches in the winding tube. This will keep the motor from unwinding.
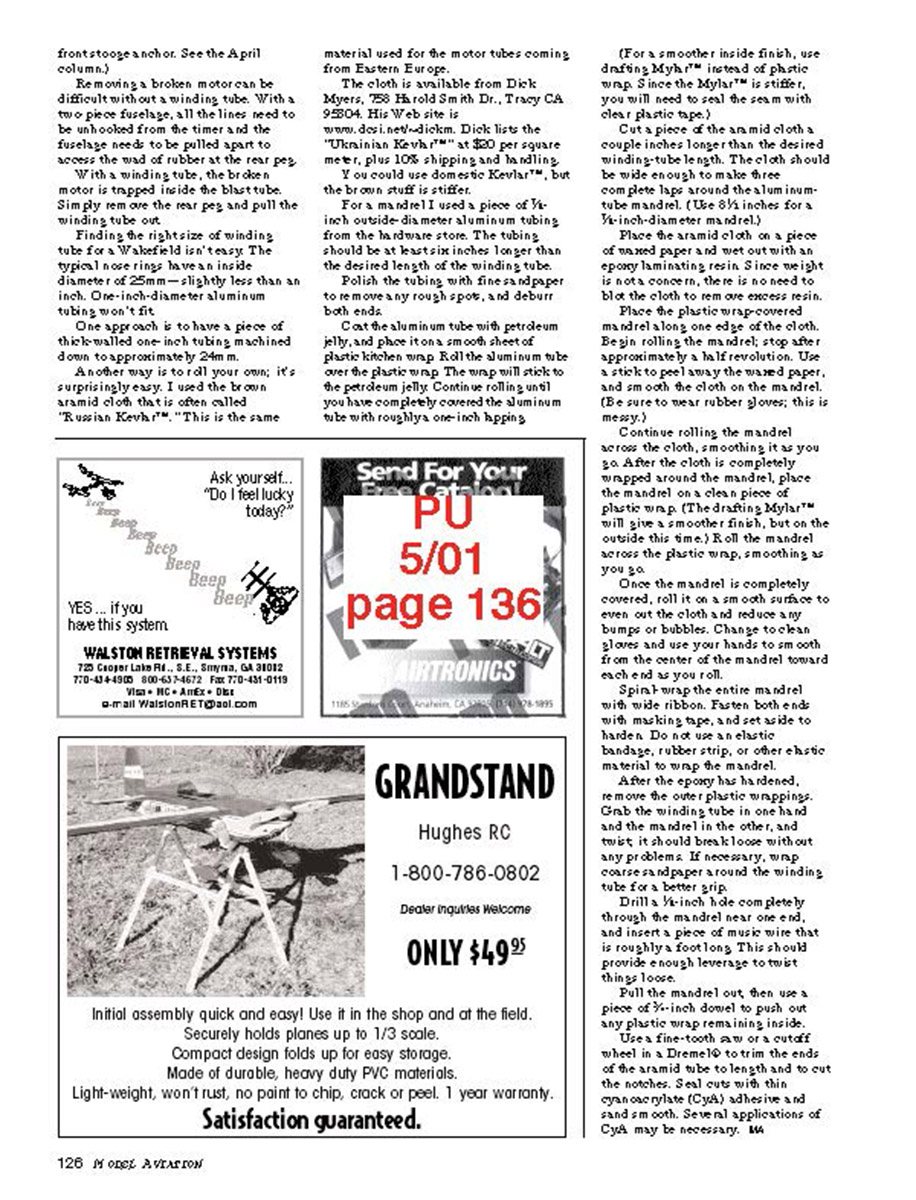
- Attach the extension rod to the bobbin, remove the holding wire, and slide the winding tube back over the extension rod.
- Reinsert the holding wire into the bobbin. Attach the propeller to the bobbin, remove the holding wire, seat the propeller hub in the fuselage, and you are ready to launch.
ALTERNATIVE METHODS
- Another way is to load the motor in the model with the winding tube slipped over the extension rod. When ready to wind, hook the extension rod to the motor hook, pull the motor tight, slide the winding tube into the model, insert the wire, and unhook the extension rod. Wind as above.
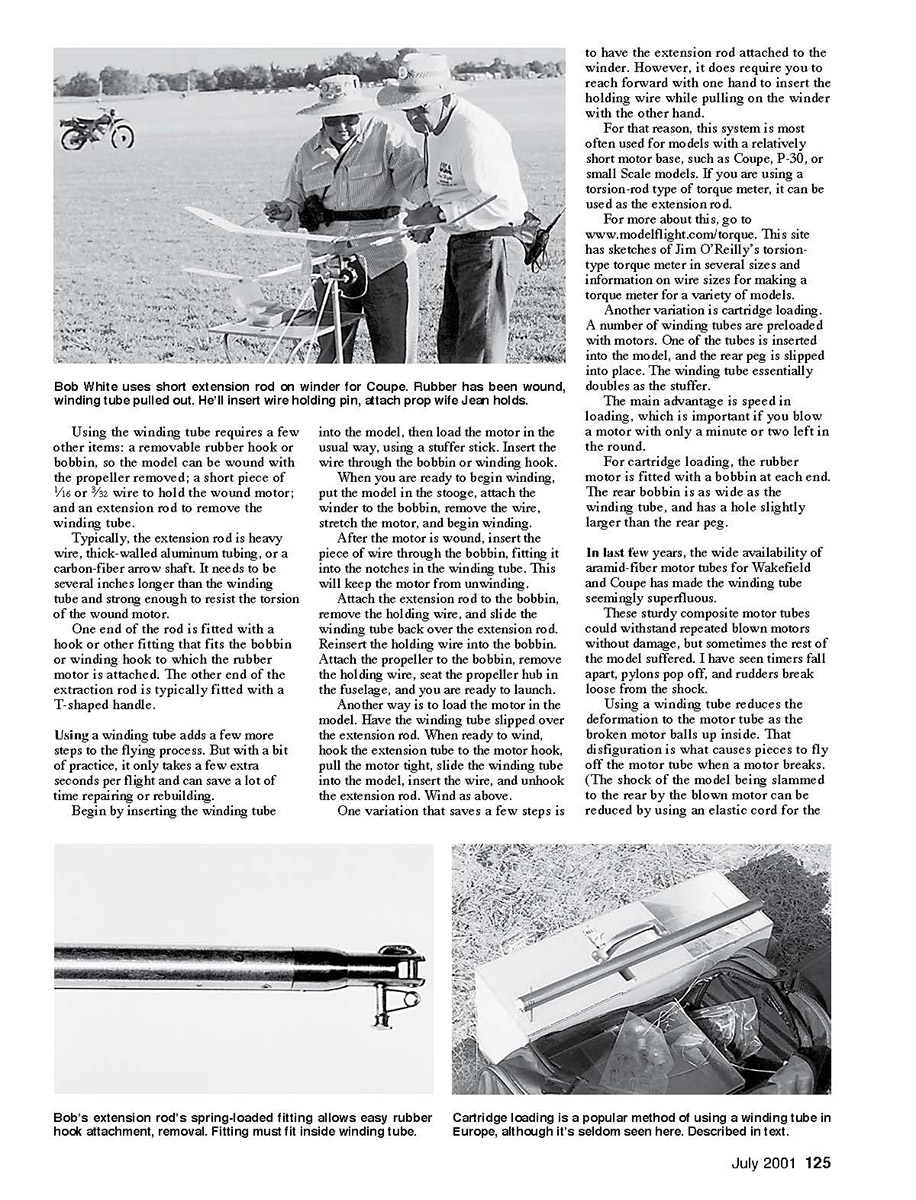
- One variation that saves a few steps is to have the extension rod attached to the winder. However, it requires you to reach forward with one hand to insert the holding wire while pulling on the winder with the other hand. For that reason, this system is most often used for models with a relatively short motor base, such as Coupe, P-30, or small Scale models. If you are using a torsion-rod type of torque meter, it can be used as the extension rod.
For more about this, go to www.modelflight.com/torque. This site has sketches of Jim O'Reilly's torsion-type torque meter in several sizes and information on wire sizes for making a torque meter for a variety of models.
CARTRIDGE LOADING
Another variation is cartridge loading. A number of winding tubes are preloaded with motors. One of the tubes is inserted into the model, and the rear peg is slipped into place. The winding tube essentially doubles as the stuffer.
The main advantage is speed in loading, which is important if you blow a motor with only a minute or two left in the round.
For cartridge loading, the rubber motor is fitted with a bobbin at each end. The rear bobbin is as wide as the winding tube, and has a hole slightly larger than the rear peg.
WOUND MOTOR TUBES AND MODEL DAMAGE
In recent years, the wide availability of aramid-fiber motor tubes for Wakefield and Coupe has made the winding tube seemingly superfluous. These sturdy composite motor tubes could withstand repeated blown motors without damage, but sometimes the rest of the model suffered. I have seen timers fall apart, pylons pop off, and rudders break loose from the shock.
Using a winding tube reduces the deformation to the motor tube as the broken motor balls up inside. That disfiguration is what causes pieces to fly off the motor tube when a motor breaks. (The shock of the blow being slammed to the rear by the blown motor can be reduced by using an elastic cord for the shock mount.)
REMOVING A BROKEN MOTOR
Removing a broken motor can be difficult without a winding tube. With a two-piece fuselage, all the lines need to be unhooked from the timer and the fuselage needs to be pulled apart to access the wad of rubber at the rear peg. With a winding tube, the broken motor is trapped inside the blast tube. Simply remove the rear peg and pull the winding tube out.
FINDING OR MAKING THE RIGHT SIZE WINDING TUBE
Finding the right size of winding tube for a Wakefield isn't easy. The typical nose rings have an inside diameter of 25 mm — slightly less than an inch. One-inch-diameter aluminum tubing won't fit.
Options include:
- having a piece of thick-walled one-inch tubing machined down to approximately 24 mm
- rolling your own winding tube from aramid cloth
I used the brown aramid cloth that is often called "Russian Kevlar". This is the same material used for the motor tubes coming from Eastern Europe. The cloth is available from Dick Myers, 728 Harold Smith Dr., Tracy CA 95304. His Web site is www.dickonickim. Dick is the "Ukrainian Kevlar"™ at $80 per square meter, plus 10% shipping and handling. You could use domestic Kevlar™, but the brown stuff is stiffer.
For a mandrel I used a piece of 1/4-inch outside-diameter aluminum tubing from the hardware store. The tubing should be at least six inches longer than the desired length of the winding tube. Polish the tubing with fine sandpaper to remove any rough spots, and deburr both ends.
Coat the aluminum tube with petroleum jelly, and place it on a smooth sheet of plastic kitchen wrap. Roll the aluminum tube over the plastic wrap. The wrap will stick to the petroleum jelly. Continue rolling until you have completely covered the aluminum tube with roughly a one-inch lapping.
(For a smoother inside finish, use drafting Mylar™ instead of plastic wrap. Since the Mylar™ is stiffer, you will need to seal the seam with clear plastic tape.)
Cut a piece of the aramid cloth a couple inches longer than the desired winding-tube length. The cloth should be wide enough to make three complete laps around the aluminum tube mandrel. (Use 8½ inches for a 1-inch-diameter mandrel.)
Place the aramid cloth on a piece of waxed paper and wet out with an epoxy laminating resin. Since weight is not a concern, there is no need to blot the cloth to remove excess resin.
Place the plastic wrap-covered mandrel along one edge of the cloth. Begin rolling the mandrel; stop after approximately a half revolution. Use a stick to peel away the waxed paper, and smooth the cloth on the mandrel. (Be sure to wear rubber gloves; this is messy.)
Continue rolling the mandrel across the cloth, smoothing as you go. After the cloth is completely wrapped around the mandrel, place the mandrel on a clean piece of plastic wrap. (The drafting Mylar™ will give a smoother finish, but on the outside this time.) Roll the mandrel across the plastic wrap, smoothing as you go.
Once the mandrel is completely covered, roll it on a smooth surface to even out the cloth and reduce any bumps or bubbles. Change to clean gloves and use your hands to smooth the center of the mandrel toward each end as you roll.
Spiral wrap the entire mandrel with wide ribbon. Fasten both ends with masking tape, and set aside to harden. Do not use an elastic bandage, rubber strip, or other elastic material to wrap the mandrel.
After the epoxy has hardened, remove the outer plastic wrapping. Grab the winding tube in one hand and the mandrel in the other, and twist; it should break loose without any problems. If necessary, wrap coarse sandpaper around the winding tube for a better grip.
Drill a 1/8-inch hole completely through the mandrel near one end, and insert a piece of music wire that is roughly a foot long. This should provide enough leverage to twist things loose. Pull the mandrel out, then use a piece of 3/16-inch dowel to push out any plastic wrap remaining inside.
Use a fine-tooth saw or a cutoff wheel in a Dremel® to trim the ends of the aramid tube to length and to cut notches. Seal cuts with thin cyanoacrylate (CyA) adhesive and sand smooth. Several applications of CyA may be necessary.
Transcribed from original scans by AI. Minor OCR errors may remain.

