
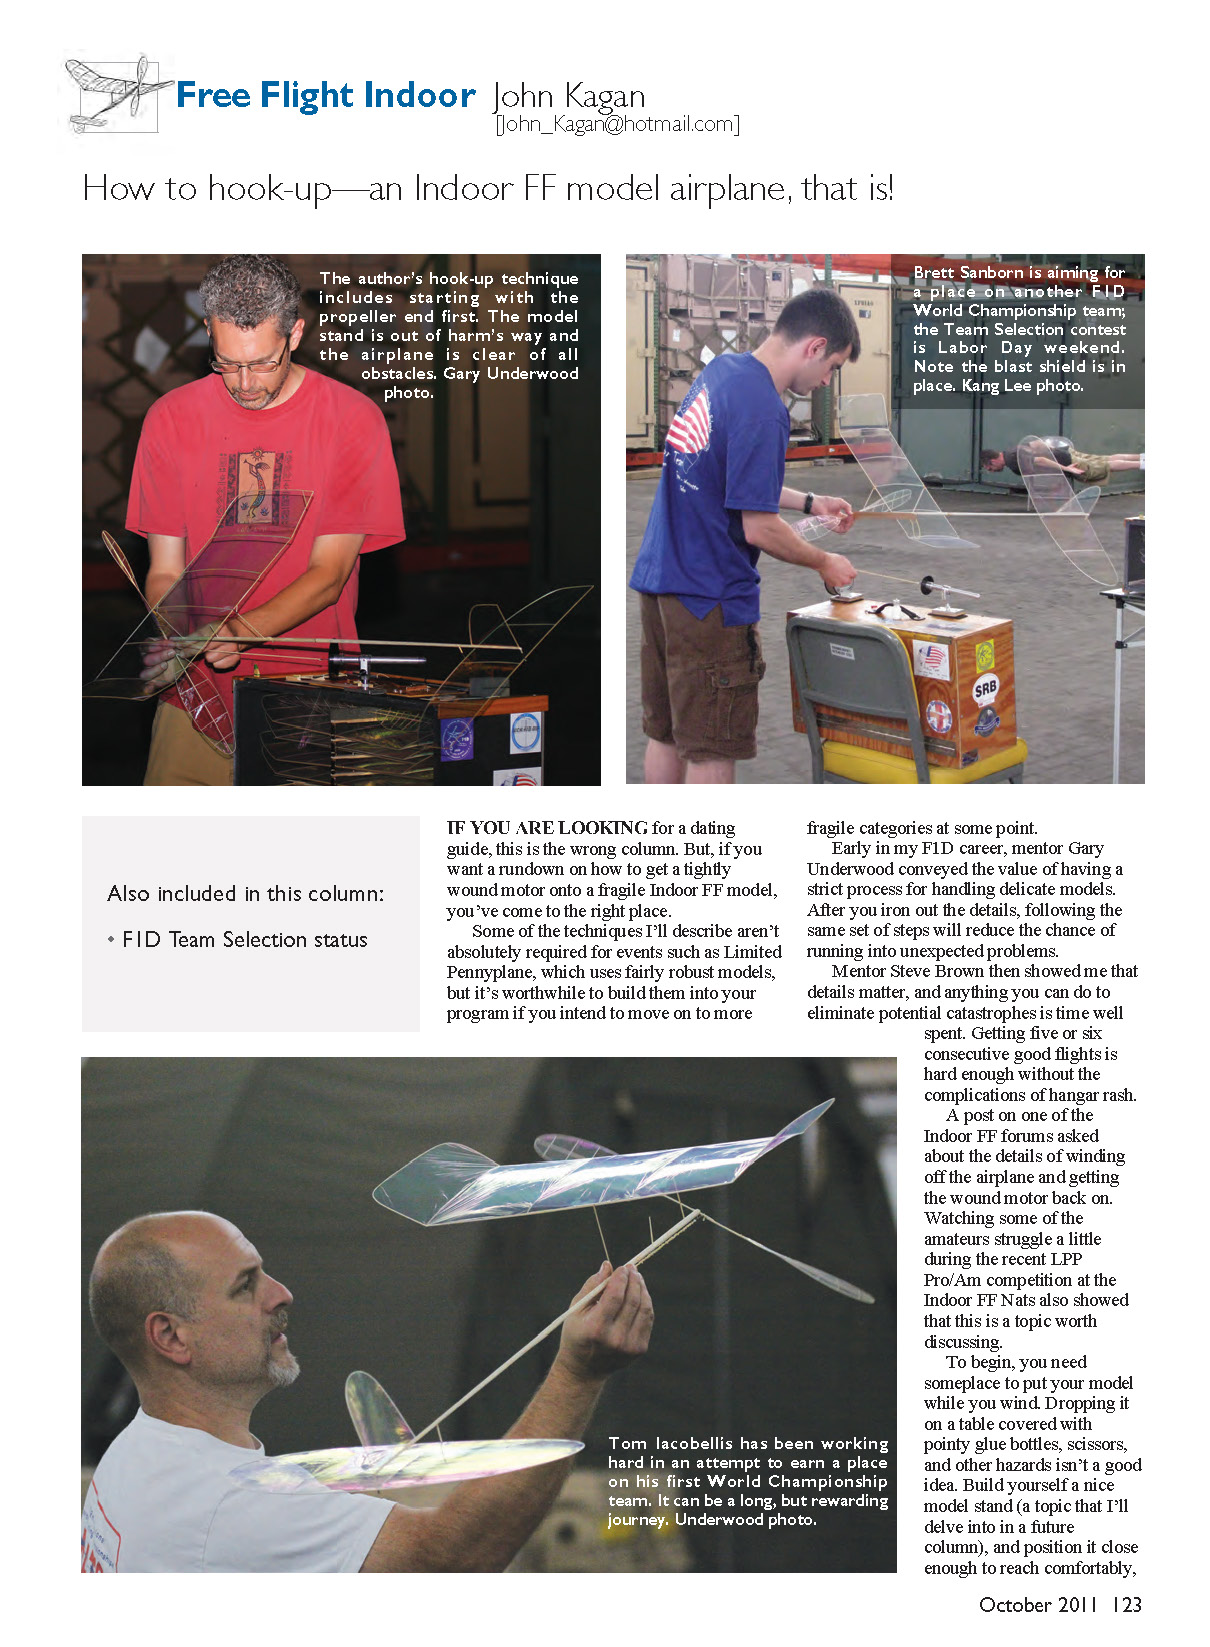
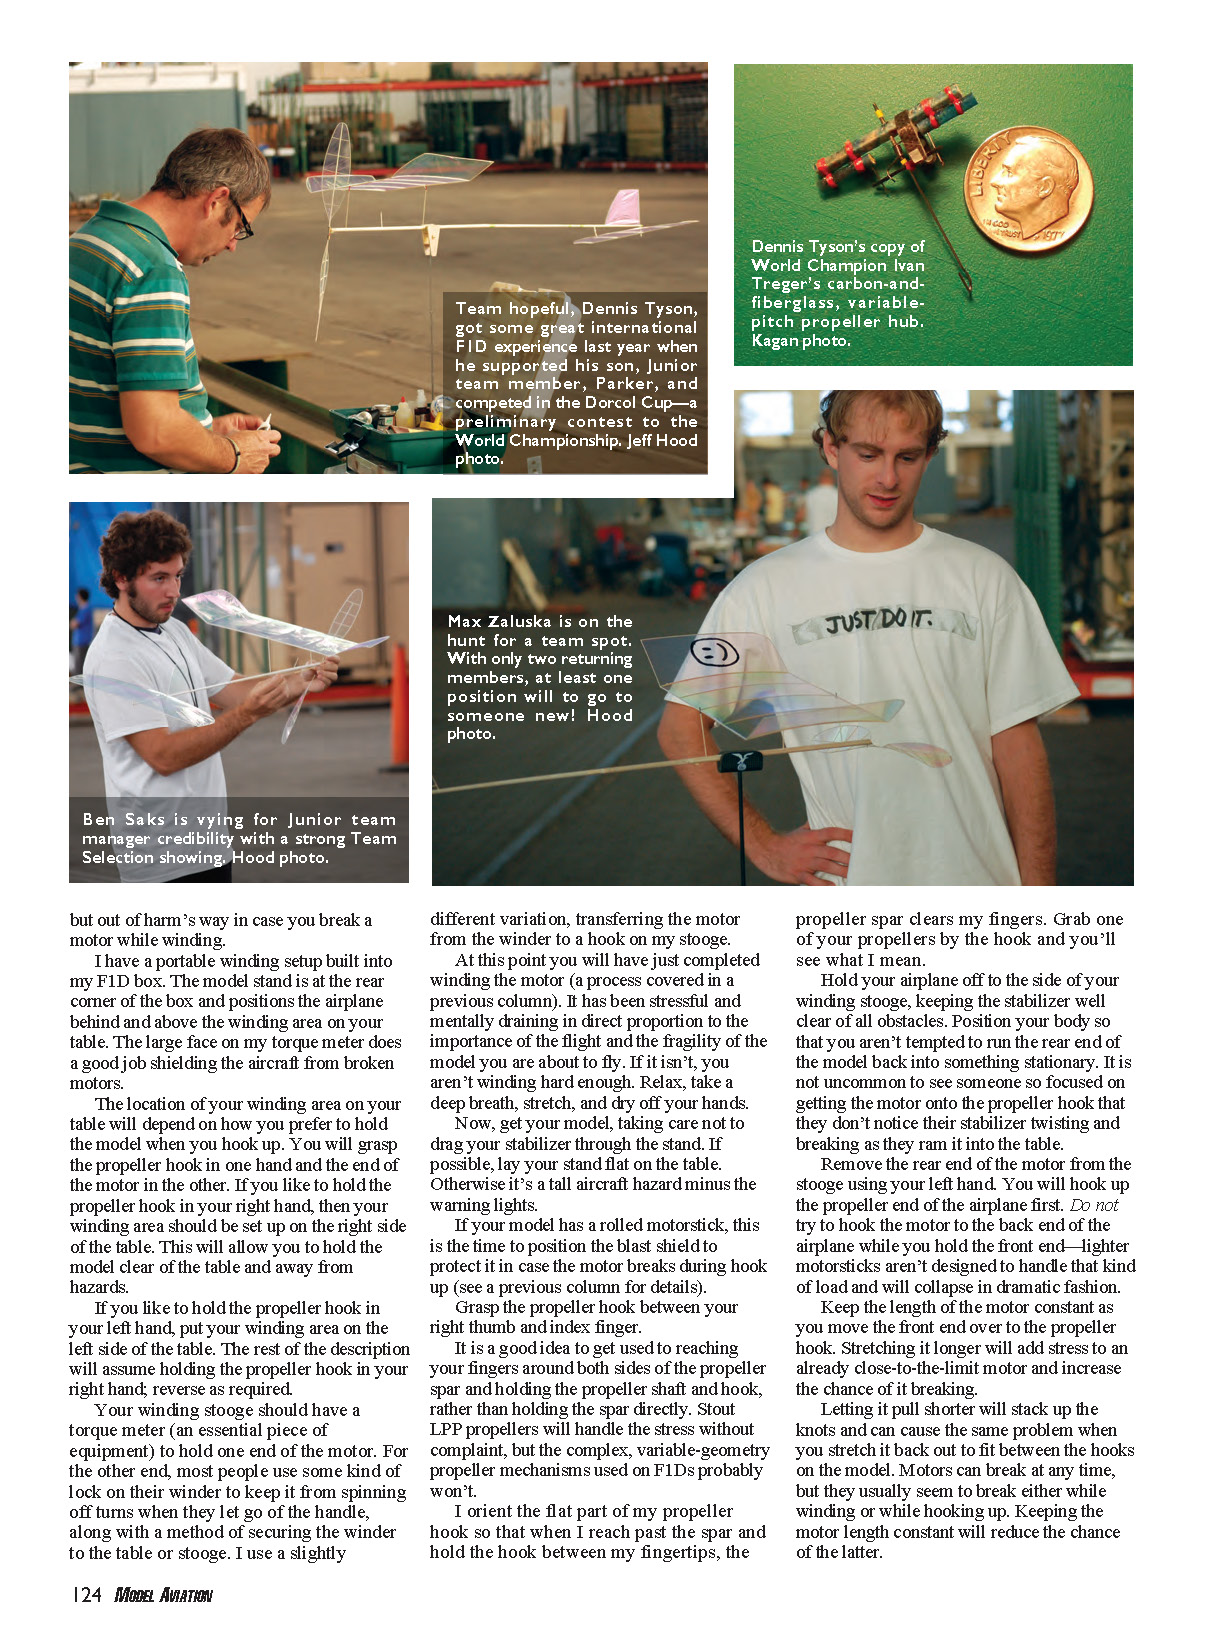
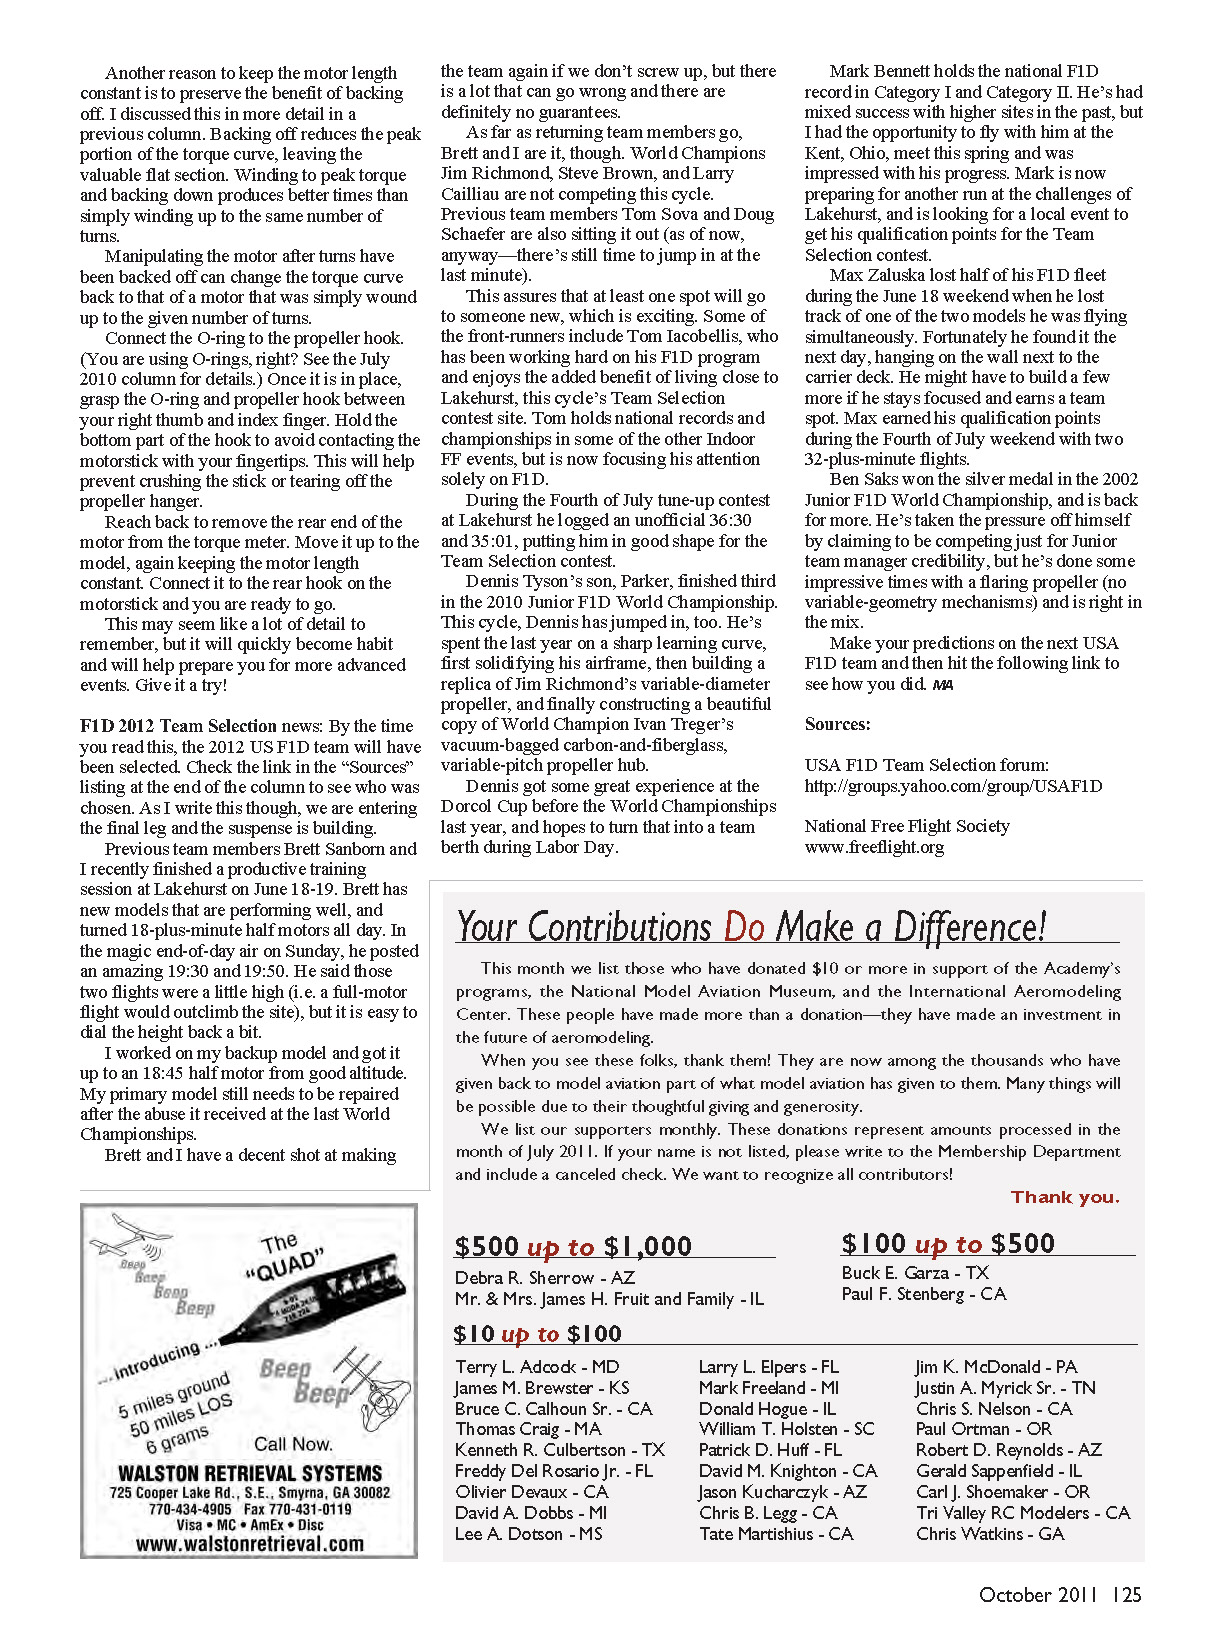
FF Indoor
John Kagan
Also included in this column:
- F1D Team Selection status
IF YOU ARE LOOKING for a dating guide, this is the wrong column. But, if you want a rundown on how to get a tightly wound motor onto a fragile Indoor FF model, you've come to the right place.
Some of the techniques I'll describe aren't absolutely required for events such as Limited Pennyplane, which uses fairly robust models, but it's worthwhile to build them into your program if you intend to move on to more fragile categories at some point.
Early in my F1D career, mentor Gary Underwood conveyed the value of having a strict process for handling delicate models. After you iron out the details, following the same set of steps will reduce the chance of running into unexpected problems.
Mentor Steve Brown then showed me that details matter, and anything you can do to eliminate potential catastrophes is time well spent. Getting five or six consecutive good flights is hard enough without the complications of hangar rash.
A post on one of the Indoor FF forums asked about the details of winding off the airplane and getting the wound motor back on. Watching some of the amateurs struggle a little during the recent LPP Pro/Am competition at the Indoor FF Nats also showed that this is a topic worth discussing.
To begin, you need someplace to put your model while you wind. Dropping it on a table covered with pointy glue bottles, scissors, and other hazards isn't a good idea. Build yourself a nice model stand (a topic that I'll delve into in a future column), and position it close enough to reach comfortably, but out of harm's way in case you break a motor while winding.
I have a portable winding setup built into my F1D box. The model stand is at the rear corner of the box and positions the airplane behind and above the winding area on your table. The large face on my torque meter does a good job shielding the aircraft from broken motors.
The location of your winding area on your table will depend on how you prefer to hold the model when you hook up. You will grasp the propeller hook in one hand and the end of the motor in the other. If you like to hold the propeller hook in your right hand, then your winding area should be set up on the right side of the table. This will allow you to hold the model clear of the table and away from hazards.
If you like to hold the propeller hook in your left hand, put your winding area on the left side of the table. The rest of the description will assume holding the propeller hook in your right hand; reverse as required.
Your winding stooge should have a torque meter (an essential piece of equipment) to hold one end of the motor. For the other end, most people use some kind of lock on their winder to keep it from spinning off turns when they let go of the handle, along with a method of securing the winder to the table or stooge. I use a slightly different variation, transferring the motor from the winder to a hook on my stooge.
At this point you will have just completed winding the motor (a process covered in a previous column). It has been stressful and mentally draining in direct proportion to the importance of the flight and the fragility of the model you are about to fly. If it isn't, you aren't winding hard enough. Relax, take a deep breath, stretch, and dry off your hands.
Now, get your model, taking care not to drag your stabilizer through the stand. If possible, lay your stand flat on the table. Otherwise it's a tail aircraft hazard minus the warning lights.
If your model has a rolled motorstick, this is the time to position the blast shield to protect it in case the motor breaks during hook up (see a previous column for details).
Grasp the propeller hook between your right thumb and index finger.
It is a good idea to get used to reaching your fingers around both sides of the propeller spar and holding the propeller shaft and hook, rather than holding the spar directly. Stout LPP propellers will handle the stress without complaint, but the complex, variable-geometry propeller mechanisms used on F1Ds probably won't.
I orient the flat part of my propeller hook so that when I reach past the spar and hold the hook between my fingertips, the propeller spar clears my fingers. Grab one of your propellers by the hook and you'll see what I mean.
Hold your airplane off to the side of your winding stooge, keeping the stabilizer well clear of all obstacles. Position your body so that you aren't tempted to run the rear end of the model back into something stationary. It is not uncommon to see someone so focused on getting the motor onto the propeller hook that they don't notice their stabilizer twisting and breaking as they ram it into the table.
Remove the rear end of the motor from the stooge using your left hand. You will hook up the propeller end of the airplane first. Do not try to hook the motor to the back end of the airplane while you hold the front end—lighter motorsticks aren't designed to handle that kind of load and will collapse in dramatic fashion.
Keep the length of the motor constant as you move the front end over to the propeller hook. Stretching it longer will add stress to an already close-to-the-limit motor and increase the chance of it breaking.
Letting it pull shorter will stack up the knots and can cause the same problem when you stretch it back out to fit between the hooks on the model. Motors can break at any time, but they usually seem to break either while winding or while hooking up. Keeping the motor length constant will reduce the chance of the latter.
FF Indoor
John Kagan
Manipulating the motor after turns have been backed off can change the torque curve back to that of a motor that was simply wound up to the given number of turns.
Connect the O-ring to the propeller hook. (You are using O-rings, right? See the July 2010 column for details.) Once it is in place, grasp the O-ring and propeller hook between your right thumb and index finger. Hold the bottom part of the hook to avoid contacting the motorstick with your fingertips. This will help prevent crushing the stick or tearing off the propeller hanger.
Reach back to remove the rear end of the motor from the torque meter. Move it up to the model, again keeping the motor length constant. Connect it to the rear hook on the motorstick and you are ready to go.
This may seem like a lot of detail to remember, but it will quickly become habit and will help prepare you for more advanced events. Give it a try!
F1D 2012 Team Selection news: By the time you read this, the 2012 US F1D team will have been selected. Check the link in the “Sources” listing at the end of the column to see who was chosen. As I write this though, we are entering the final leg and the suspense is building.
Previous team members Brett Sanborn and I recently finished a productive training session at Lakehurst on June 18-19. Brett has new models that are performing well, and turned 18-plus-minute half motors all day. In the magic end-of-day air on Sunday, he posted an amazing 19:30 and 19:50. He said those two flights were a little high (i.e. a full-motor flight would outclimb the site), but it is easy to dial the height back a bit.
I worked on my backup model and got it up to an 18:45 half motor from good altitude. My primary model still needs to be repaired after the abuse it received at the last World Championships.
Brett and I have a decent shot at making the team again if we don’t screw up, but there is a lot that can go wrong and there are definitely no guarantees.
As far as returning team members go, Brett and I are it, though. World Champions Jim Richmond, Steve Brown, and Larry Cailliau are not competing this cycle. Previous team members Tom Sova and Doug Schaefer are also sitting it out (as of now, anyway—there’s still time to jump in at the last minute).
This assures that at least one spot will go to someone new, which is exciting. Some of the front-runners include Tom Iacobellis, who has been working hard on his F1D program and enjoys the added benefit of living close to Lakehurst, this cycle’s Team Selection contest site. Tom holds national records and championships in some of the other Indoor FF events, but is now focusing his attention solely on F1D.
During the Fourth of July tune-up contest at Lakehurst he logged an unofficial 36:30 and 35:01, putting him in good shape for the Team Selection contest.
Dennis Tyson’s son, Parker, finished third in the 2010 Junior F1D World Championship. This cycle, Dennis has jumped in, too. He’s spent the last year on a sharp learning curve, first solidifying his airframe, then building a replica of Jim Richmond’s variable-diameter propeller, and finally constructing a beautiful copy of World Champion Ivan Treger’s vacuum-bagged carbon-and-fiberglass, variable-pitch propeller hub.
Dennis got some great experience at the Dorcol Cup before the World Championships last year, and hopes to turn that into a team berth during Labor Day.
Mark Bennett holds the national F1D record in Category I and Category II. He’s had mixed success with higher sites in the past, but I had the opportunity to fly with him at the Kent, Ohio, meet this spring and was impressed with his progress. Mark is now preparing for another run at the challenges of Lakehurst, and is looking for a local event to get his qualification points for the Team Selection contest.
Max Zaluska lost half of his F1D fleet during the June 18 weekend when he lost track of one of the two models he was flying simultaneously. Fortunately he found it the next day, hanging on the wall next to the carrier deck. He might have to build a few more if he stays focused and earns a team spot. Max earned his qualification points during the Fourth of July weekend with two 32-plus-minute flights.
Ben Saks won the silver medal in the 2002 Junior F1D World Championship, and is back for more. He’s taken the pressure off himself by claiming to be competing just for Junior team manager credibility, but he’s done some impressive times with a flaring propeller (no variable-geometry mechanisms) and is right in the mix.
Make your predictions on the next USA F1D team and then hit the following link to see how you did.
Sources:
- USA F1D Team Selection forum:
http://groups.yahoo.com/group/USAF1D
- National Free Flight Society
Transcribed from original scans by AI. Minor OCR errors may remain.

