
One Design event
by Gene Smith [email protected]
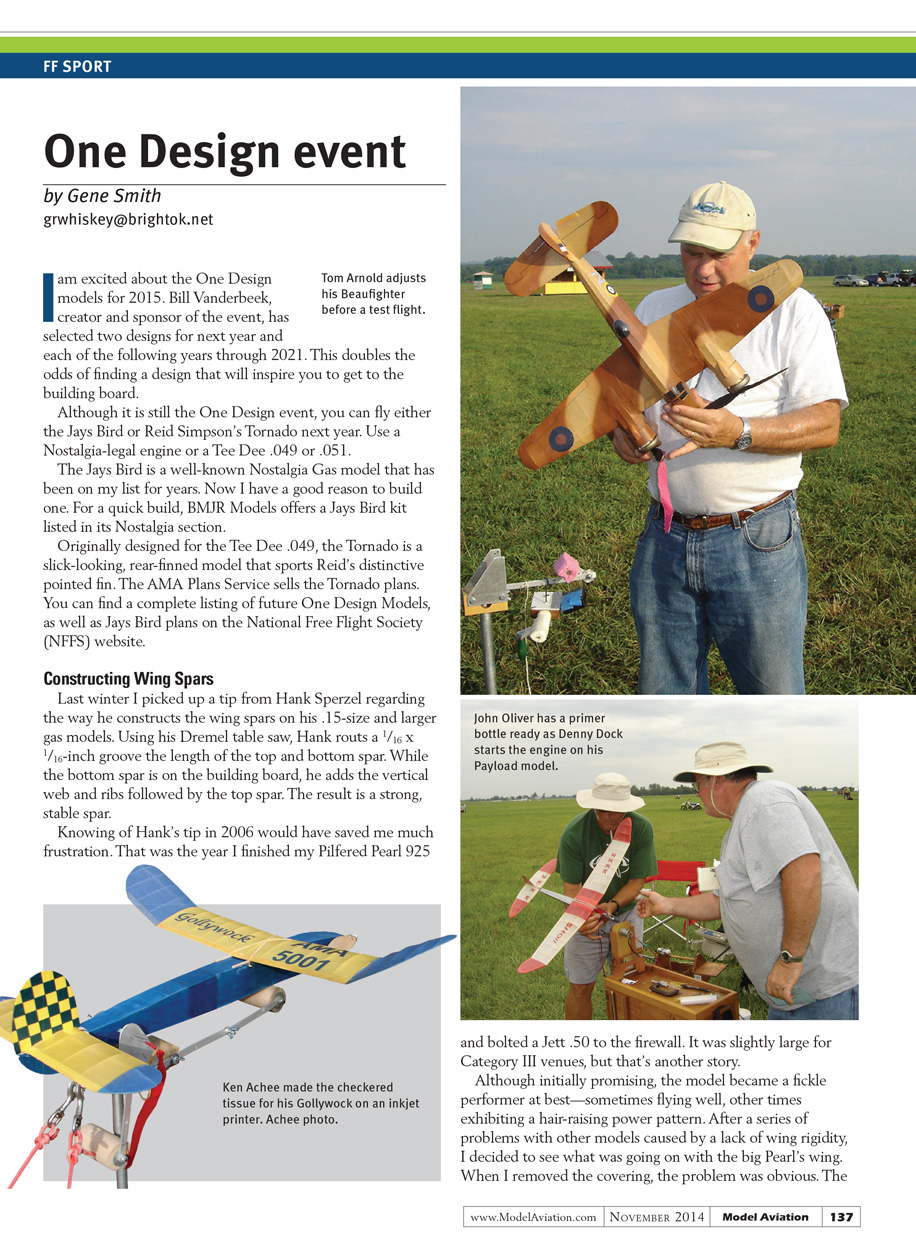
I am excited about the One Design models for 2015. Bill Vanderbeek, creator and sponsor of the event, has selected two designs for next year and each of the following years through 2021. This doubles the odds of finding a design that will inspire you to get to the building board.
Although it is still the One Design event, you can fly either the Jays Bird or Reid Simpson’s Tornado next year. Use a Nostalgia-legal engine or a Tee Dee .049 or .051.
The Jays Bird is a well-known Nostalgia Gas model that has been on my list for years. Now I have a good reason to build one. For a quick build, BMJR Models offers a Jays Bird kit listed in its Nostalgia section.
Originally designed for the Tee Dee .049, the Tornado is a slick-looking, rear-finned model that sports Reid’s distinctive pointed fin. The AMA Plans Service sells the Tornado plans. You can find a complete listing of future One Design models, as well as Jays Bird plans, on the National Free Flight Society (NFFS) website.
Constructing Wing Spars
Last winter I picked up a tip from Hank Sperzel regarding the way he constructs the wing spars on his .15-size and larger gas models. Using his Dremel table saw, Hank routs a 1/16 x 1/16-inch groove the length of the top and bottom spar. While the bottom spar is on the building board, he adds the vertical web and ribs followed by the top spar. The result is a strong, stable spar.
Knowing of Hank’s tip in 2006 would have saved me much frustration. That was the year I finished my Pilfered Pearl 925 and bolted a Jett .50 to the firewall. It was slightly large for Category III venues, but that’s another story.
Although initially promising, the model became a fickle performer at best—sometimes flying well, other times exhibiting a hair-raising power pattern. After a series of problems with other models caused by a lack of wing rigidity, I decided to see what was going on with the big Pearl’s wing. When I removed the covering, the problem was obvious: the webs between the spars had come loose in nearly all of the bays of the main panel. Using a belt-and-suspenders approach, in addition to reattaching the webbing, I added carbon-fiber caps to the diagonal ribs. The result was a rigid wing and a like-new model. It trimmed out in a few flights with an excellent, consistent pattern.
Adding Canopy Frames
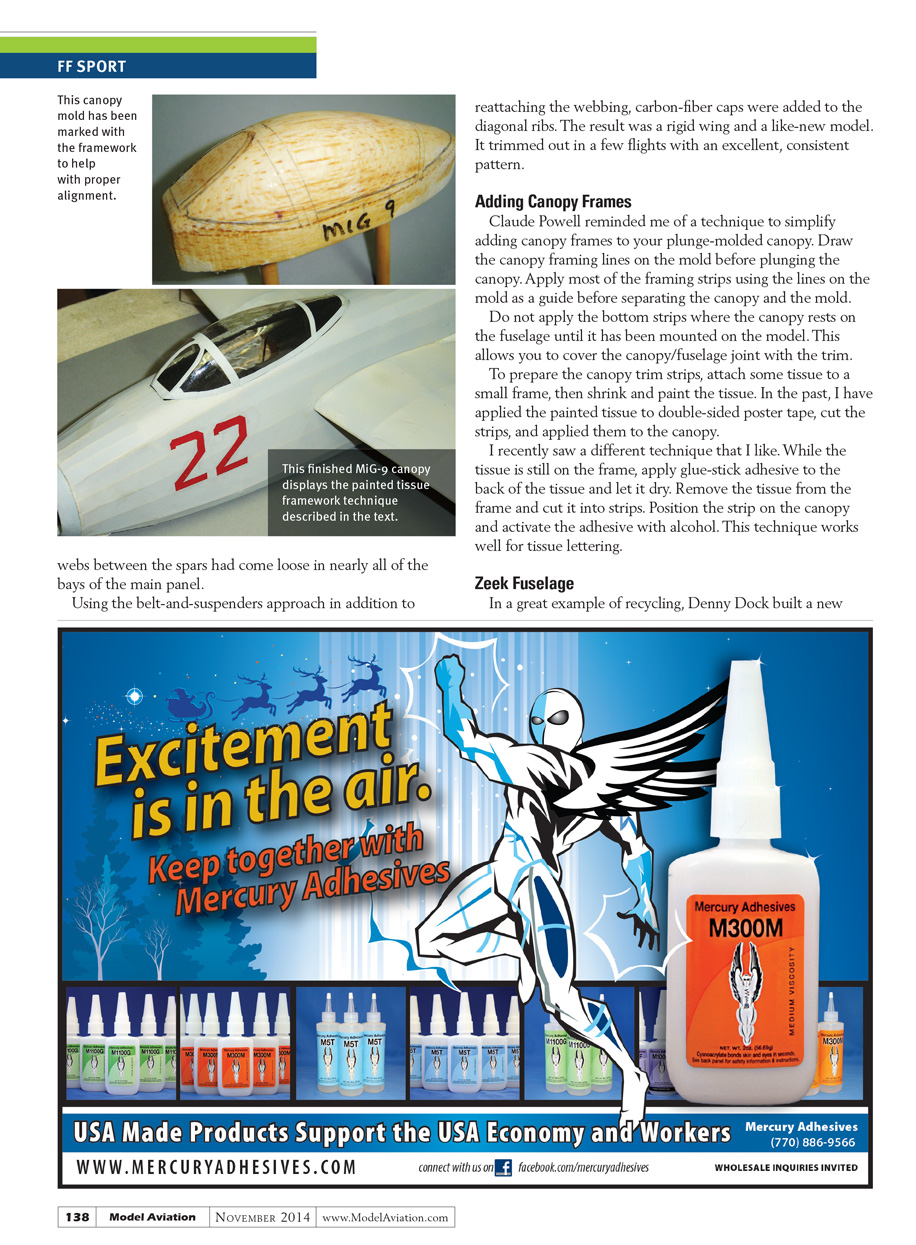
Claude Powell reminded me of a technique to simplify adding canopy frames to your plunge-molded canopy. Draw the canopy framing lines on the mold before plunging the canopy. Apply most of the framing strips using the lines on the mold as a guide before separating the canopy and the mold. Do not apply the bottom strips where the canopy rests on the fuselage until it has been mounted on the model. This allows you to cover the canopy/fuselage joint with the trim.
To prepare the canopy trim strips:
- Attach some tissue to a small frame, then shrink and paint the tissue.
- In the past I applied the painted tissue to double-sided poster tape, cut the strips, and applied them to the canopy.
- A different technique I like: while the tissue is still on the frame, apply glue-stick adhesive to the back of the tissue and let it dry. Remove the tissue from the frame and cut it into strips. Position the strip on the canopy and activate the adhesive with alcohol. This technique also works well for tissue lettering.
Zeek Fuselage
In a great example of recycling, Denny Dock built a new fuselage for his Zeek so it could carry the required passenger for the Payload event.
Peck-Polymers P-51 Peanut
If you are interested in seeing a beautifully built and trimmed Peck-Polymers P-51 Peanut, watch the YouTube video referenced in the "Sources" listing. Unfortunately, A2Z closed its Peck-Polymers division, so new kits are not being produced. I hope someone will pick up the line.
Gollywock Finish
Ken Achee sent details of the finish he used on his Gollywock. After steaming the covered wing to shrink the tissue and properly align the surfaces, he applied the finish with an airbrush. He used a mix of 25% Randolph Non-Tautening Nitrate, 25% PPG Duracryl DTL876 slow-drying acrylic lacquer thinner, and 50% Randolph dope thinner. Spraying the finish kept the model light, and using the Duracryl helped prevent warps from shrinkage.
Thanks, Ken.
SOURCES
- NFFS — www.freeflight.org
- National Free Flight Society: www.freeflight.org
- AMA Plans Service — (765) 287-1256, ext. 507; www.modelaircraft.org/plans/listing.aspx
- BMJR Models — (321) 537-1159; www.bmjrmodels.com
- Peanut Scale P-51D (YouTube): www.youtube.com/watch?v=D6YtGjzhR7c
Transcribed from original scans by AI. Minor OCR errors may remain.

