
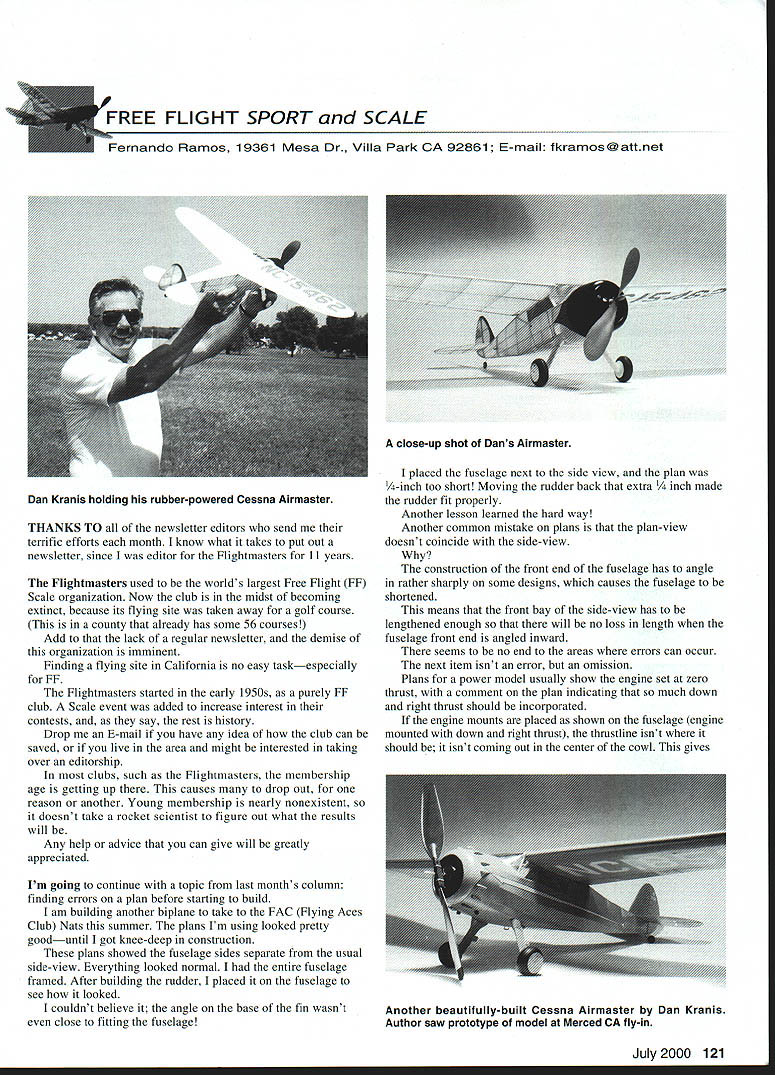
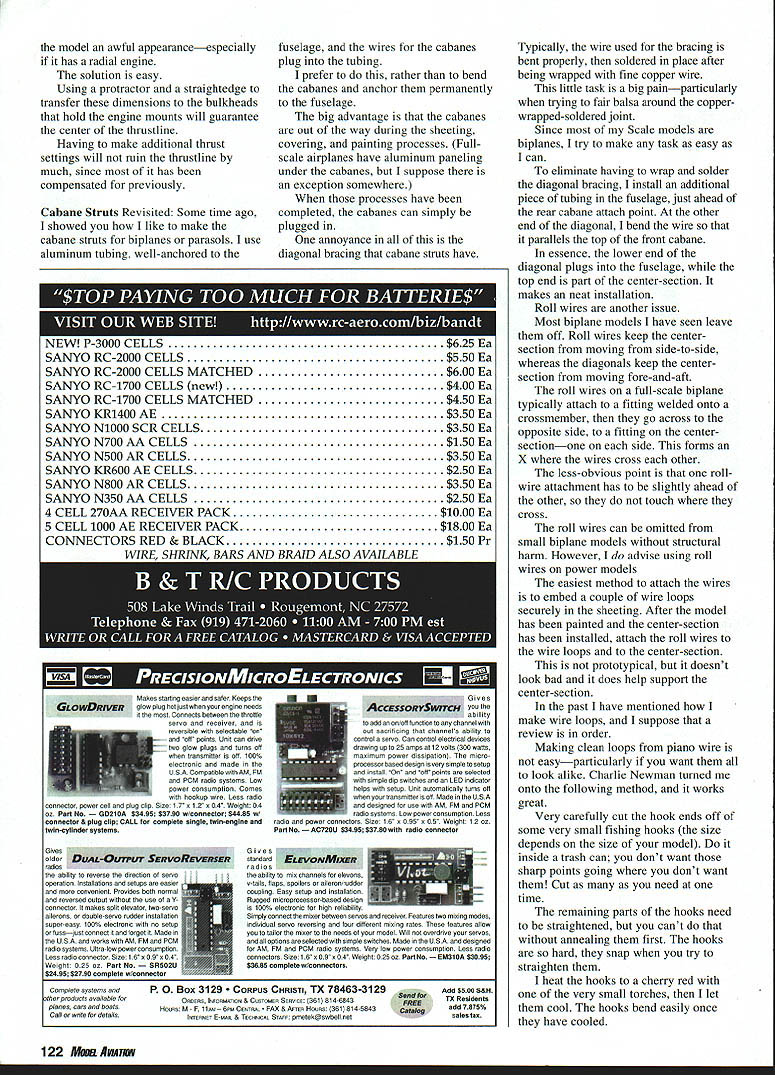
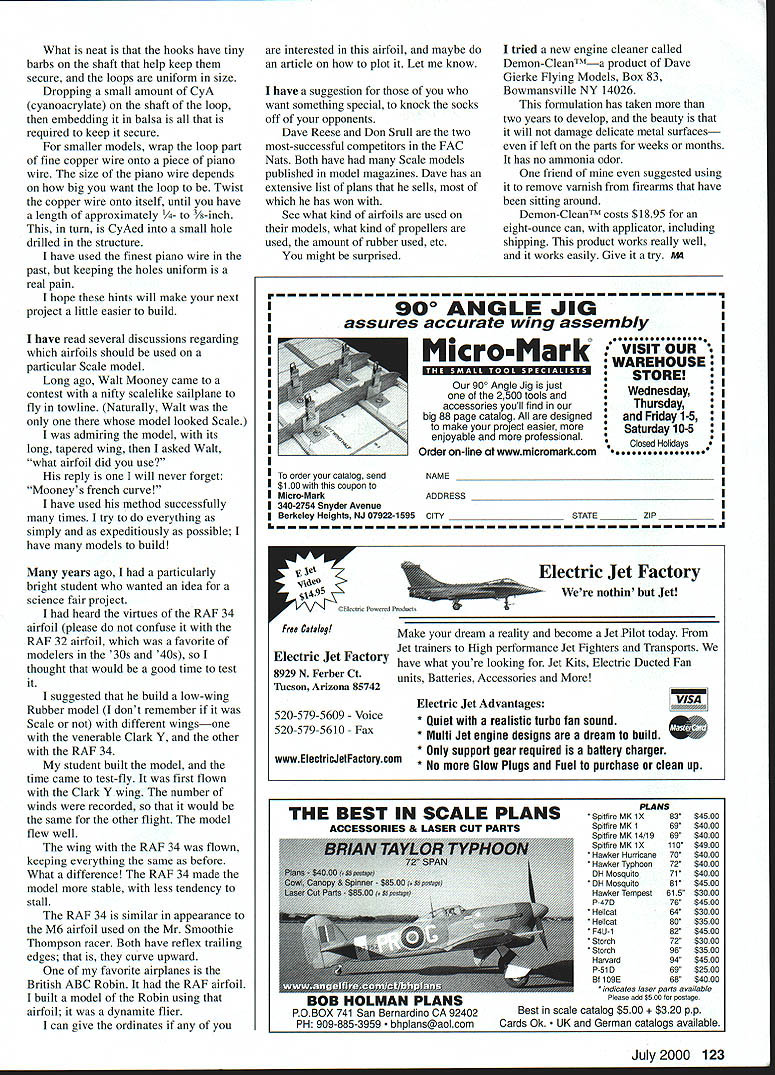
FF Sport & Scale
Fernando Ramos, 19361 Mesa Dr., Villa Park CA 92861; E-mail: [email protected]
Thanks and the Flightmasters
THANKS TO all of the newsletter editors who send me their terrific efforts each month. I know what it takes to put out a newsletter, since I was editor for the Flightmasters for 11 years.
The Flightmasters used to be the world's largest Free Flight (FF) Scale organization. Now the club is in the midst of becoming extinct, because its flying site was taken away for a golf course. (This is in a county that already has some 56 courses!)
Add to that the lack of a regular newsletter, and the demise of this organization is imminent.
Finding a flying site in California is no easy task—especially for FF.
The Flightmasters started in the early 1950s, as a purely FF club. A Scale event was added to increase interest in their contests, and, as they say, the rest is history.
Drop me an E-mail if you have any idea of how the club can be saved, or if you live in the area and might be interested in taking over an editorship.
In most clubs, such as the Flightmasters, the membership age is getting up there. This causes many to drop out, for one reason or another. Young membership is nearly nonexistent, so it doesn't take a rocket scientist to figure out what the results will be.
Any help or advice that you can give will be greatly appreciated.
Finding plan errors before building
I'm going to continue with a topic from last month's column: finding errors on a plan before starting to build.
I am building another biplane to take to the FAC (Flying Aces Club) Nats this summer. The plans I'm using looked pretty good—until I got knee-deep in construction.
These plans showed the fuselage sides separate from the usual side-view. Everything looked normal. I had the entire fuselage framed. After building the rudder, I placed it on the fuselage to see how it looked.
I couldn't believe it; the angle on the base of the fin wasn't even close to fitting the fuselage!
I placed the fuselage next to the side view, and the plan was 1/4-inch too short. Moving the rudder back that extra 1/4 inch made the rudder fit properly.
Another lesson learned the hard way!
Another common mistake on plans is that the plan-view doesn't coincide with the side-view.
Why? The construction of the front end of the fuselage has to angle in rather sharply on some designs, which causes the fuselage to be shortened.
This means that the front bay of the side-view has to be lengthened enough so that there will be no loss in length when the fuselage front end is angled inward.
There seems to be no end to the areas where errors can occur.
The next item isn't an error, but an omission.
Plans for a power model usually show the engine set at zero thrust, with a comment on the plan indicating that so much down and right thrust should be incorporated. If the engine mounts are placed as shown on the fuselage (engine mounted with down and right thrust), the thrustline isn't where it should be; it isn't coming out in the center of the cowl. This gives the model an awful appearance—especially if it has a radial engine.
The solution is easy. Using a protractor and a straightedge to transfer these dimensions to the bulkheads that hold the engine mounts will guarantee the center of the thrustline.
Having to make additional thrust settings will not ruin the thrustline by much, since most of it has been compensated for previously.
Cabane struts revisited
Some time ago, I showed you how I like to make the cabane struts for biplanes or parasols. I use aluminum tubing, well-anchored to the fuselage, and the wires for the cabanes plug into the tubing.
I prefer to do this, rather than to bend the cabanes and anchor them permanently to the fuselage.
The big advantage is that the cabanes are out of the way during the sheeting, covering, and painting processes. (Full-scale airplanes have aluminum paneling under the cabanes, but I suppose there is an exception somewhere.)
When those processes have been completed, the cabanes can simply be plugged in.
One annoyance in all of this is the diagonal bracing that cabane struts have.
Typically, the wire used for the bracing is bent properly, then soldered in place after being wrapped with fine copper wire. This little task is a big pain—particularly when trying to fair balsa around the copper-wrapped-soldered joint.
Since most of my Scale models are biplanes, I try to make any task as easy as I can.
To eliminate having to wrap and solder the diagonal bracing, I install an additional piece of tubing in the fuselage, just ahead of the rear cabane attach point. At the other end of the diagonal, I bend the wire so that it parallels the top of the front cabane.
In essence, the lower end of the diagonal plugs into the fuselage, while the top end is part of the center-section. It makes a neat installation.
Roll wires
Roll wires are another issue.
Most biplane models I have seen leave them off. Roll wires keep the center-section from moving side-to-side, whereas the diagonals keep the center-section from moving fore-and-aft.
The roll wires on a full-scale biplane typically attach to a fitting welded onto a crossmember, then they go across to the opposite side, to a fitting on the center-section—one on each side. This forms an X where the wires cross each other.
The less-obvious point is that one roll-wire attachment has to be slightly ahead of the other, so they do not touch where they cross.
The roll wires can be omitted from small biplane models without structural harm. However, I do advise using roll wires on power models.
The easiest method to attach the wires is to embed a couple of wire loops securely in the sheeting. After the model has been painted and the center-section has been installed, attach the roll wires to the wire loops and to the center-section.
This is not prototypical, but it does look bad and it does help support the center-section.
Making wire loops
In the past I have mentioned how I make wire loops, and I suppose that a review is in order.
Making clean loops from piano wire is not easy—particularly if you want them all to look alike. Charlie Newman turned me onto the following method, and it works great.
- Very carefully cut the hook ends off of some very small fishing hooks (the size depends on the size of your model). Do it inside a trash can, or you don't want those sharp points going where you don't want them! Cut as many as you need at one time.
- The remaining parts of the hooks need to be straightened, but you can't do that without annealing them first. The hooks are so hard, they snap when you try to straighten them.
- I heat the hooks to a cherry red with one of the very small torches, then I let them cool. The hooks bend easily once they have cooled.
- What is neat is that the hooks have tiny barbs on the shaft that help keep them secure, and the loops are uniform in size.
- Dropping a small amount of CyA (cyanoacrylate) on the shaft of the loop, then embedding it in balsa is all that is required to keep it secure.
For smaller models, wrap the loop part of fine copper wire onto a piece of piano wire. The size of the piano wire depends on how big you want the loop to be. Twist the copper wire onto itself, until you have a length of approximately 1/4- to 3/8-inch. This, in turn, is CyAed into a small hole drilled in the structure.
I have used the finest piano wire in the past, but keeping the holes uniform is a real pain.
I hope these hints will make your next project a little easier to build.
Airfoils and experiment
I have read several discussions regarding which airfoils should be used on a particular Scale model.
Long ago, Walt Mooney came to a contest with a nifty scalelike sailplane to fly in towline. (Naturally, Walt was the only one there whose model looked Scale.) I was admiring the model, with its long, tapered wing, then I asked Walt, "what airfoil did you use?"
His reply is one I will never forget: "Mooney's french curve!"
I have used his method successfully many times. I try to do everything as simply and as expeditiously as possible; I have many models to build!
Many years ago, I had a particularly bright student who wanted an idea for a science fair project.
I had heard the virtues of the RAF 34 airfoil (please do not confuse it with the RAF 32 airfoil, which was a favorite of modelers in the '30s and '40s), so I thought that would be a good time to test it.
I suggested that he build a low-wing Rubber model (I don't remember if it was Scale or not) with different wings—one with the venerable Clark Y, and the other with the RAF 34.
My student built the model, and the first time it was test-flown it was with the Clark Y wing. The number of winds were recorded, so that it would be the same for the other flight. The model flew well.
The wing with the RAF 34 was flown, keeping everything else the same as before. What a difference! The RAF 34 made the model more stable, with less tendency to stall.
The RAF 34 is similar in appearance to the M6 airfoil used on the Mr. Smoothie Thompson racer. Both have reflex trailing edges; that is, they curve upward.
One of my favorite airplanes is the British ABC Robin. It had the RAF airfoil. I built a model of the Robin using that airfoil; it was a dynamite flier.
I can give the ordinates if any of you are interested in this airfoil, and maybe do an article on how to plot it. Let me know.
I have a suggestion for those of you who want something special, to knock the socks off of your opponents.
Dave Reese and Don Srull are the two most-successful competitors in the FAC Nats. Both have had many Scale models published in model magazines. Dave has an extensive list of plans that he sells, most of which he has won with.
See what kind of airfoils are used on their models, what kind of propellers are used, the amount of rubber used, etc. You might be surprised.
Product note
I tried a new engine cleaner called Demon-Clean™—a product of Dave Gierke Flying Models, Box 83, Bowmansville NY 14026.
This formulation has taken more than two years to develop, and the beauty is that it will not damage delicate metal surfaces—even if left on the parts for weeks or months. It has no ammonia odor.
One friend of mine even suggested using it to remove varnish from firearms that have been sitting around.
Demon-Clean™ costs $18.95 for an eight-ounce can, with applicator, including shipping. This product works really well, and it works easily. Give it a try.
AM
Transcribed from original scans by AI. Minor OCR errors may remain.

