


Flight-Preparation Safety
by Donald Brooks
LAST MONTH, in the first article of this safety series, I wrote about shop safety and the five levels of defense we must practice to keep ourselves and others free from injury during model construction: proper attitude, prechecks, backup, isolation, and barriers. I'll refer to those in this month's discussion of model-aircraft flight-preparation safety and flying-field etiquette.
As far as attitude is concerned, I will assume that you have achieved that first level of safety defense: you are not hurried, stressed out, tired, distracted, or afflicted with unjustified overconfidence when you arrive at the flying field. You are well rested and ready for the interesting process of preparing your aircraft for a safe flight.
I will also assume that if you are a beginner you have made arrangements for flight instruction. I'll go into detail about that next month when I review safety in flight operations. This discussion will center on the precheck level of defense, which in this case is the preflight check of your aircraft. I will cover completing a thorough preflight check, getting the engine running, and taking the aircraft to the taxiway.
Most organized flying fields have six physical areas dedicated to model-related activities. Arriving at the field and starting from the outside, these are:
- Parking area
- Spectator area
- Flight-preparation area (the "pit")
- Taxiways
- Runway
- Overflight area
A boundary — a fence, railroad ties, or other marking — that clearly separates the first three areas normally identifies them. The taxiways and runway are apparent. The overflight area for RC operations will not be marked, but it must be understood and used by all RC fliers.
AMA defines the overflight area as an imaginary box with a ground-level footprint that is roughly 2,000 feet long and approximately 600 feet across, with the runway centered at the edge of one of the long sides. This box is surrounded by a safety zone that extends 250 feet beyond both ends and beyond the side opposite the runway. All flight operations are to be conducted in this imaginary box. This flight-operations box is usually considered to be about 400 feet high to avoid any interference with full-scale aircraft. There can be no people, buildings, major roadways, or full-scale aircraft operating within the RC flight-operations box.
This kind of layout for a model flying field physically isolates the overflight area from areas containing people. This lowers the safety risk from aircraft control failures. If control of a model is lost for some reason, it will likely crash in an area away from pilots and spectators.
If the various sections are not clearly identified at the flying field where you intend to fly, ask a modeler who is familiar with the field what defines the various areas.
Field Etiquette
The first point of field etiquette is to ask, if you are unfamiliar with the flying field, whether there are any restrictions or special rules for flying there. Flying at any model field chartered under the auspices of the AMA requires you to have an AMA membership and to meet the insurance requirements for flying at the field.
Most sites have specific rules such as restrictions on sound levels from operating engines, starting and taxiing restrictions for certain aircraft, or prohibition of alcoholic beverages. You should learn what the rules are before flying rather than be told, in no uncertain way, after you violate one of them.
- First point: Ask about restrictions and special rules; make sure you have the required AMA membership and insurance.
- Second point: Ensure you have authorization to turn on your radio transmitter. This is essential for safety.
Each site has some method of controlling radio-frequency usage. Only one model at a time can be flown on a specific frequency. Energizing a second radio transmitter on the same frequency will jam the operating signal for the flying aircraft, causing it to be uncontrollable and crash.
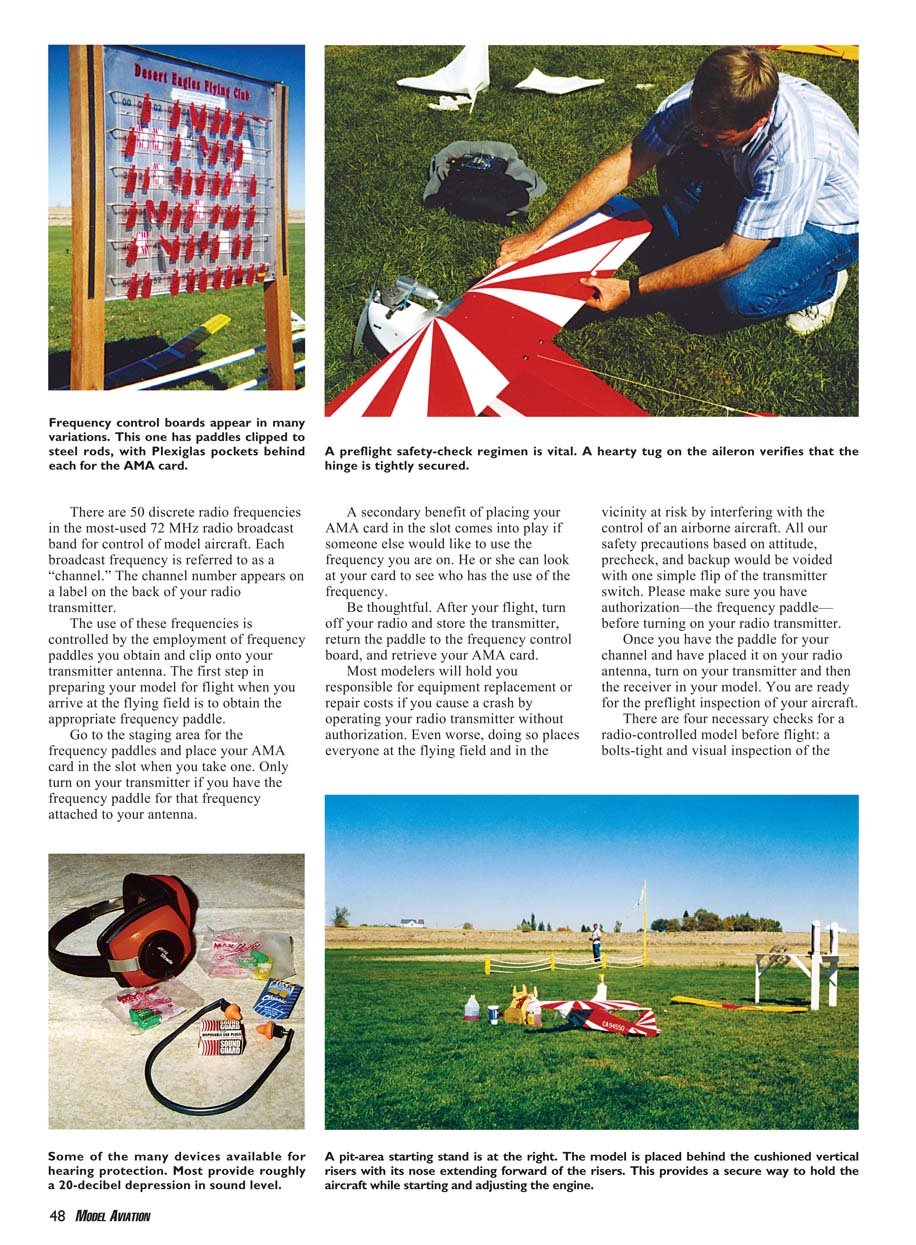
There are 50 discrete radio frequencies in the most-used 72 MHz radio band for model control. Each broadcast frequency is referred to as a "channel." The channel number appears on a label on the back of your radio transmitter.
The use of these frequencies is controlled by frequency paddles you obtain and clip onto your transmitter antenna. The first step in preparing your model for flight when you arrive at the flying field is to obtain the appropriate frequency paddle.
Go to the staging area for the frequency paddles and place your AMA card in the slot when you take one. Only turn on your transmitter if you have the frequency paddle for that frequency attached to your antenna.
A secondary benefit of placing your AMA card in the slot is that if someone else would like to use the frequency you are on, he or she can look at your card to see who has the use of the frequency.
Be thoughtful. After your flight, turn off your radio and store the transmitter, return the paddle to the frequency control board, and retrieve your AMA card.
Most modelers will hold you responsible for equipment replacement or repair costs if you cause a crash by operating your radio transmitter without authorization. Even worse, doing so places everyone at the flying field and in the vicinity at risk by interfering with the control of an airborne aircraft. All our safety precautions based on attitude, precheck, and backup would be voided with one simple flip of the transmitter switch. Please make sure you have authorization — the frequency paddle — before turning on your radio transmitter.
Once you have the paddle for your channel and have placed it on your radio antenna, turn on your transmitter and then the receiver in your model. You are ready for the preflight inspection of your aircraft.
There are four necessary checks for a radio-controlled model before flight: a bolt-tight and visual inspection of the No continuation of "Flight-Preparation Safety - 2006/03" appears on this scanned page. The page contains only an advertisement for the AMA National Model Aviation Museum and no article text to extract.
These early detections probably prevented those models from crashing.
Common Failures and Troubleshooting
The possible failures are many.
Perhaps the flier did not charge the batteries the night before. Maybe the pilot thought he or she charged the battery but connected the charger to a switch-controlled receptacle and turned off the receptacle when leaving the shop. Perhaps one cell in a four-cell battery has failed. Maybe something is wrong with the antenna installation in the model.
Vibration caused by the running engine may cause connection failures. Poor connections may cause the control surfaces to jitter when exposed to vibration. Seek experienced help to assist you in troubleshooting if you find a malfunction.
At a recent contest I had planned to fly a glider in one of the events, but the range check indicated that the receiver battery was dead. Therefore, I substituted another aircraft to fly in the competition.
Fueling and Start-up
There are three barriers you should consider for starting an internal-combustion-engine-powered model, the first of which is for sound.
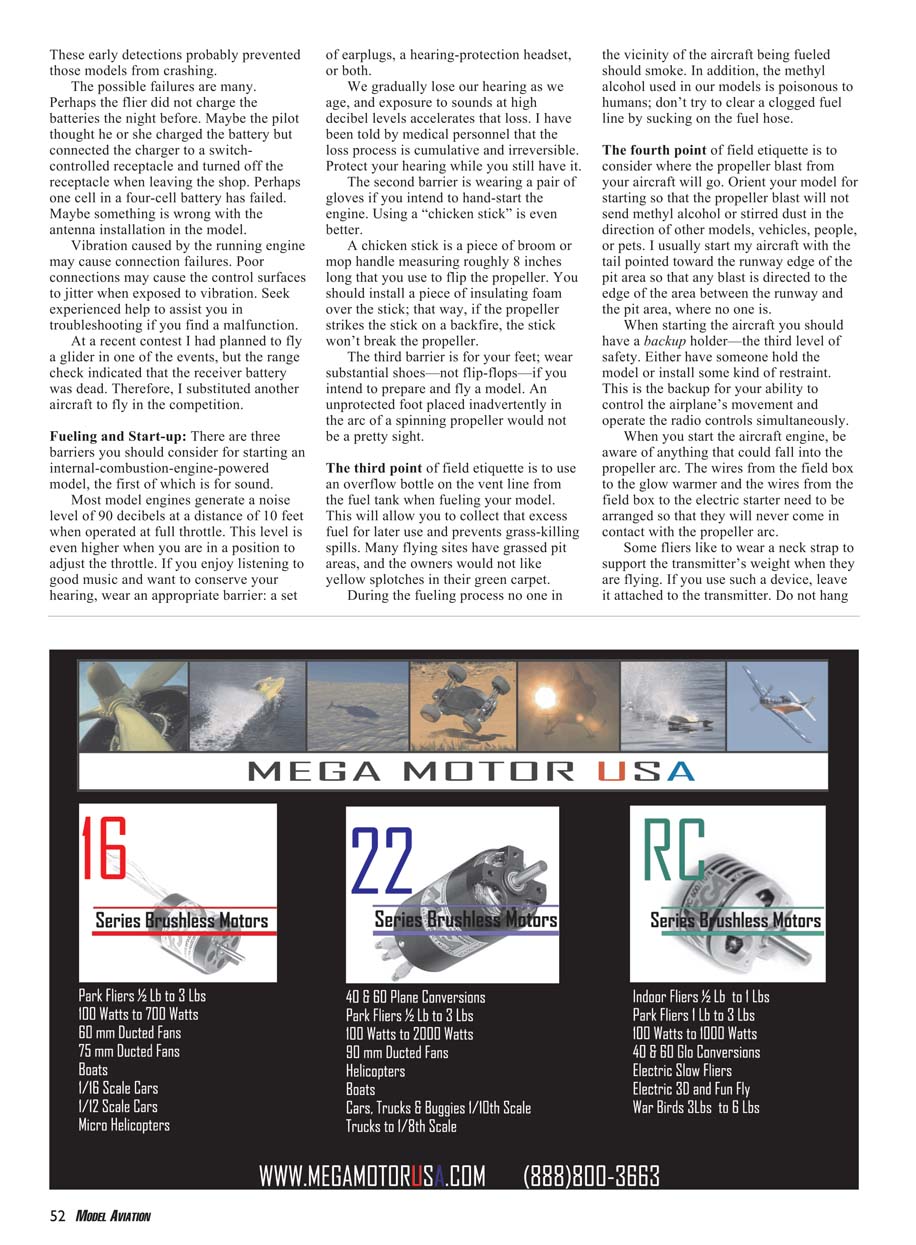
Most model engines generate a noise level of about 90 decibels at a distance of 10 feet when operated at full throttle. This level is even higher when you are in a position to adjust the throttle. If you enjoy listening to good music and want to conserve your hearing, wear an appropriate barrier: a set of earplugs, a hearing-protection headset, or both.
We gradually lose our hearing as we age, and exposure to sounds at high decibel levels accelerates that loss. Medical personnel tell us that the loss process is cumulative and irreversible. Protect your hearing while you still have it.
The second barrier is wearing a pair of gloves if you intend to hand-start the engine. Using a "chicken stick" is even better.
A chicken stick is a piece of broom or mop handle measuring roughly 8 inches long that you use to flip the propeller. You should install a piece of insulating foam over the stick; that way, if the propeller strikes the stick on a backfire, the stick won't break the propeller.
The third barrier is for your feet; wear substantial shoes—not flip-flops—if you intend to prepare and fly a model. An unprotected foot placed inadvertently in the arc of a spinning propeller would not be a pretty sight.
The third point of field etiquette is to use an overflow bottle on the vent line from the fuel tank when fueling your model. This will allow you to collect excess fuel for later use and prevents grass-killing spills. Many flying sites have grassed pit areas, and the owners would not like yellow splotches in their green carpet.
During the fueling process no one in the vicinity of the aircraft being fueled should smoke. In addition, the methanol (methyl alcohol) used in our models is poisonous to humans; don't try to clear a clogged fuel line by sucking on the fuel hose.
The fourth point of field etiquette is to consider where the propeller blast from your aircraft will go. Orient your model for starting so that the propeller blast will not send methanol or stirred dust in the direction of other models, vehicles, people, or pets. I usually start my aircraft with the tail pointed toward the runway edge of the pit area so that any blast is directed to the edge of the area between the runway and the pit area, where no one is.
When starting the aircraft you should have a backup holder — the third level of safety. Either have someone hold the model or install some kind of restraint. This is the backup for your ability to control the airplane's movement and operate the radio controls simultaneously.
When you start the aircraft engine, be aware of anything that could fall into the propeller arc. The wires from the field box to the glow warmer and the wires from the field box to the electric starter need to be arranged so that they will never come in contact with the propeller arc.
Some fliers like to wear a neck strap to support the transmitter's weight when they are flying. If you use such a device, leave it attached to the transmitter. Do not hang the strap around your neck when you start and adjust the engine.
During one of our club safety discussions I asked, "Where do you think the snap of the transmitter support strap would end up if it got into the propeller arc while you were starting the aircraft?"
The response was immediate and intense: "Smack-dab in your left ear!"
That sounded like firsthand experience to me. He was lucky that the only damage was that his ear smarted for a while.
Once the engine is started, the propeller arc becomes a lethal slicing zone. Anything entering that arc will be rearranged, and the propeller itself can be easily damaged. Propeller tip speeds at full throttle are between Mach 0.3 and 0.5 — roughly 250–350 mph — not a good time to be hurried, tired, stressed out, distracted, or overconfident. Move to the rear of the aircraft to remove the glow warmer and to make any adjustments.
Engine fuel-mixture adjustment has its own dangers. I have seen experienced modelers succumb to the Commodore Syndrome (overconfidence) while trying to adjust their engines. While still in front of the aircraft, they reach around the propeller to make the mixture adjustment.
I cringe every time I see that. Those fliers think they are invincible and are unreceptive to safe-practice improvement. A slight miscalculation or a momentary distraction is all it would take to place the modeler's wrist and arm at major risk of injury.
Objects in the grass, such as rocks or sticks, should be cleared from the area before you start your engine. Anything in the propeller arc could be slung up and into an innocent bystander.
Similar concerns about pieces being thrown from the propeller arise following a hard landing in which the propeller may have been splintered or nicked. A flaw in the propeller can weaken it enough to cause it to fly apart if raised again to a high rpm. Inspect the propeller thoroughly for damage after a hard landing if you plan to continue using it.
To the Taxiway
The club I belong to chose to disallow taxiing aircraft in the pit preparation area; the board of directors decided this was an inherently dangerous practice. A large number of pilots may be in that location at any time. If control of a model is lost while it's taxiing in the pit area, someone may be seriously injured by a propeller.
Most pilots carry their models to the taxiway or to the runway. Larger models that are hard to carry are pushed or pulled to the taxiway or to the runway by their vertical fins. The pilots' flying stations at our field are protected from out-of-control aircraft by fences that outline the taxiways.
To carry the model safely I leave the transmitter antenna collapsed. I have learned that the propeller arc is a bad place to let your extended antenna enter; it makes a great antenna shortener.
I catch the transmitter handle with two fingers of my left hand and grab the left wing's leading edge. This keeps my transmitter and my hand off of the slippery-with-fuel right wing. Then I reach around and grab the bottom of the fuselage with my right hand. This configuration gives me good control of the aircraft.
On your journey to the taxiway, watch for tripping hazards such as low fences that may surround the pit area. Stepping over one of these obstacles with a model that has the engine running is an awful idea. Think of the consequences. Where will your face be with respect to that spinning propeller when you hit the ground?
You have reached the taxiway. I hope this article has given you new insights about hazards and appropriate safety actions to protect yourself and others from injury during this important preparation task. The next two articles in the series will cover safety in model flight operations.
Be safe and good flying!
Donald W. Brooks [email protected]
Transcribed from original scans by AI. Minor OCR errors may remain.

