
Fly By Wire
By Anthony N. Avallone
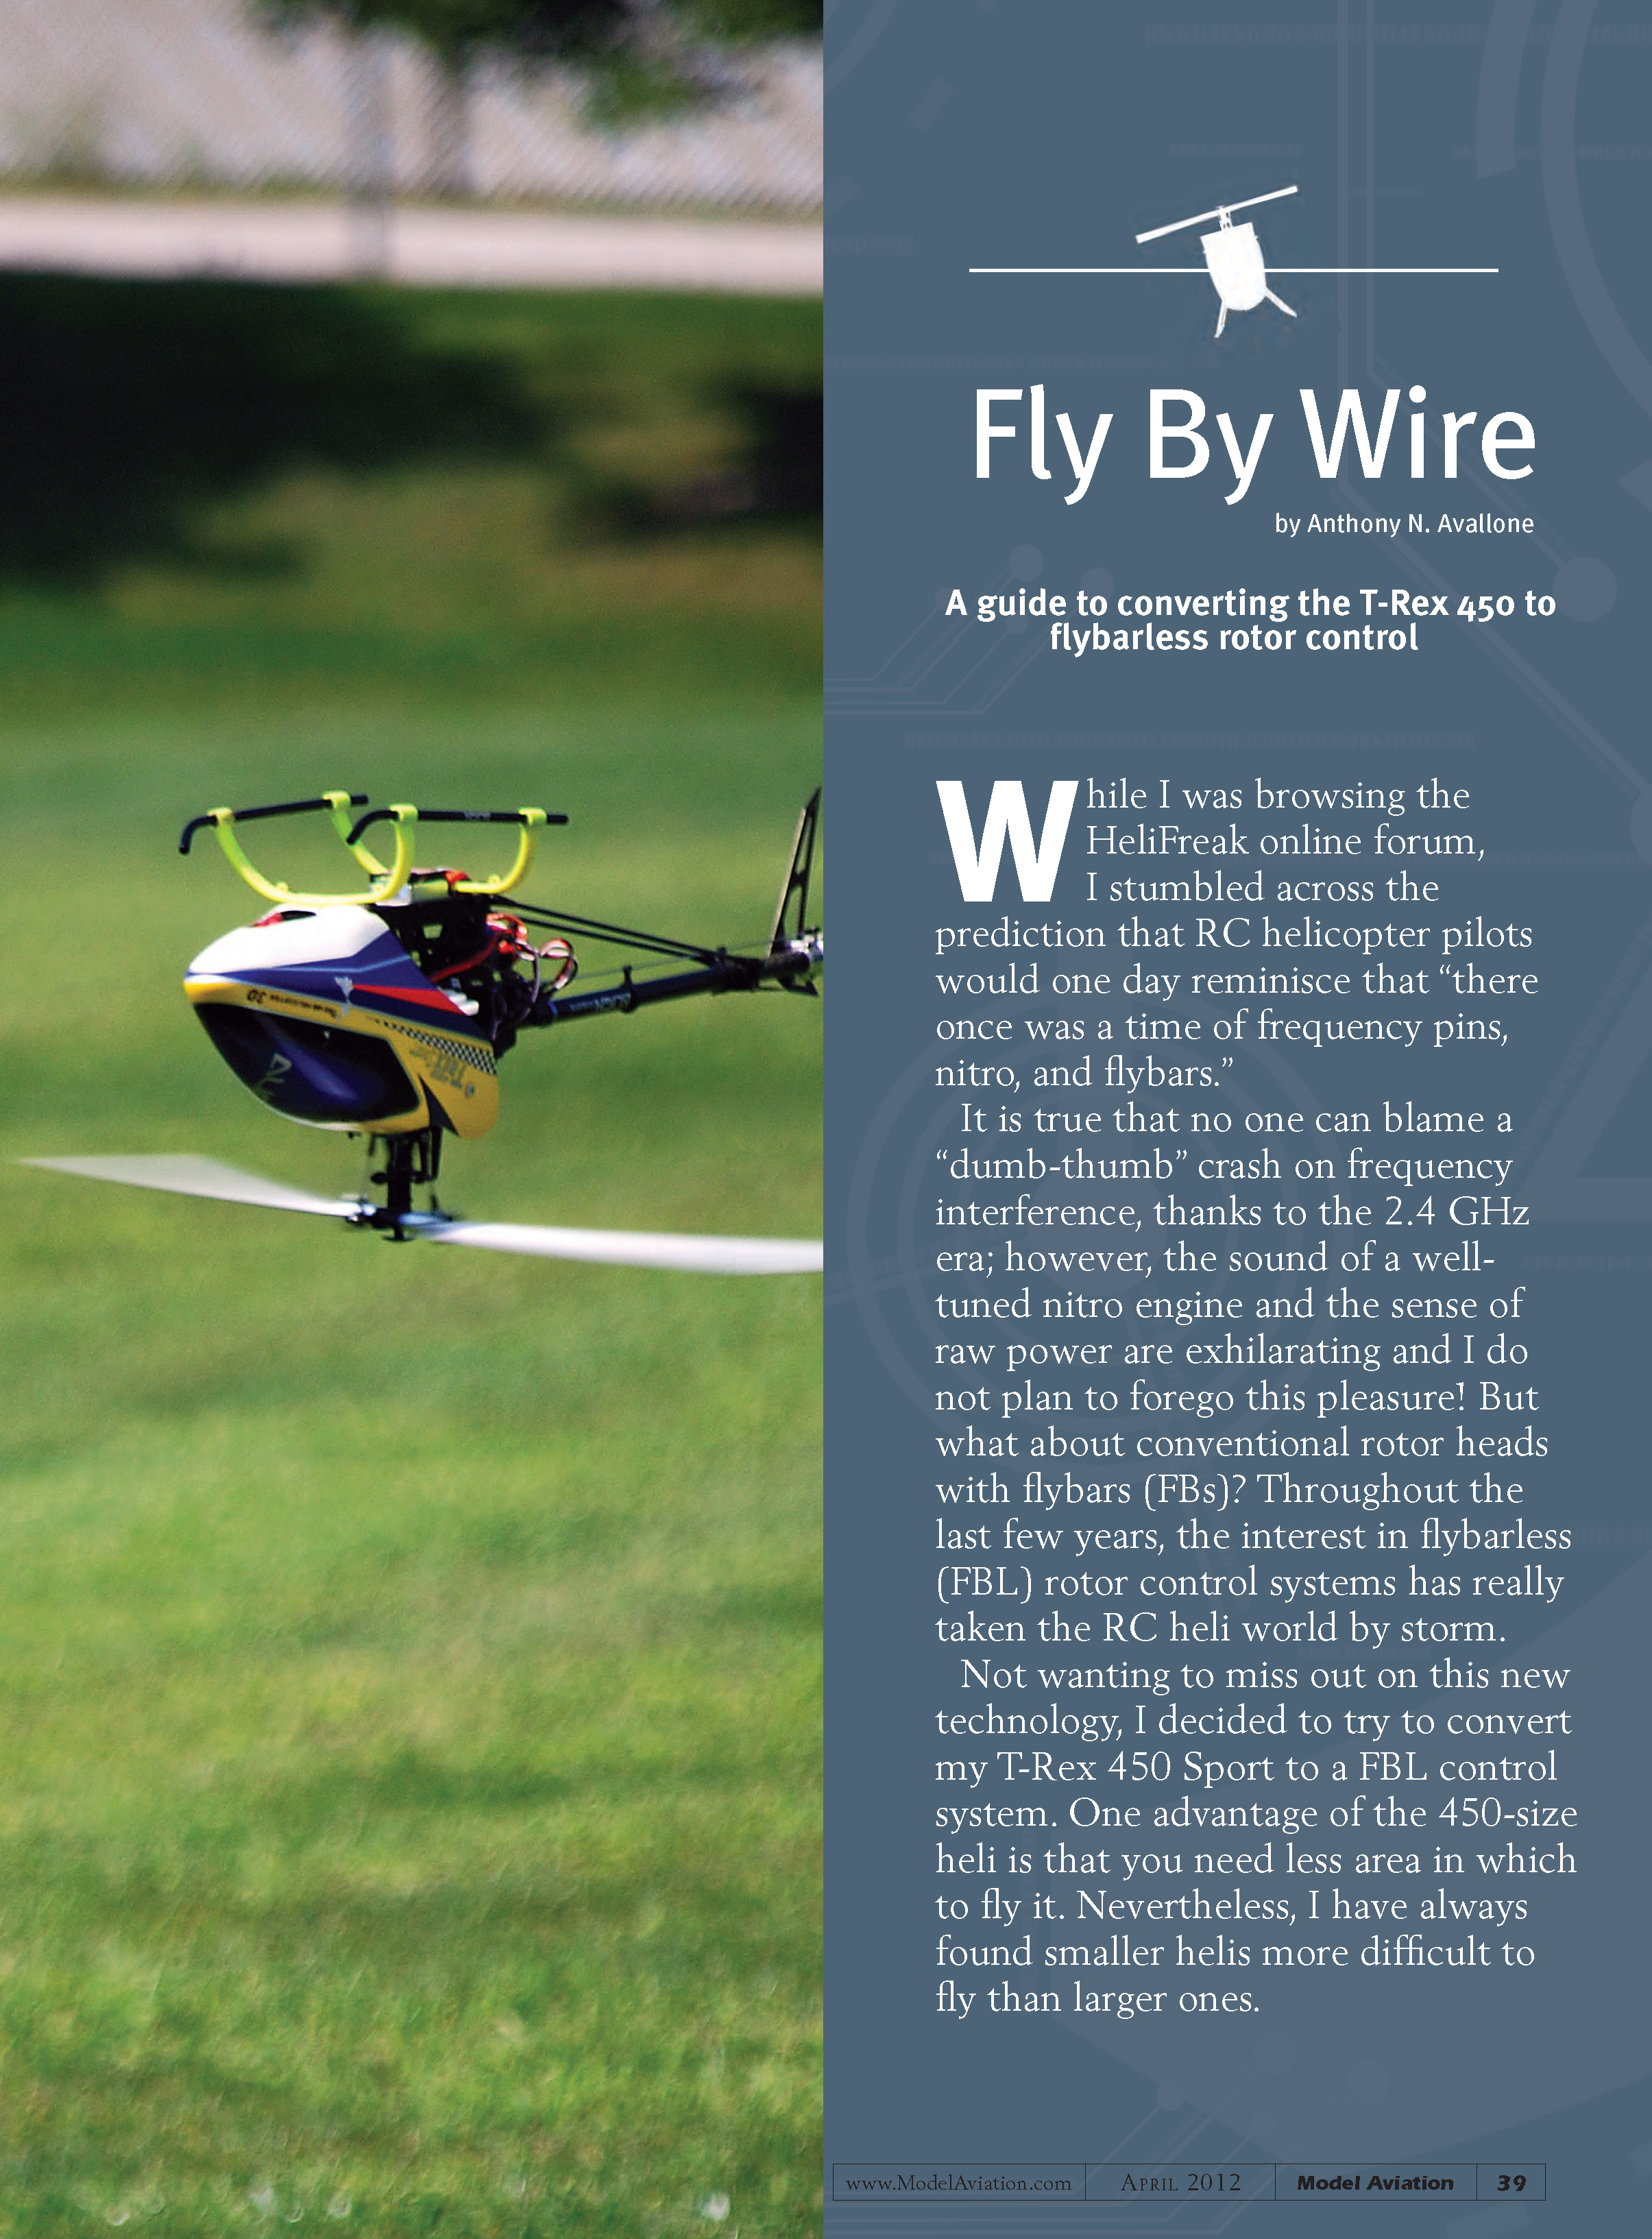
A guide to converting the T-Rex 450 to flybarless rotor control
While I was browsing the HeliFreak online forum, I stumbled across the prediction that RC helicopter pilots would one day reminisce that "there once was a time of frequency pins, nitro, and flybars."
It is true that no one can blame a "dumb-thumb" crash on frequency interference, thanks to the 2.4 GHz era; however, the sound of a well-tuned nitro engine and the sense of raw power are exhilarating and I do not plan to forego this pleasure! But what about conventional rotor heads with flybars (FBs)? Throughout the last few years, the interest in flybarless (FBL) rotor control systems has really taken the RC heli world by storm.
Not wanting to miss out on this new technology, I decided to try to convert my T-Rex 450 Sport to an FBL control system. One advantage of the 450-size heli is that you need less area in which to fly it. Nevertheless, I have always found smaller helis more difficult to fly than larger ones.
One possible solution is to add weight onto the FB; however, that reduces maneuverability and fun. Would FBL technology allow me to fly my T-Rex 450 Sport as confidently as I do my larger helicopters? Would FBL technology facilitate learning more complicated maneuvers? And finally, as someone who has limited computer skills and is not a "techie," could I successfully set up a FBL heli?
To answer these questions I purchased a MICROBEAST three-axis microelectromechanical system (MEMS) gyro system from German manufacturer BEASTX. This small unit replaces not only the FB, but the tail gyro as well.
Although there are several manufacturers now producing high-quality FBL systems, I chose the MICROBEAST because it was priced only slightly higher than a quality heading-hold tail gyro. An added bonus was that the MICROBEAST does not require a computer to use.
A FBL controller replaces the FB and paddles as well as the FB carrier and mixing arms that a conventional helicopter uses for stabilizing and controlling the main rotor blades. The blades go through changes during rotation that provide lift and directional control. A FBL controller takes the place of the FB and provides electronic stabilization, input for the cyclic functions of roll and pitch, and tail control.
A tail gyro contains a single gyro. A FBL controller has three gyros arranged to provide stability and control in all three axes—roll, pitch, and yaw. As a result, a FBL head is considerably less complicated than one with a flybar. FBL heads do not have a flybar, flybar carrier, or mixing arms. Instead of a washout hub and washout arms, a separate swash "follower" and washout arms are utilized. Some newer heads actually integrate the washout arms onto the main rotor hub. To convert an existing FB rotor head, order specially designed conversion parts or choose to replace the entire head with one that is dedicated to FBL. I decided to replace the existing rotor head on my 450 Sport with one made by RJX Hobby.
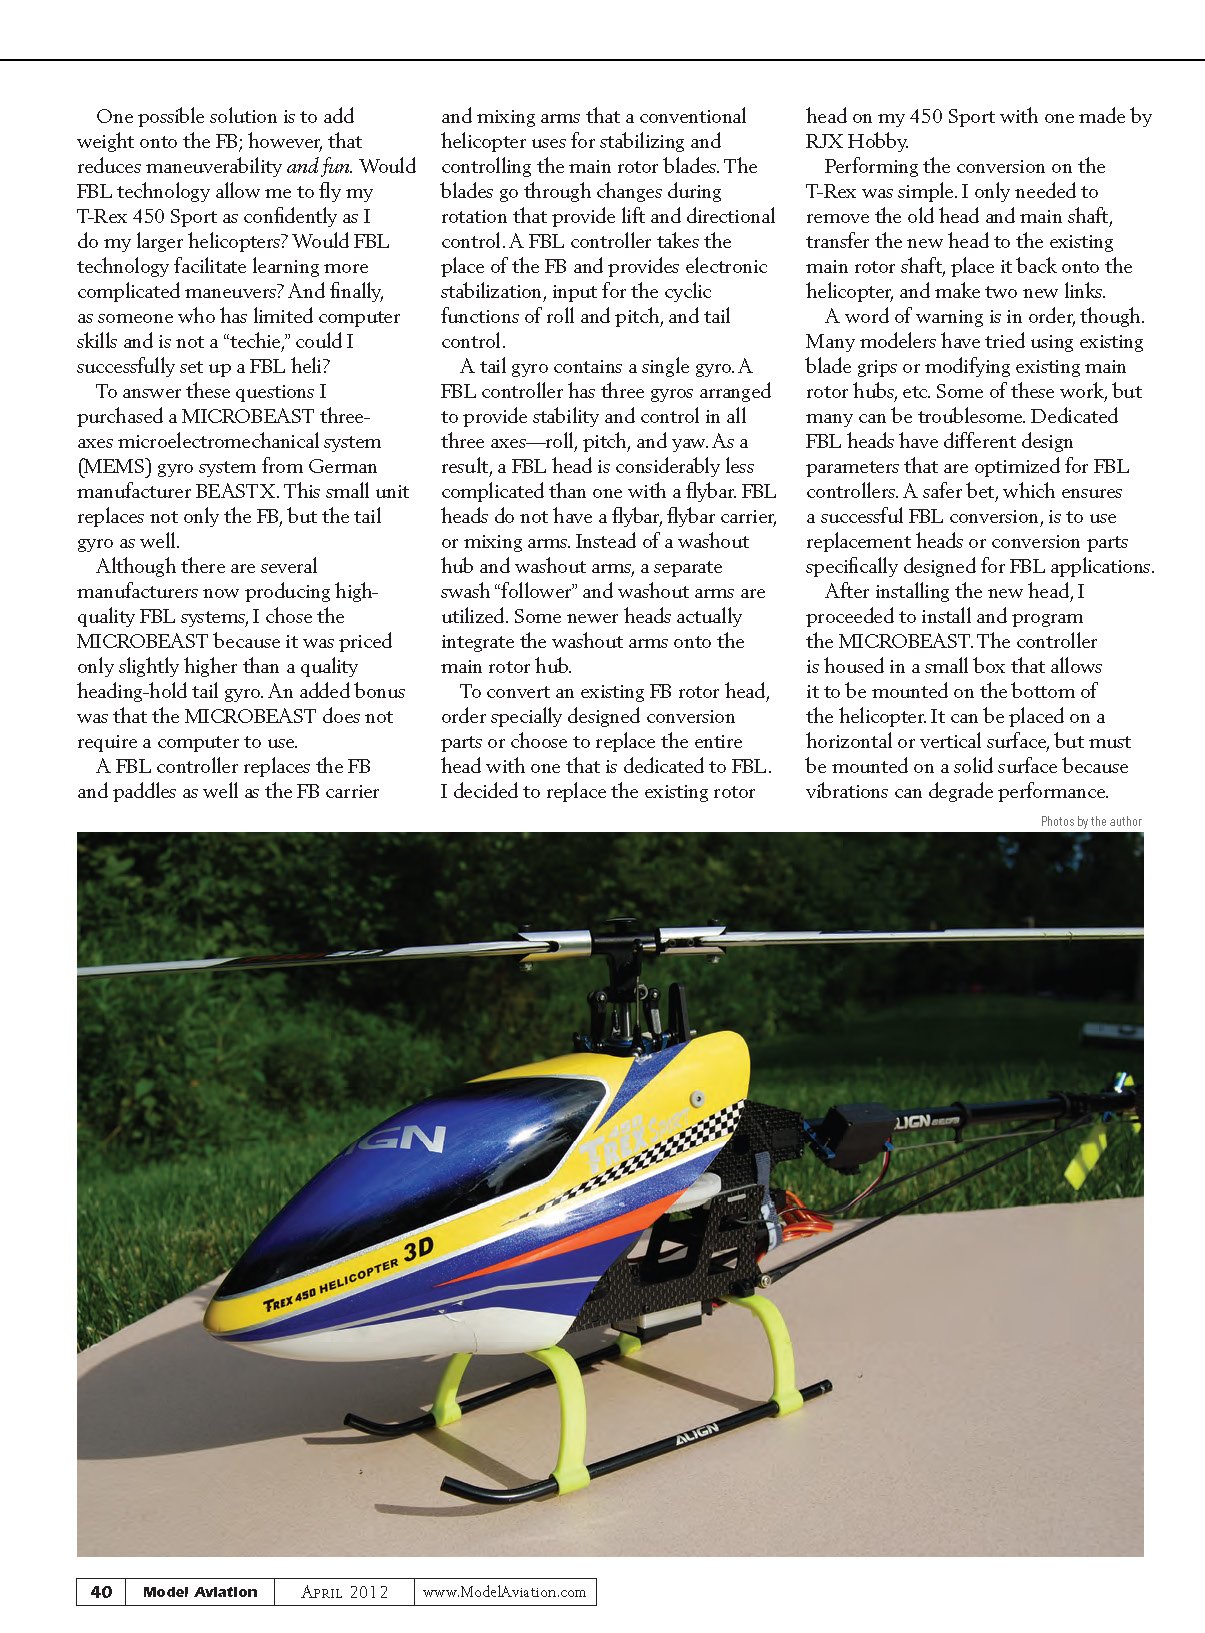
Performing the conversion on the T-Rex was simple. I only needed to remove the old head and main shaft, transfer the new head to the existing main rotor shaft, place it back onto the helicopter, and make two new links.
A word of warning is in order, though. Many modelers have tried using existing blade grips or modifying existing main rotor hubs, etc. Some of these work, but many can be troublesome. Dedicated FBL heads have different design parameters that are optimized for FBL controllers. A safer bet, which ensures a successful FBL conversion, is to use replacement heads or conversion parts specifically designed for FBL applications.
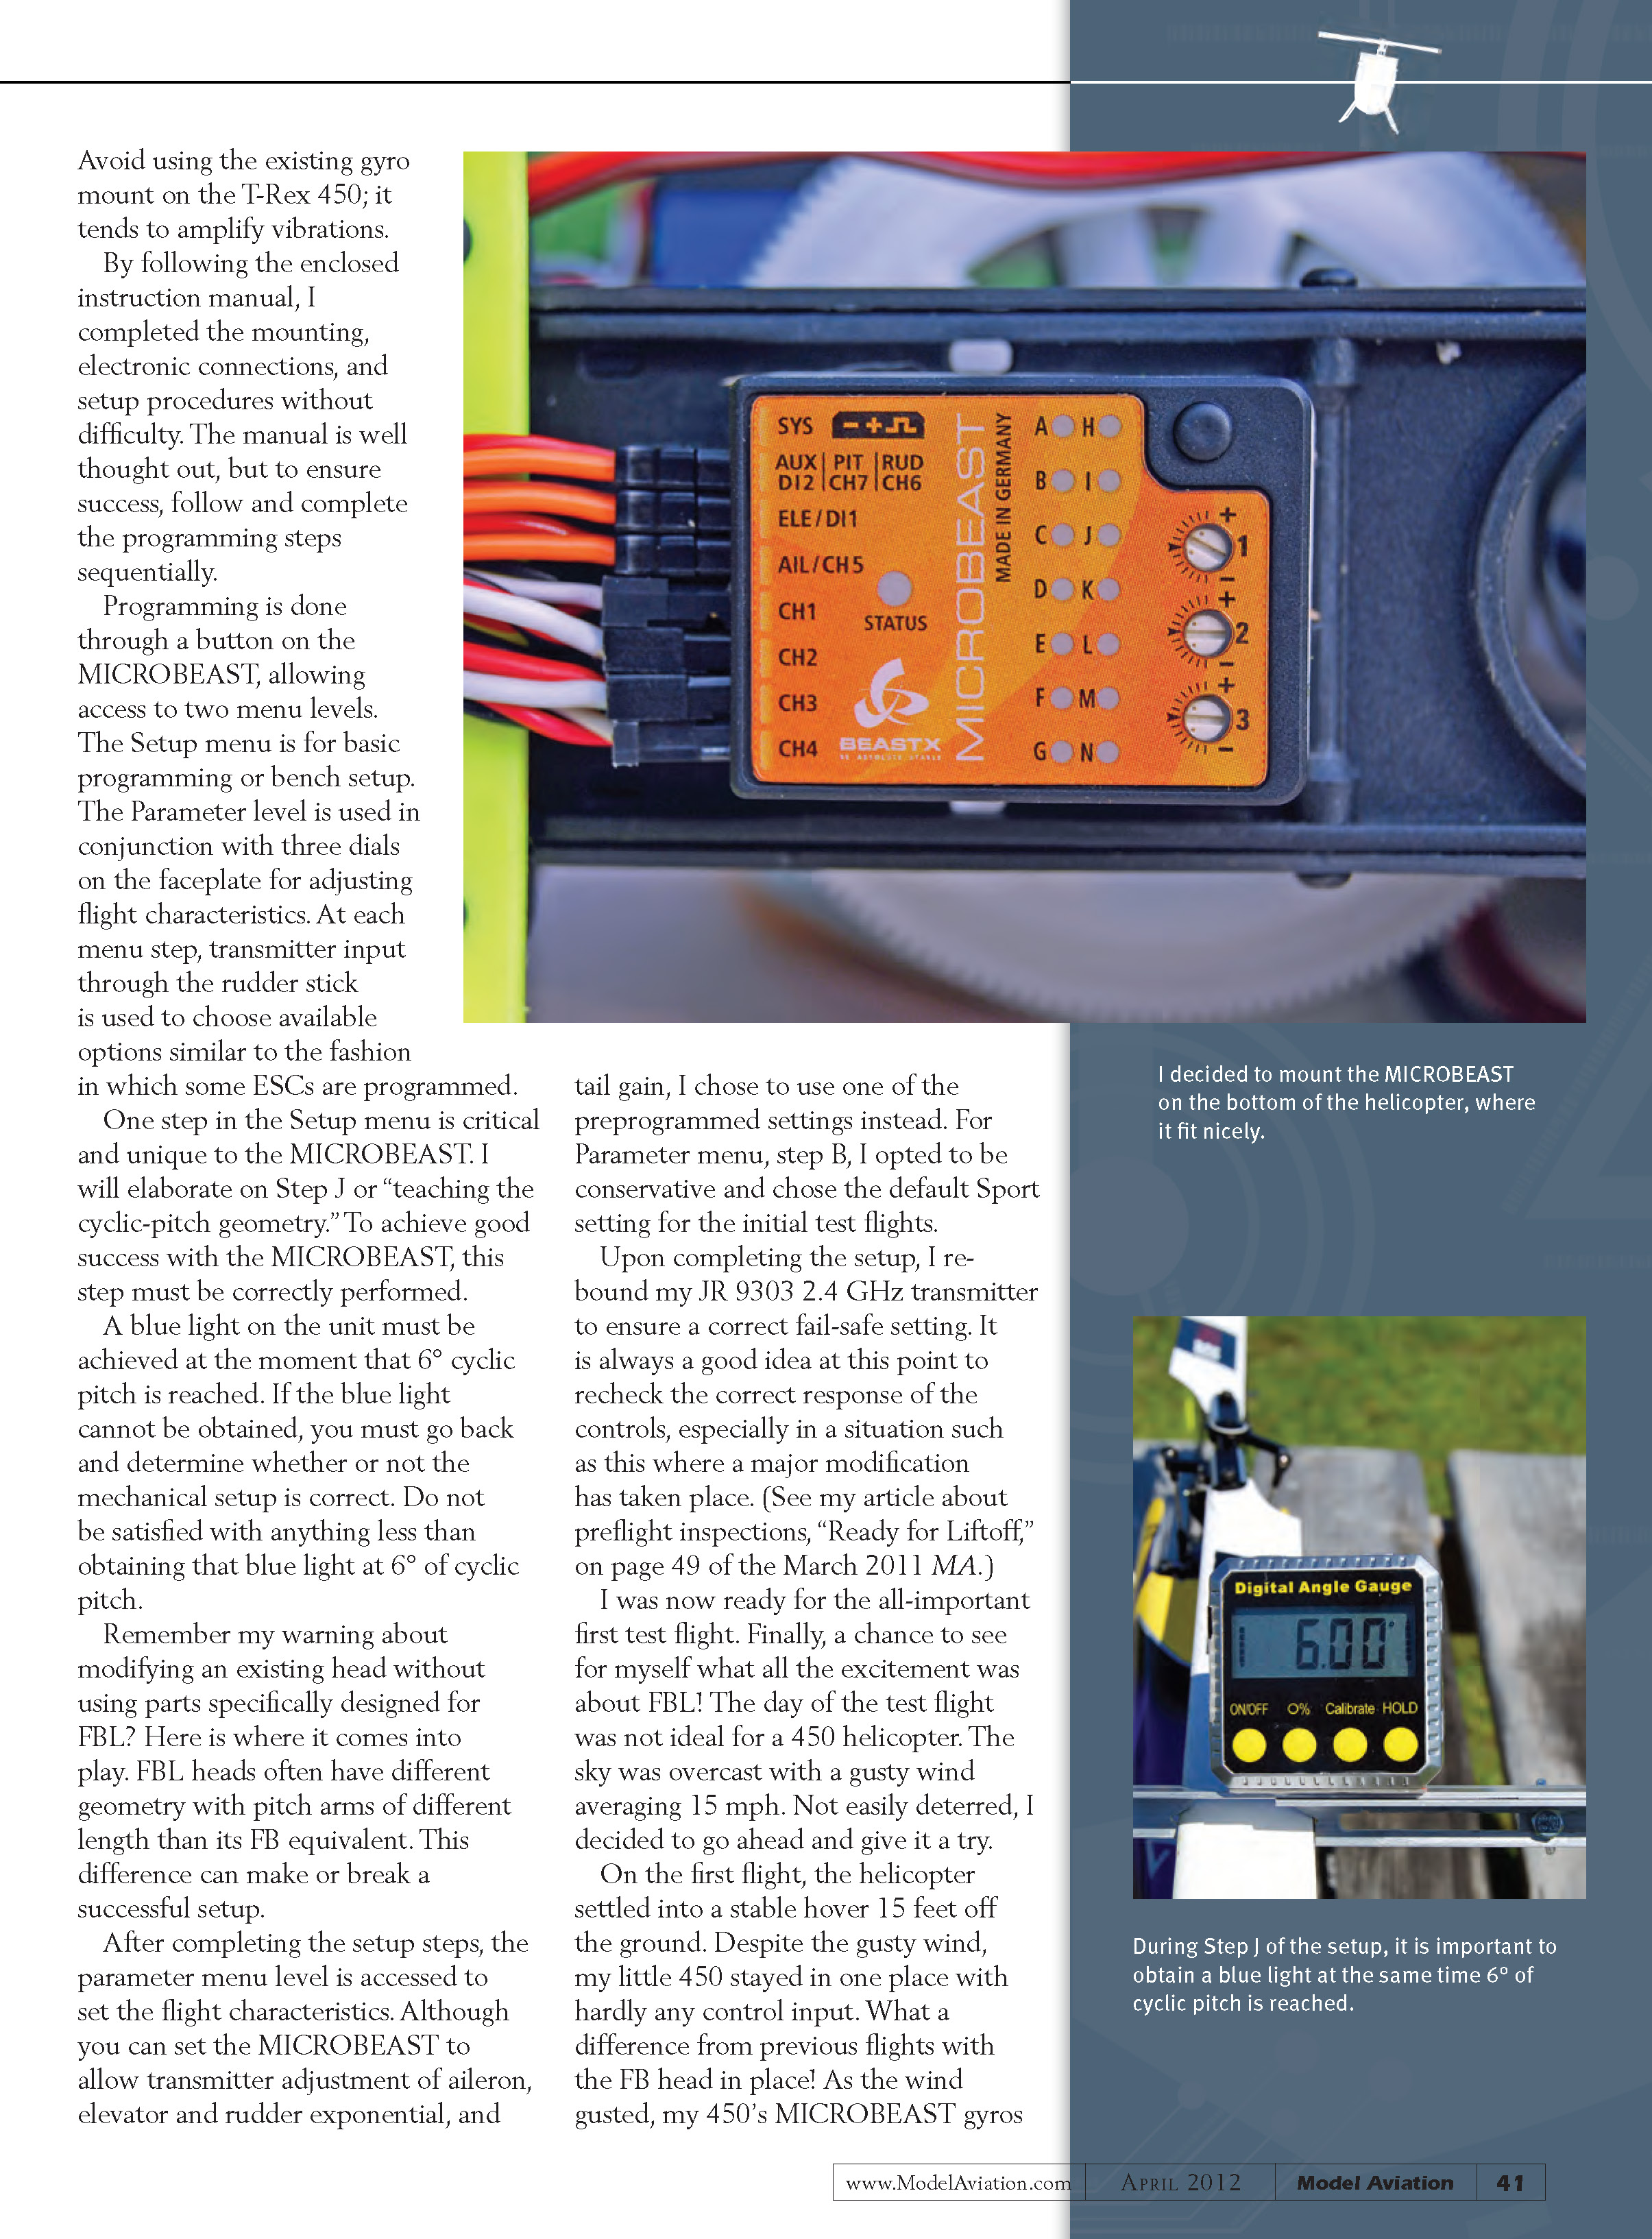
After installing the new head, I proceeded to install and program the MICROBEAST. The controller is housed in a small box that allows it to be mounted on the bottom of the helicopter. It can be placed on a horizontal or vertical surface, but must be mounted on a solid surface because vibrations can degrade performance.
Programming is done through a button on the MICROBEAST, allowing access to two menu levels. The Setup menu is for basic programming or bench setup. The Parameter level is used in conjunction with three dials on the faceplate for adjusting flight characteristics. At each menu step, transmitter input through the rudder stick is used to choose available options similar to the fashion in which some ESCs are programmed.
One step in the Setup menu is critical and unique to the MICROBEAST. I will elaborate on Step J, or "teaching the cyclic-pitch geometry." To achieve good success with the MICROBEAST, this step must be correctly performed.
A blue light on the unit must be achieved at the moment that 6° cyclic pitch is reached. If the blue light cannot be obtained, you must go back and determine whether or not the mechanical setup is correct. Do not be satisfied with anything less than obtaining that blue light at 6° of cyclic pitch.
Remember my warning about modifying an existing head without using parts specifically designed for FBL? Here is where it comes into play. FBL heads often have different geometry with pitch arms of different length than their FB equivalents. This difference can make or break a successful setup.
After completing the setup steps, the Parameter menu level is accessed to set the flight characteristics. Although you can set the MICROBEAST to allow transmitter adjustment of aileron, elevator and rudder exponential, and tail gain, I chose to use one of the preprogrammed settings instead. For Parameter menu, step B, I opted to be conservative and chose the default Sport setting for the initial test flights.
Upon completing the setup, I re-bound my JR 9303 2.4 GHz transmitter to ensure a correct fail-safe setting. It is always a good idea at this point to recheck the correct response of the controls, especially in a situation such as this where a major modification has taken place. (See my article about preflight inspections, "Ready for Liftoff," on page 49 of the March 2011 MA.)
I was now ready for the all-important first test flight. Finally, a chance to see for myself what all the excitement was about FBL! The day of the test flight was not ideal for a 450 helicopter. The sky was overcast with a gusty wind averaging 15 mph. Not easily deterred, I decided to go ahead and give it a try.
On the first flight, the helicopter settled into a stable hover 15 feet off the ground. Despite the gusty wind, my little 450 stayed in one place with hardly any control input. What a difference from previous flights with the FB head in place! As the wind gusted, the MICROBEAST gyros kept it steady.
After flying a few circuits to accustom myself to the way the heli flew, it was time to try some tricks. During rapid tic-tocks, the rotor head began to shake. I cautiously landed the heli and entered the Parameters menu and changed control behavior from Sport to Pro. This provided a quicker response and eliminated the shaking.
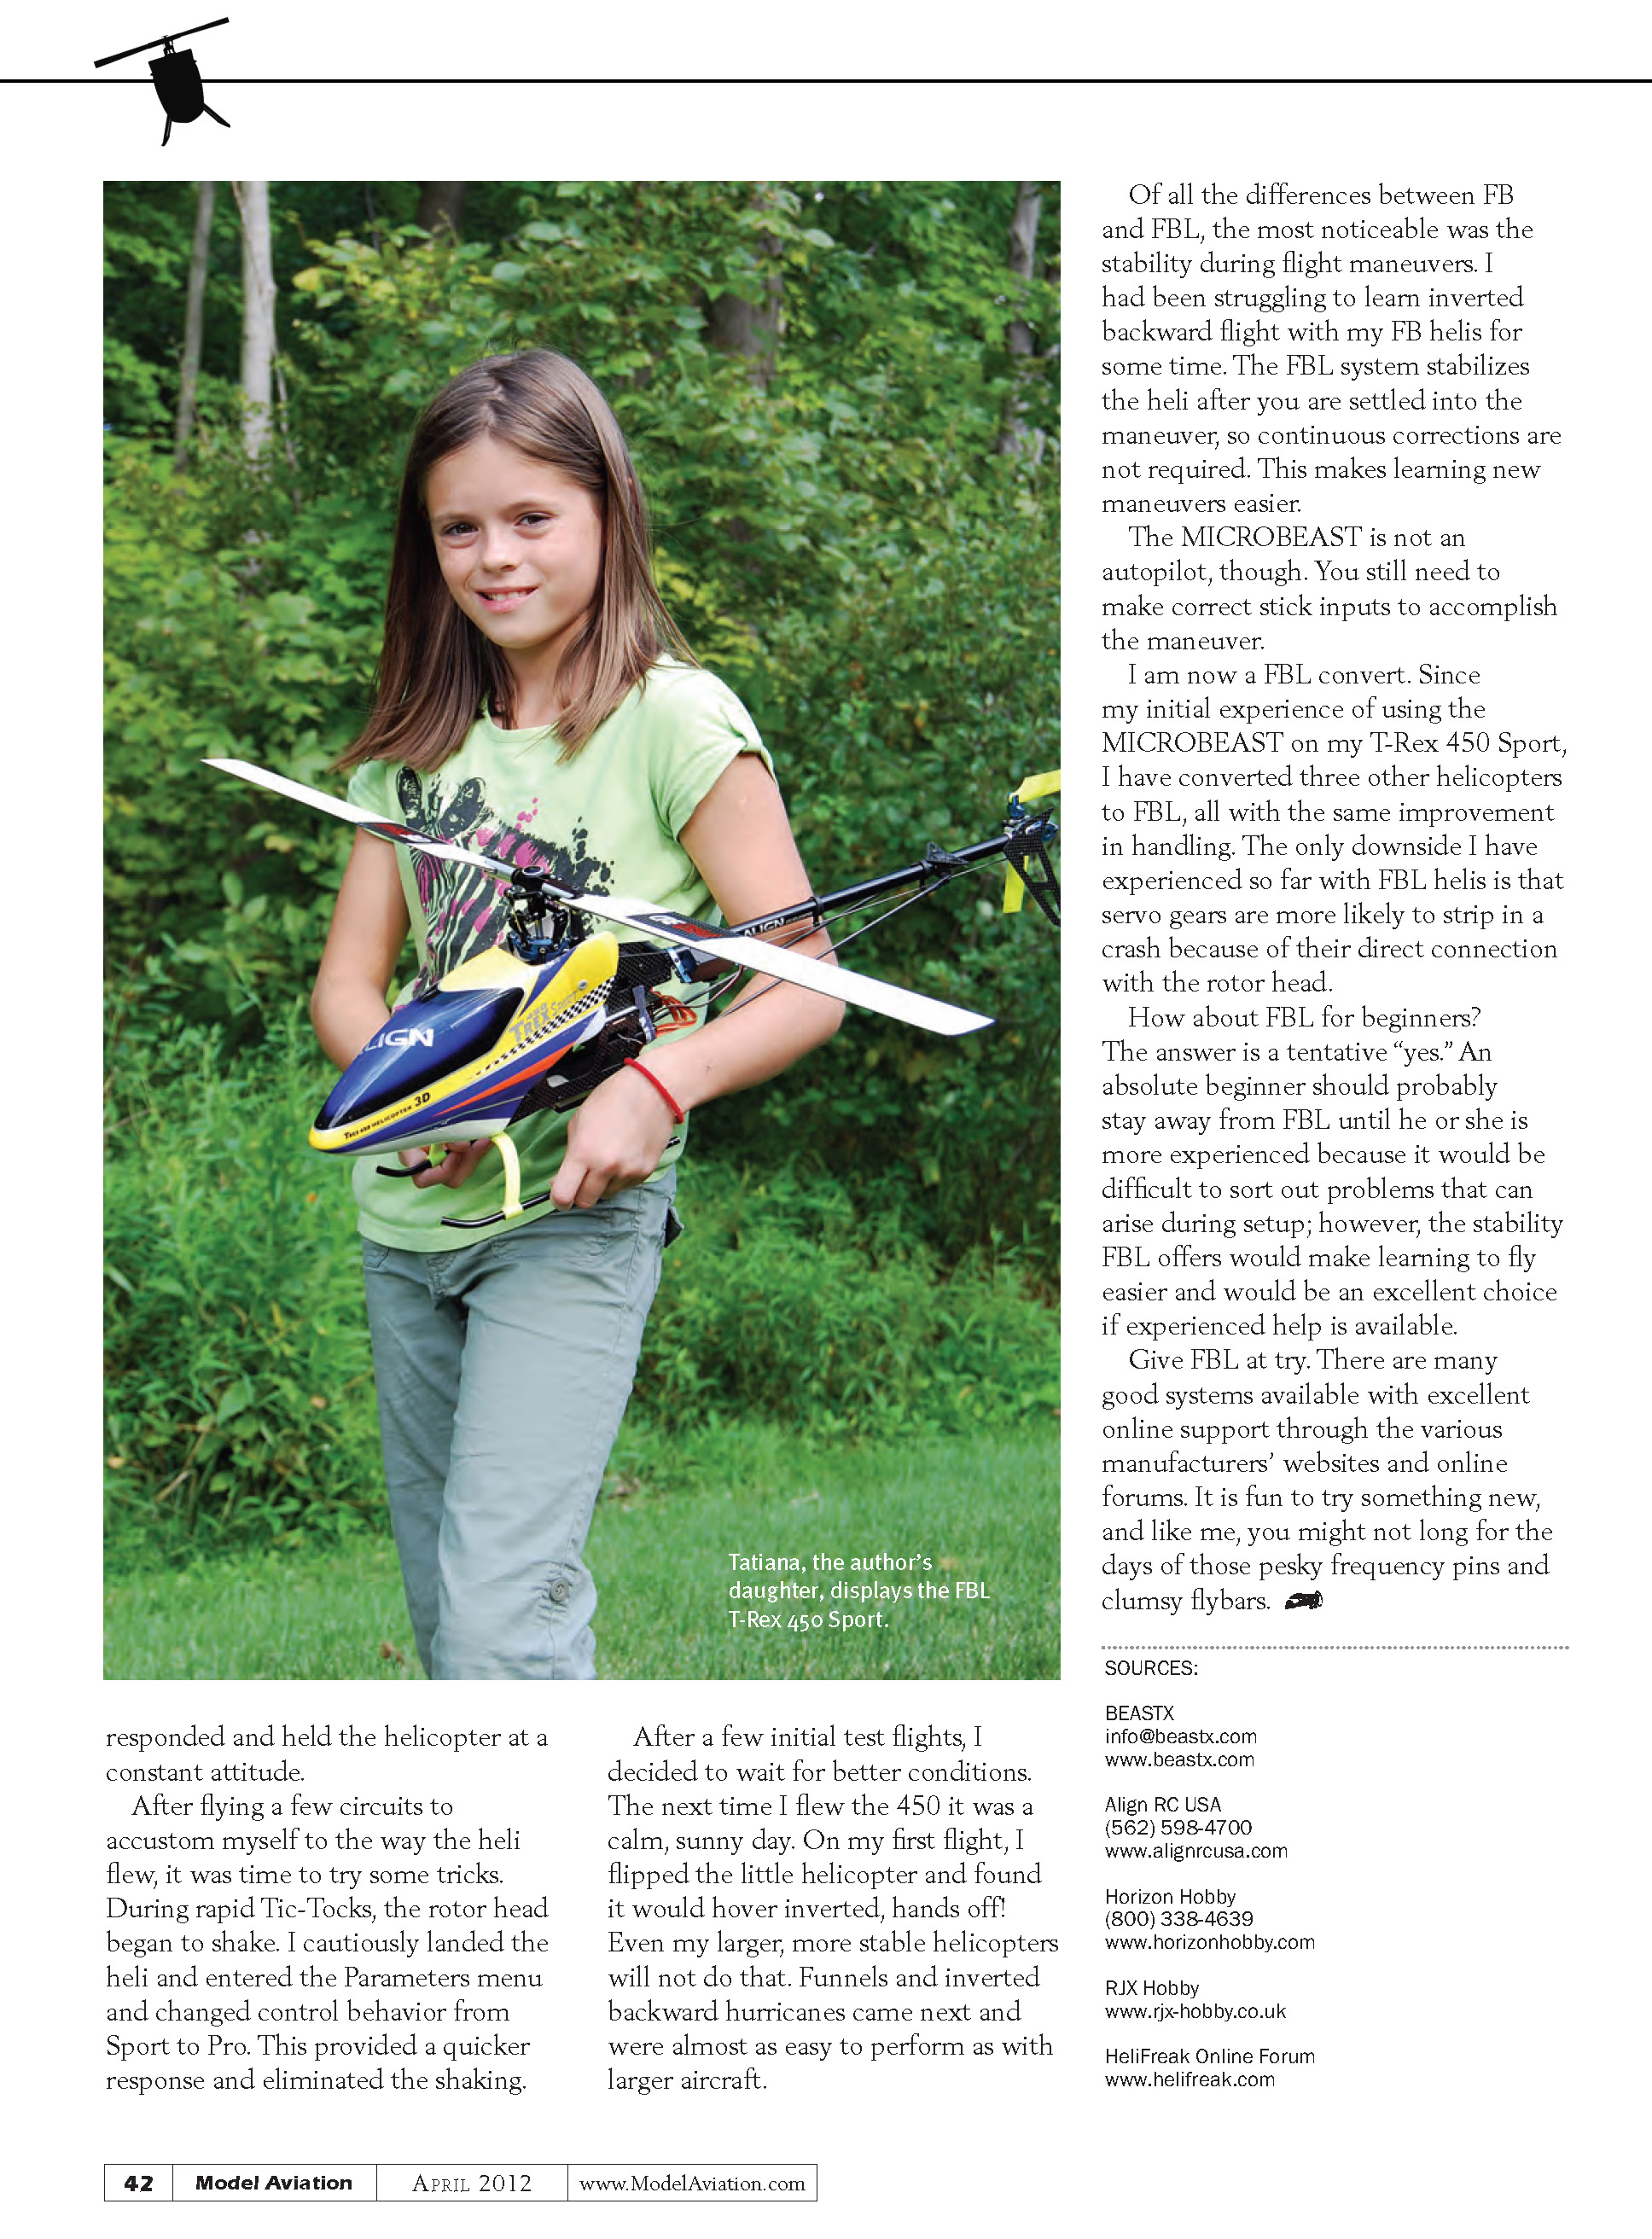
After a few initial test flights, I decided to wait for better conditions. The next time I flew the 450 it was a calm, sunny day. On my first flight, I flipped the little helicopter and found it would hover inverted, hands off! Even my larger, more stable helicopters will not do that. Funnels and inverted backward hurricanes came next and were almost as easy to perform as with larger aircraft.
Of all the differences between FB and FBL, the most noticeable was the stability during flight maneuvers. I had been struggling to learn inverted backward flight with my FB helis for some time. The FBL system stabilizes the heli after you are settled into the maneuver, so continuous corrections are not required. This makes learning new maneuvers easier.
The MICROBEAST is not an autopilot, though. You still need to make correct stick inputs to accomplish the maneuver.
I am now a FBL convert. Since my initial experience of using the MICROBEAST on my T-Rex 450 Sport, I have converted three other helicopters to FBL, all with the same improvement in handling. The only downside I have experienced so far with FBL helis is that servo gears are more likely to strip in a crash because of their direct connection with the rotor head.
How about FBL for beginners?
The answer is a tentative "yes." An absolute beginner should probably stay away from FBL until he or she is more experienced because it would be difficult to sort out problems that can arise during setup; however, the stability FBL offers would make learning to fly easier and would be an excellent choice if experienced help is available.
Give FBL a try. There are many good systems available with excellent online support through the various manufacturers' websites and online forums. It is fun to try something new, and like me, you might not long for the days of those pesky frequency pins and clumsy flybars.
Sources
- BEASTX
- [email protected]
- www.beastx.com
- Align RC USA
- (562) 598-4700
- www.alignrcusa.com
- Horizon Hobby
- (800) 338-4639
- www.horizonhobby.com
- RJX Hobby
- www.rjx-hobby.co.uk
- HeliFreak Online Forum
- www.helifreak.com
Transcribed from original scans by AI. Minor OCR errors may remain.

