
Flying for Fun
909 N. Maize Rd., Townhouse 734, Wichita KS 67212
A SUBSTANTIAL NUMBER of FMA Direct Co-Pilots are in use in this area, all with excellent reports.
I have received several letters asking questions about placement of the sensor. The complete instruction manual included with the Co-Pilot explicitly covers the subject of installation and calibration, and FMA Direct provides a telephone number to reach the technical-support department: (301) 668-7615.
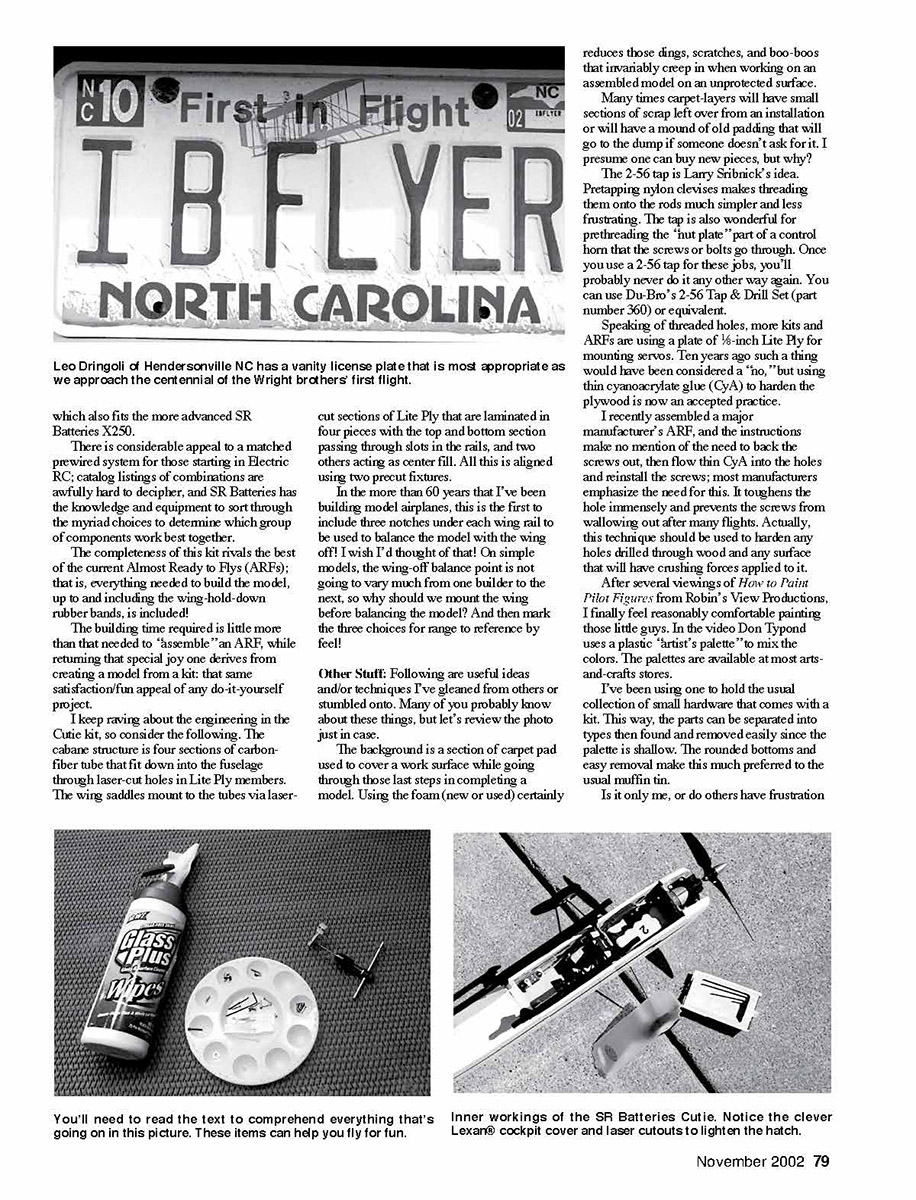
Cutie: I will admit to being enamored of this model for several reasons. Many years ago Airtronics kitted a 1/2A Radio Control (RC) Lee Renaud (deceased) design called the QT: a nice-looking and -flying little model in spite of the large servos and receivers of that time. I, in turn, used Lee's concept for a .20- to .25-cubic-inch-size three-channel design I named My-O-My and had published in the April 1980 Radio Control Modeler magazine.
Larry Sibrinck loved both designs and concluded that the parasol-winged, purely fun concept that runs through these old designs would lend itself to a modernized electric-power kit. Larry's Cutie meets or exceeds all those happy memories, and with modern micro radio equipment the wing loading is nearly the same as that of the old glow-powered models with those large servos and receivers.
In several previous columns I've mentioned how impressed I am with the clever engineering, extreme quality, ease of construction, and strong visual appeal of SR Batteries' Cutie. I delayed finishing mine while selfishly completing a 60-size wet-power design of my own for publication. In retrospect, I have missed out on several months of great fun-flying with this little model.
Now my Cutie is flying, and it deserves another mention. The thing is purely delightful as a sport flier! Unless the wind is in excess of eight to 10 mph, the little model will fly happily at half throttle giving flights of eight to 10 minutes in duration.
Stability is excellent, and rise-off-ground takeoffs are easy to accomplish from mowed grass. The Cutie will loop and do rudder rolls fairly well, and it does beautiful "hammerhead" turns.
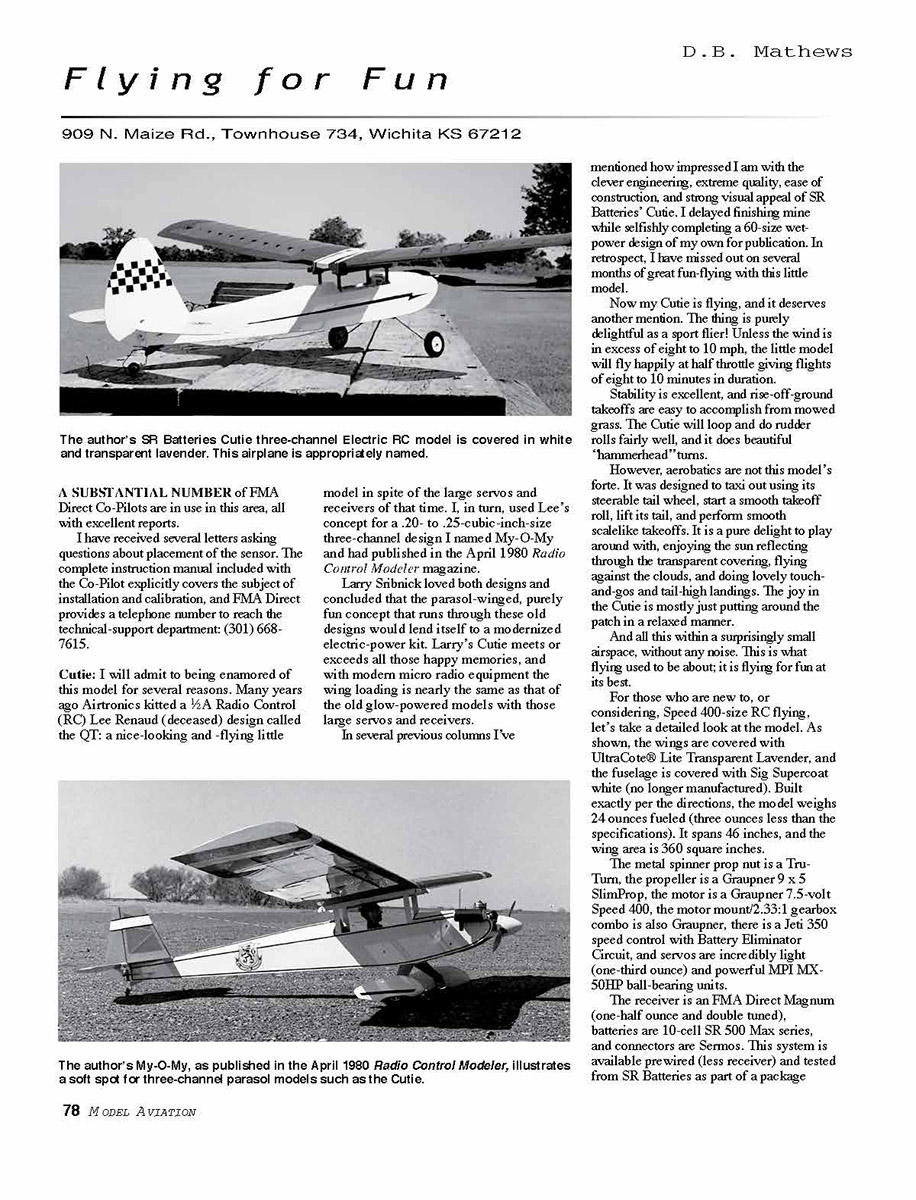
However, aerobatics are not this model's forte. It was designed to taxi out using its steerable tail wheel, start a smooth takeoff roll, lift its tail, and perform smooth scalelike takeoffs. It is a pure delight to play around with, enjoying the sun reflecting through the transparent covering, flying against the clouds, and doing lovely touch-and-go and tail-high landings. The joy in the Cutie is mostly just putting around the patch in a relaxed manner.
And all this within a surprisingly small airspace, without any noise. This is what flying used to be about; it is flying for fun at its best.
For those who are new to, or considering, Speed 400-size RC flying, let's take a detailed look at the model. As shown, the wings are covered with UltraCote® Lite Transparent Lavender, and the fuselage is covered with Sig Supercoat white (no longer manufactured). Built exactly per the directions, the model weighs 24 ounces fueled (three ounces less than the specifications). It spans 46 inches, and the wing area is 360 square inches.
The metal spinner prop nut is a Tru-Turn, the propeller is a Graupner 9 x 5 SlimProp, the motor is a Graupner 7.5-volt Speed 400, the motor mount/2.33:1 gearbox combo is also Graupner, there is a Jeti 350 speed control with Battery Eliminator Circuit, and servos are incredibly light (one-third ounce) and powerful MPI MX-50HP ball-bearing units.
The receiver is an FMA Direct Magnum (one-half ounce and double tuned), batteries are 10-cell SR 500 Max series, and connectors are Sernos. The system is available prewired (less receiver) and tested from SR Batteries as part of a package which also fits the more advanced SR Batteries X250.
There is considerable appeal to a matched prewired system for those starting in Electric RC; catalog listings of combinations are awfully hard to decipher, and SR Batteries has the knowledge and equipment to sort through the myriad choices to determine which group of components work best together.
The completeness of this kit rivals the best of the current Almost Ready to Flys (ARFs); that is, everything needed to build the model, up to and including the wing-hold-down rubber bands, is included.
The building time required is little more than that needed to "assemble" an ARF, while returning that special joy one derives from creating a model from a kit: that same satisfaction/fun appeal of any do-it-yourself project.
I keep raving about the engineering in the Cutie kit, so consider the following. The cabane structure is four sections of carbon-fiber tube that fit down into the fuselage through laser-cut holes in Lite Ply members. The wing saddles mount to the tubes via laser-cut sections of Lite Ply that are laminated in four pieces with the top and bottom section passing through slots in the rails, and two others acting as center fill. All this is aligned using two precut fixtures.
In the more than 60 years that I've been building model airplanes, this is the first to include three notches under each wing rail to be used to balance the model with the wing off! I wish I'd thought of that! On simple models, the wing-off balance point is not going to vary much from one builder to the next, so why should we mount the wing before balancing the model? And then mark the three choices for range to reference by feel!
Other Stuff
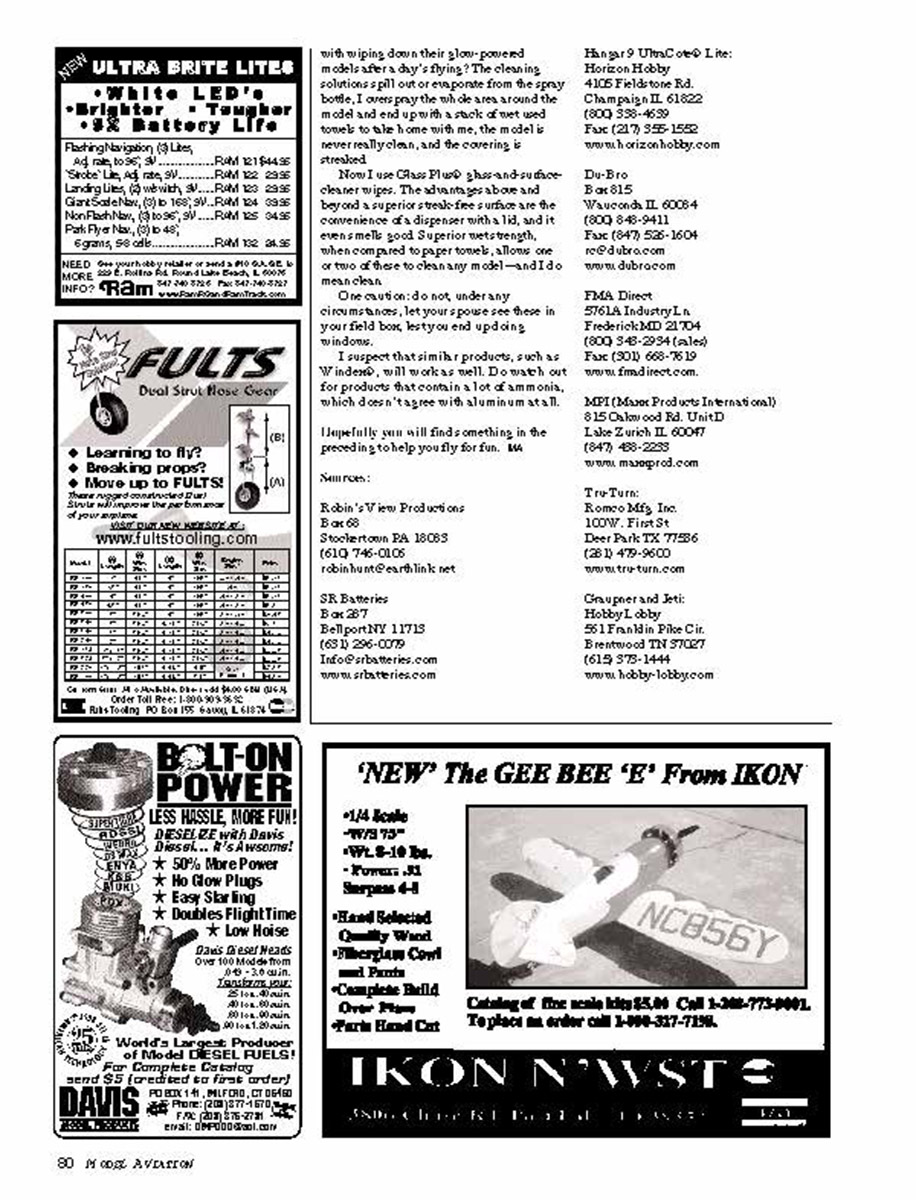
Following are useful ideas and/or techniques I've gleaned from others or stumbled onto. Many of you probably know about these things, but let's review the photo just in case.
The background is a section of carpet pad used to cover a work surface while going through those last steps in completing a model. Using the foam (new or used) certainly reduces those dings, scratches, and boo-boos that invariably creep in when working on an assembled model on an unprotected surface.
Many times carpet-layers will have small sections of scrap left over from an installation or will have a mound of old padding that will go to the dump if someone doesn't ask for it. I presume one can buy new pieces, but why?
The 2-56 tap is Larry Sibrinck's idea. Pre-tapping nylon clevises makes threading them onto the rods much simpler and less frustrating. The tap is also wonderful for prethreading the "nut plate" part of a control horn that the screws or bolts go through. Once you use a 2-56 tap for these jobs, you'll probably never do it any other way again. You can use Du-Bro's 2-56 Tap & Drill Set (part number 360) or equivalent.
Speaking of threaded holes, more kits and ARFs are using a plate of 1/8-inch Lite Ply for mounting servos. Ten years ago such a thing would have been considered a "no," but using thin cyanoacrylate glue (CA) to harden the plywood is now an accepted practice.
I recently assembled a major manufacturer's ARF, and the instructions make no mention of the need to back the screws out, then flow thin CA into the holes and reinstall the screws; most manufacturers emphasize the need for this. It toughens the hole immensely and prevents the screws from wallowing out after many flights. Actually, this technique should be used to harden any holes drilled through wood and any surface that will have crushing forces applied to it.
After several viewings of How to Paint Pilot Figures from Robin's View Productions, I finally feel reasonably comfortable painting those little guys. In the video Don Typo and uses a plastic "artist's palette" to mix the colors. The palettes are available at most arts-and-crafts stores.
I've been using one to hold the usual collection of small hardware that comes with a kit. This way, the parts can be separated into types then found and removed easily since the palette is shallow. The rounded bottoms and easy removal make this much preferred to the usual muffin tin.
Is it only me, or do others have frustration with wiping down their glow-powered models after a day's flying? The cleaning solutions spill out or evaporate from the spray bottle. I never spray the whole area around the model and end up with a stack of wet used towels to take home with me, the model is never really clean, and the covering is streaked.
Now I use Glass Plus® glass-and-surface cleaner wipes. The advantage is the wipes are, beyond a superior streak-free surface, the convenience of a dispenser with a lid, and it even smells good. Superior wet strength, when compared to paper towels, allows one or two of these to clean any model—and I do mean clean.
One caution: do not, under any circumstances, let your spouse see these in your field box, lest you end up doing the windows.
I suspect that similar products, such as Windex, will work as well. Do watch out for products that contain a lot of ammonia, which doesn't agree with aluminum at all.
Hopefully you will find something in the preceding to help you fly for fun. RC
Sources:
- Robin's View Productions
Box 68 Stockertown PA 18083 (610) 746-0106 [email protected]
- SR Batteries
Box 287 Bellport NY 11713 (631) 286-0079 [email protected] www.srbatteries.com
- Hangar 9 Ultra-Brite Lite:
Horizon Hobby 4105 Fieldstone Rd. Champaign IL 61822 (800) 338-4639 Fax (217) 355-1252 www.horizonhobby.com
- Du-Bro
Box 815 Waukegan IL 60085 (800) 848-9411 Fax (847) 526-1604 [email protected] www.dubro.com
- FMA Direct
5761A Industry Ln. Frederick MD 21704 (800) 348-2934 (sales) Fax (301) 698-7619 www.fmadirect.com
- MPI (Maxx Products International)
815 Oakwood Rd. Unit D Lake Zurich IL 60047 (847) 438-2288 www.maxxprod.com
- Tru-Turn:
Romeo Mfg. Inc. 100 W. First St. Deer Park TX 77536 (281) 479-9600 www.tru-turn.com
- Graupner and Jeti:
Hobby Lobby 561 Franklin Pike Cir. Brentwood TN 37027 (615) 373-1444 www.hobby-lobby.com
Transcribed from original scans by AI. Minor OCR errors may remain.

