
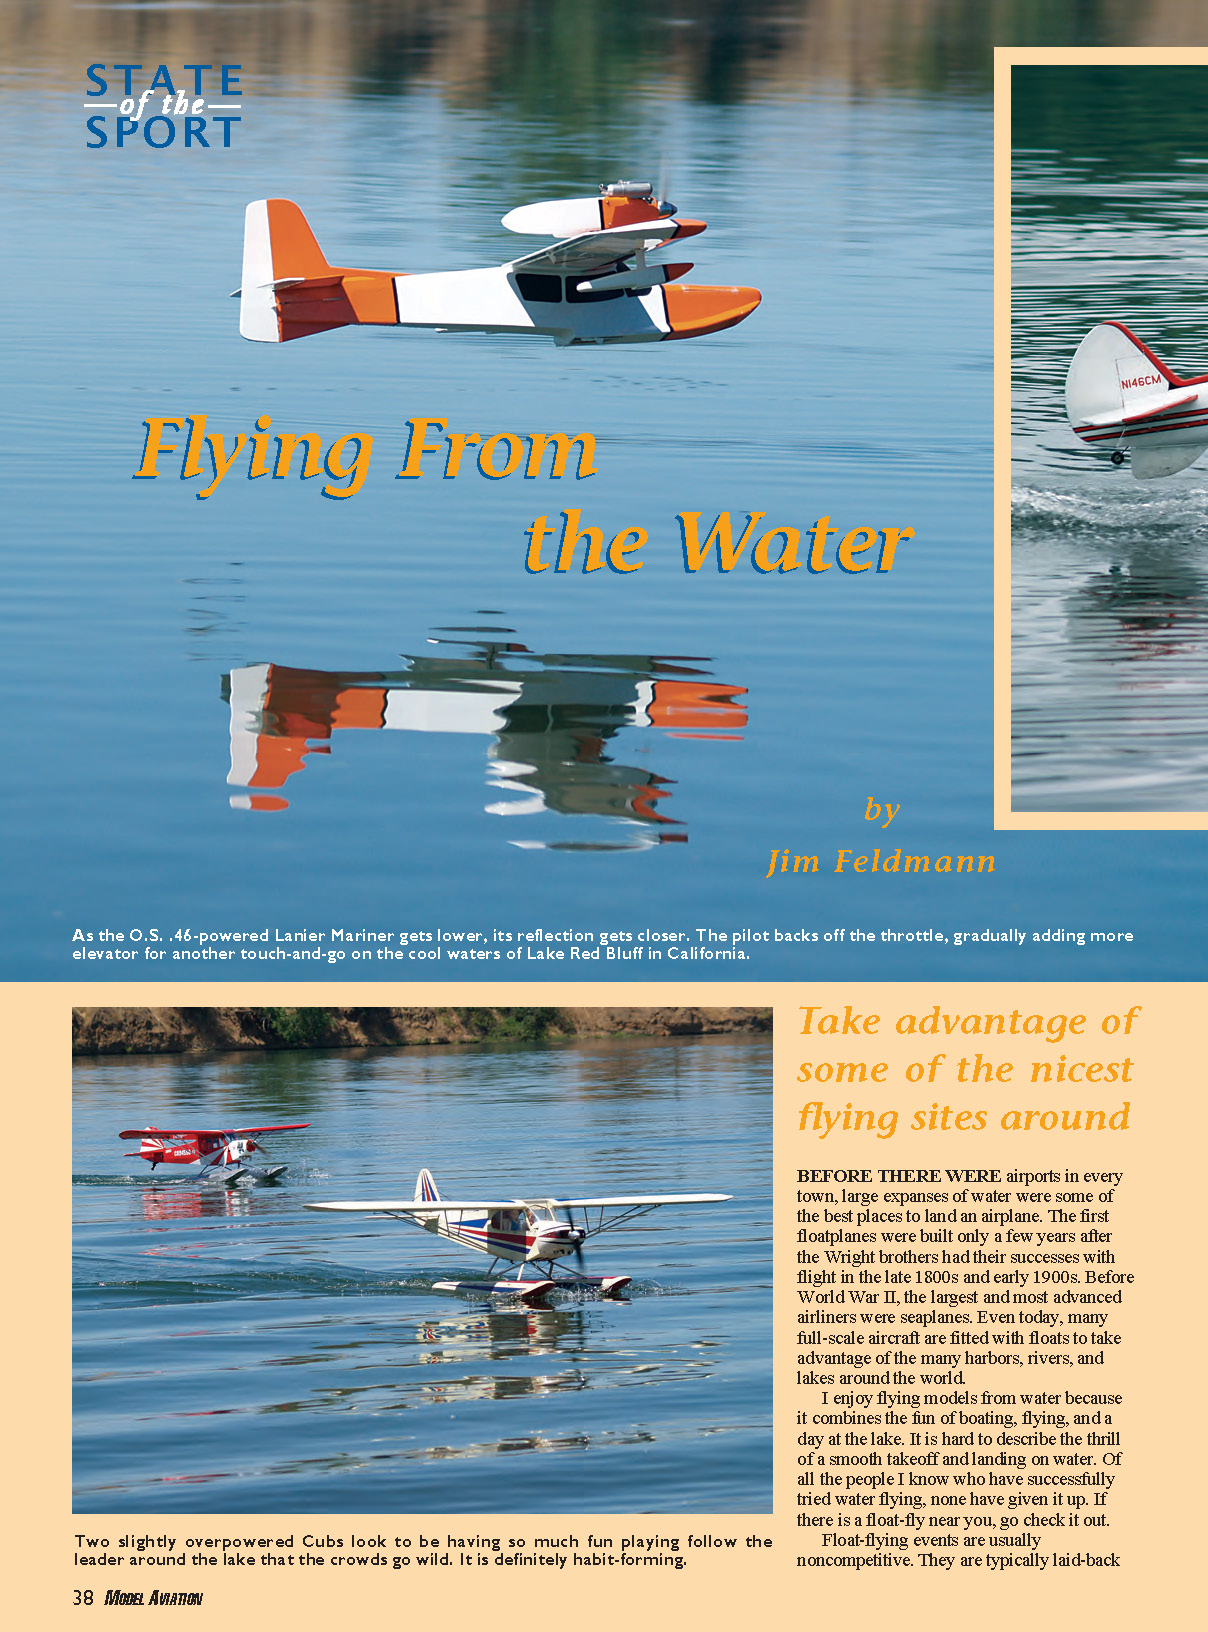
Flying From the Water
by Jim Feldmann
Before there were airports in every town, large expanses of water were some of the best places to land an airplane. The first floatplanes were built only a few years after the Wright brothers had their successes with flight in the late 1800s and early 1900s. Before World War II, the largest and most advanced airliners were seaplanes. Even today, many full-scale aircraft are fitted with floats to take advantage of the many harbors, rivers, and lakes around the world.
I enjoy flying models from water because it combines the fun of boating, flying, and a day at the lake. It is hard to describe the thrill of a smooth takeoff and landing on water. Of all the people I know who have successfully tried water flying, none have given it up. If there is a float-fly near you, go check it out.
Float-flying events are usually noncompetitive. They are typically laid-back family occasions with many interesting airplanes and great camaraderie among people who share the same interests. The flying is fun to watch: most float-fliers love to do touch-and-gos, so the action is right in front of you. You will see all kinds of models, from park flyers to trainers to multiengine scale masterpieces. Skill levels range from beginner to pro.
Getting Started
If you find yourself inspired, look at the seaplanes that are available. The Sig Sealane kit and the Ace Hobby Distributors Seamaster 40 ARF are two popular choices.
If you just want to get your feet wet, the easiest way is to put floats on your favorite land airplane. Great Planes and Hangar 9 offer float sets with struts that can be used on many 40- to 60-size models. Other vendors such as Sea Commander Floats, Hobby Lobby, and Plane Fun Floats offer excellent floats and float kits in sizes to fit everything from park flyers to Giant Scale models.
You don't need to wait for the next float-fly event. All you need is an uncrowded body of water, a floatplane, and some way to retrieve your model. You can't always get the airplane back to shore; unless you're an Olympic swimmer, you will need a boat, kayak, canoe, or something to get out to the model and back.
Of course you should not fly where it is prohibited or where you might endanger other people or property. For safety, wear a life vest in that recovery boat and be sure to have someone with you in case of an emergency.
The ideal water flying site will have a smooth beach or a dock where you can launch and recover the aircraft, unobstructed overflight areas, water that is smooth or with up to roughly a 2-inch chop, wind parallel to the shoreline, and the sun behind you. Look around your area; you may find that the local RC club already has a float-flying site chosen.
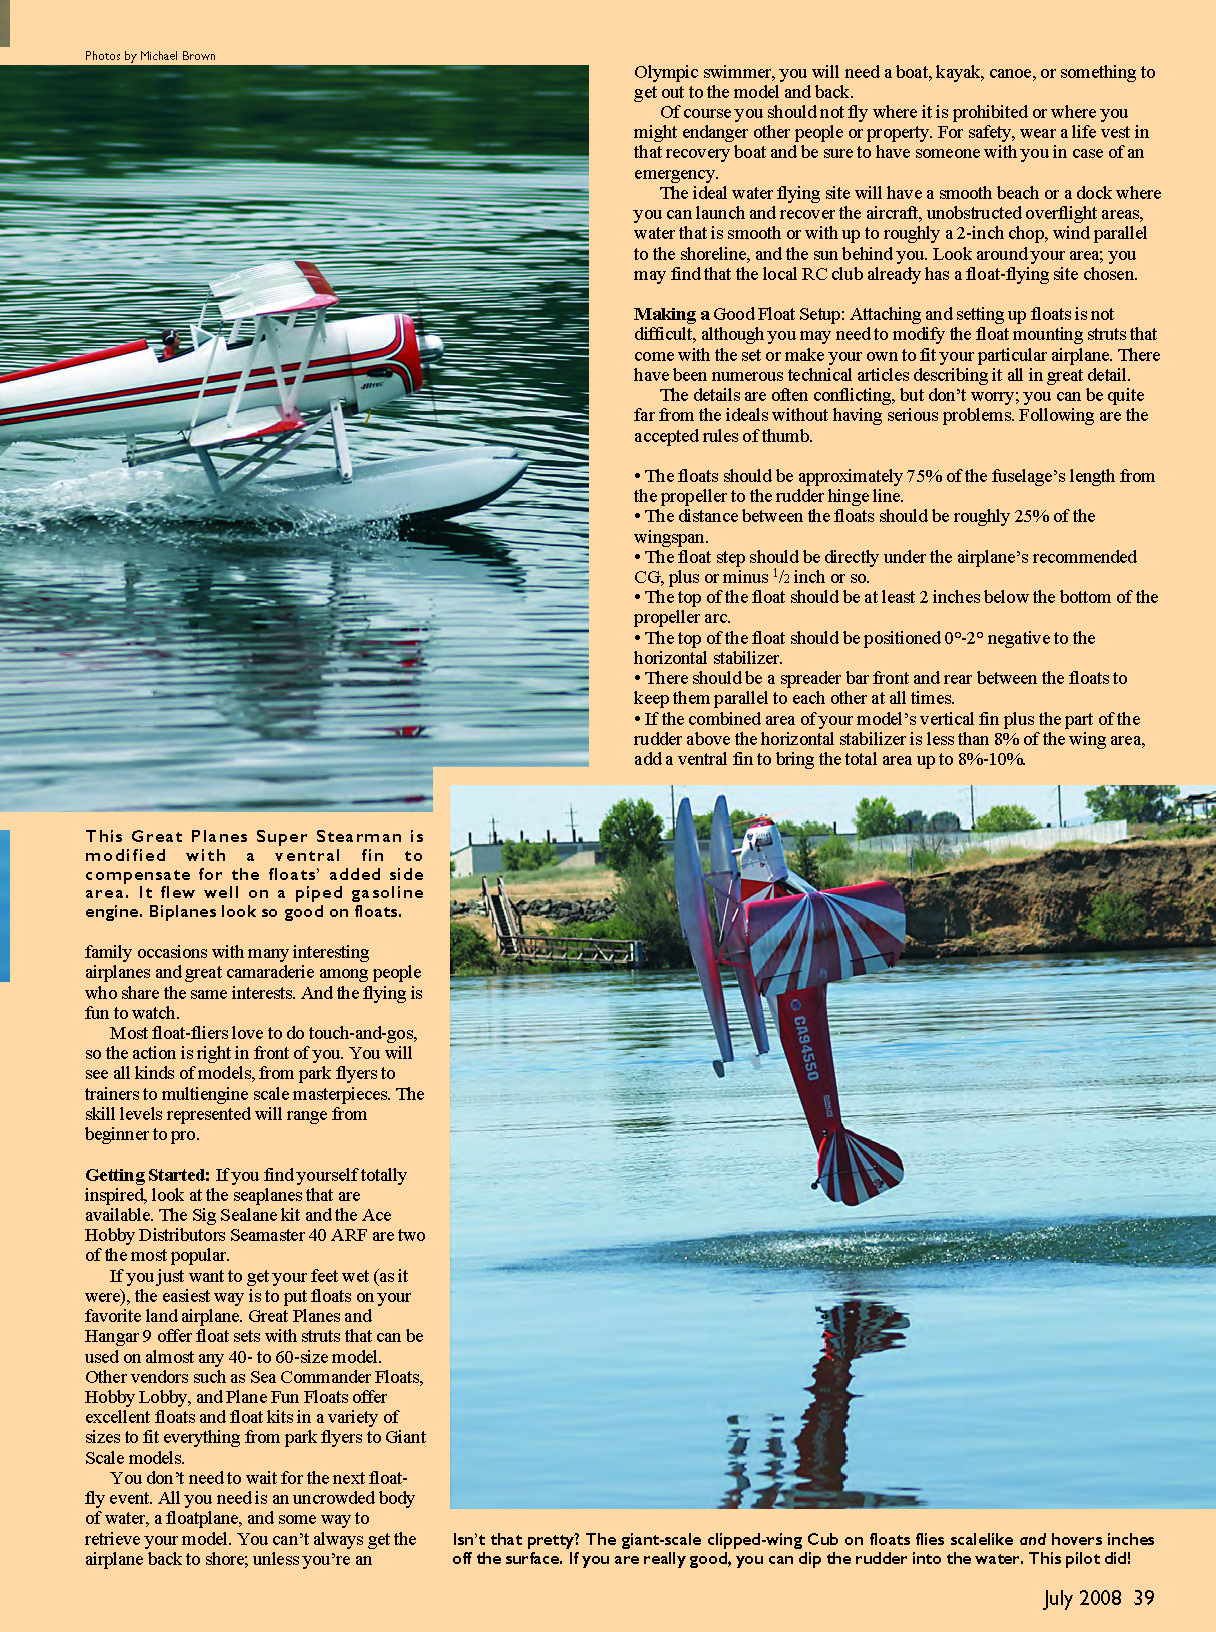
Making a Good Float Setup
Attaching and setting up floats is not difficult, although you may need to modify the float mounting struts that come with the set or make your own to fit your particular airplane. There have been numerous technical articles describing the process in detail. The details are often conflicting, but you can be quite far from the ideals without having serious problems. The following are accepted rules of thumb:
- The floats should be approximately 75% of the fuselage's length from the propeller to the rudder hinge line.
- The distance between the floats should be roughly 25% of the wingspan.
- The float step should be directly under the airplane's recommended CG, plus or minus about 1/2 inch.
- The top of the float should be at least 2 inches below the bottom of the propeller arc.
- The top of the float should be positioned 0°–2° negative relative to the horizontal stabilizer.
- There should be a spreader bar front and rear between the floats to keep them parallel to each other at all times.
- If the combined area of your model's vertical fin plus the part of the rudder above the horizontal stabilizer is less than 8% of the wing area, add a ventral fin to bring the total area up to 8%–10%.
Hollow floats like to leak. Make it a practice to tip the airplane nose down and then tail down to listen for water running back and forth inside the floats. Keep the weight down with light floats and struts; the model will perform much like it did on wheels if you minimize added weight.
Water-Proofing Your Investment
In normal use on water, you need to protect your model and equipment against spray and splashes. Water will try to get under the covering and lift it. It can also cause mildew to grow inside the airframe.
A few drops of water inside the fuselage are not a flight problem. However, as it runs back and forth, a lot of it can cause the CG to move. In the worst case it could stop the radio from working. Low-wing airplanes are better in this regard, because any water that gets into the fuselage will tend to run back out through the wing saddle.
Make sure the radio equipment is not mounted on the fuselage floor; that's where water accumulates. Go over the airplane and seal all exposed wood with thin cyanoacrylate or epoxy. Make it part of your regular preflight routine to examine the covering and iron down any loose seams.
Use silicone sealant to close any openings around externally mounted servos. If you have hatch-mounted servos with a large slot for the arm, make a small shield for the slot from covered balsa or clear blister packs. Seal any openings between the engine compartment and the fuselage.
Most servos today are quite water-resistant and tube-in-a-tube pushrods seldom leak water into the fuselage, so you don't need to worry too much about them. The best way to seal the wing saddle is with foam wing-saddle tape. Make sure the front and back as well as both sides are sealed.
If electronics or servos do get wet, remove the receiver, battery, switch, and any servos that were underwater. Open them up, blow out as much water as you can, and then let them dry in the sun. Damage to electronics occurs when mineral deposits form on metals. Using a soft plastic brush and distilled water will help clean electronics that might be dirty.
Fresh water will not permanently damage your engine or radio if you dry them out as soon as you get them out of the water. Salt water, on the other hand, will quickly destroy them. If the worst happens, start the engine and run it until it is hot to evaporate any water inside—run at least five minutes for a two-stroke and a whole tank for a four-stroke—then apply a liberal dose of after-run oil.
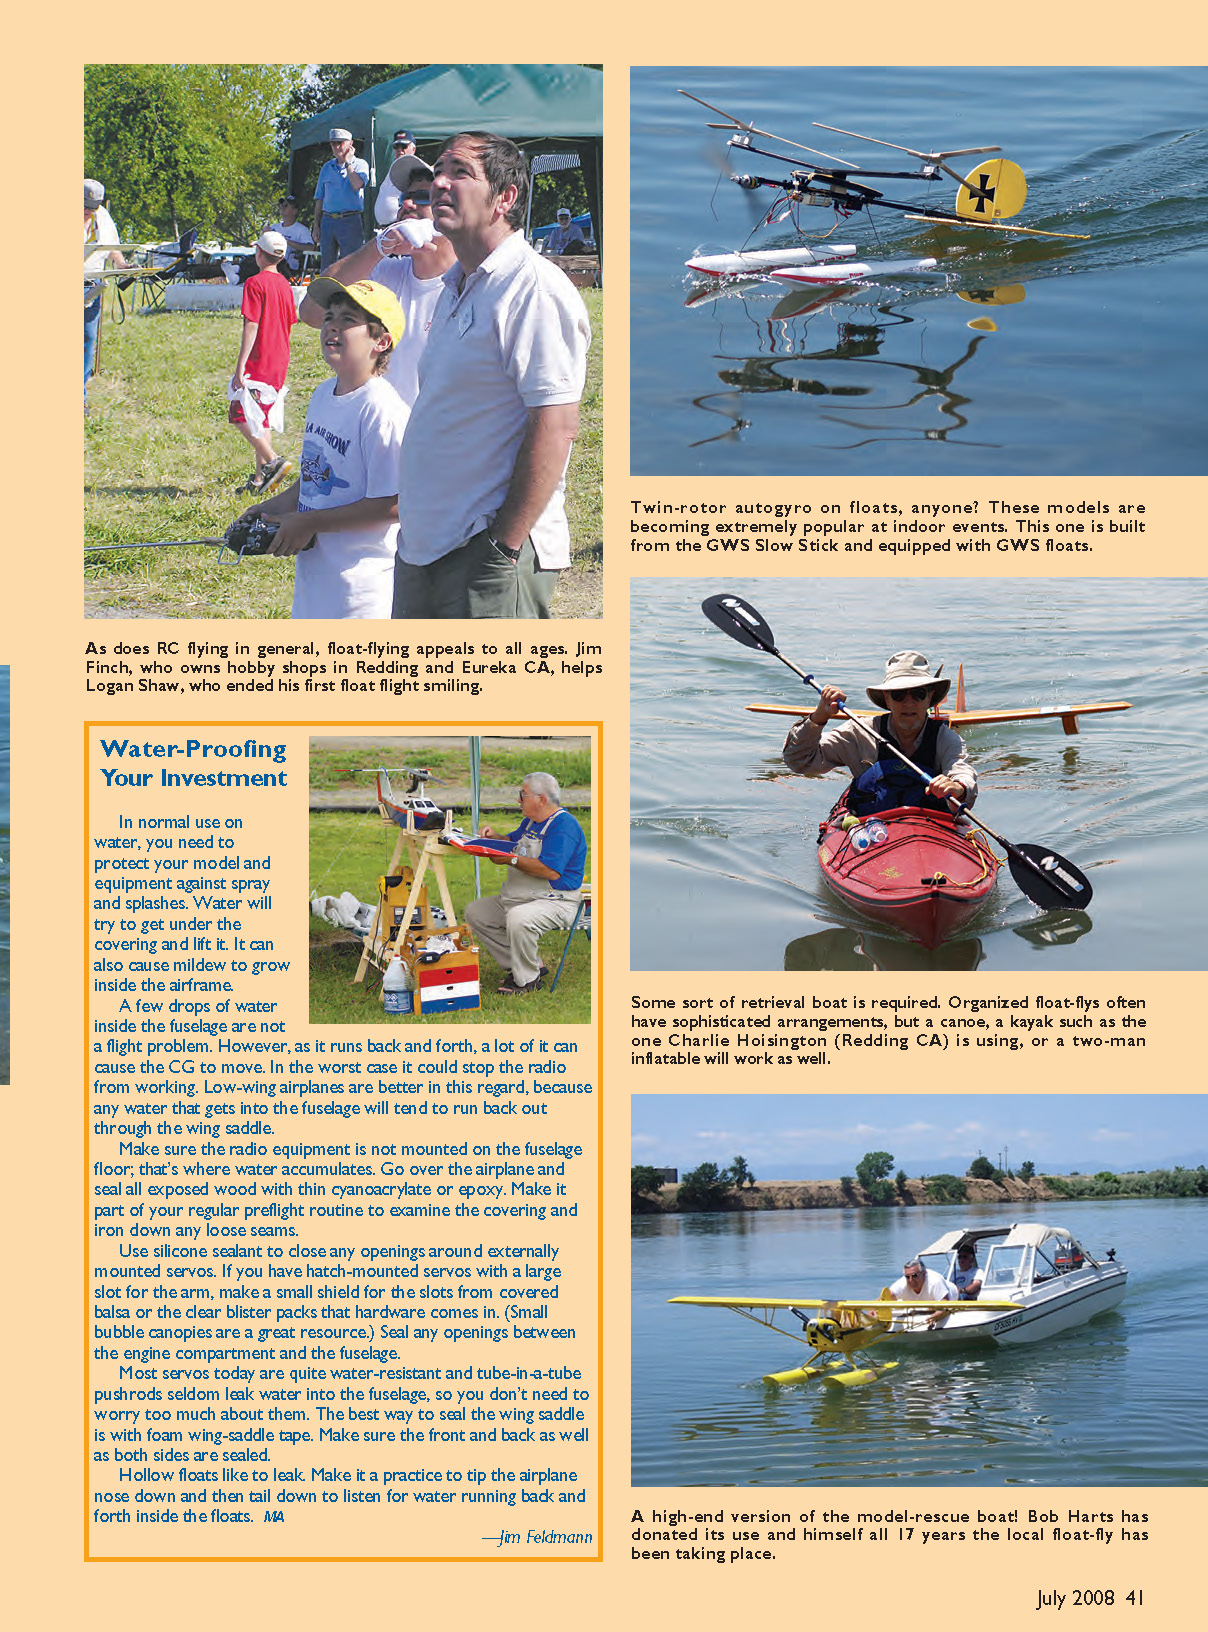
Some sort of retrieval boat is required. Organized float-flys often have sophisticated arrangements, but a canoe, a kayak, or a two-man inflatable will work well.
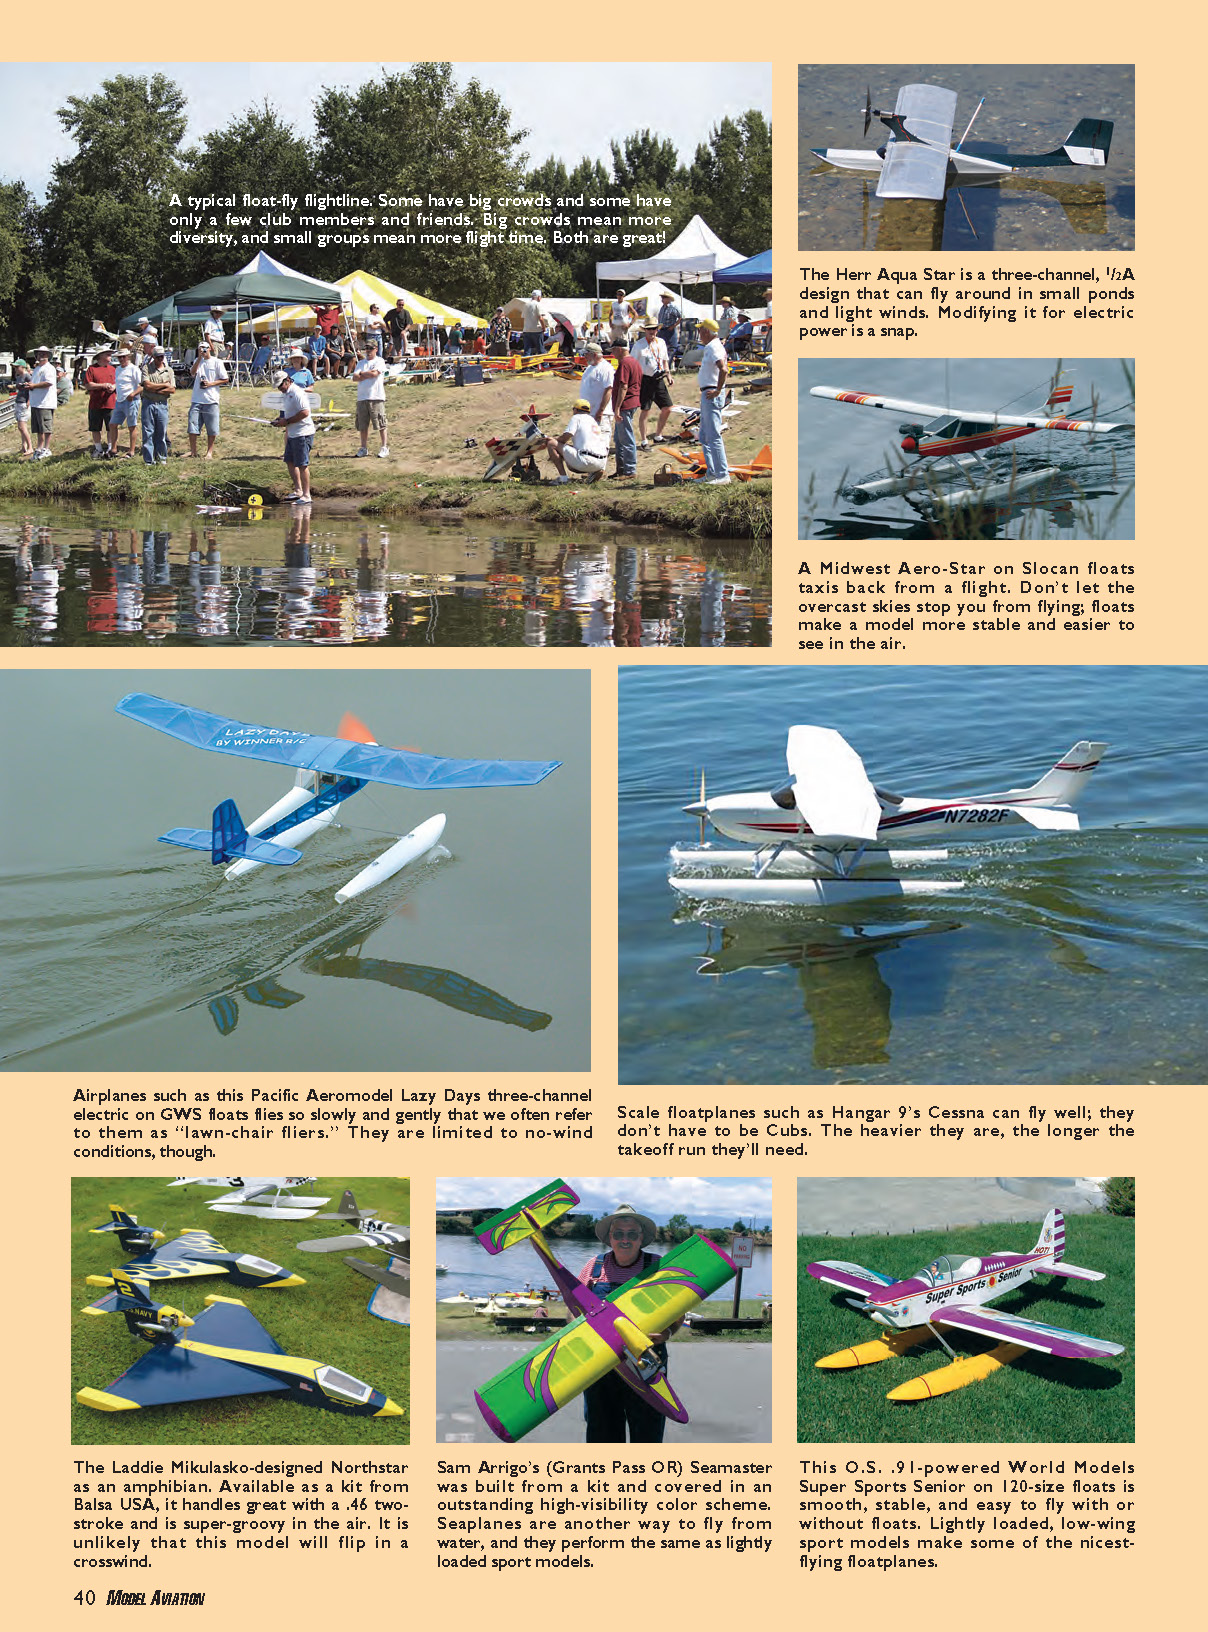
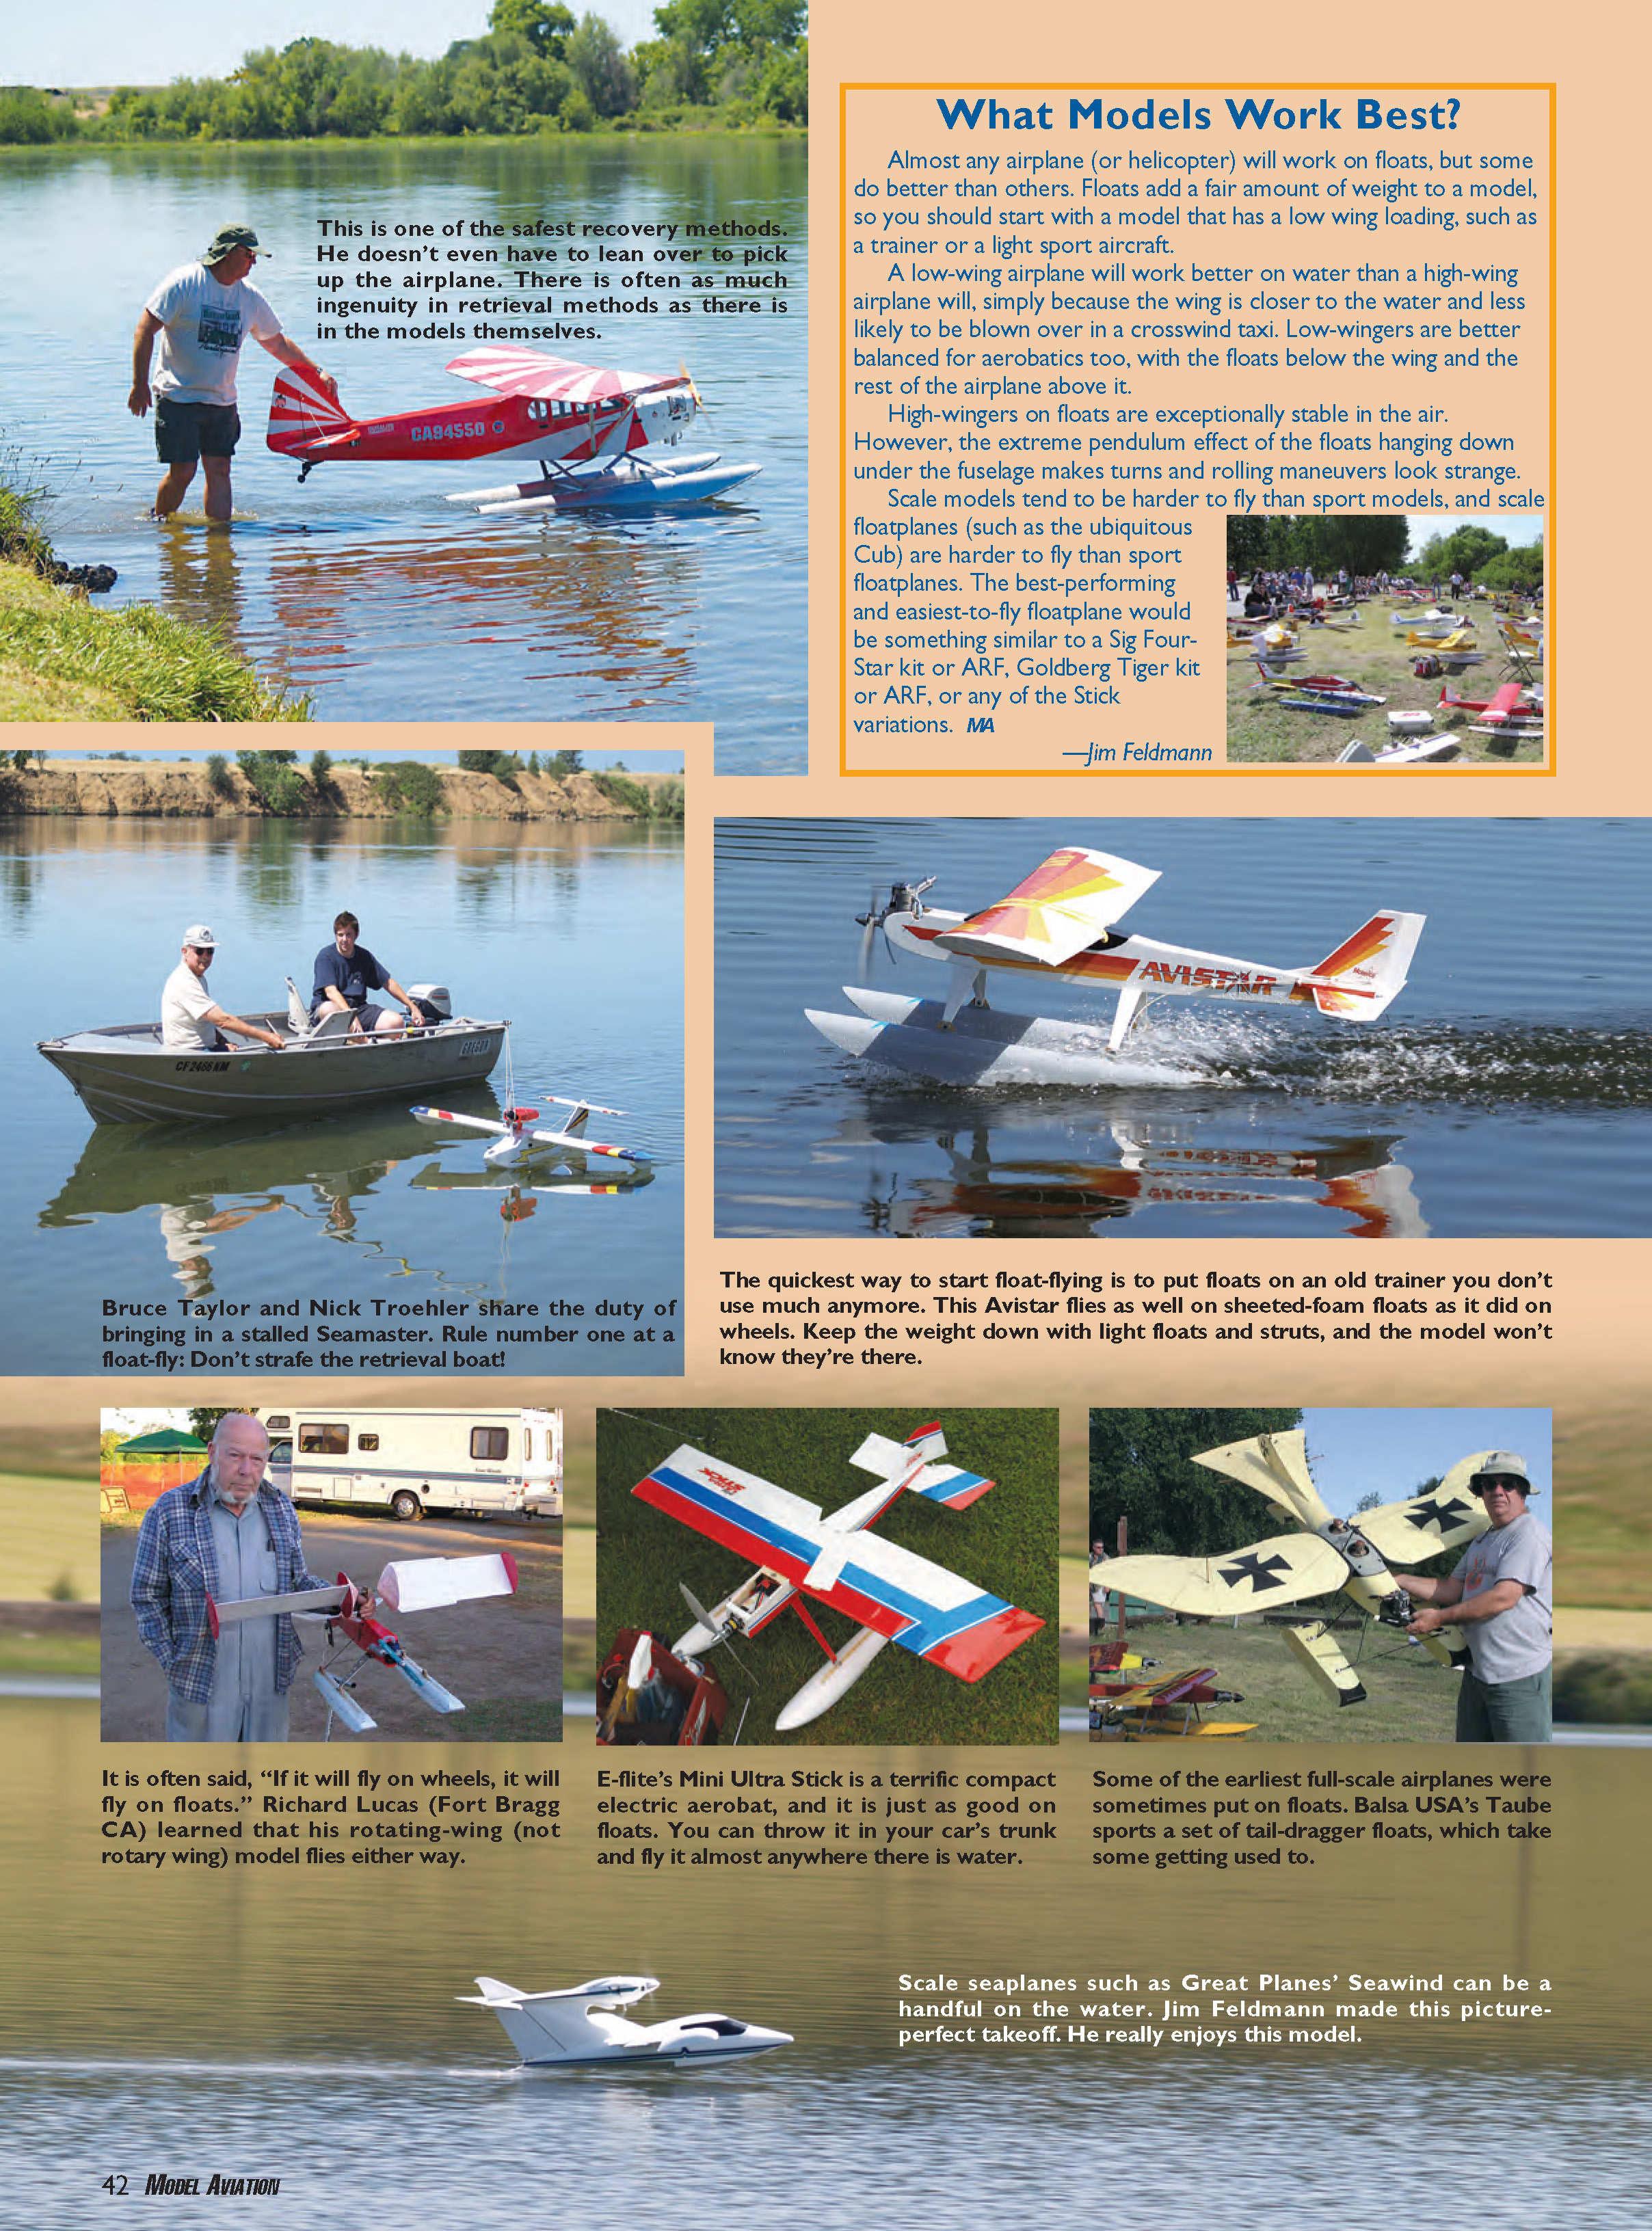
What Models Work Best?
Almost any airplane (or helicopter) will work on floats, but some do better than others. Floats add a fair amount of weight to a model, so start with a model that has a low wing loading, such as a trainer or a light sport aircraft.
A low-wing airplane will work better on water than a high-wing airplane because the wing is closer to the water and less likely to be blown over in a crosswind taxi. Low-wingers are better balanced for aerobatics too, with the floats below the wing and the rest of the airplane above it.
High-wingers on floats are exceptionally stable in the air. However, the extreme pendulum effect of the floats hanging down under the fuselage makes turns and rolling maneuvers look unusual.
Scale models tend to be harder to fly than sport models, and scale floatplanes (such as the ubiquitous Cub) are harder to fly than sport floatplanes. The best-performing and easiest-to-fly floatplane would be something similar to a Sig Four-Star kit or ARF, a Goldberg Tiger kit or ARF, or any of the Stick variations.
Tips for trim and setup:
- Set your airplane's rudder for all the travel you can get, and use exponential as needed to calm it around center.
- Water rudders are optional. High-wing and multiengine models usually need them; low-wing models usually don't.
- Rebalance the airplane after the floats (and ventral fin, if used) are installed. If you need to add balance weight, add it to the floats—not the airplane.
Propellers
Wood propellers don't mix with water. The water that splashes into the propeller will shred the wood before you even get off the water. Use plastic propellers, such as those from APC or Master Airscrew.
Taxiing on Water
The wind has a much greater effect on the model when it's taxiing on water than on land; the water gives where the ground stays put. No matter which way the airplane is pointed, it will move downwind unless you drive it some other way. If there is a current in the water, that will also have an effect. Taxiing on water is similar to taxiing a tail-dragger on land.
When taxiing in a straight line, hold full up-elevator and use approximately one-third throttle to keep the back of the floats down in the water and give the air rudder plenty of steering authority. If the floats come up on the step, slow down until they settle back into the water. A fast taxi on the step is a good technique for windy conditions, but it requires practice—start slow.
When turning, slow to a walking pace, release the elevator, and steer with the air rudder, using bursts of throttle to kick the tail around as needed. Hold full aileron toward the wind to keep the upwind wing down.
Taking off From Water
Taking off from water is similar to taking off from land with a tail-dragger and is often easier because you can normally take off directly into the wind and need much less right rudder to counteract torque.
Taxi out to the takeoff area, throttle back, and let the airplane weather-vane into the wind while holding full up-elevator. Advance the throttle smoothly while releasing the elevator. The airplane will rise up on top of the water and run along like a fast boat.
When the airplane has reached flying speed, add slight up-elevator and the airplane will break the surface tension of the water and take off. That "break" may cause a radical pitch-up attitude, which you should quickly correct to prevent a stall. Remember that flying speed will need to be a bit faster because of the floats' weight.
Hold slight up-elevator until your model is well out of ground effect. If you have a water rudder, do not move the rudder stick during the high-speed takeoff run—water rudders are incredibly effective at high speeds and can easily cause a water loop.
Flying a Floatplane
Your model will fly almost the same on floats as it did on wheels. You will need a little up-trim on the elevator to counteract the floats' drag. The airplane is heavier and draggier than it was on wheels, so it will climb slower and descend faster.
Floats tend to tame aircraft, so aerobatics will be bigger and smoother. The floats create added lift and can make inverted and knife-edge maneuvers easier. Be cautious when performing spins; the added momentum of the floats can make recovery more difficult.
Landing a Floatplane on Water
The floatplane behaves like a tail-dragger on land. All water landings should be flared three-point touchdowns. There is a great deal of drag when the floats touch the water, and if you fly the model onto the water in a wheel-landing (tail high) attitude, there is a good chance it will flip upside down.
Landing rules:
- Land directly into the wind, and try to land downwind of your retrieval point.
- Keep your floatplane's speed slightly faster than you would for a ground landing.
- Fly down to a couple feet above the water and then cut the throttle and flare by holding altitude with the elevator. As the speed bleeds off, the airplane will slowly settle onto the water.
- Once on the water, the airplane will slow more quickly than it does on land.
- Taxi back to shore in as straight a line as possible to avoid taxiing crosswind. Keep that upwind wing down by holding the aileron up.
Try to wipe that silly grin off your face!
Everything is going to get wet if you flip your model over or crash it. Follow the water-drying and cleaning procedures described above. Both the engine and the radio should be fine after the water has completely evaporated; the model will typically survive and can be repaired once the parts are dry.
Tips for Success
- Avoid flying an underpowered model; you will need more power for takeoffs from water. Switching to a larger-diameter, lower-pitch propeller may help.
- Floats mounted too close together, not parallel to each other or to the fuselage, or with the step too far forward or back will be problematic. The step should be under or ahead of the CG.
- Too much or too little positive incidence in the wing will make it difficult or impossible for the model to take off from water.
- Not having enough fin and rudder area to offset the float area added in front of the CG (a common problem with the J-3 Cub) will make the airplane unstable at takeoff or during slow flight. If you don't want to do the math, add a subfin to be safe.
- If airspeed on takeoff or landing is too slow, the model will stall. Remember that you need more speed to lift the extra weight of the floats. The full throttle-and-full up method of takeoff seldom works on water.
Examine float design carefully. The shape and finish of the bottom of the floats is critical—it's probably best to buy your first set of floats. If you want to build them from scratch, wait until after you know more about them.
Flying from water is another great way to enjoy model aircraft, and it is so much fun that it is almost addictive. Try it—I bet you'll like it!
Transcribed from original scans by AI. Minor OCR errors may remain.

