
FMS P-51
Michael Heer
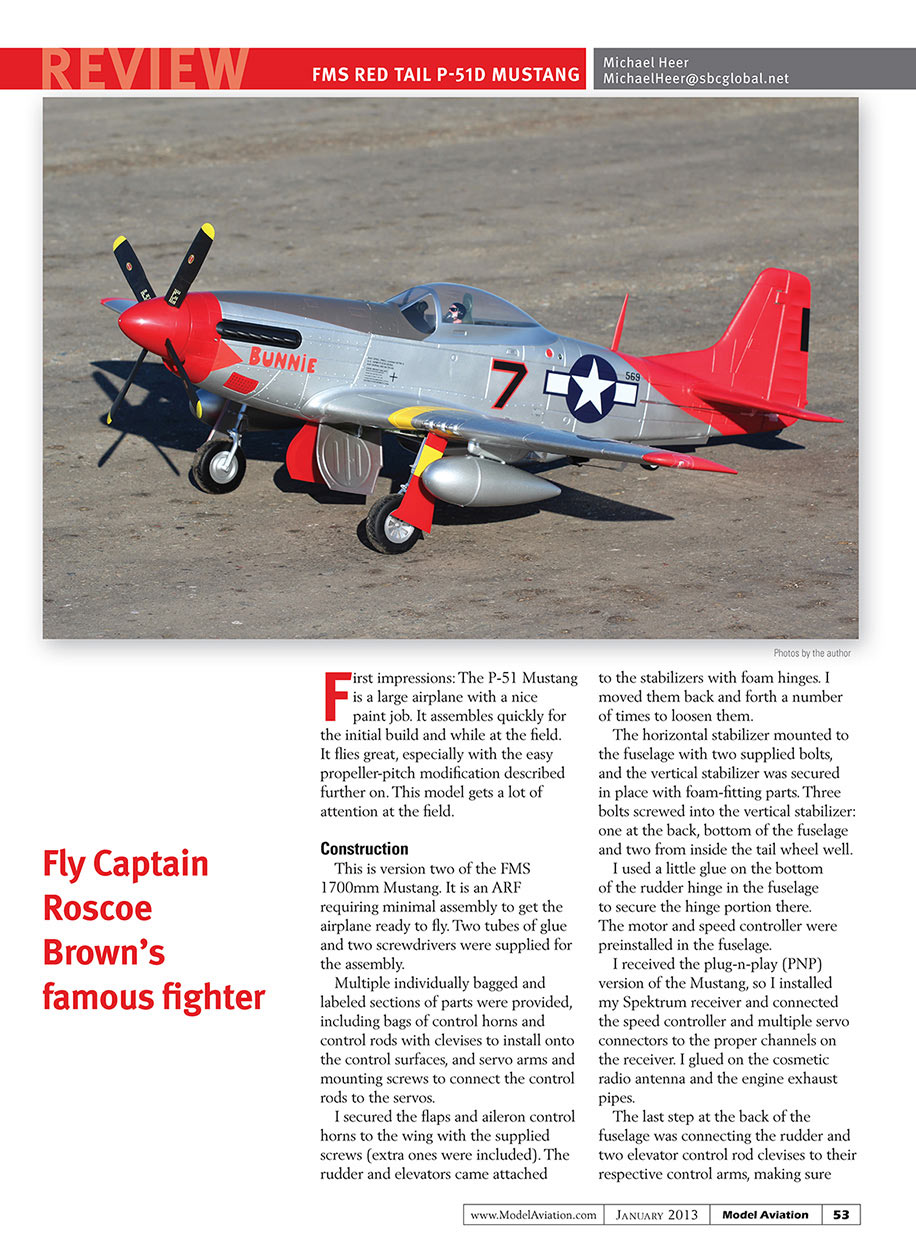
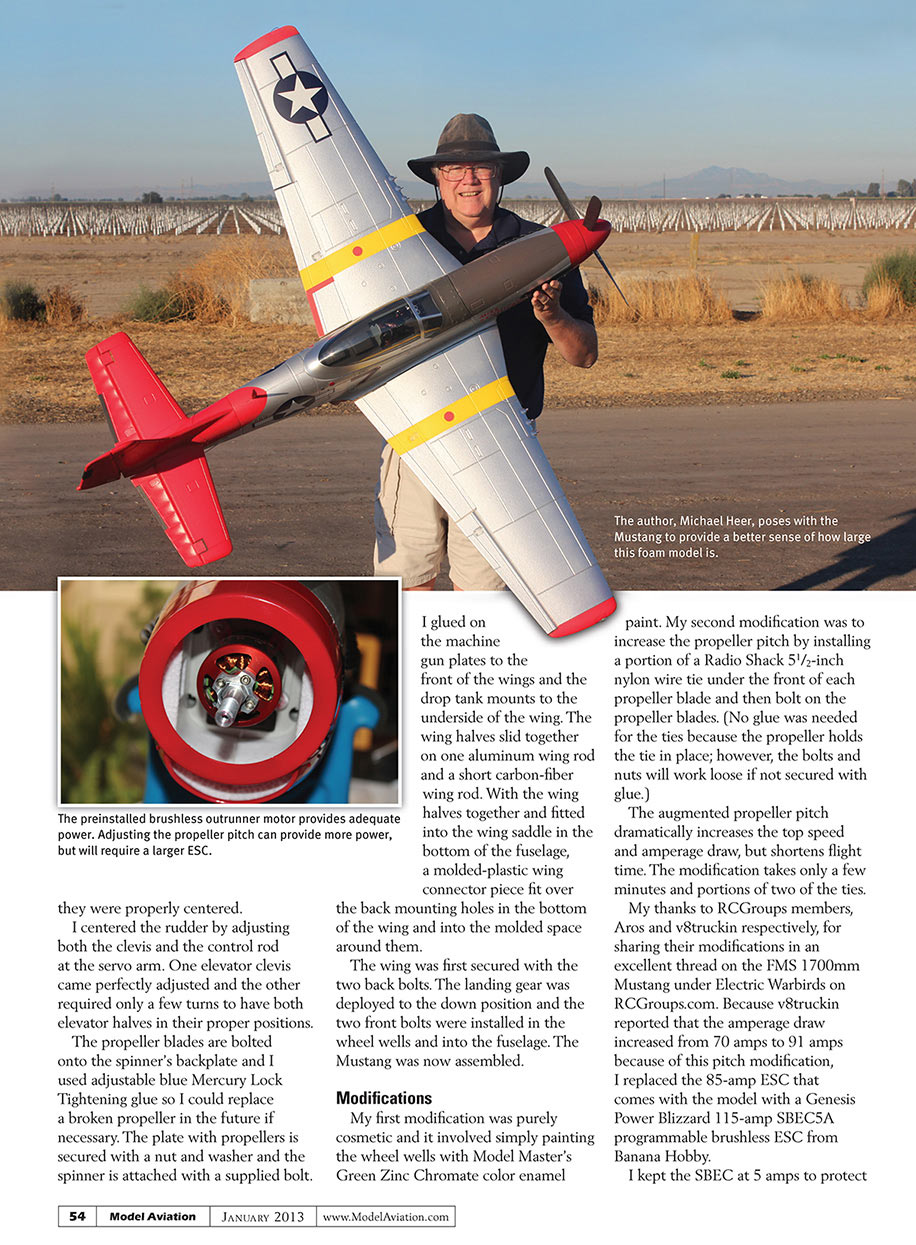
First impressions: The P-51 Mustang is a large airplane with a nice paint job. It assembles quickly for the initial build and while at the field. It flies great, especially with the easy propeller-pitch modification described further on. This model gets a lot of attention at the field.
Construction
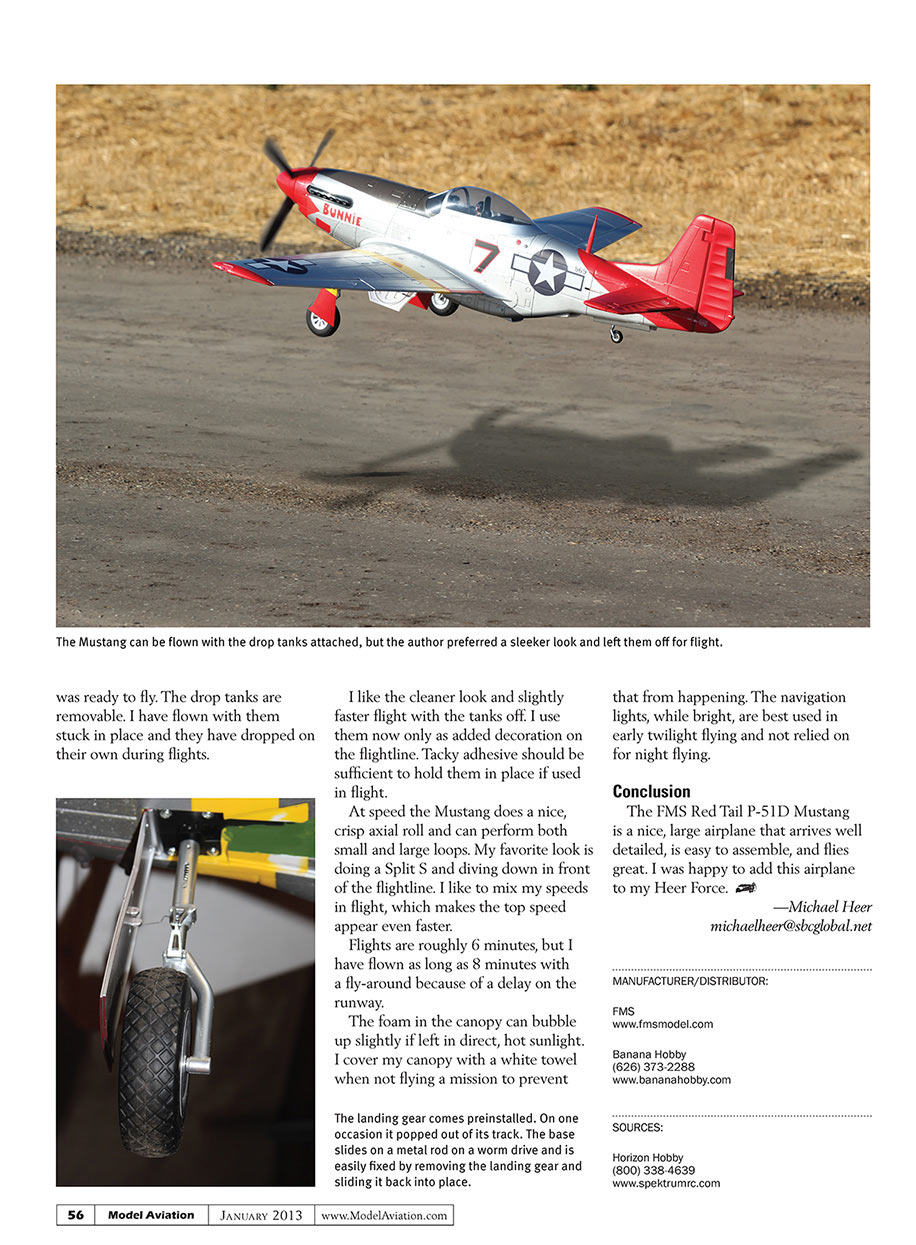
This is version two of the FMS 1700mm Mustang. It is an ARF requiring minimal assembly to get the airplane ready to fly. Two tubes of glue and two screwdrivers were supplied for the assembly.
Multiple individually bagged and labeled sections of parts were provided, including bags of control horns and control rods with clevises to install onto the control surfaces, and servo arms and mounting screws to connect the control rods to the servos.
I secured the flaps and aileron control horns to the wing with the supplied screws (extra ones were included). The rudder and elevators came attached to the stabilizers with foam hinges. I moved them back and forth a number of times to loosen them.
The horizontal stabilizer mounted to the fuselage with two supplied bolts, and the vertical stabilizer was secured in place with foam-fitting parts. Three bolts screwed into the vertical stabilizer: one at the back, bottom of the fuselage and two from inside the tail wheel well.
I used a little glue on the bottom of the rudder hinge in the fuselage to secure the hinge portion there.
The motor and speed controller were preinstalled in the fuselage.
I received the plug-n-play (PNP) version of the Mustang, so I installed my Spektrum receiver and connected the speed controller and multiple servo connectors to the proper channels on the receiver. I glued on the cosmetic radio antenna and the engine exhaust pipes.
The last step at the back of the fuselage was connecting the rudder and two elevator control rod clevises to their respective control arms, making sure they were properly centered.
I centered the rudder by adjusting both the clevis and the control rod at the servo arm. One elevator clevis came perfectly adjusted and the other required only a few turns to have both elevator halves in their proper positions.
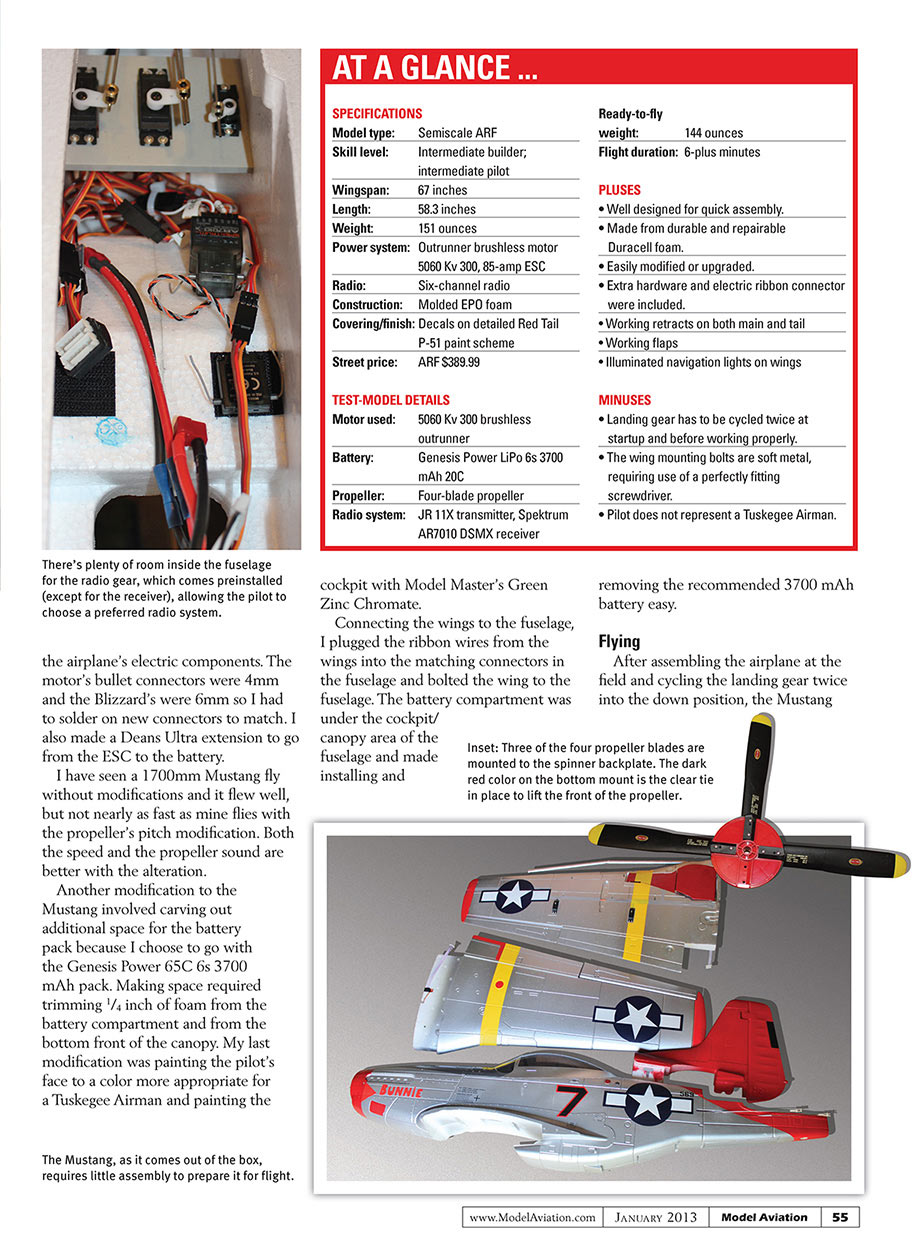
The propeller blades are bolted onto the spinner's backplate and I used adjustable blue Mercury Lock Tightening glue so I could replace a broken propeller in the future if necessary. The plate with propellers is secured with a nut and washer and the spinner is attached with a supplied bolt.
I glued on the machine gun plates to the front of the wings and the drop tank mounts to the underside of the wing. The wing halves slid together on one aluminum wing rod and a short carbon-fiber wing rod. With the wing halves together and fitted into the wing saddle in the bottom of the fuselage, a molded-plastic wing connector piece fit over the back mounting holes in the bottom of the wing and into the molded space around them.
The wing was first secured with the two back bolts. The landing gear was deployed to the down position and the two front bolts were installed in the wheel wells and into the fuselage. The Mustang was now assembled.
Modifications
My first modification was purely cosmetic and it involved simply painting the wheel wells with Model Master's Green Zinc Chromate color enamel paint. My second modification was to increase the propeller pitch by installing a portion of a Radio Shack 5-1/2-inch nylon wire tie under the front of each propeller blade and then bolt on the propeller blades. (No glue was needed for the ties because the propeller holds the tie in place; however, the bolts and nuts will work loose if not secured with glue.)
The augmented propeller pitch dramatically increases the top speed and amperage draw, but shortens flight time. The modification takes only a few minutes and portions of two of the ties.
My thanks to RCGroup members, Aros and v8truckin respectively, for sharing their modifications in an excellent thread on the FMS 1700mm Mustang under Electric Warbirds on RCGroup.com. Because v8truckin reported that the amperage draw increased from 70 amps to 91 amps because of this pitch modification, I replaced the 85-amp ESC that comes with the model with a Genesis Power Blizzard 115-amp SBEC/SA programmable brushless ESC from Banana Hobby.
The drop tanks are removable. I have flown with them stuck in place and they have dropped on their own during flights.
I like the cleaner look and slightly faster flight with the tanks off. I use them now only as added decoration on the flightline. Tacky adhesive should be sufficient to hold them in place if used in flight.
At speed the Mustang does a nice, crisp axial roll and can perform both small and large loops. My favorite look is doing a Split S and diving down in front of the flightline. I like to mix my speeds in flight, which makes the top speed appear even faster.
Flights are roughly 6 minutes, but I have flown as long as 8 minutes with a fly-around because of a delay on the runway.
The foam in the canopy can bubble up slightly if left in direct, hot sunlight. I cover my canopy with a white towel when not flying a mission to prevent that from happening. The navigation lights, while bright, are best used in early twilight flying and not relied on for night flying.
The landing gear comes preinstalled. On one occasion it popped out of its track. The base slides on a metal rod on a worm-drive and is easily fixed by removing the landing gear and sliding it back into place.
Conclusion
The FMS Red Tail P-51D Mustang is a nice, large airplane that arrives well detailed, is easy to assemble, and flies great. I was happy to add this airplane to my Heer Force.
—Michael Heer <REDACTED>
MANUFACTURER/DISTRIBUTOR:
FMS www.fmsmodel.com
Banana Hobby (626) 373-2288 www.bananahobby.com
SOURCES:
Horizon Hobby (800) 338-4639 www.spektrumrc.com
Transcribed from original scans by AI. Minor OCR errors may remain.

