
Free Flight Duration — 2004/06
Author
Louis Joyner 6 Saturday Rd., Mt. Pleasant, SC 29464
Introduction
In a free flight model, weight is at a premium. There is no room on the scale to overengineer each part with excess wood. No matter what kind of adhesive you use for construction, it will add weight. Sloppy joints filled with excess glue add weight and take away strength. One often-overlooked glue joint on our models is the one between the wing ribs and the trailing edge.
Butt joints and pregluing end grain
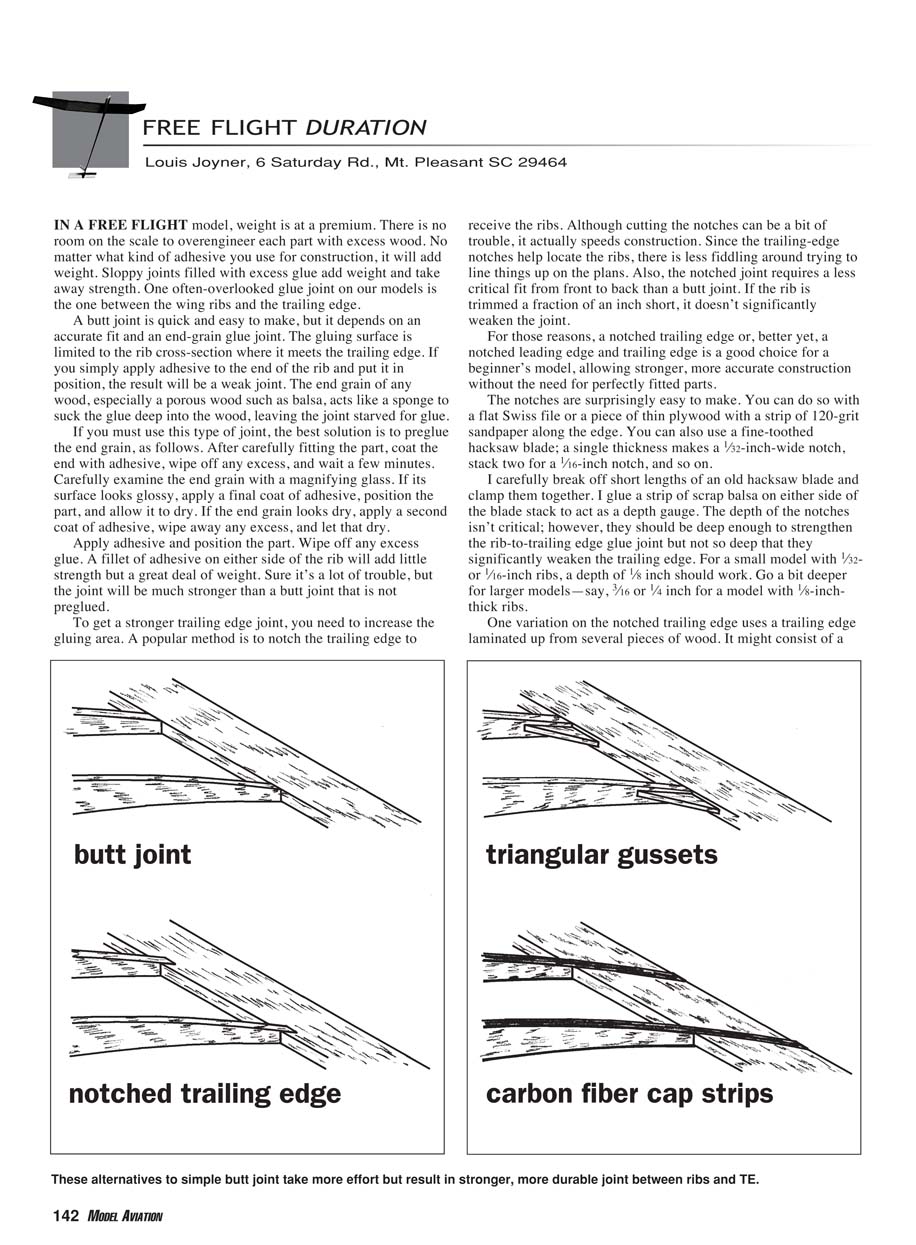
A butt joint is quick and easy to make, but it depends on an accurate fit and an end-grain glue joint. The gluing surface is limited to the rib cross-section where it meets the trailing edge. If you simply apply adhesive to the end of the rib and put it in position, the result will be a weak joint. The end grain of any wood, especially a porous wood such as balsa, acts like a sponge to suck the glue deep into the wood, leaving the joint starved for glue.
If you must use this type of joint, the best solution is to preglue the end grain:
- Carefully fit the part.
- Coat the end with adhesive and wipe off any excess.
- Wait a few minutes, then examine the end grain with a magnifying glass.
- If the surface looks glossy, apply a final coat of adhesive, position the part, and allow it to dry.
- If the end grain looks dry, apply a second coat, wipe away excess, let it dry, then apply adhesive and position the part.
- Wipe off any excess glue.
A fillet of adhesive on either side of the rib will add little strength but a great deal of weight. It’s more work up front, but the joint will be much stronger than a butt joint that is not preglued.
Increasing the gluing area: notched trailing edges
To get a stronger trailing-edge joint, increase the gluing area. A popular method is to notch the trailing edge to receive the ribs. Although cutting the notches can be a bit of trouble, it often speeds construction: notches help locate the ribs, so there is less fiddling around trying to line things up on the plans. The notched joint also requires a less critical fit from front to back than a butt joint—if the rib is trimmed a fraction of an inch short, it doesn’t significantly weaken the joint.
For beginner models, a notched trailing edge—or even better, notched leading and trailing edges—is a good choice. It allows stronger, more accurate construction without perfectly fitted parts.
Tools and methods for cutting notches:
- Flat Swiss file or a piece of thin plywood with 120-grit sandpaper along the edge.
- Fine-toothed hacksaw blade: one thickness ≈ 1/32-inch notch; stack two for 1/16-inch, etc.
- Break off short lengths of an old hacksaw blade, clamp them together, and glue scrap balsa strips on either side to act as a depth gauge.
Notch depth guidelines:
- Depth isn’t critical, but should strengthen the rib-to-trailing-edge joint without significantly weakening the trailing edge.
- Small models (1/32- or 1/16-inch ribs): ~1/8 inch depth.
- Larger models (1/8-inch ribs): 3/16 to 1/4 inch depth.
Laminated trailing edge and carbon alternatives
One variation uses a trailing edge laminated from several pieces of wood, for example:
- 1/8-inch square soft balsa (outer strip, notched)
- 1/16 x 1/8-inch spruce set vertically (for bending strength)
- 1/8 x 3/8-inch medium balsa
Only the soft 1/8-inch square strip is notched. The vertical spruce provides extra bending strength and allows lighter-weight balsa to be used. An alternative is to substitute a vertical strip of carbon fiber for the spruce.
Gussets
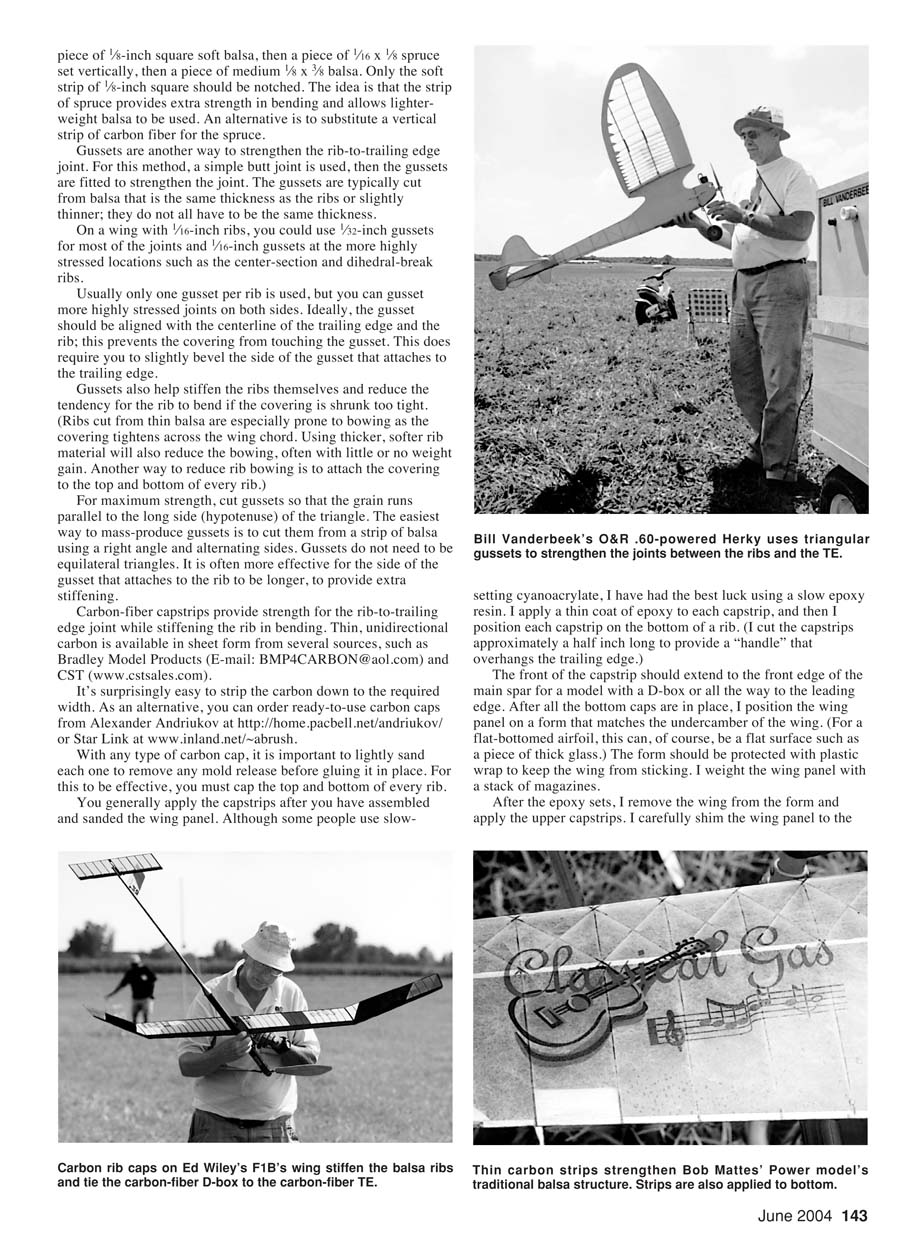
Gussets are another way to strengthen the rib-to-trailing-edge joint. For this method, make a simple butt joint and then fit gussets to strengthen it. Gussets are typically cut from balsa the same thickness as the ribs or slightly thinner; they do not all have to be the same thickness.
- On a wing with 1/16-inch ribs, use 1/32-inch gussets for most joints and 1/16-inch gussets at higher-stress locations (center section, dihedral-break ribs).
- Usually only one gusset per rib is used, but you can gusset both sides of highly stressed joints.
- Ideally align the gusset with the centerline of the trailing edge and the rib to prevent the covering from touching the gusset. This may require beveling the gusset side that attaches to the trailing edge.
- Gussets also help stiffen ribs and reduce the tendency for ribs to bow if the covering is shrunk too tight. Ribs cut from thin balsa are especially prone to bowing; using thicker, softer rib material often reduces bowing with little or no weight penalty. Another method is to attach the covering to the top and bottom of every rib.
For maximum strength, cut gussets so the grain runs parallel to the long side (hypotenuse) of the triangle. The easiest way to mass-produce gussets is to cut them from a strip of balsa using a right angle and alternating sides. Gussets do not need to be equilateral; often making the side that attaches to the rib longer provides extra stiffening.
Carbon-fiber capstrips
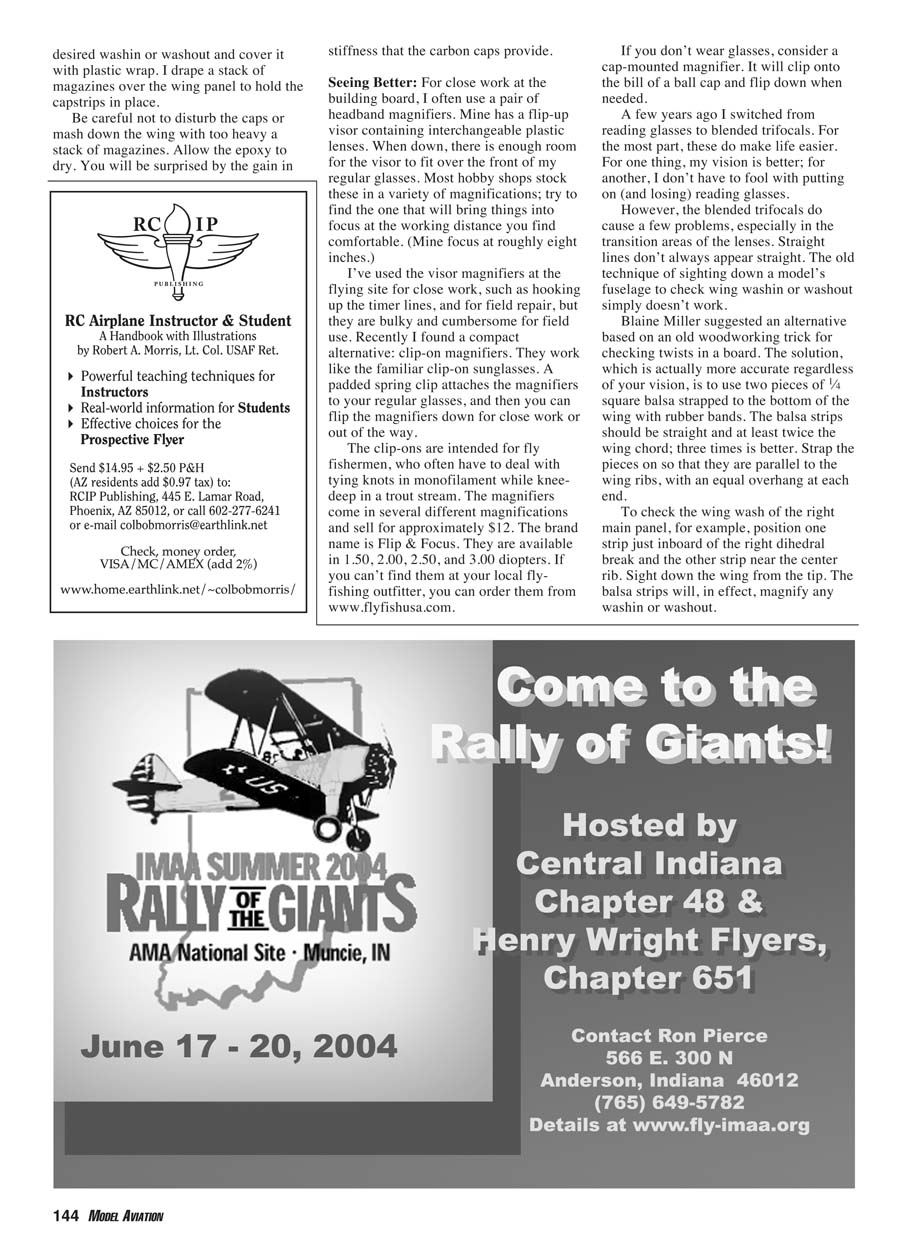
Carbon-fiber capstrips provide strength for the rib-to-trailing-edge joint while stiffening the rib in bending. Thin unidirectional carbon is available in sheet form from several sources, such as Bradley Model Products (E-mail: [email protected]) and CST (www.cstsales.com). You can strip the carbon to the required width, or order ready-to-use carbon caps from Alexander Andriukov (http://home.pacbell.net/andriukov/) or Star Link (www.inland.net/~abrush).
Preparation and installation:
- Lightly sand each capstrip to remove mold release before gluing.
- Cap the top and bottom of every rib for effectiveness.
- Generally apply capstrips after assembling and sanding the wing panel.
- Some use slow-setting cyanoacrylate, but slow epoxy resin often gives the best results.
- Apply a thin coat of epoxy to each capstrip and position it on the bottom of a rib. Cut capstrips approximately a half inch longer to provide a “handle” that overhangs the trailing edge.
- The front of the capstrip should extend to the front edge of the main spar for a model with a D-box, or all the way to the leading edge.
Setting the panel:
- After placing all bottom caps, position the wing panel on a form matching the undercamber of the wing (for a flat-bottomed airfoil, a flat surface like thick glass works).
- Protect the form with plastic wrap so the wing doesn’t stick.
- Weight the wing panel with a stack of magazines.
- After the epoxy sets, remove the wing from the form and apply the upper capstrips.
- Carefully shim the wing panel to the desired wash-in or washout, cover with plastic wrap, and drape a stack of magazines over the wing to hold the capstrips in place.
- Be careful not to disturb the caps or over-compress the wing with too heavy a stack.
You will be surprised by the gain in stiffness that carbon caps provide.
Seeing better: magnifiers and sighting techniques
For close work at the building board, headband magnifiers are useful. Mine has a flip-up visor with interchangeable plastic lenses; when down, there is enough room for the visor to fit over regular glasses. Most hobby shops stock these in a variety of magnifications—find the one that brings things into focus at your comfortable working distance (mine focus at roughly eight inches).
For field work (hooking up timer lines, field repairs), headband magnifiers are bulky. A compact alternative is clip-on magnifiers that attach to regular glasses with a padded spring clip and flip down for close work. These are intended for fly fishermen who tie knots in monofilament while knee-deep in a stream. The brand Flip & Focus sells clip-ons in 1.50, 2.00, 2.50, and 3.00 diopters for about $12. If not available locally, they can be ordered from www.flyfishusa.com.
If you don't wear glasses, consider a cap-mounted magnifier that clips onto the bill of a baseball cap and flips down when needed.
A note on trifocals and sighting: Blended trifocals make life easier for reading, but their transition areas can distort straight lines, making the old technique of sighting down a fuselage to check wing wash less reliable.
Blaine Miller suggested a woodworking trick for checking twists: use two pieces of 1/4-inch square balsa strapped to the bottom of the wing with rubber bands. The strips should be straight and at least twice the wing chord (three times is better). Strap them so they are parallel to the wing ribs, with equal overhang at each end. To check the wash of the right main panel, for example, position one strip just inboard of the right dihedral break and the other near the center rib. Sight down the wing from the tip—the balsa strips effectively magnify any wash-in or washout.
Transcribed from original scans by AI. Minor OCR errors may remain.

