
Free Flight Duration
Louis Joyner <[email protected]>
Locked-up Power models
“How do your models fly without RC?” That’s a familiar question for most free flight (FF) modelers. The short answer is that the airplanes are designed and adjusted to fly with no external control input. But how does it really work?
Designing and adjusting an FF aircraft is a balancing act. Fortunately, most adjustments are speed-sensitive. Some, such as rudder, stabilizer, and wing washin or washout, are more effective the faster the model is flying.
Wing washin and washout work much like movable ailerons to control roll. Washin means a positive incidence at that point on the wing relative to the wing center, and washout indicates less incidence at that point.
Other adjustments, including stabilizer tilt, CG location, and engine thrust offsets, are more effective at slow speeds. By pairing adjustments based on speed sensitivity, the model will essentially fly itself.
A rubber-powered model might use downthrust and up-stabilizer. If it increases in speed under power, it will tend to nose up. If the airplane noses up too steeply and approaches a stall, it will slow. Then the downthrust will overpower the up-stabilizer and the aircraft’s nose will drop slightly, preventing a stall. This is a constant balancing act that is almost imperceptible in a properly adjusted FF model.
FF airplanes have traditionally been “locked up,” with the flying surfaces fixed during flight. Starting in the 1950s, movable surfaces such as rudder (auto rudder, or AR) and stabilizer (variable incidence tailplane, or VIT) were introduced as means to increase the performance of rubber or gas models. Auto surfaces, controlled by a clockwork or electronic timer, allow different phases of the flight to be isolated and dealt with independently.
The high-speed climb would typically be trimmed with less decalage to reduce drag and prevent looping. Then the VIT would move slightly to increase decalage and improve the glide. Decalage is the relative difference between wing and stabilizer incidence.
Although the auto surface–equipped model is mechanically more complicated, adjusting it is simplified. But many modelers continue to enjoy the challenges of adjusting and flying a locked-up model without auto surfaces. Some events, such as Nostalgia Gas and the recently introduced Classic Gas, do not allow auto surfaces.
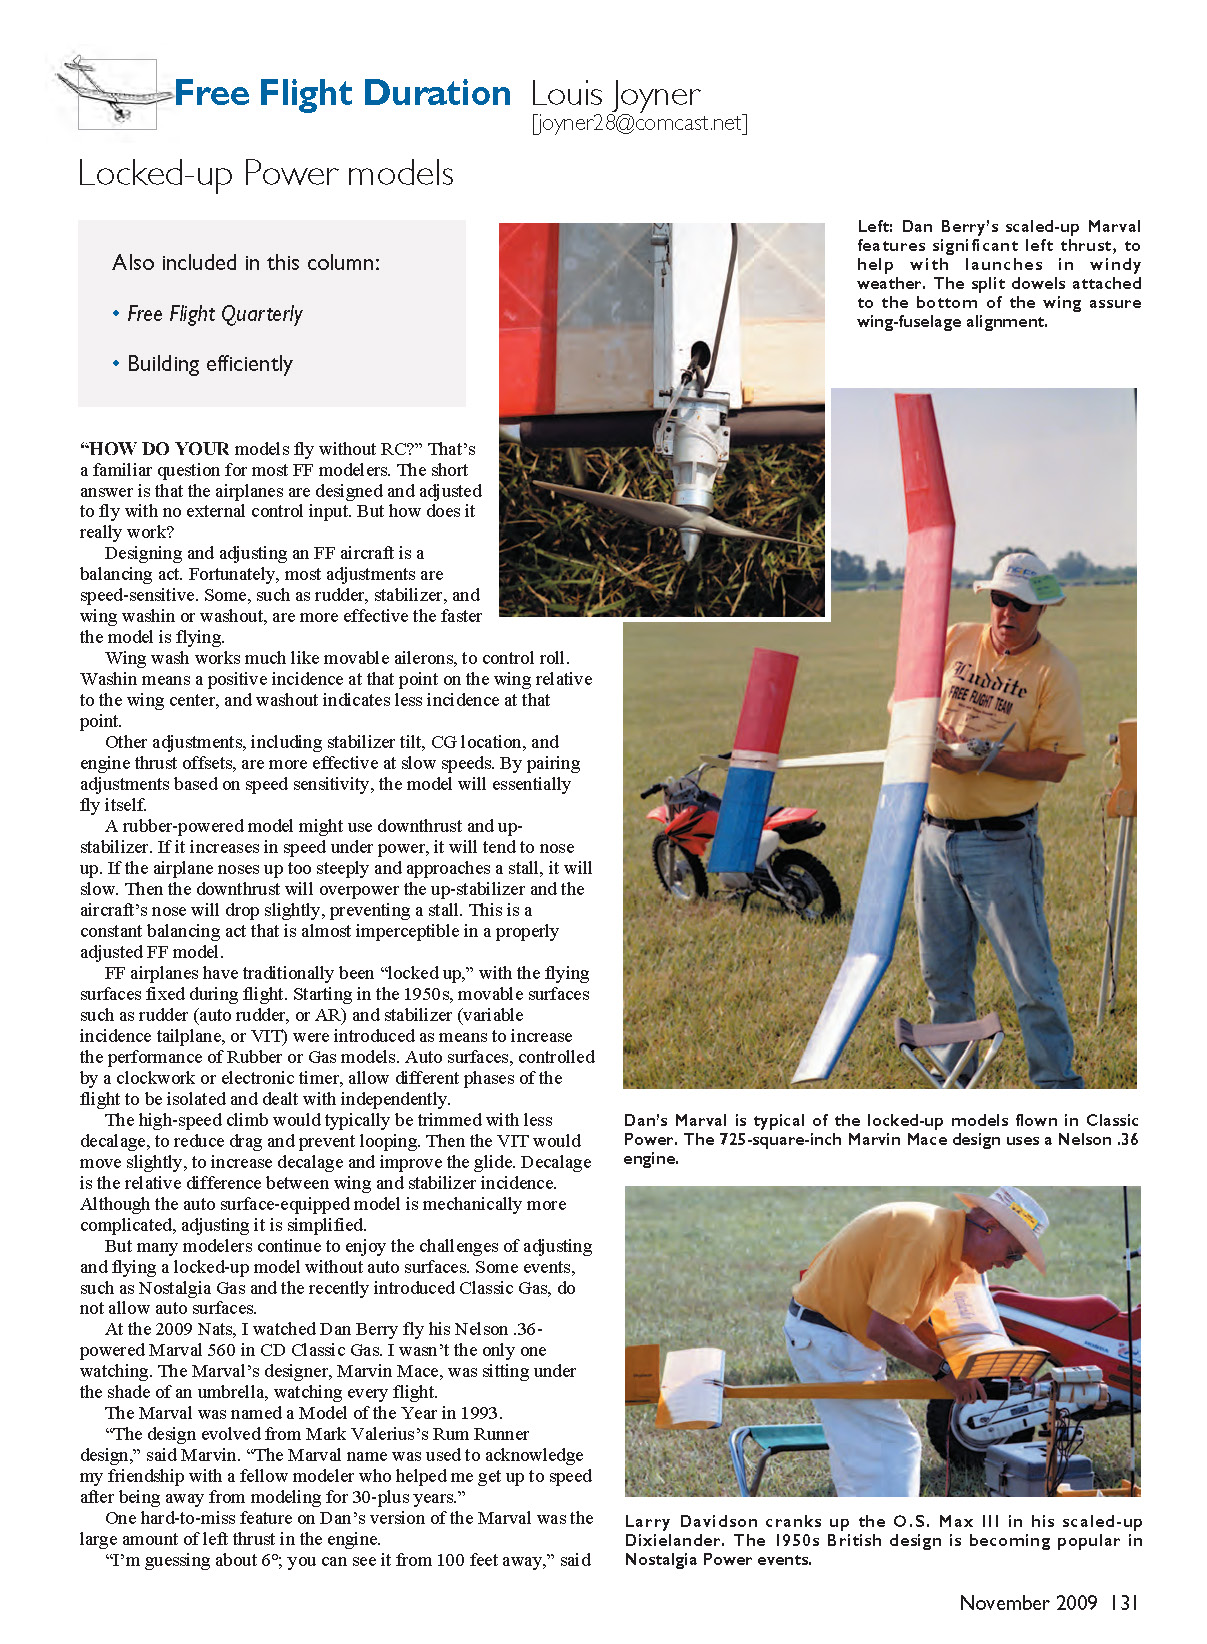
At the 2009 Nats, I watched Dan Berry fly his Nelson .36–powered Marval 560 in CD Classic Gas. I wasn’t the only one watching. The Marval’s designer, Marvin Mace, was sitting under the shade of an umbrella, watching every flight.
The Marval was named a Model of the Year in 1993. “The design evolved from Mark Valerius’s Rum Runner design,” said Marvin. “The Marval name was used to acknowledge my friendship with a fellow modeler who helped me get up to speed after being away from modeling for 30-plus years.”
One hard-to-miss feature on Dan’s version of the Marval was the large amount of left thrust in the engine. “I’m guessing about 6°; you can see it from 100 feet away,” said Dan. “It didn’t start out that way. I’ve chopped the nose off twice to adjust the CG.”
All of that left thrust didn’t seem to hurt the climb; if anything, it helped on launch consistency. I asked Marvin about the use of left thrust on his Marval. “Normally, we put in about 3° left thrust,” he said. “It means that when it gets windy, it will still keep its pattern. If you don't have the left thrust, you don't know what the airplane will do.”
As with any FF aircraft, the launch is critical. In wind, it can be the difference between a max and a crash. “Launch nearly straight up, about 10° right of the wind,” said Marvin. “Left thrust is the Texas cure for flying in all that wind,” added Dan.
Marvin explained: “The purpose of the left thrust is to keep strong wind from capturing the model at low speed immediately after launch and throwing it off-pattern. This is especially important since low-thrustline models with pylons are launched to the right of the wind and are very sensitive at low speed to wind forces blowing against the pylon and the dihedral of the left wing.
“As the model's speed increases, the effect of the left thrust is lost, and it has little or no effect on other trim adjustments used on the model. It is worth noting that 3° of left thrust has worked for me in winds greater than 20 miles per hour.”
Full-size plans for the Marval are available from the National Free Flight Society (NFFS). Check the website under "Shop" for ordering information.
Marvin's follow-on design, the Super Marval 560, was featured in a construction article in the June 2009 Model Aviation. The Super Marval, designed for the AMA Gas event, utilizes timer-actuated auto surfaces including auto rudder, VIT, and bunt. Bunt is a one-quarter outside loop, activated by the stabilizer, to transition the model from the near-vertical climb to glide.
At the Nats, Larry Davidson also flew a locked-up model. For years, he had flown Russ Hansen's T-Bird in all Nostalgia Gas events. As in Classic Gas, only locked-up airplanes are allowed in Nostalgia. Larry recently switched to George Fuller's Dixielander design.
“I have them in every size except 1/2A,” said Larry.
Nostalgia Gas rules allow only designs from the late 1940s through 1956; aircraft can be scaled up or down to suit various engine sizes. Larry flew a 550-square-inch version powered by a .29 O.S. Max III. The original Dixielander had a wing area of roughly 350 square inches for a .15-size engine. Covering was his usual yellow-dyed Polyspan. “That's all I use,” said Larry. “It looks like tissue, but it's a lot stronger.”
The original Dixielander was noted for being easy to trim. Larry's scaled-up version was no exception. “It's the only airplane I've ever built that didn't need any adjustments,” he said. “It uses a lot of washin in the right main panel and lots of washout in both tips.”
The original Dixielander used built-in adjustments, so it was locked up the way it needed to be to fly right off the board. The wing and stabilizer are both set at plus 3°, both wingtips are washed out 2°, and the right main panel is washed in 3°. The stabilizer is set parallel to the right inboard wing panel to give right glide turn.
The CG is located roughly at the wing trailing edge. Glide adjustments are made by shifting the CG slightly—never by shimming the stabilizer. If necessary, power trim is adjusted by slightly shimming the wing leading edge or trailing edge.
Plans for the original 350-square-inch Dixielander are available through NFFS plans. You can also find more information in the August 2008 Duration column in Model Aviation and in Bob Stalick's article in the December 2007 NFFS Digest: Free Flight. Plans are in the January–February 2008 Digest.
An important thing about locked-up power models is that what works for one type doesn't necessarily work for all types. Both the Marval and the Dixielander feature pylon-mounted wings with their engines mounted on their fuselages. Pylon models are typically flown to the right under power. High-thrustline models, such as the T-Bird, have engines mounted almost in line with the wings and are usually flown to the left under power.
For more about trimming locked-up power models, see Don DeLoach's comprehensive article—“Beginning Free Flight Power: A Journey”—in the 2004 NFFS Symposium.
Free Flight Quarterly
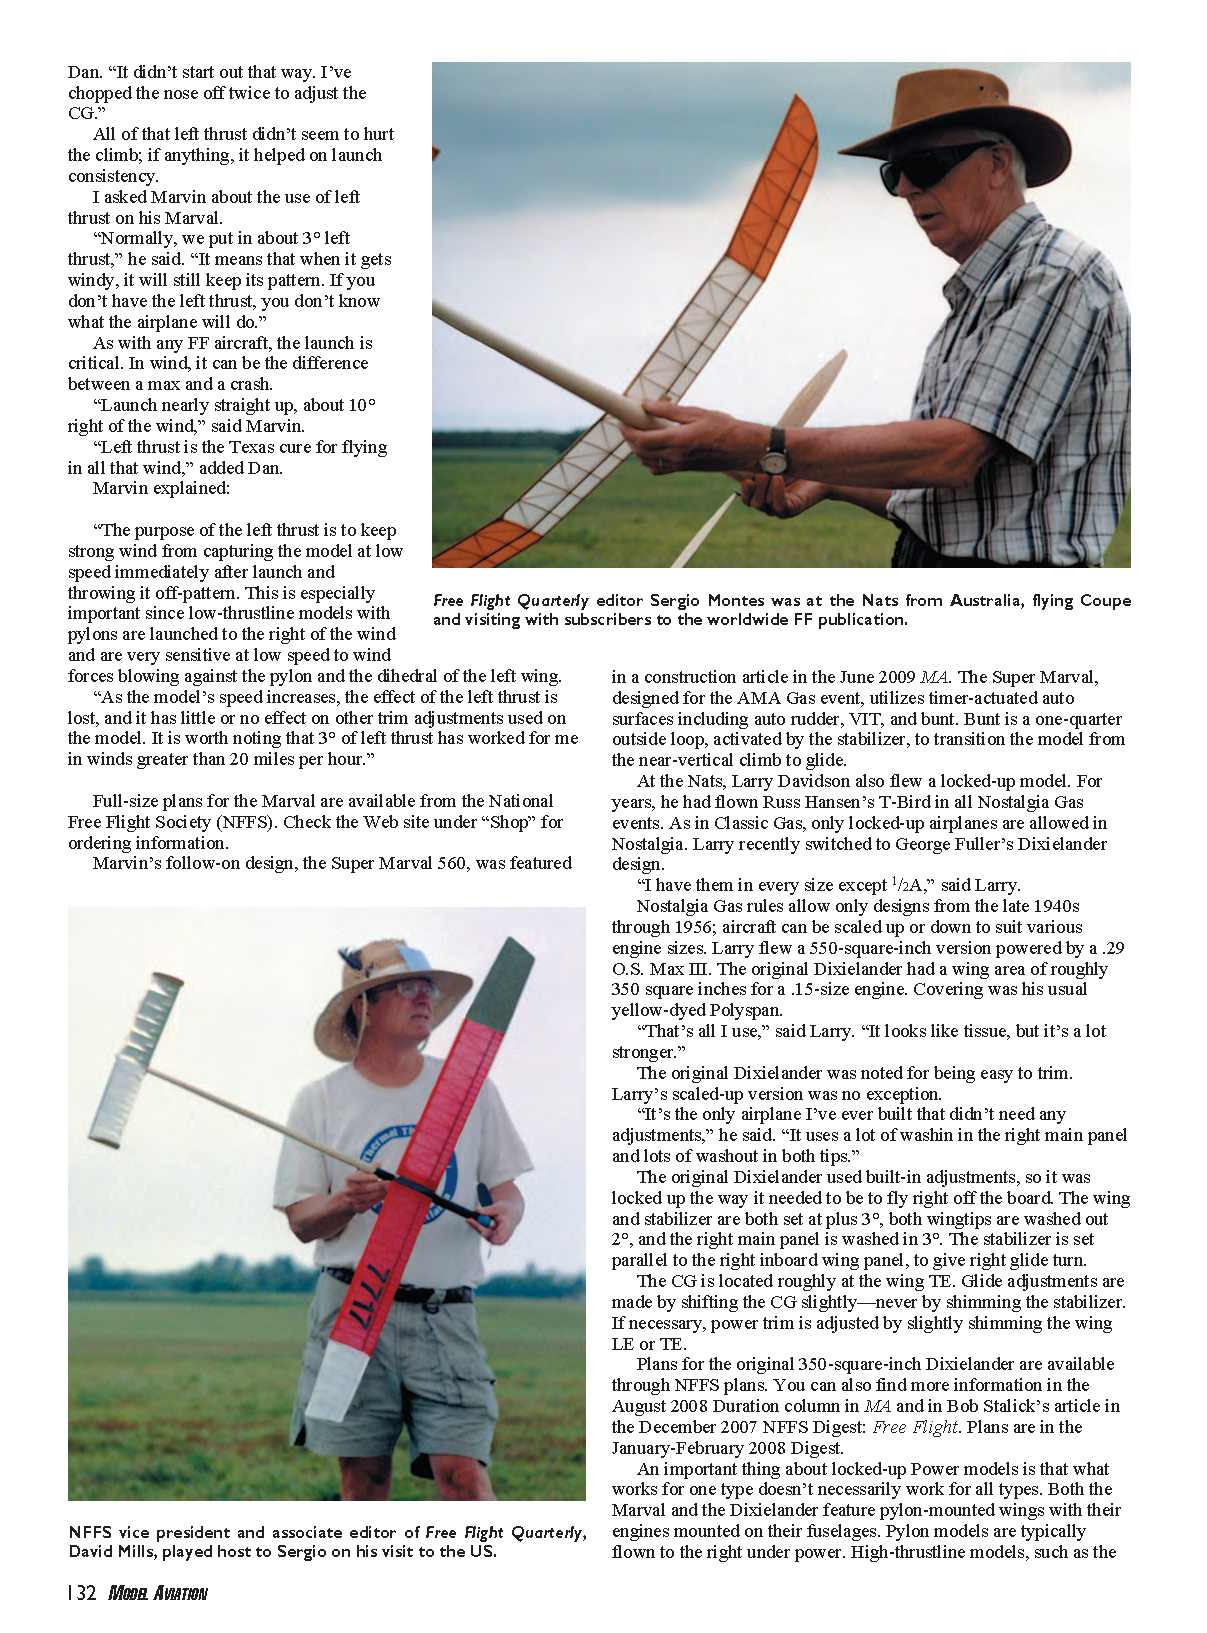
Sergio Montes, chief editor of Free Flight Quarterly (FFQ) magazine, was up from Tasmania to attend the Nats. He flew in a few events and met with some of his American subscribers.
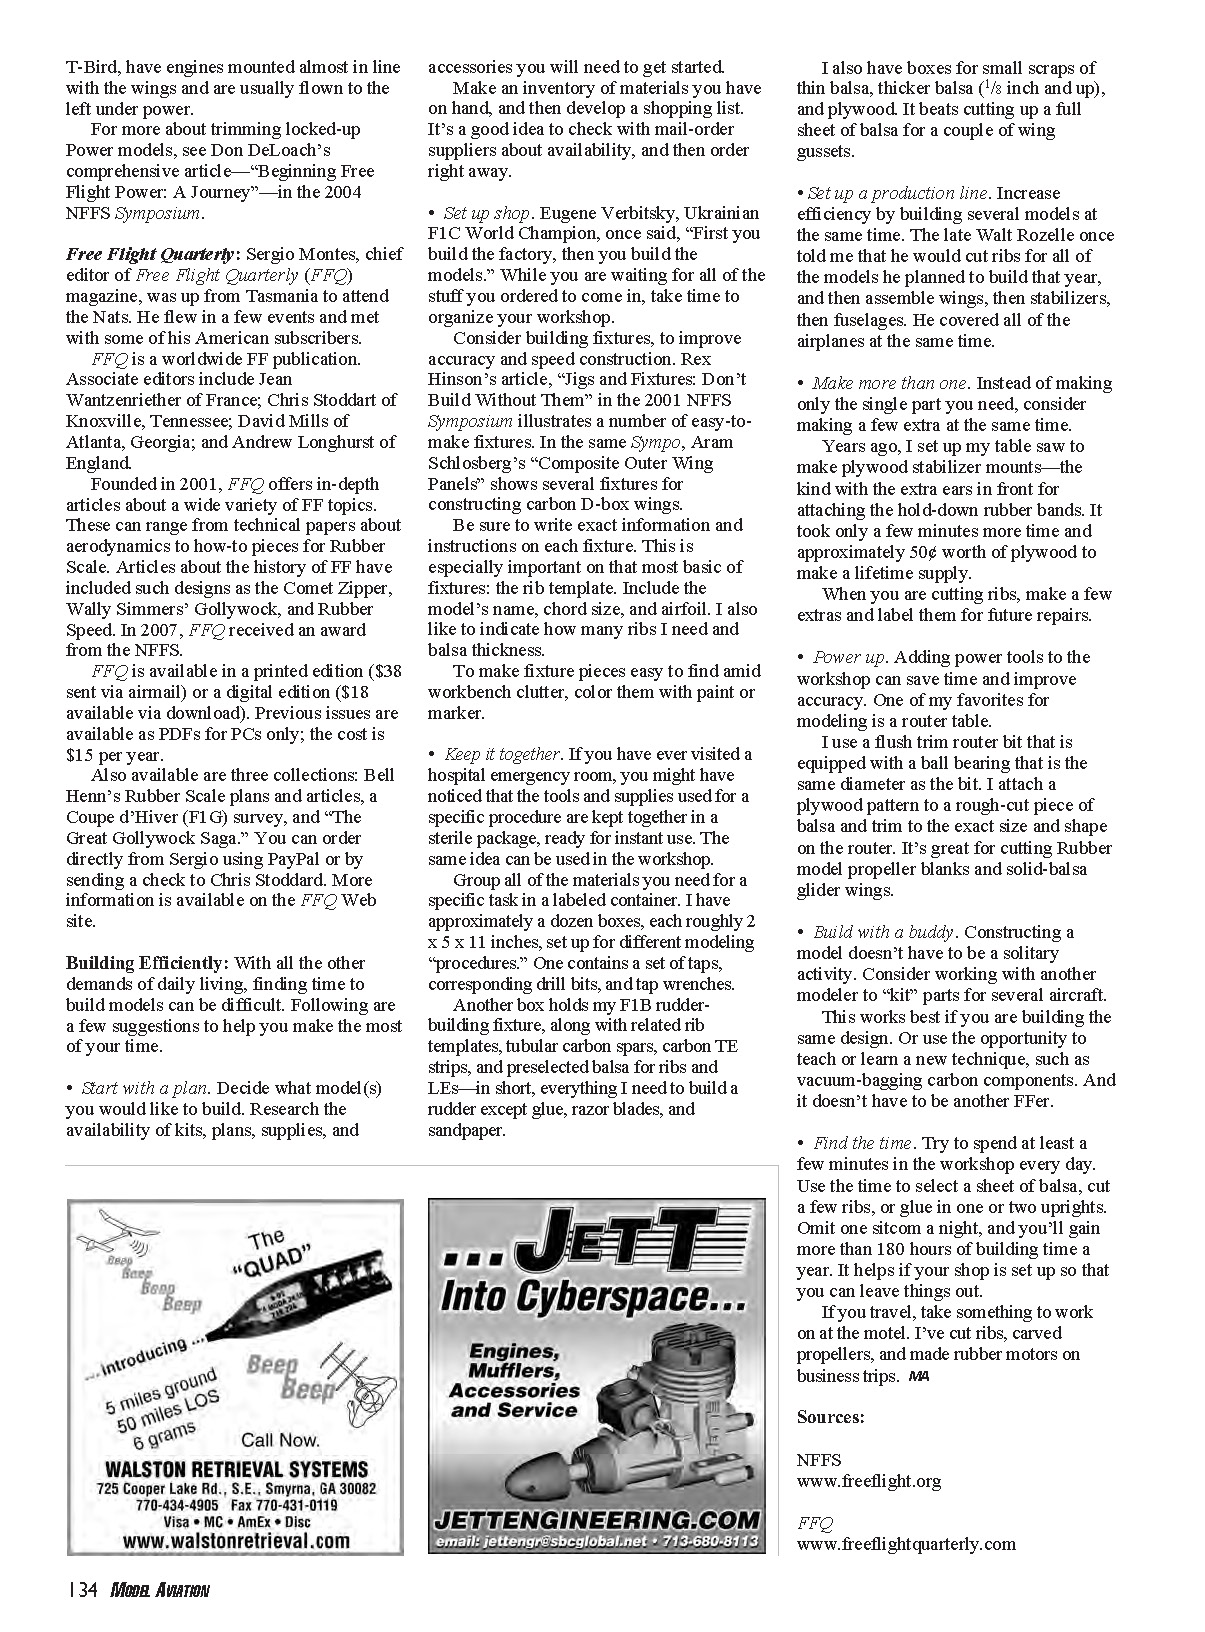
FFQ is a worldwide FF publication. Associate editors include Jean Wantzenriether of France; Chris Stoddart of Knoxville, Tennessee; David Mills of Atlanta, Georgia; and Andrew Longhurst of England.
Founded in 2001, FFQ offers in-depth articles about a wide variety of FF topics. These can range from technical papers about aerodynamics to how-to pieces for rubber scale. Articles about the history of FF have included such designs as the Comet Zipper, Wally Simmers' Gollywock, and rubber speed models. In 2007, FFQ received an award from the NFFS.
FFQ is available in a printed edition ($38 sent via airmail) or a digital edition ($18 available via download). Previous issues are available as PDFs for PCs only; the cost is $15 per year.
Also available are three collections: Bell Henn's rubber scale plans and articles, a Coupe d'Hiver (F1G) survey, and "The Great Gollywock Saga." You can order directly from Sergio using PayPal or by sending a check to Chris Stoddard. More information is available on the FFQ website.
Building Efficiently
With all the other demands of daily living, finding time to build models can be difficult. Following are a few suggestions to help you make the most of your time.
- Start with a plan. Decide what model(s) you would like to build. Research the availability of kits, plans, supplies, and accessories you will need to get started.
Make an inventory of materials you have on hand, and then develop a shopping list. It's a good idea to check with mail-order suppliers about availability, and then order right away.
- Set up shop. Eugene Verbitsky, Ukrainian F1C World Champion, once said, “First you build the factory, then you build the models.” While you are waiting for all of the stuff you ordered to come in, take time to organize your workshop.
Consider building fixtures to improve accuracy and speed construction. Rex Hinson's article, “Jigs and Fixtures: Don't Build Without Them,” in the 2001 NFFS Symposium illustrates a number of easy-to-make fixtures. In the same Symposium, Aram Schlosberg's “Composite Outer Wing Panels” shows several fixtures for constructing carbon D-box wings.
Be sure to write exact information and instructions on each fixture. This is especially important on that most basic of fixtures: the rib template. Include the model's name, chord size, and airfoil. I also like to indicate how many ribs I need and balsa thickness.
To make fixture pieces easy to find amid workbench clutter, color them with paint or marker.
- Keep it together. If you have ever visited a hospital emergency room, you might have noticed that the tools and supplies used for a specific procedure are kept together in a sterile package, ready for instant use. The same idea can be used in the workshop.
Group all of the materials you need for a specific task in a labeled container. I have approximately a dozen boxes, each roughly 2 x 5 x 11 inches, set up for different modeling “procedures.” One contains a set of taps, corresponding drill bits, and tap wrenches.
Another box holds my F1B rudder-building fixture, along with related rib templates, tubular carbon spars, carbon trailing-edge strips, and preselected balsa for ribs and leading edges—in short, everything I need to build a rudder except glue, razor blades, and sandpaper.
I also have boxes for small scraps of thin balsa, thicker balsa (1/8 inch and up), and plywood. It beats cutting up a full sheet of balsa for a couple of wing gussets.
- Set up a production line. Increase efficiency by building several models at the same time. The late Walt Rozelle once told me that he would cut ribs for all of the models he planned to build that year, and then assemble wings, then stabilizers, then fuselages. He covered all of the airplanes at the same time.
- Make more than one. Instead of making only the single part you need, consider making a few extra at the same time.
Years ago, I set up my table saw to make plywood stabilizer mounts—the kind with the extra ears in front for attaching the hold-down rubber bands. It took only a few minutes more time and approximately $0.50 worth of plywood to make a lifetime supply.
When you are cutting ribs, make a few extras and label them for future repairs.
- Power up. Adding power tools to the workshop can save time and improve accuracy. One of my favorites for modeling is a router table.
I use a flush-trim router bit that is equipped with a ball bearing that is the same diameter as the bit. I attach a plywood pattern to a rough-cut piece of balsa and trim to the exact size and shape on the router. It's great for cutting rubber model propeller blanks and solid-balsa glider wings.
- Build with a buddy. Constructing a model doesn't have to be a solitary activity. Consider working with another modeler to “kit” parts for several aircraft.
This works best if you are building the same design. Or use the opportunity to teach or learn a new technique, such as vacuum-bagging carbon components. And it doesn't have to be another FFer.
- Find the time. Try to spend at least a few minutes in the workshop every day. Use the time to select a sheet of balsa, cut a few ribs, or glue in one or two uprights. Omit one sitcom a night, and you'll gain more than 180 hours of building time a year. It helps if your shop is set up so that you can leave things out.
If you travel, take something to work on at the motel. I've cut ribs, carved propellers, and made rubber motors on business trips.
Sources:
- NFFS — www.freeflight.org
- FFQ — www.freeflightquarterly.com
Transcribed from original scans by AI. Minor OCR errors may remain.

