
Free Flight Duration
Louis Joyner [[email protected]]
New ideas from the Nats
IDEAS: One of the many reasons for going to the Nats, or any big contest, is to get ideas. For those of us without a local club, contests often offer the only way to examine models firsthand and to discuss design and construction ideas.
A firsthand look is especially helpful if you are thinking about trying a new event. Most modelers are willing to share what they do and how they do it—just not during the heat of competition. Pick the lulls in activity to ask detailed questions and take a close look at models and field equipment. Take notes and use a camera to record details.
Here are a few ideas I picked up at last year’s Nats.
A P-30 with Punch
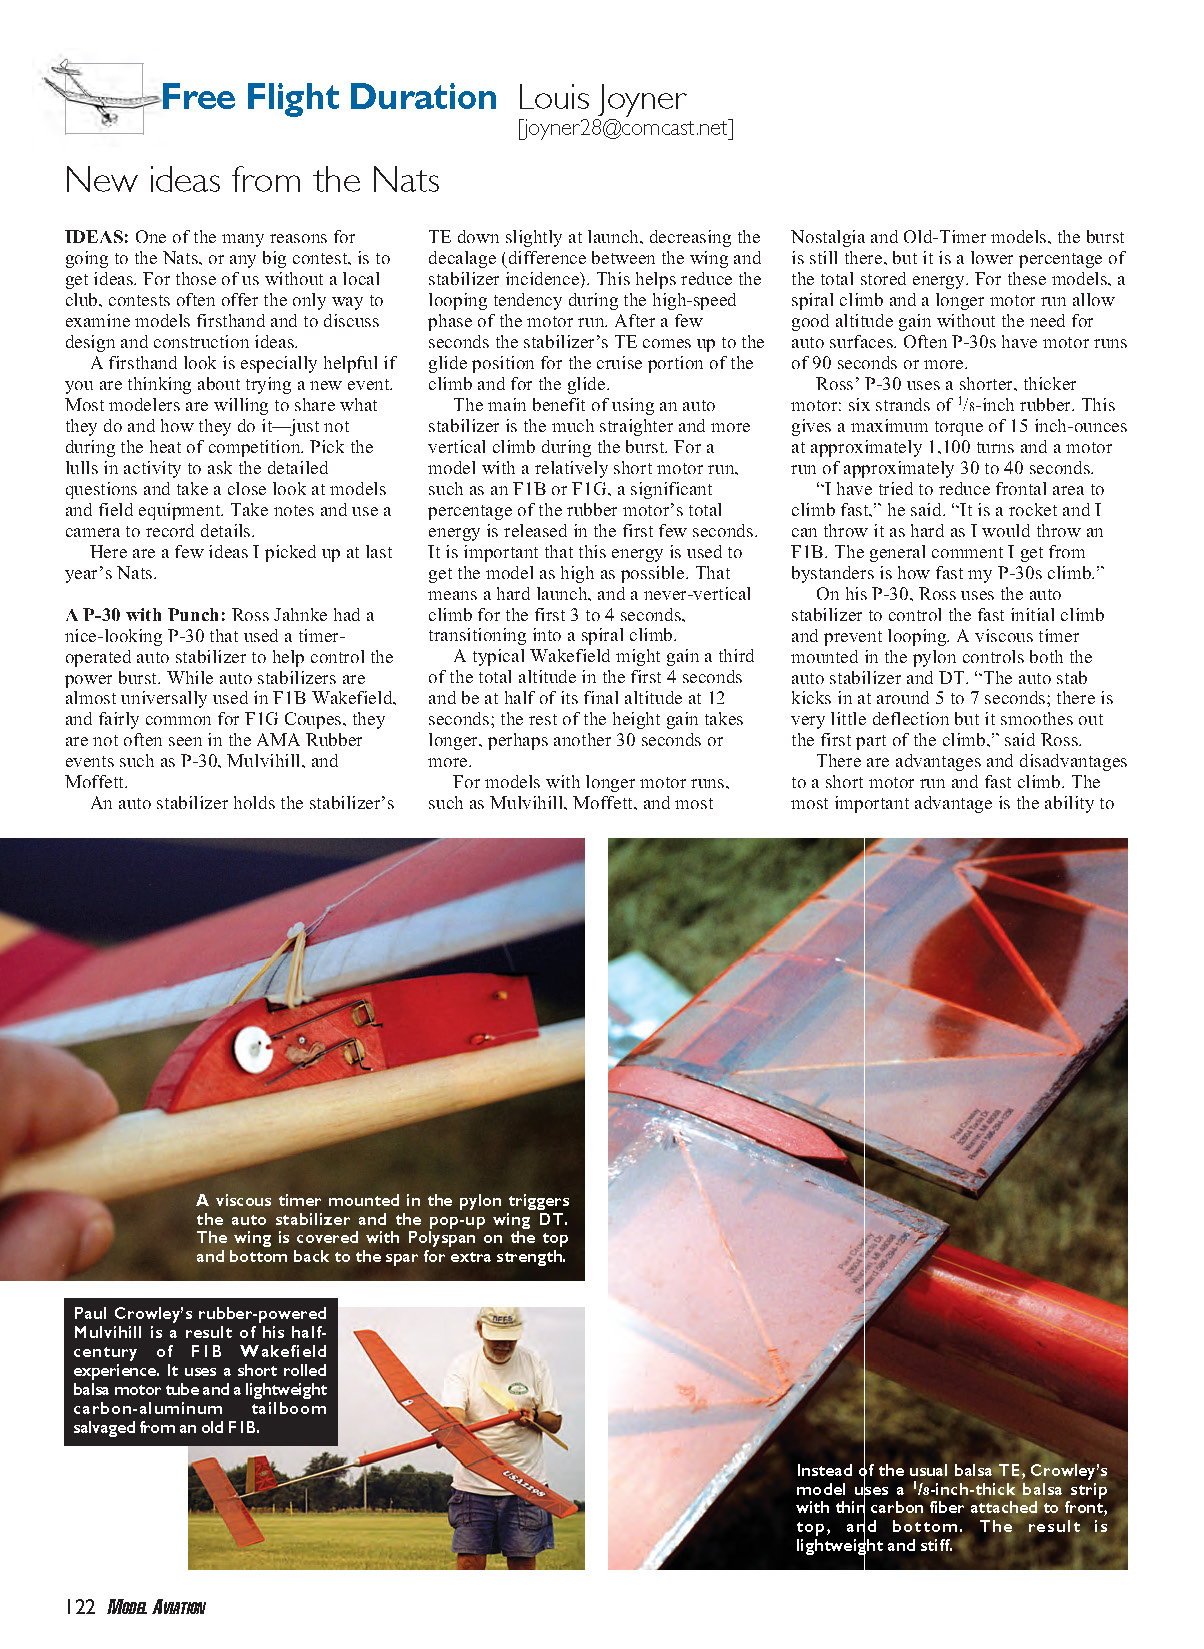
Ross Jahnke had a nice-looking P-30 that used a timer-operated auto stabilizer to help control the power burst. While auto stabilizers are almost universally used in F1B Wakefield and fairly common for F1G Coupes, they are not often seen in the AMA rubber events such as P-30, Mulvihill, and Moffett.
An auto stabilizer holds the stabilizer’s trailing edge down slightly at launch, decreasing the decalage (difference between the wing and stabilizer incidence). This helps reduce the looping tendency during the high-speed phase of the motor run. After a few seconds the stabilizer’s trailing edge comes up to the glide position for the cruise portion of the climb and for the glide.
The main benefit of using an auto stabilizer is a much straighter and more vertical climb during the burst. For a model with a relatively short motor run, such as an F1B or F1G, a significant percentage of the rubber motor’s total energy is released in the first few seconds. It is important that this energy is used to get the model as high as possible. That means a hard launch and a near-vertical climb for the first 3 to 4 seconds, transitioning into a spiral climb.
A typical Wakefield might gain a third of the total altitude in the first 4 seconds and be at half of its final altitude at 12 seconds; the rest of the height gain takes longer, perhaps another 30 seconds or more.
For models with longer motor runs, such as Mulvihill, Moffett, and most Nostalgia and Old-Timer models, the burst is still there but is a lower percentage of the total stored energy. For these models, a spiral climb and a longer motor run allow good altitude gain without the need for auto surfaces. Often P-30s have motor runs of 90 seconds or more.
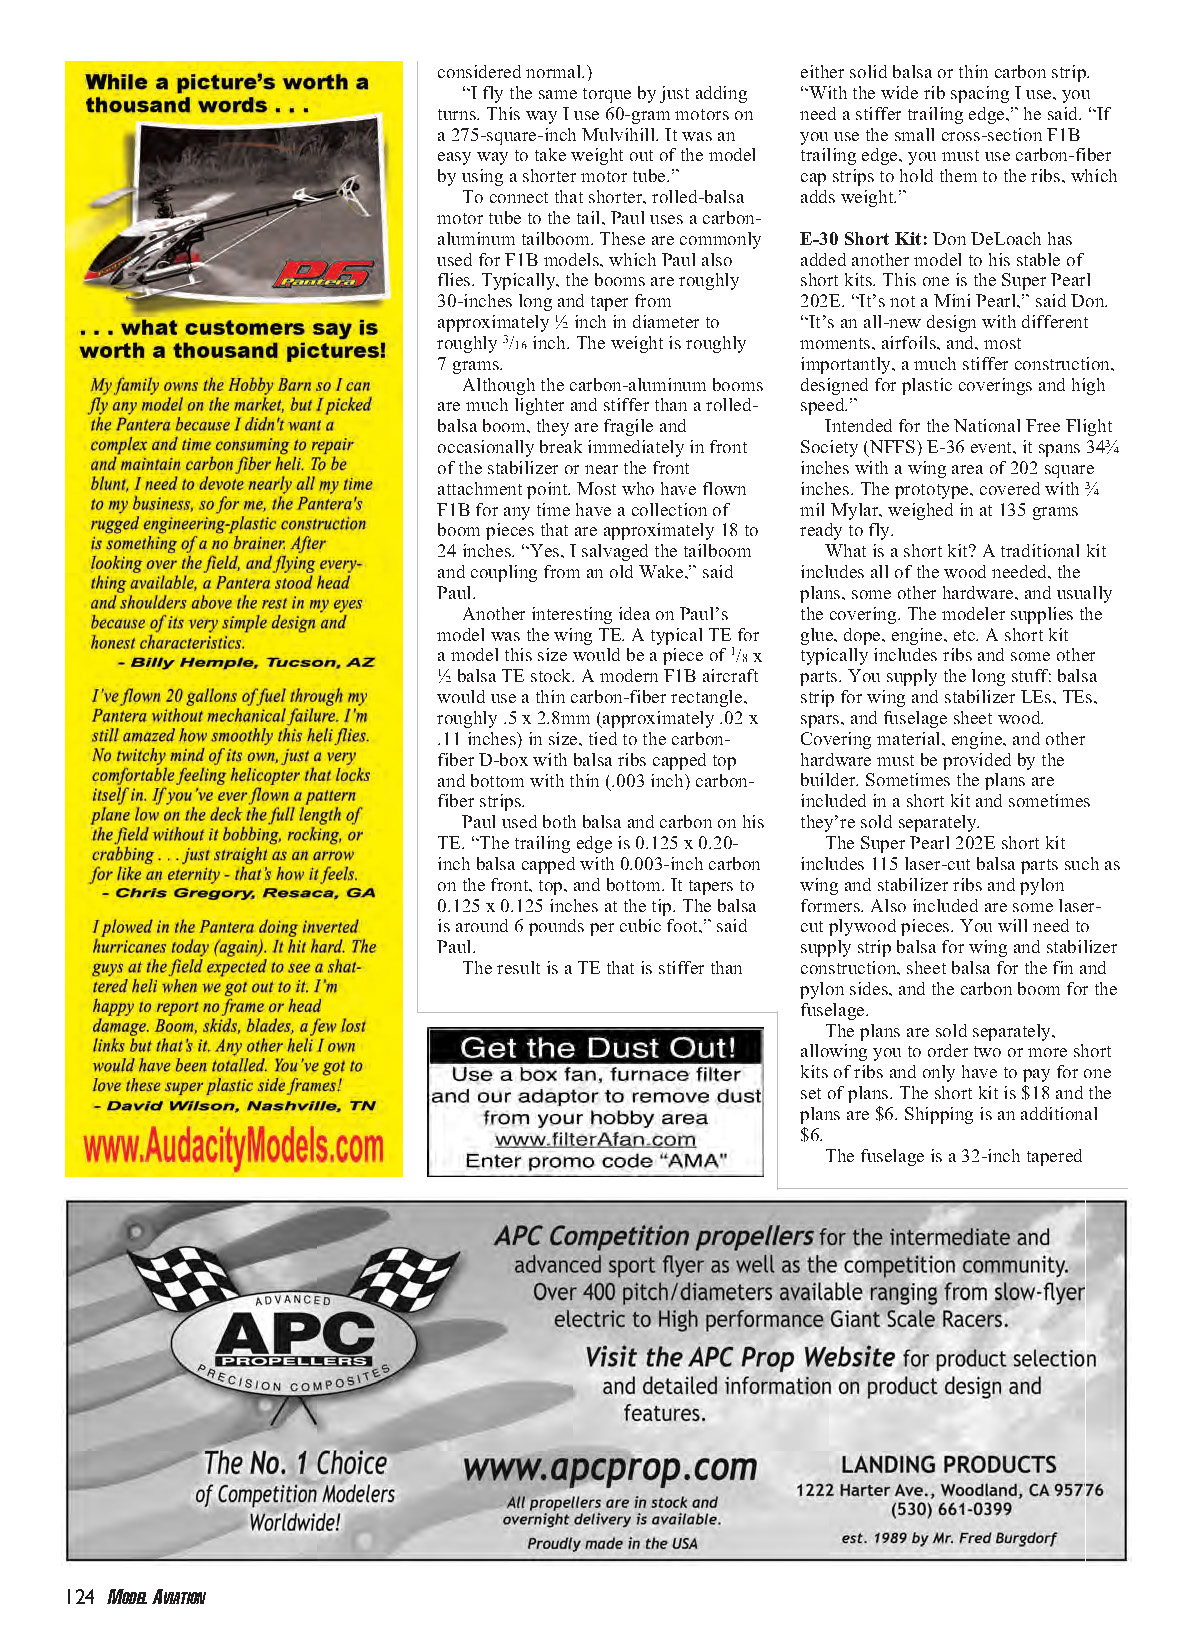
Ross’ P-30 uses a shorter, thicker motor: six strands of 1/8-inch rubber. This gives a maximum torque of about 15 inch-ounces at approximately 1,100 turns and a motor run of approximately 30 to 40 seconds. “I have tried to reduce frontal area to climb fast,” he said. “It is a rocket and I can throw it as hard as I would throw an F1B. The general comment I get from bystanders is how fast my P-30s climb.”
On his P-30, Ross uses the auto stabilizer to control the fast initial climb and prevent looping. A viscous timer mounted in the pylon controls both the auto stabilizer and DT. “The auto stab kicks in at around 5 to 7 seconds; there is very little deflection but it smoothes out the first part of the climb,” said Ross.
There are advantages and disadvantages to a short motor run and fast climb. The most important advantage is the ability to get the model up through ground turbulence, which can play havoc with the power pattern of a slower-climbing model. This is especially important on windy days when the flightline is often located downwind of a tree line. For a P-30 with the required freewheeling propeller, using a long motor run means more time under power and less time gliding with the extra drag of a freewheeling propeller.
Ross' P-30 design dates back two decades. “The name of the design is Quick One and this is number 10 in the series. It has evolved since the first one was built in 1981,” he said. “Quick Ones numbers 4 and 5 were published in the July 1989 MA. If you look back at the article you will see that the things I have kept are the forward DT system and the flat center section of the wing. There has been a steady evolution. If you saw each model, the continuity would be evident.”
Wakefield Inspired
Paul Crowley's Mulvihill model also makes use of an auto surface. “I use an auto rudder only and fly right-right. On that model it's off the timer,” he says. “Since you never really fly at max power, I don't see the need for an auto stab. Most of the time I can get three flights out of a motor with no break-in.” (Typically, F1B motors are wound to the maximum limit and used only once; broken strands after one winding are considered normal.)
“I fly the same torque by just adding turns. This way I use 60-gram motors on a 275-square-inch Mulvihill. It was an easy way to take weight out of the model by using a shorter motor tube.”
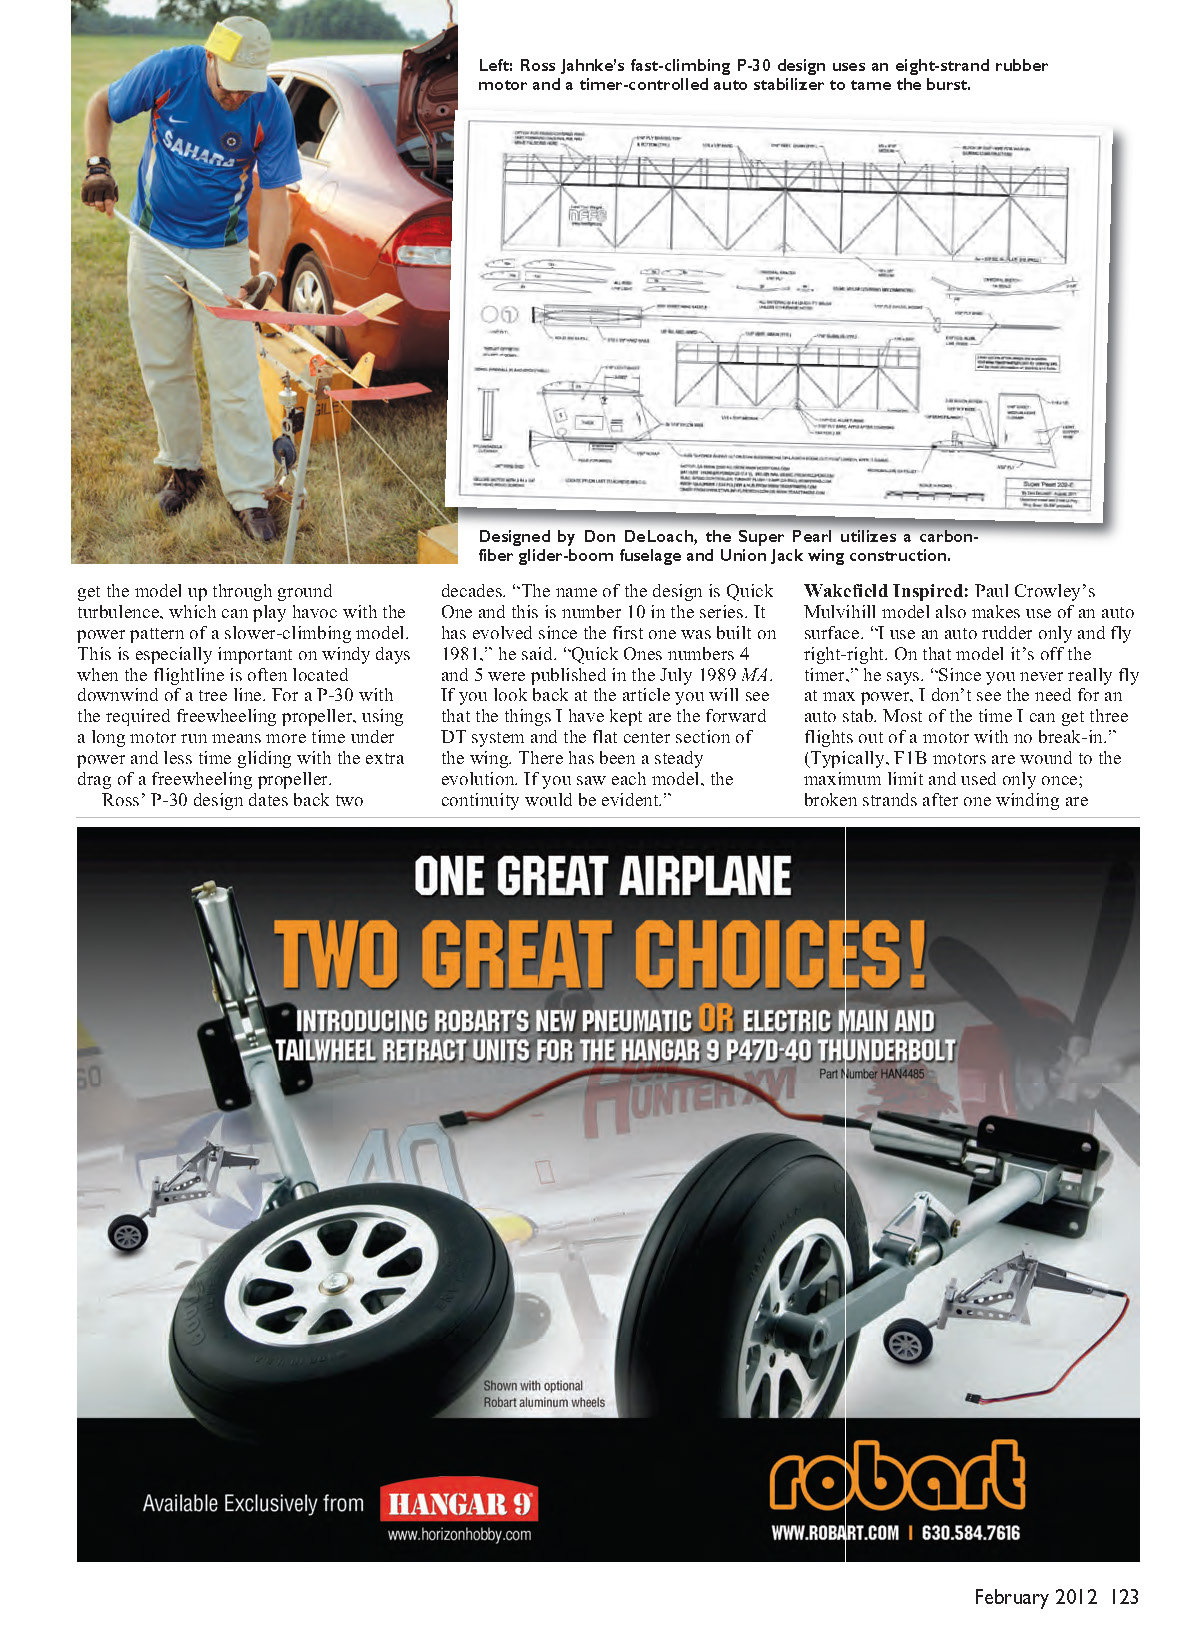
To connect that shorter, rolled-balsa motor tube to the tail, Paul uses a carbon-aluminum tailboom. These are commonly used for F1B models, which Paul also flies. Typically the booms are roughly 30 inches long and taper from approximately 1/4 inch in diameter to roughly 3/16 inch. The weight is roughly 7 grams.
Although the carbon-aluminum booms are much lighter and stiffer than a rolled-balsa boom, they are fragile and occasionally break immediately in front of the stabilizer or near the front attachment point. Most who have flown F1B for any time have a collection of boom pieces that are approximately 18 to 24 inches. “Yes, I salvaged the tailboom and coupling from an old Wake,” said Paul.
Another interesting idea on Paul's model was the wing trailing edge. A typical trailing edge for a model this size would be a piece of 1/8 x 1/2-inch balsa TE stock. A modern F1B aircraft would use a thin carbon-fiber rectangle, roughly 0.5 x 2.8 mm (approximately 0.02 x 0.11 inches) in size, tied to the carbon-fiber D-box with balsa ribs capped top and bottom with thin (0.003 inch) carbon-fiber strips.
Paul used both balsa and carbon on his TE. “The trailing edge is 0.125 x 0.20-inch balsa capped with 0.003-inch carbon on the front, top, and bottom. It tapers to 0.125 x 0.125 inches at the tip. The balsa is around 6 pounds per cubic foot,” said Paul.
The result is a TE that is stiffer than either solid balsa or thin carbon strip. “With the wide rib spacing I use, you need a stiffer trailing edge,” he said. “If you use the small cross-section F1B trailing edge, you must use carbon-fiber cap strips to hold them to the ribs, which adds weight.”
E-36 Short Kit
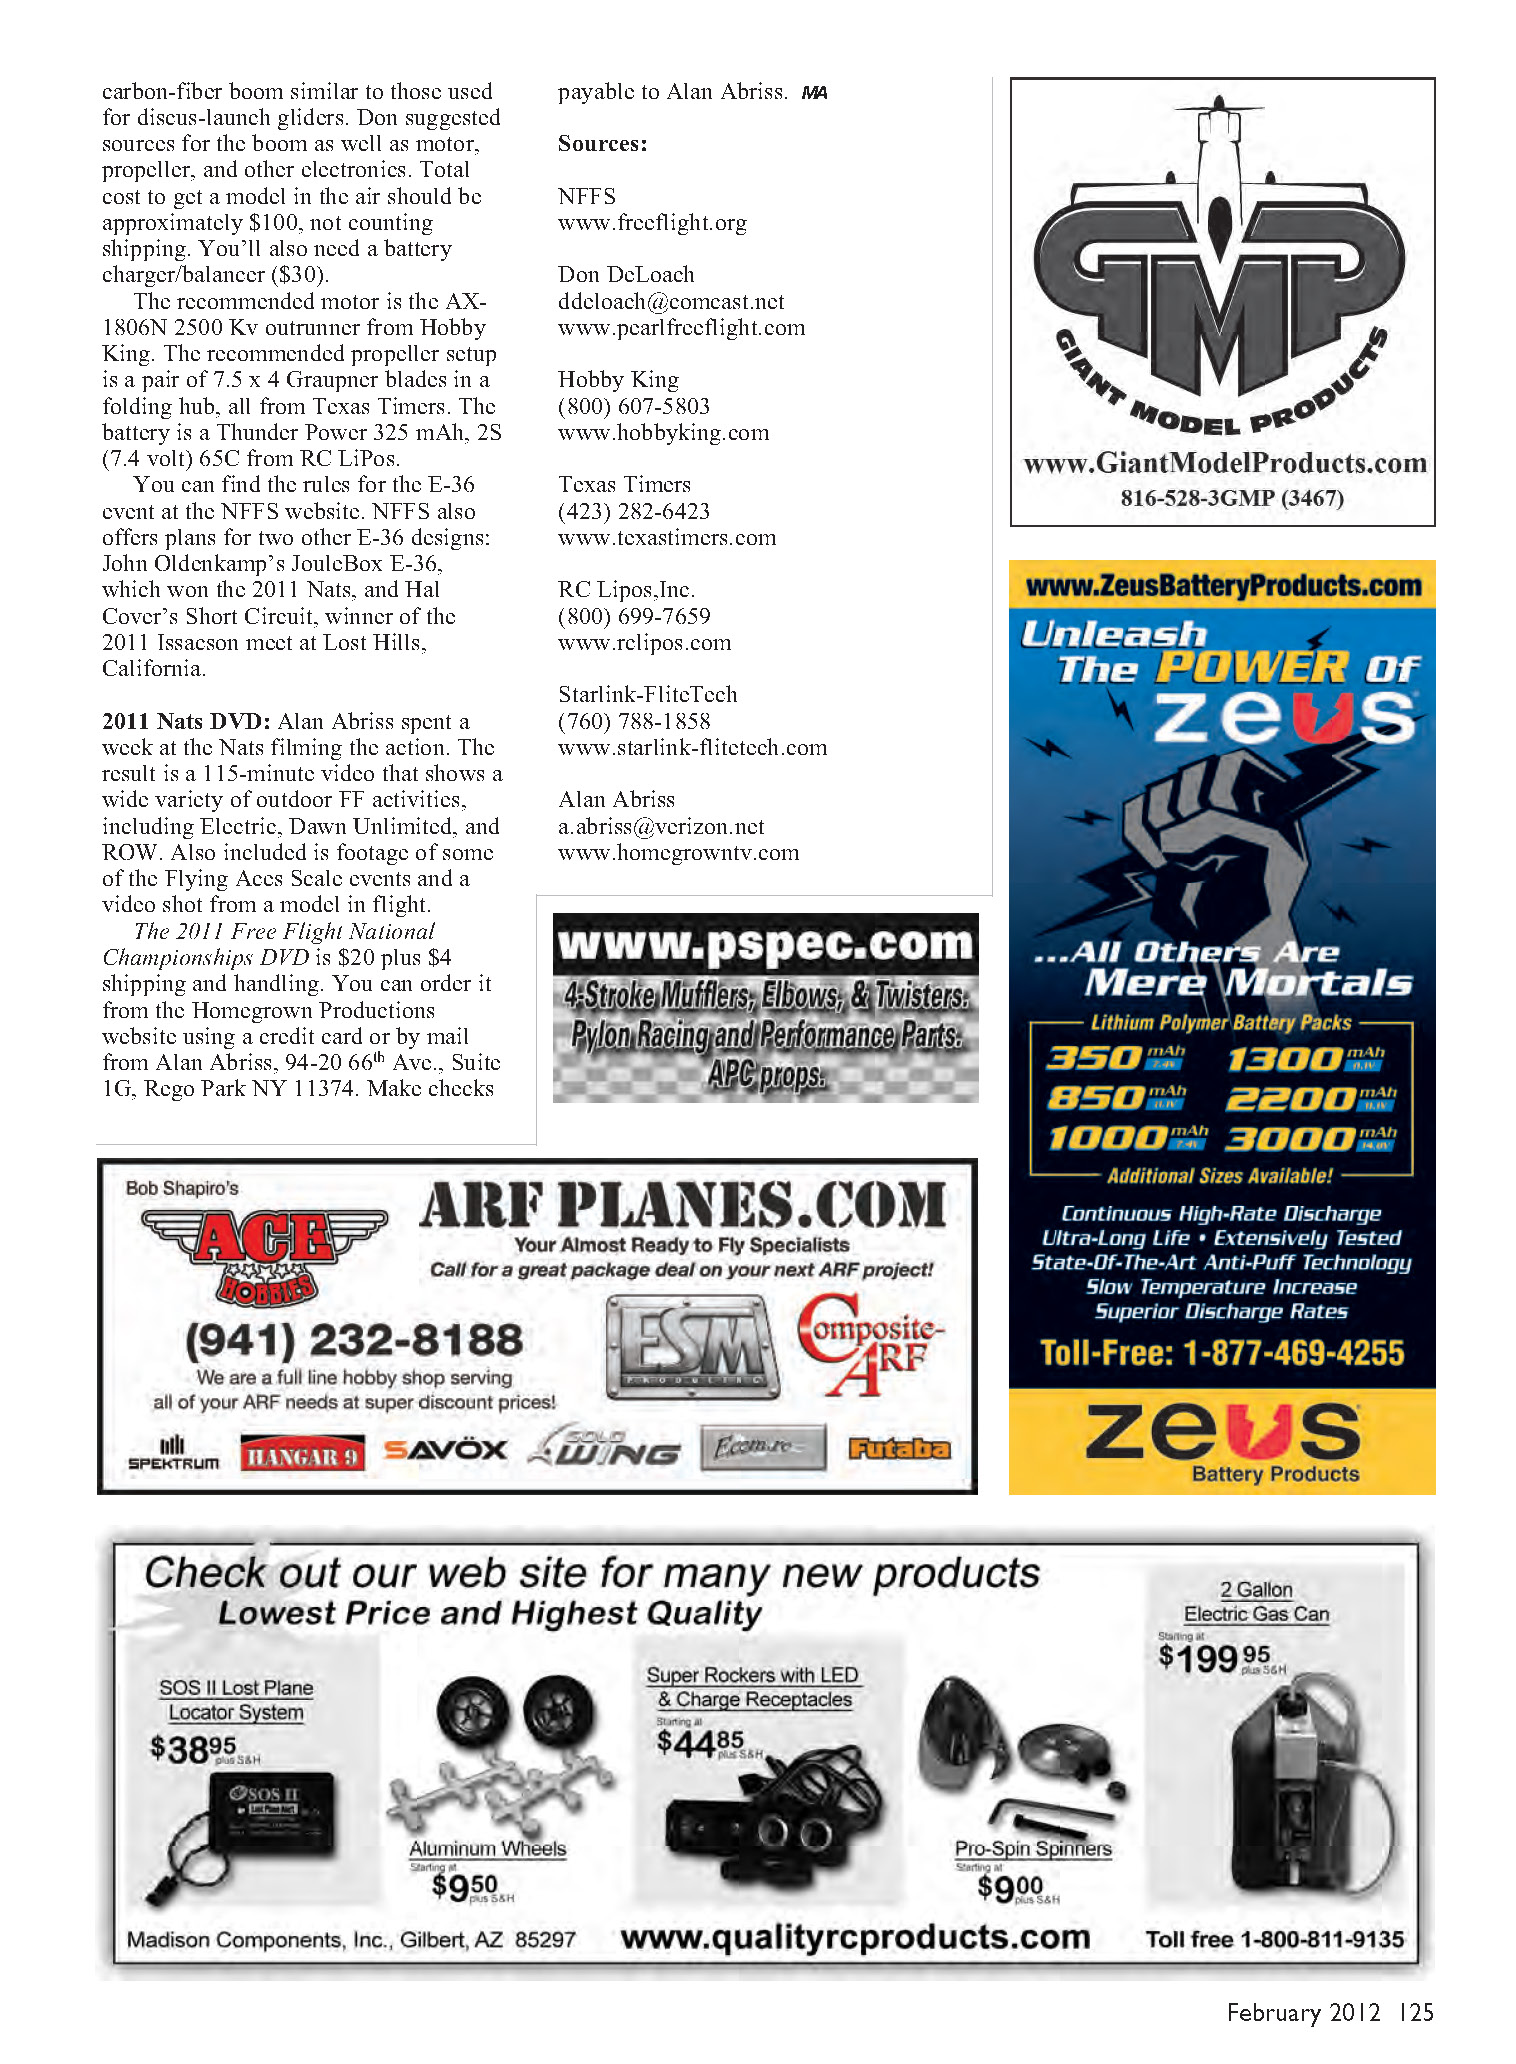
Don DeLoach has added another model to his stable of short kits. This one is the Super Pearl 202E. “It's not a Mini Pearl,” said Don. “It's an all-new design with different moments, airfoils, and, most importantly, a much stiffer construction, designed for plastic coverings and high speed.”
Intended for the National Free Flight Society (NFFS) E-36 event, it spans 34-3/4 inches with a wing area of 202 square inches. The prototype, covered with 3/4-mil Mylar, weighed in at 135 grams ready to fly.
What is a short kit? A traditional kit includes all of the wood needed, the plans, some other hardware, and usually the covering. The modeler supplies the glue, dope, engine, etc. A short kit typically includes ribs and some other parts. You supply the long stuff: balsa strip for wing and stabilizer leading and trailing edges, spars, and fuselage sheet wood. Covering material, engine, and other hardware must be provided by the builder. Sometimes the plans are included in a short kit and sometimes they're sold separately.
The Super Pearl 202E short kit includes 15 laser-cut balsa parts such as wing and stabilizer ribs and pylon formers. Also included are some laser-cut plywood pieces. You will need to supply strip balsa for wing and stabilizer construction, sheet balsa for the fin and pylon sides, and the carbon boom for the fuselage.
The plans are sold separately, allowing you to order two or more short kits of ribs and only have to pay for one set of plans. The short kit is $18 and the plans are $6. Shipping is an additional $6.
The fuselage is a 32-inch tapered carbon-fiber boom similar to those used for discus-launch gliders. Don suggested sources for the boom as well as motor, propeller, and other electronics. Total cost to get a model in the air should be approximately $100, not counting shipping. You'll also need a battery charger/balancer (about $30).
The recommended motor is the AX-1806N 2500 Kv outrunner from HobbyKing. The recommended propeller setup is a pair of 7.5 x 4 Graupner blades in a folding hub, all from Texas Timers. The battery is a Thunder Power 325 mAh, 2S (7.4 volt) 65C LiPo.
You can find the rules for the E-36 event at the NFFS website. NFFS also offers plans for two other E-36 designs: John Oldenkamp's JouleBox E-36, which won the 2011 Nats, and Hal Cover's Short Circuit, winner of the 2011 Issacson meet at Lost Hills, California.
2011 Nats DVD
Alan Abriss spent a week at the Nats filming the action. The result is a 115-minute video that shows a wide variety of outdoor free flight activities, including electric, Dawn Unlimited, and ROW. Also included is footage of some of the Flying Aces scale events and a video shot from a model in flight.
The 2011 Free Flight National Championships DVD is $20 plus $4 shipping and handling. You can order it from the Homegrown Productions website using a credit card or by mail from Alan Abriss, 94-20 66th Ave., Suite 1G, Rego Park, NY 11374. Make checks payable to Alan Abriss.
Sources
- NFFS
- www.freeflight.org
- Don DeLoach
- [email protected]
- www.pearlfreeflight.com
- HobbyKing
- (800) 607-5803
- www.hobbyking.com
- Texas Timers
- (423) 282-6423
- www.texastimers.com
- RC LiPos, Inc.
- (800) 699-7659
- www.rclipos.com
- Starlink-FliteTech
- (760) 788-1858
- www.starlink-flitetech.com
- Alan Abriss
- [email protected]
- www.homegrowntv.com
Transcribed from original scans by AI. Minor OCR errors may remain.

