
New events, new rules, and new records
by Don Slusarczyk [email protected]
The 2015 flying season is upon us and some new rules are in effect as of January 1, 2015. The minimum weight for Fédération Aéronautique Internationale F1D Indoor Free Flight competition models is now 1.4 grams with a maximum motor weight of 0.400 grams. The A6 class now allows the use of either plastic or paper covering, and F1R (Micro 35 cm class) has been adopted as an AMA record-setting event. I expect to see plenty of new records set this year in F1D and F1R!
Paper Tissue Sockets
One area of difficulty in indoor modeling is making tissue sockets. Making these seemingly simple tubes from tissue paper and glue can be frustrating. Some people substitute plastic straws or tubing; however, I have never found that these materials give the snug fit for balsa wing posts that a tissue tube offers.
I prefer using Esaki tissue because it is strong and lightweight. For wing posts I use approximately 20 times the wire diameter for the length of the tissue. A 1/16-inch inside-diameter tube would require a 1 1/4-inch-long piece of tissue. Trying to save weight by using only a few wraps of tissue will result in a weak tube that can flex or fall apart. The width of the tissue strip is typically between 1/2 and 1 inch. Make the width approximately 1/8 inch more than needed. The completed tube can be trimmed to size.
A 60/40 Duco cement-to-acetone ratio is perfect for rolling tubes. The right mixture will allow you to roll the tube on the form. It will set fast enough to keep the final wrap held down, while still allowing you to slide the tube off the mandrel without sticking. Do not use any plasticizer.
The backside of a drill bit or a piece of music wire makes a perfect mandrel. If you are using music wire, cut a piece approximately 2 inches long, then remove any burrs from the cutting process. Clean off any oils or residue that might be on the mandrel before using.
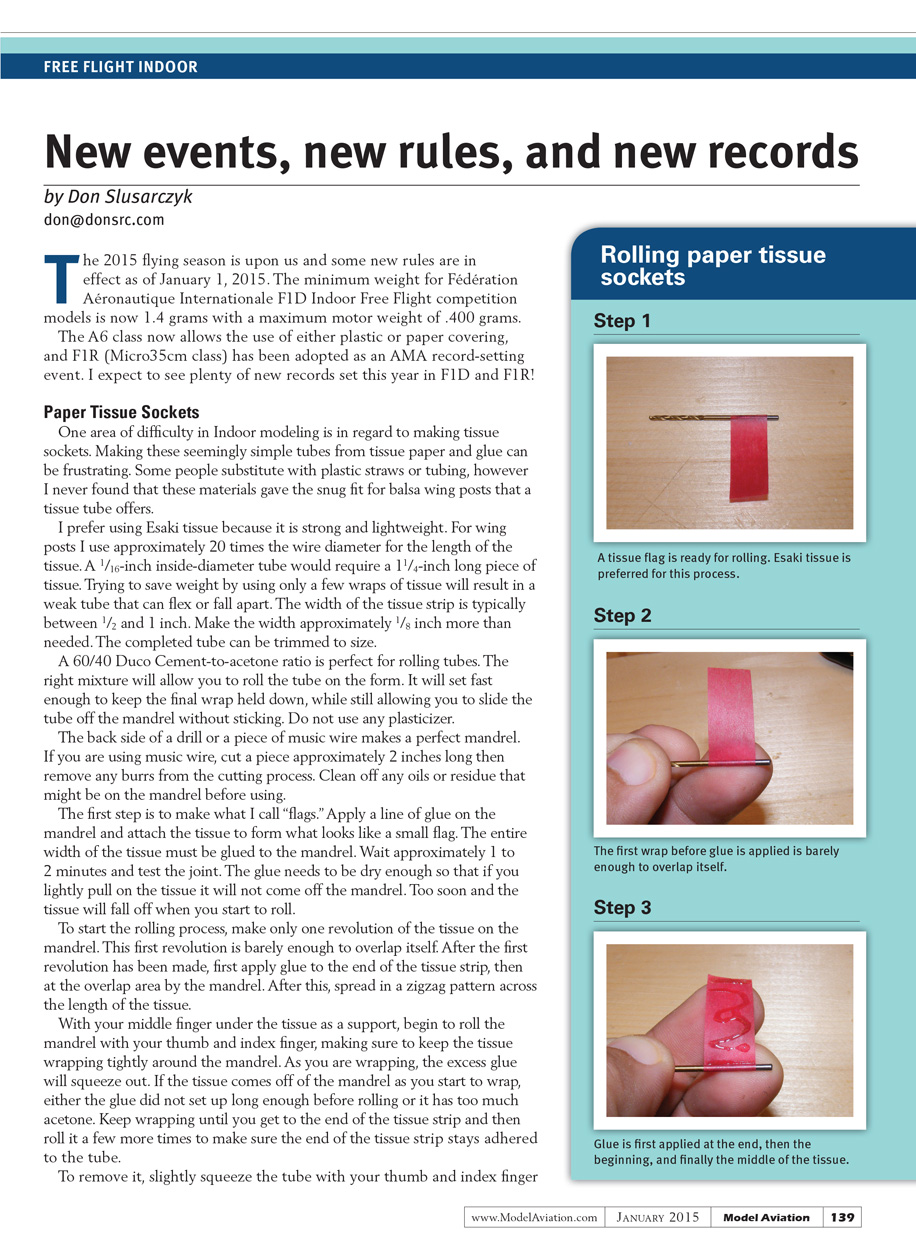
The first step is to make what I call "flags." Apply a line of glue on the mandrel and attach the tissue to form what looks like a small flag. The entire width of the tissue must be glued to the mandrel. Wait approximately 1 to 2 minutes and test the joint. The glue needs to be dry enough so that if you lightly pull on the tissue it will not come off the mandrel. Too soon and the tissue will fall off when you start to roll.
To start the rolling process, make only one revolution of the tissue on the mandrel. This first revolution is barely enough to overlap itself. After the first revolution has been made, first apply glue to the end of the tissue strip, then at the overlap area by the mandrel. After this, spread glue in a zigzag pattern across the length of the tissue.
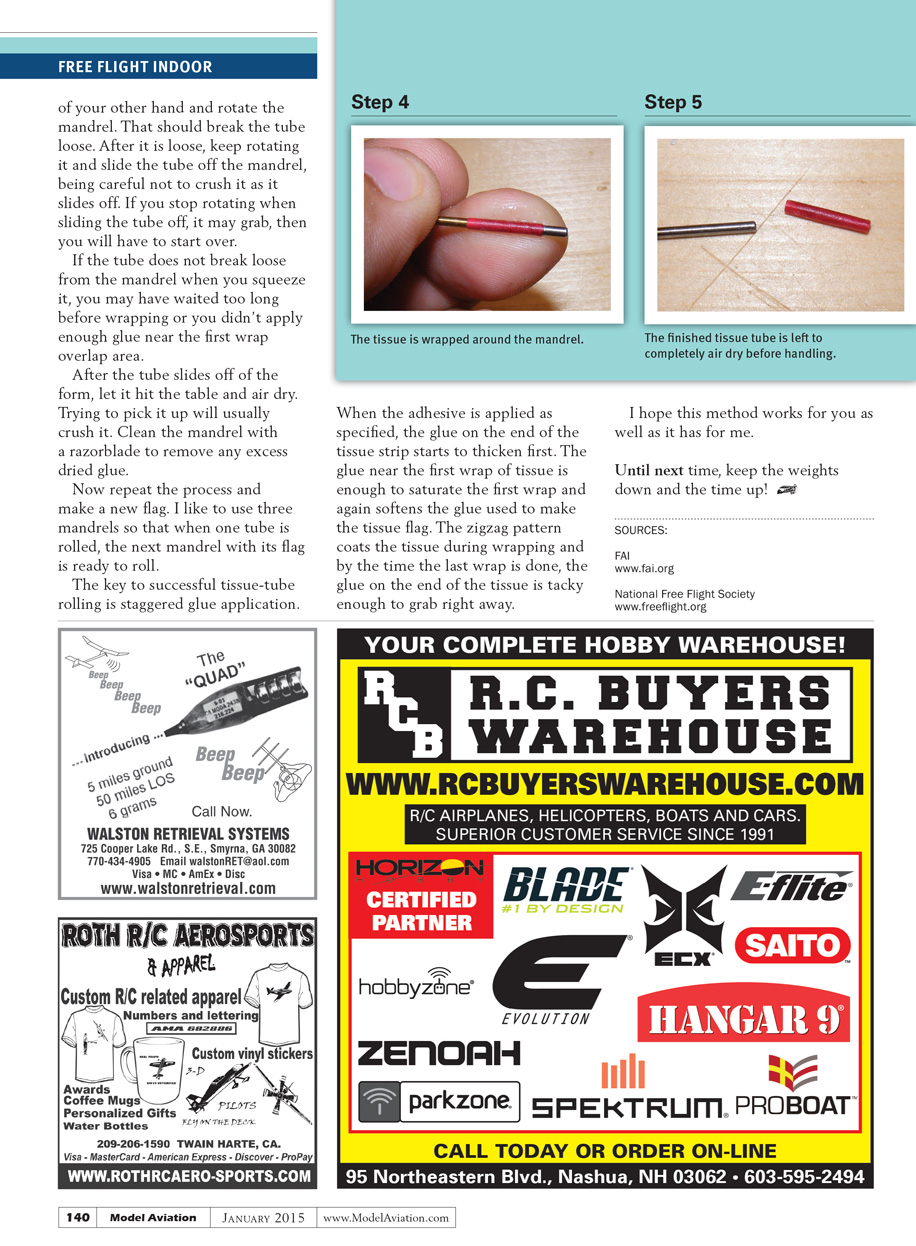
With your middle finger under the tissue as a support, begin to roll the mandrel with your thumb and index finger, making sure to keep the tissue wrapping tightly around the mandrel. As you are wrapping, the excess glue will squeeze out. If the tissue comes off the mandrel as you start to wrap, either the glue did not set up long enough before rolling or it has too much acetone. Keep wrapping until you get to the end of the tissue strip and then roll it a few more times to make sure the end of the tissue strip stays adhered to the tube.
To remove the tube, slightly squeeze it with your thumb and index finger of your other hand and rotate the mandrel. That should break the tube loose. After it is loose, keep rotating and slide the tube off the mandrel, being careful not to crush it as it slides off. If you stop rotating when sliding the tube off, it may grab, and you will have to start over.
If the tube does not break loose from the mandrel when you squeeze it, you may have waited too long before wrapping or you didn't apply enough glue near the first wrap overlap area.
After the tube slides off the form, let it hit the table and air dry. Trying to pick it up will usually crush it. Clean the mandrel with a razor blade to remove any excess dried glue.
Now repeat the process and make a new flag. I like to use three mandrels so that when one tube is rolled, the next mandrel with its flag is ready to roll.
The key to successful tissue-tube rolling is staggered glue application.
When the adhesive is applied as specified, the glue on the end of the tissue strip starts to thicken first. The glue near the first wrap of tissue is enough to saturate the first wrap and again softens the glue used to make the tissue flag. The zigzag pattern coats the tissue during wrapping and by the time the last wrap is done, the glue on the end of the tissue is tacky enough to grab right away.
I hope this method works for you as well as it has for me.
Until next time, keep the weights down and the time up!
Sources
- Fédération Aéronautique Internationale (FAI) — www.fai.org
- National Free Flight Society — www.freeflight.org
Transcribed from original scans by AI. Minor OCR errors may remain.

