
FREE FLIGHT SPORT
Gene Smith 1401 N. Husband St., Stillwater OK 74075 E-mail: [email protected]
Are you reading this column out of simple curiosity? Maybe out of morbid curiosity. Are you interested in trying rubber-powered models? Maybe you are an avid radio-control flier who would like to try your hand at a stick-and-tissue model. Maybe you built a stick model as a kid and want to try it again. Perhaps you are a teenager who built a Science Olympiad model and want to build a larger rubber-powered model. This column may help, but you will probably want more information than I can provide here.
My interest in rubber-powered models was rekindled approximately 12 years ago. At that time I was not aware of anyone in my area who was building rubber-powered models. I started looking through my collection of old model magazines, some of which dated back to the mid-1950s. There were many helpful articles which I either referenced or copied and placed in a loose-leaf binder.
Recommended reading and suppliers
If you do not have such a mother lode of information or, better yet, a personal tutor, consider purchasing Don Ross's Rubber Powered Model Airplanes (1988). It is a great book, loaded with useful tips and plans for three simple models. There is a great chapter on balsa-wood selection as well as information about rubber motors and propellers.
The book and other supplies are available from a number of sources, including Hannan's Runway. Ordering Hannan's Runway:
- Send $1 for a catalog to Box 210, Magalia CA 95954.
- Or place your order by telephone at (530) 873-6421 (the catalog is included with orders).
- Or use the Internet at www.hrunway.com.
If you want the Black Bullet kit mentioned below, check the FAI Model Supply catalog at www.faimodelsupply.com.
Building the Black Bullet
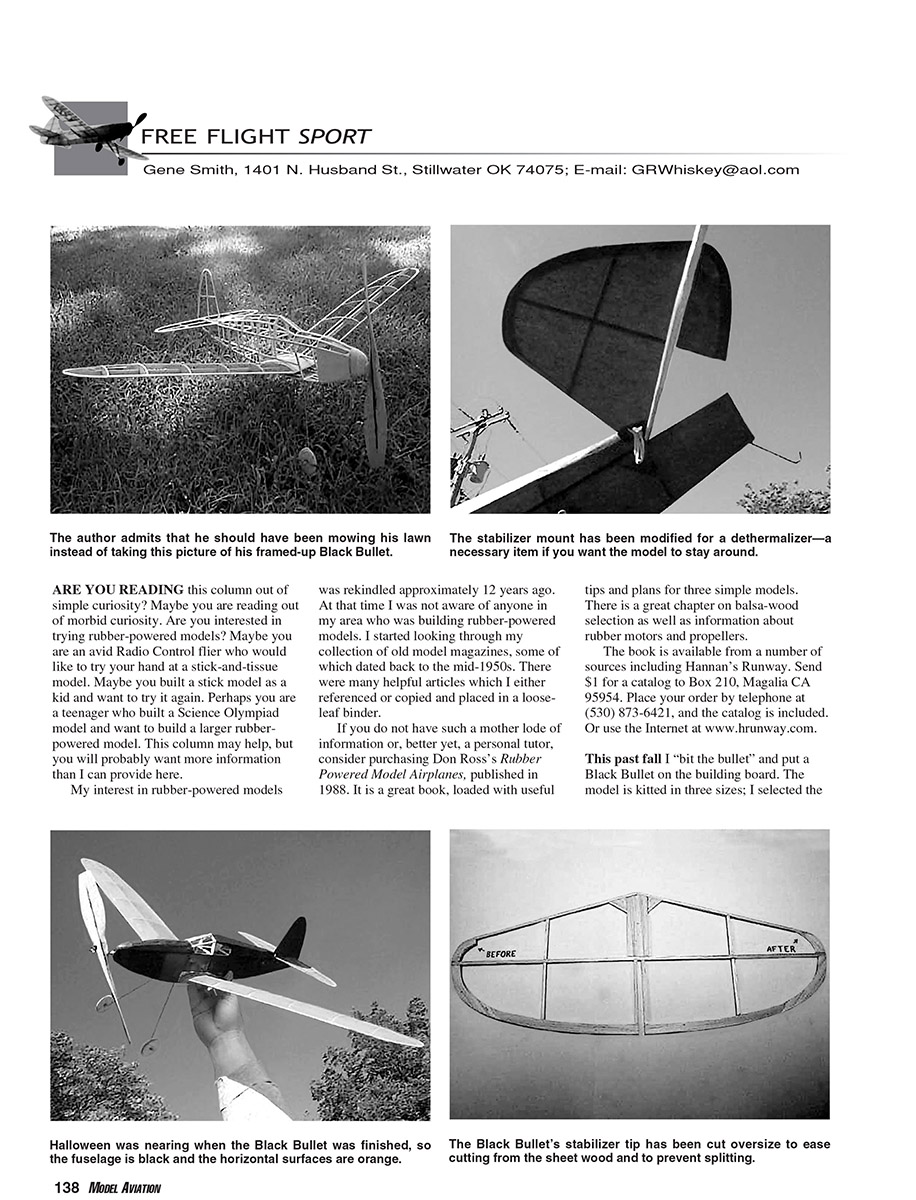
This past fall I "bit the bullet" and put a Black Bullet on the building board. The model is kitted in three sizes; I selected the 30-inch-span version as a good compromise between performance and ease of storage. It fits right into my P-30 box. Be the first kid on your block to have a low-wing cabin endurance model.
You don't see many low-wing duration models. High-wing, old-time, cabin rubber models are popular. As a rule, they are easy to build and are good fliers. All cabin models seem to be popped from the same, or at least a similar, mold. For years I looked at the advertisements for the Black Bullet. It had to be the neatest-looking cabin endurance model I had seen. Not only is the low wing unique, but the cabin has a sleek, streamlined design.
A quick look at the plans showed a relatively short, narrow fuselage, a big fin and stabilizer, and plenty of dihedral. The plans appeared to be computer-generated and were clean and clear. The balsa in the kit was heavy. I am sure I could have used the kit wood, but since the model might be flown in competition I elected to make a copy of the parts and transfer the pattern to lighter balsa.
There are a number of good ways to transfer parts patterns to balsa. I have tried most of them, but I have settled on using a glue stick. Make a copy of the plan and glue it to your balsa sheet. Apply the glue to the paper only. If you apply the glue to the paper and the balsa, the adhesion is semipermanent. If worse comes to worst, the bond can be released with rubbing alcohol.
Soaking and shaping long, curved longerons
When framing a fuselage that has curved longerons, I like to soak the strip wood in water overnight. Soaking long strips was a problem until I read the following tip: go to a tropical-fish store and buy one of the clear plastic tubes used for aerators. I use a 3/4-inch-diameter tube. Put a cork in one end, and secure it with silicone adhesive. To soak your balsa strips, drop them into the tube and fill it with water, corking the open end.
When framing the fuselage, wipe the longeron to remove surface water, glue the longeron in place, and allow it to dry overnight. That should minimize any remaining tension from the bent wood.
Wing mounting, tips, and DT arrangement
The Black Bullet has an interesting solution for mounting the removable wing. The fuselage section above the wing is framed for a loose fit so the wing can be removed. Small hooks on top of the wing are used to rubber-band the wing in place.
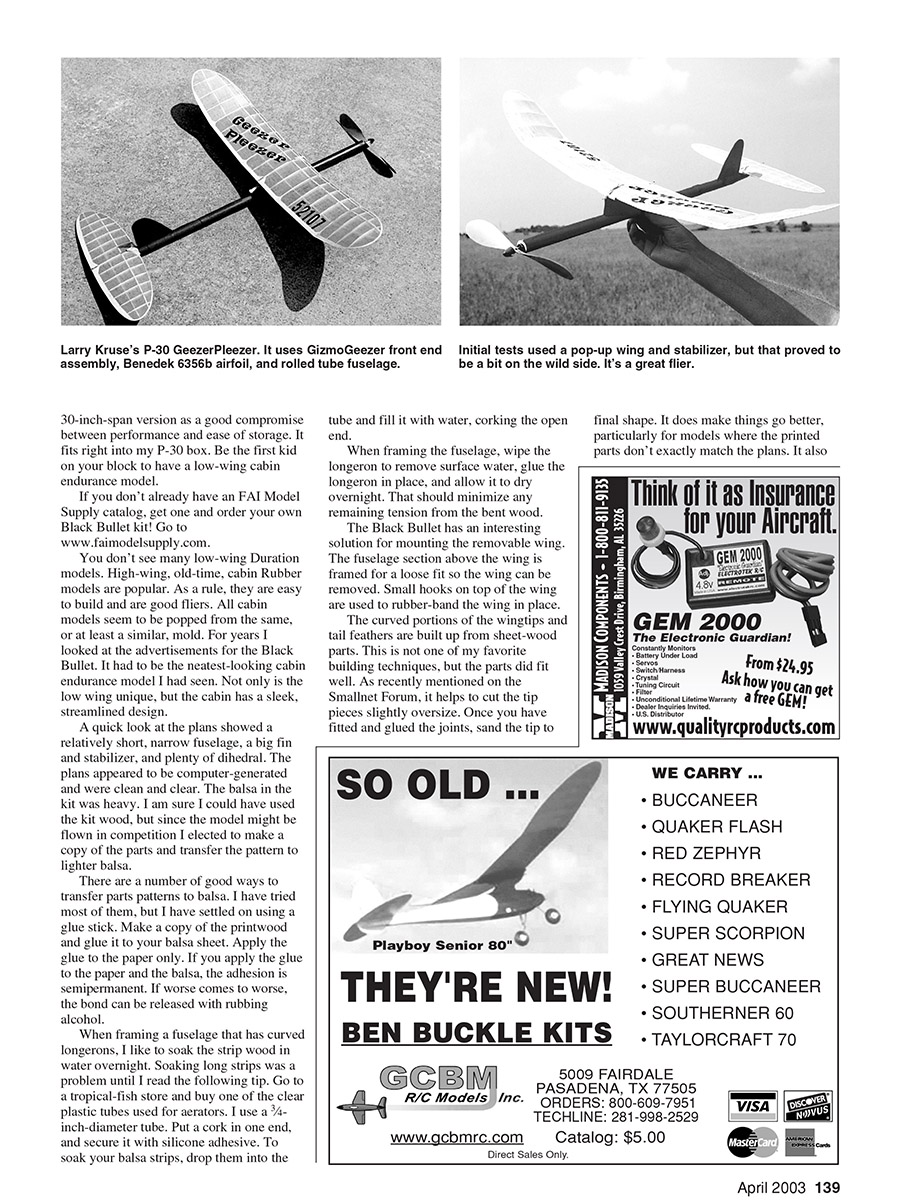
The curved portions of the wingtips and tail feathers are built up from sheet-wood parts. This is not one of my favorite building techniques, but the parts did fit well. As recently mentioned on the Smallest Forum, it helps to cut the tip pieces slightly oversize. Once you have fitted and glued the joints, sand the tip to final shape. It does make things go better, particularly for models where the printed parts don't exactly match the plans. It also helps prevent the narrow cross-grain portions of the tip pieces from splitting.
I sheeted an inch of the rear turtledeck to provide a slot for fin alignment. The gusset in front of the fin was enlarged so a hole could be made for the rubber band to raise the stabilizer/fin. A gusset was placed just in front of and below the leading edge of the stabilizer for placement of a small dowel to hold the dethermalizer (DT) rubber band. Four-pound-test monofilament attached to the bottom of the fin runs through a small "U" of .015-inch music wire at the rear of the fuselage, then forward to a Silly Putty DT actuator.
In two months I'll write about adventures in trimming the Black Bullet. (Hint: the Black Bullet has so much dihedral it can be trimmed like a high-wing model.)
I Like to Put It up in Braids
To get the best performance from your rubber motor, its length will typically be one and a half to three times the distance from the motor hook to the rear peg. Unless the motor is braided, it will have a tendency to bunch up in the rear of the model. The model may have been balanced perfectly upon launch, only to become tail-heavy as the motor unwinds and bunches near the rear peg.
Braiding prevents the motor from developing slack, bunching, and altering the center of gravity (CG) as it unwinds. To learn the technique for braiding, read Don Ross's book, check your Internet search engine for "braiding rubber motors," or go to Al Lidberg's Web site: www.alamps.com. He has a tips section which includes information about braiding techniques.
Most freewheeling propellers depend on slack in the rubber motor to allow them to freewheel. If you braid the motor, you may not have enough slack left for the propeller to freewheel. You can avoid that problem by silver-soldering a small washer in front of the nose bearing. The motor pulls against the washer, allowing the propeller to freewheel.
If you use a ramp freewheeler, pull the propeller forward to engage the ramp. It will stay engaged until the torque is gone—unless it hits the ground before the motor unwinds. If that happens, the propeller will probably release prematurely and the motor will rapidly unwind, making a sound like two small animals are having a knock-down, drag-out fight inside your model. A latch freewheeler also works well with the small washer soldered in front of the nose bearing.
First test glides and trimming
How about those first test glides of your new rubber-powered model with a freewheeler? Of course you performed a preflight on the model. You found no unintentional warps. Any warps you saw were put there on purpose. You put washout on that low-wing model, or a touch of washin on the right panel of that high-wing cabin model so it will fly to the right. You have balanced the model at the point shown on the plans with the rubber motor in place and wound the motor tightly enough to remove slack.
At this point some like to pin the propeller level and try their test glides. However, the stationary propeller will tend to roll the model to the right. To avoid this, other modelers like to remove the propeller and motor, and ballast the model to the CG for test glides. I don't like to go to that trouble.
My favorite technique is to put 100 winds in the braided motor and let it unwind fully. This ensures that the motor has no slack. Then I put in approximately 20 hand winds and try a test glide. This simulates that portion of the flight where the model is transitioning from powered flight into the glide.
If the model stalls, I lower the trailing edge of the stabilizer. If it dives or just doesn't seem to want to "float," I raise the trailing edge of the stabilizer. I do not like to bend the elevators up or down; I prefer to shim the entire stabilizer and elevator as a unit. The model should glide in a reasonably straight line. If your model makes a sharp turn in either direction, you misread a warp or have too little fin area. Now you are ready to pack in a few more turns.
GeezerPleezer Takes to the Air
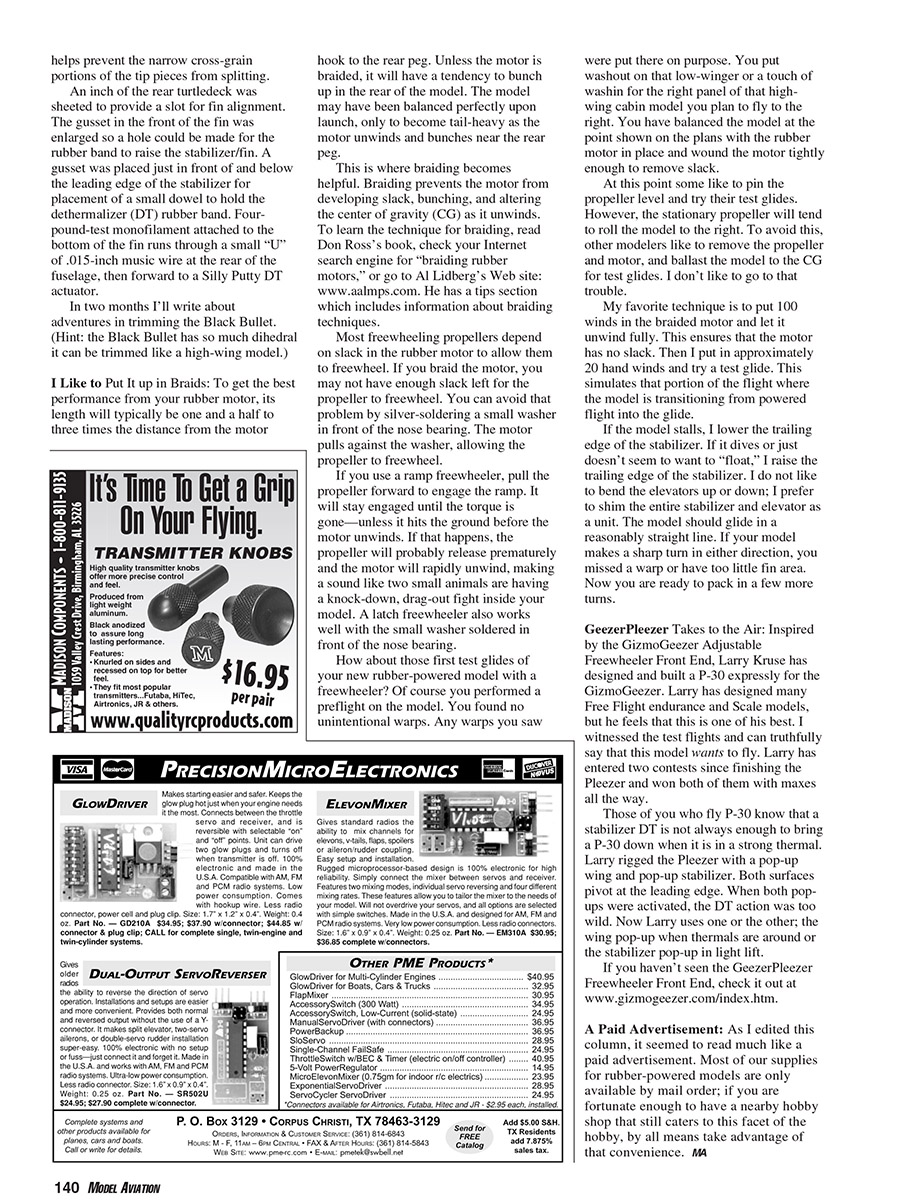
Inspired by the GizmoGeezer Adjustable Freewheeler Front End, Larry Kruse has designed and built a P-30 expressly for the GizmoGeezer. Larry has designed many free flight endurance and scale models, but he feels that this is one of his best. I witnessed the test flights and can truthfully say that this model wants to fly. Larry has entered two contests since finishing the Pleezer and won both of them with maxes all the way.
Those of you who fly P-30 know that a stabilizer DT is not always enough to bring a P-30 down when it is in a strong thermal. Larry rigged the Pleezer with a pop-up wing and pop-up stabilizer. Both surfaces pivot at the leading edge. When both pop-ups were activated, the DT action was too wild. Now Larry uses one or the other: the wing pop-up when thermals are around, or the stabilizer pop-up in light lift.
If you haven't seen the GeezerPleezer Freewheeler Front End, check it out at www.gizmogeezer.com/index.htm.
A paid advertisement
As I edited this column, it seemed to read much like a paid advertisement. Most of our supplies for rubber-powered models are only available by mail order; if you are fortunate enough to have a nearby hobby shop that still caters to this facet of the hobby, by all means take advantage of that convenience.
MA
Transcribed from original scans by AI. Minor OCR errors may remain.

