


FREE FLIGHT SPORT
Gene Smith, 1401 N. Husband St., Stillwater OK 74075; E-mail: [email protected]
LOOK ON THE BRIGHT SIDE:
Some are lamenting the fact that modelers in the US are not developing model-building skills, but are relying on prebuilt models for everything from sport Radio Control flying to competition Free Flight. On the bright side, we are helping to develop a whole generation or two of skilled model builders in China, Mexico, and Eastern Europe!
However, if the notes I received with plans requests are any indication, there will be plenty of grandkids flying Pollywogs this summer.
Are you a member of the Flying Aces Club (FAC)? Why not? If you want to fly rubber-powered Scale models, you need to belong to the club. It hosts the largest Rubber Scale contests in the country.
The bimonthly newsletter costs $15 per year. Each issue is packed with articles, plans, and information about area contests. Enclose an extra dollar and a self-addressed, stamped envelope (SASE), and you will receive a listing of all FACs across the country.
Join a club in your area and enjoy learning and flying with the rest of us. Mail your dues to Lin Reichel, commander-in-chief, FAC GHQ, 3301 Cindy Ln., Erie PA 16506.
Sig Cubs I Have Known:
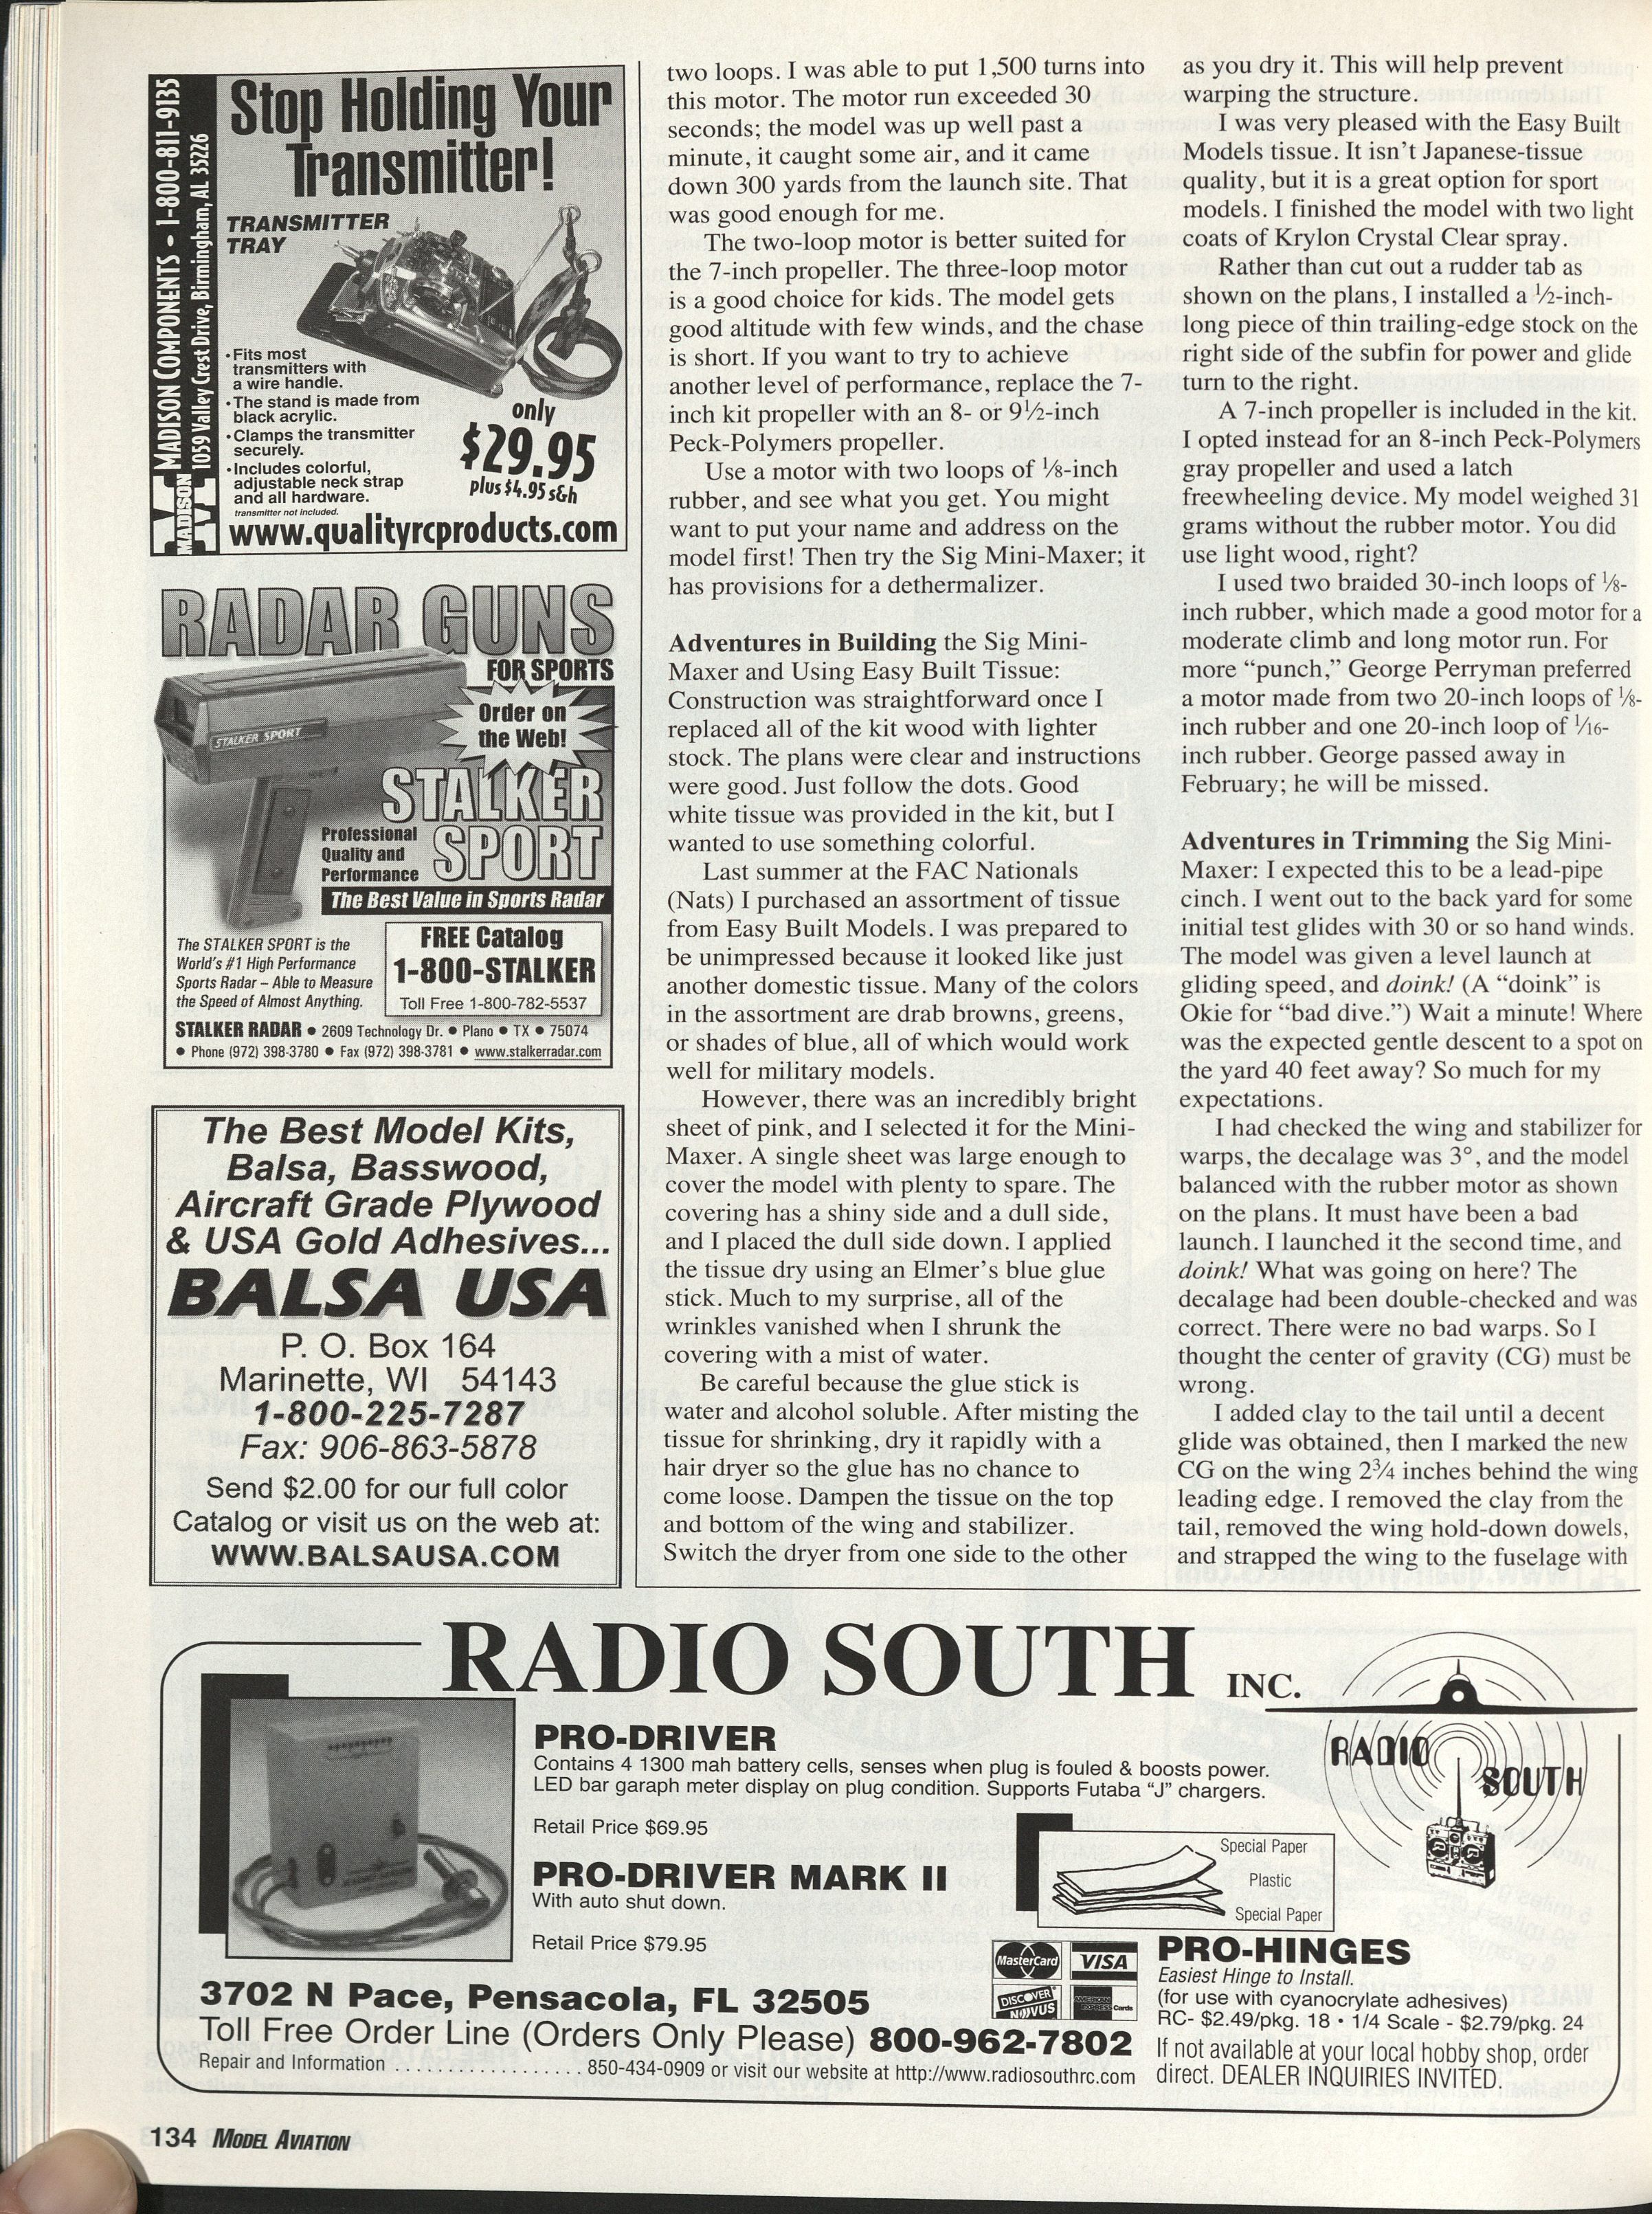
Among the Pollywog plans requests was a note asking me to take a look at the Sig Cub and see what could be done to improve its performance. I bought a Sig Cub kit (not to be confused with the AMA Cub also kitted by Sig); at less than $7, it is a real bargain. The wood is a bit heavy, but it's okay for a trainer. The instructions are excellent. All a beginner has to do is check a box beside each step as it is completed.
The instructions advise attaching the tissue with clear dope, which is a tried-and-true method. Instead, I used an Elmer's blue glue stick. It is quick, easy, cheap, and doesn't stink up the house!
The tissue in the kit is porous, so it is important that it is sealed after the wing and tail feathers are covered. The instructions advise using clear dope to seal the tissue. Another option is to obtain a can of Krylon Crystal Clear spray 3301. Apply a couple of light coats to the wing and tail surfaces.
After the wing has dried, try the following experiment. Put your lips close to a piece of unpainted scrap tissue and blow. The air will go right through the tissue. Do the same thing to your painted wing and the air will bounce back. That demonstrates the need to seal the tissue if you want your model to fly properly. The wing won't generate much lift if the air goes through it rather than over it. Better-quality tissue is not as porous, but it will still benefit from being sealed with dope or clear Krylon.
The motor/propeller combination can be modified to improve the Cub's performance and is a fun area for experimentation. I elected to leave off the wire "motor can" in the middle of the fuselage, and instead I braided each of the three motors I used. The instructions suggest making the enclosed 1/8-inch rubber strip into a four-loop, eight-strand motor. This is roughly equivalent to putting a 350 V8 in a Volkswagen Beetle; there is a great deal of power there, but the wheels are too small and will waste a lot of energy "burning rubber." When winding a motor this size, you will want a good winder. I like the Scalewinder that HiLine sells. Contact Dave or Marie Rees at (919) 778-6653 or send a buck for a catalog to Box 11558, Goldsboro NC 27532.
After trimming the model on fewer winds, I put 450 turns into the four-loop motor. The model blasted into the air, and most of the energy was used to hang on the propeller. The motor run was 12 seconds, and the model traveled roughly 60 feet downwind.
I unbraided the motor and braided it as a six-strand motor. I was able to increase the winds to 650. The motor run was marginally longer. However, the model ended up at approximately the same altitude with an energy-wasting steep climb.
I took down the same motor and braided it again, this time with two loops. I was able to put 1,500 turns into this motor. The motor run exceeded 30 seconds; the model was up well past a minute, it caught some air, and it came down 300 yards from the launch site. That was good enough for me.
The two-loop motor is better suited for the 7-inch propeller. The three-loop motor is a good choice for kids. The model gets good altitude with few winds, and the chase is short. If you want to try to achieve another level of performance, replace the 7-inch kit propeller with an 8- or 9½-inch Peck-Polymers propeller.
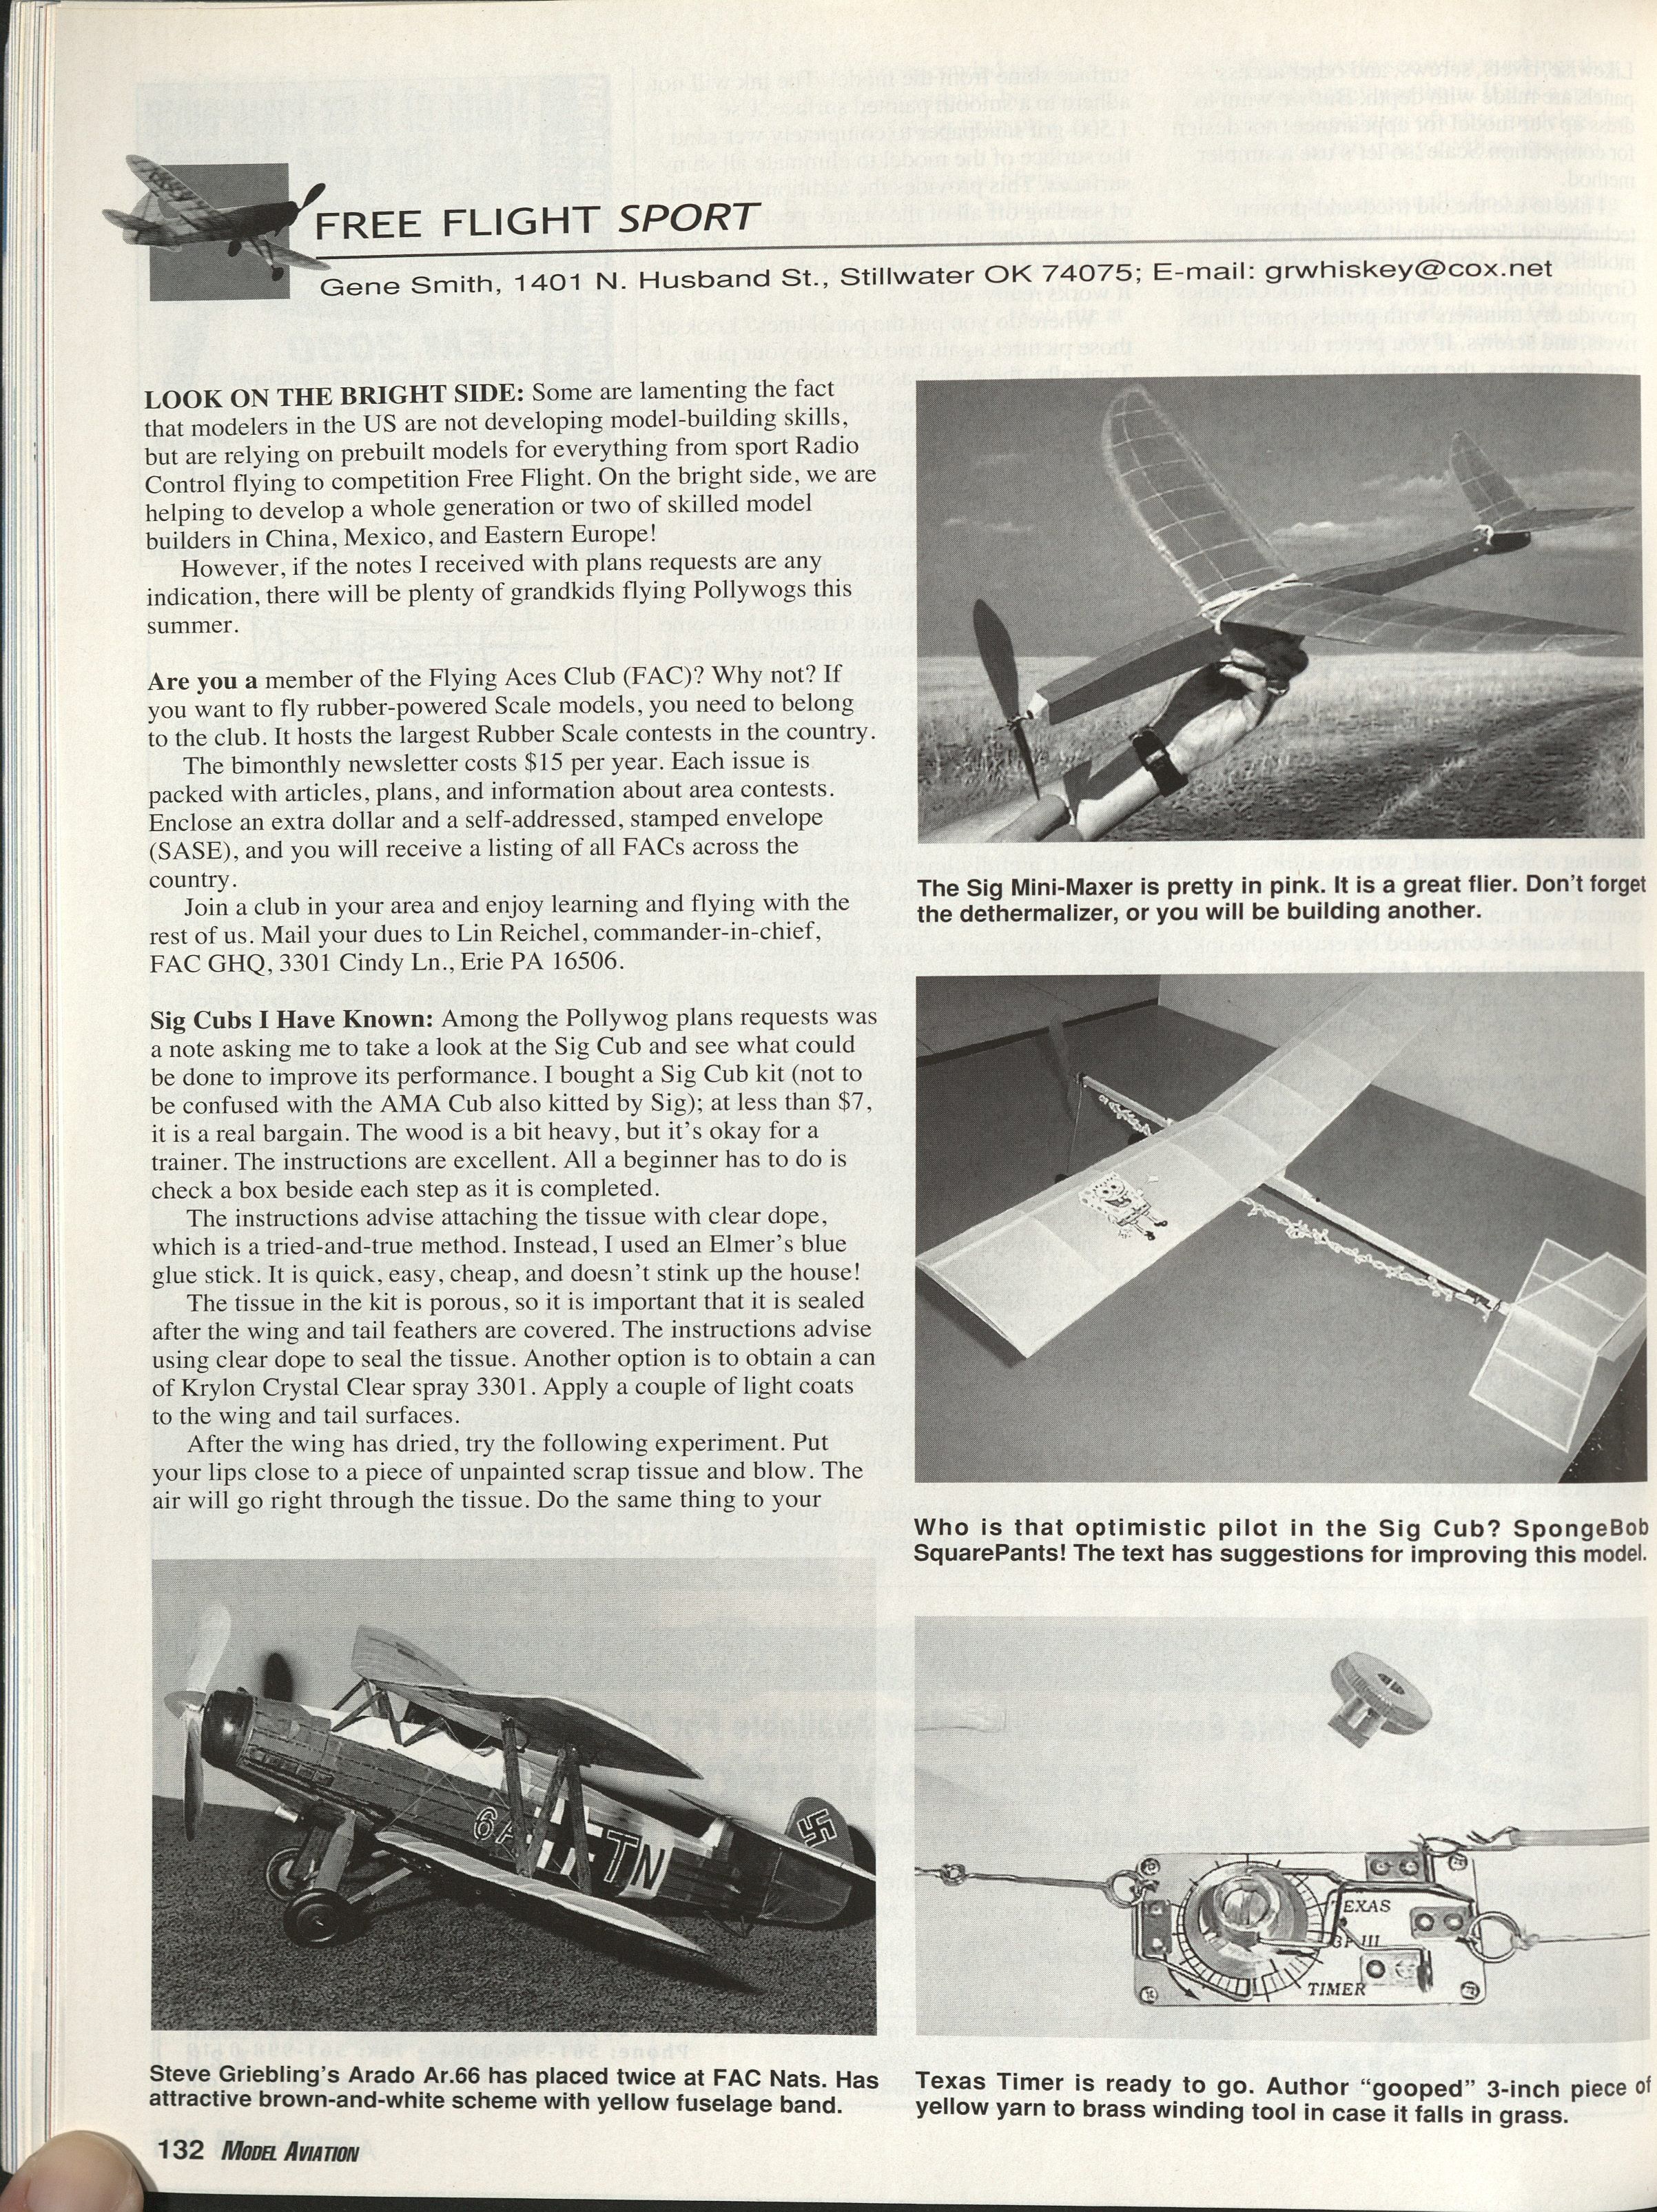
Use a motor with two loops of 1/8-inch rubber, and see what you get. You might want to put your name and address on the model first! Then try the Sig Mini-Maxer; it has provisions for a dethermalizer.
Adventures in Building the Sig Mini-Maxer and Using Easy Built Tissue:
Construction was straightforward once I replaced all of the kit wood with lighter stock. The plans were clear and instructions were good. Just follow the dots. Good white tissue was provided in the kit, but I wanted to use something colorful.
Last summer at the FAC Nationals (Nats) I purchased an assortment of tissue from Easy Built Models. I was prepared to be unimpressed because it looked like just another domestic tissue. Many of the colors in the assortment are drab browns, greens, or shades of blue, all of which would work well for military models.
However, there was an incredibly bright sheet of pink, and I selected it for the Mini-Maxer. A single sheet was large enough to cover the model with plenty to spare. The covering has a shiny side and a dull side, and I placed the dull side down. I applied the tissue dry using an Elmer’s blue glue stick. Much to my surprise, all of the wrinkles vanished when I shrank the covering with a mist of water.
Be careful because the glue stick is water- and alcohol-soluble. After misting the tissue for shrinking, dry it rapidly with a hair dryer so the glue has no chance to come loose. Dampen the tissue on the top and bottom of the wing and stabilizer. Switch the dryer from one side to the other as you dry it. This will help prevent warping the structure.
I was very pleased with the Easy Built Models tissue. It isn’t Japanese-tissue quality, but it is a great option for sport models. I finished the model with two light coats of Krylon Crystal Clear spray.
Rather than cut out a rudder tab as shown on the plans, I installed a 1/2-inch-long piece of thin trailing-edge stock on the right side of the subfin for power and glide turn to the right.
A 7-inch propeller is included in the kit. I opted instead for an 8-inch Peck-Polymers gray propeller and used a latch freewheeling device. My model weighed 31 grams without the rubber motor. You did use light wood, right?
I used two braided 30-inch loops of 1/8-inch rubber, which made a good motor for a moderate climb and long motor run. For more “punch,” George Perryman preferred a motor made from two 20-inch loops of 1/8-inch rubber and one 20-inch loop of 1/16-inch rubber. George passed away in February; he will be missed.
Adventures in Trimming the Sig Mini-Maxer:
I expected this to be a lead-pipe cinch. I went out to the back yard for some initial test glides with 30 or so hand winds. The model was given a level launch at gliding speed, and doink! (A “doink” is Okie for “bad dive.”) Wait a minute! Where was the expected gentle descent to a spot on the yard 40 feet away? So much for my expectations.
I had checked the wing and stabilizer for warps, the decalage was 3°, and the model was balanced with the rubber motor as shown on the plans. It must have been a bad launch. I launched it the second time, and doink! What was going on here? The decalage had been double-checked and was correct. There were no bad warps. So I thought the center of gravity (CG) must be wrong.
I added clay to the tail until a decent glide was obtained, then I marked the new CG on the wing 2¾ inches behind the wing leading edge. I removed the clay from the tail, removed the wing hold-down dowels, and strapped the wing to the fuselage with rubber bands. Then I moved the wing forward until the model balanced at the new CG mark on the wing. I reinstalled the wing hold-down dowels at the new wing position.
After encountering the CG problem, I wrote a note to George and he confirmed that the CG should be 2¾ inches behind the wing leading edge at the center of the wing. I began power testing with 300 winds, resulting in a right power pattern which was slightly more open than I wanted. The glide turn was good. I added a 1/64-inch shim to the left side of the nose block, resulting in a nice right climb under power and in the glide, and voilà!
That pink tissue shows up well in the air and on the ground. The dethermalizer proved its worth on the first flight with full winds. Thanks, George! You did good.
One of My Favorite Newsletters:
When I was at an FAC Nats years ago, Russ Brown, the editor of Crosswinds, approached me. He was offering subscriptions to the publication, which is the newsletter of the Cleveland Free Flight Society. I subscribed on the spot and have enjoyed Crosswinds ever since.
This newsletter features one Scale design in each issue—usually in great detail and with good documentation. Sometimes there are multiple-size plans for the same design in one issue. You get four issues each year for $16, and they are well worth the expense if you like rubber-powered Scale.
Send dues to Russ Brown at 4909 N. Sedgewick Rd., Lyndhurst OH 44124. Ask him about the Cleveland Free Flight Society’s incredible archives. You are sure to find several back issues of interest among the more than 100 on the list.
Steve Griebling’s beautiful 19-1/2-inch-span Arado Ar.66 biplane was featured in Crosswinds 102, which came out in June last year. The model uses a propeller carved from a 1-1/4 x 3/4 x 9-inch poplar blank. Weight without motor is 34 grams, and power is three braided strands of 3/16-inch rubber weighing 13 grams.
The airplane has great lines for a rubber-powered biplane, including a long nose.
The color scheme is unique; most of the fuselage is brown, the top surfaces are white, and there is a yellow band around the fuselage.
This model is eligible to fly in FAC between-wars military events. Steve flew to a fifth-place finish with the Arado at the FAC Nats in 2000 and 2002. He had great performances in tough competition.
Russian Tank Buster:
Master modeler Clarence Mather is about to finish a 35-inch-span Jumbo Scale Russian Shturmovik. This is his second Shturmovik; the first was published in American Aircraft Modeler magazine in 1970.
Clarence has a long history of success in Free Flight competition, from indoor microfilm models (he was on a US indoor team) to Mulvihill and P-30. He has built indoor and outdoor Scale models for many years.
For several years Clarence has been using a technique with laminated balsa strips spiral-wrapped over a foam form, resulting in a strong, light fuselage. The foam is removed as stringers are placed. His success has inspired me to try the technique on a P-38.
Texas Timers Line Continues Expansion:
Hank Nystrom released a three-function timer this spring. The third function allows a variable incidence tail and/or autorudder. His popular Texas Max series is now available with a built-in pinch-off for those who don’t like rigging a remote pinch-off.
The Texas Micro is perfect for that .020 or .049 where weight savings is important.
Check out Hank’s Web site at www.texastimers.com or e-mail him at [email protected]. If you don’t have a computer, send a self-addressed, stamped envelope to Texas Timers, 3317 Pine Timbers Dr., Johnson City TN 37604.
The Black Bullet logo is an example of the custom decal or vinyl work that Vinyl Graphics by Greg can produce. Write to 212 Freedom Ln., Arlington TX 76002, or check with Greg online at www.vinylgraphicsbygreg.com. He is used to doing custom work for modelers.
Transcribed from original scans by AI. Minor OCR errors may remain.

