
FREE FLIGHT SPORT
Gene Smith, 1401 N. Husband St., Stillwater OK 74075; E-mail: [email protected]
You have been spending entirely too much time outside. You need to spend some time indoors this winter. Locate a local group of indoor fliers and join in the fun. Building for indoor can improve your skills in picking wood, building light models, and learning to get the most out of your rubber motor.
The P-38 closes in on the Me 109’s tail... Most indoor competitions are simple duration events. It seems like one is always looking for a timer.
For the last 10 years, some of us in Oklahoma have enjoyed indoor World War II mass launches with No-Cal airplanes modeled after World War II combat aircraft. To avoid the superlight models and to try to involve beginners, we use a 6.2-gram minimum weight, 16-inch maximum span, and 7-inch-diameter maximum propeller.
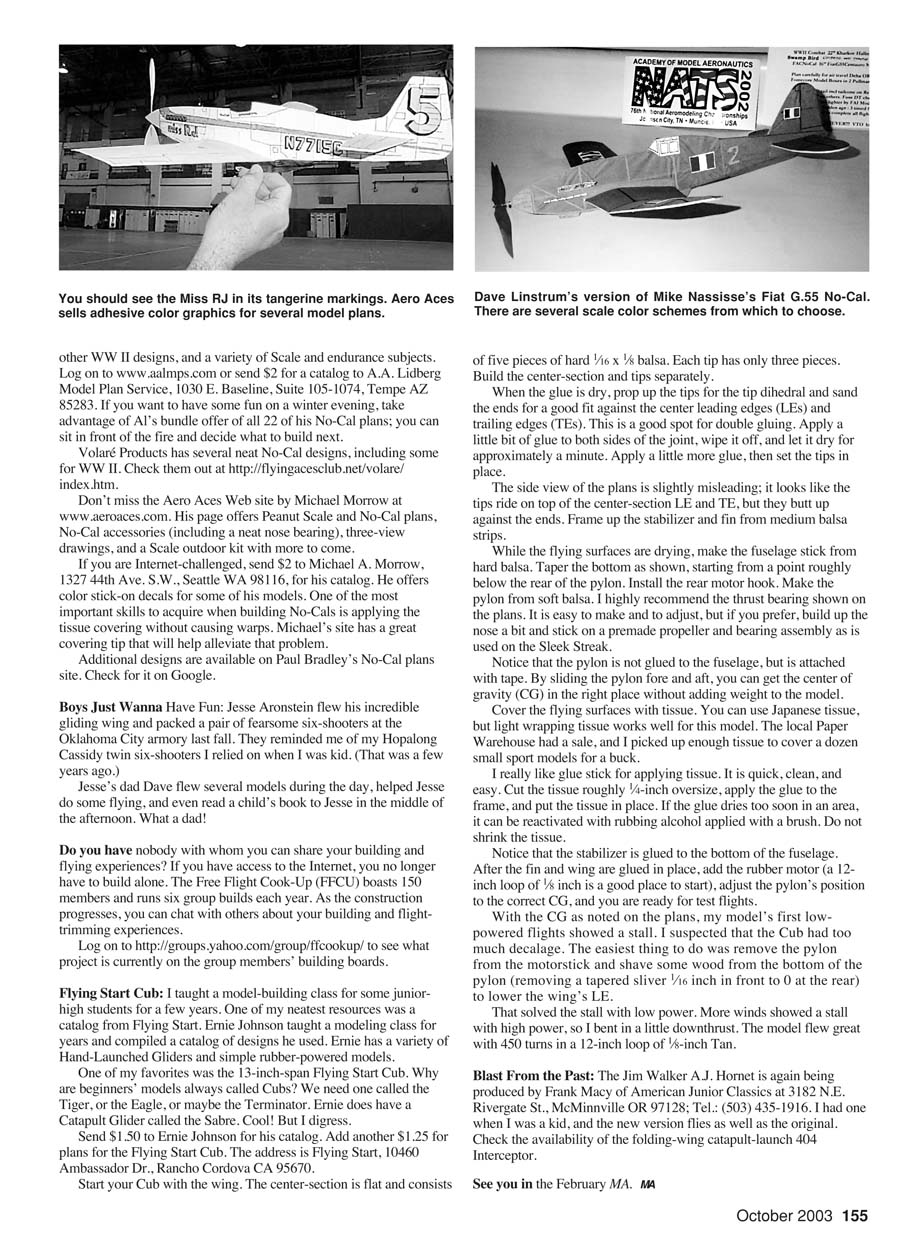
Dave Aronstein wowed people last fall with his P-38. The propellers counter-rotate, with the tips outward at the top. I asked Dave how he got it to turn inside the armory and not run into the walls. He said that he tried several methods to get it to turn, including winding one motor more than the other and rudder trim. The thing that finally worked was a drag plate on the left wing. Now it circles nicely.
At last year’s November session, Dave’s P-38 had a midair with Larry Kruse’s Barracuda. My Shturmovik was circling well above the carnage and I was quite confident that I had everybody’s number. Then my model stuck on a rafter at 38 feet, taking it out of the competition. A Piper Cub that was flying just for fun outlasted us all.
The subject of No-Cal models modeled after World War II aircraft reminds me of one of my favorite Free Flight Scale newsletters. The Cloudbusters of Michigan’s newsletter featured several neat WWII vintage fighter No-Cals in the late 1990s. Although back issues are unavailable, there are interesting scale free flight subjects in almost every edition.
Dues are $10 per year for six issues. Send to Eric Knight, 29811 Forton Dr., New Baltimore MI 48047.
“I want to build a P-40 No-Cal; where can I find plans?”
Al Lidberg sells a number of No-Cal plans that include the P-40, other WWII designs, and a variety of scale and endurance subjects. Log on to www.aalmps.com or send $2 for a catalog to A.A. Lidberg Model Plan Service, 1030 E. Baseline, Suite 105-1074, Tempe AZ 85283.
If you want to have some fun on a winter evening, take advantage of Al’s bundle offer of all 22 of his No-Cal plans; you can sit in front of the fire and decide what to build next.
Volaré Products has several neat No-Cal designs, including some for WWII. Check them out at http://flyingacesclub.net/volare/index.htm.
Don’t miss the Aero Aces web site by Michael Morrow at www.aeroaces.com. His page offers Peanut Scale and No-Cal plans, No-Cal accessories (including a neat nose bearing), three-view drawings, and a scale outdoor kit with more to come. If you are Internet-challenged, send $2 to Michael A. Morrow, 1327 44th Ave. S.W., Seattle WA 98116, for his catalog. He offers color stick-on decals for some of his models.
One of the most important skills to acquire when building No-Cals is applying the tissue covering without causing warps. Michael’s site has a great covering tip that will help alleviate that problem.
Additional designs are available on Paul Bradley’s No-Cal plans site. Check for it on Google.
Boys Just Wanna Have Fun:
Jesse Aronstein flew his incredible gliding wing and packed a pair of fearsome six-shooters at the Oklahoma City armory last fall. They reminded me of my Hopalong Cassidy twin six-shooters I relied on when I was a kid. (That was a few years ago.)
Jesse’s dad Dave flew several models during the day, helped Jesse do some flying, and even read a child's book to Jesse in the middle of the afternoon. What a dad!
Do you have nobody with whom you can share your building and flying experiences? If you have access to the Internet, you no longer have to build alone. The Free Flight Cook-Up (FFCU) boasts 150 members and runs six group builds each year. As the construction progresses, you can chat with others about your building and flight-trimming experiences.
Log on to http://groups.yahoo.com/group/ffcookup/ to see what project is currently on the group members' building boards.
Flying Start Cub:
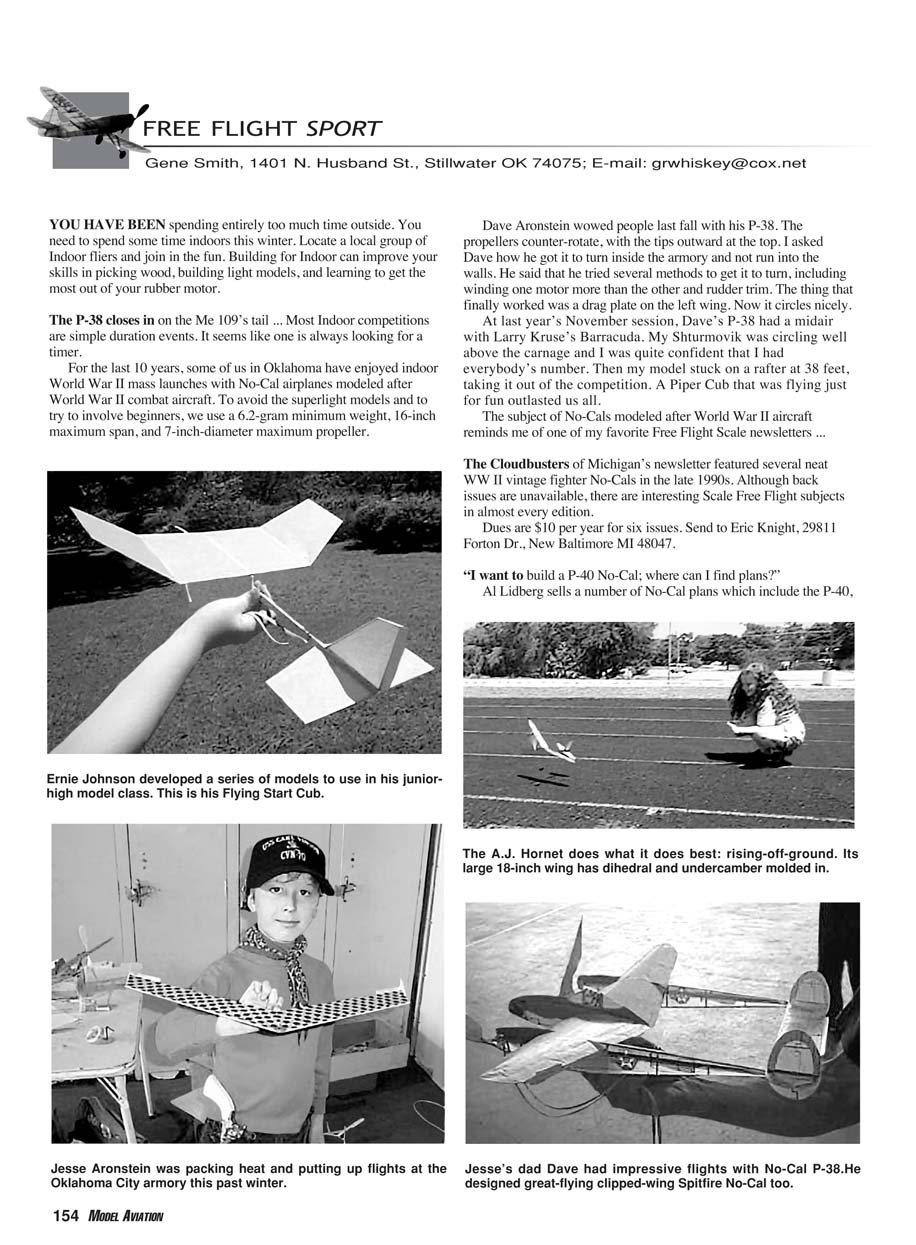
I taught a model-building class for some junior-high students for a few years. One of my neatest resources was a catalog from Flying Start. Ernie Johnson taught a modeling class for years and compiled a catalog of models he used. Ernie has a variety of hand-launched gliders and simple rubber-powered models.
One of my favorites was the 13-inch-span Flying Start Cub. Why are beginners' models always called Cubs? We need one called the Tiger, or the Eagle, or maybe the Terminator. Ernie does have a Catapult Glider called the Sabre. Cool! But I digress.
Send $1.50 to Ernie Johnson for his catalog. Add another $1.25 for plans for the Flying Start Cub. The address is Flying Start, 10460 Ambassador Dr., Rancho Cordova CA 95670.
Start your Cub with the wing. The center section is flat and consists of five pieces of hard 1/16 x 1/8 balsa. Each tip has only three pieces. Build the center section and tips separately.
When the glue is dry, prop up the tips for the tip dihedral and sand the ends for a good fit against the center leading edges (LEs) and trailing edges (TEs). This is a good spot for double gluing. Apply a little bit of glue to both sides of the joint, wipe it off, and let it dry for approximately a minute. Apply a little more glue, then set the tips in place.
The side view of the plans is slightly misleading; it looks like the tips ride on top of the center-section LE and TE, but they butt up against the ends. Frame up the stabilizer and fin from medium balsa strips.
While the flying surfaces are drying, make the fuselage stick from hard balsa. Taper the bottom as shown, starting from a point roughly below the rear of the pylon. Install the rear motor hook. Make the pylon from soft balsa. I highly recommend the thrust bearing shown on the plans. It is easy to make and to adjust, but if you prefer, build up the nose a bit and stick on a premade propeller and bearing assembly as is used on the Sleek Streak.
Notice that the pylon is not glued to the fuselage, but is attached with tape. By sliding the pylon fore and aft, you can get the center of gravity (CG) in the right place without adding weight to the model.
Cover the flying surfaces with tissue. You can use Japanese tissue, but light wrapping tissue works well for this model. The local Paper Warehouse had a sale, and I picked up enough tissue to cover a dozen small sport models for a buck.
I really like a glue stick for applying tissue. It is quick, clean, and easy. Cut the tissue roughly 1/4-inch oversize, apply the glue to the frame, and put the tissue in place. If the glue dries too soon in an area, it can be reactivated with rubbing alcohol applied with a brush. Do not shrink the tissue.
Notice that the stabilizer is glued to the bottom of the fuselage. After the fin and wing are glued in place, add the rubber motor (a 12-inch loop of 1/8 inch is a good place to start), adjust the pylon's position to the correct CG, and you are ready for test flights.
With the CG as noted on the plans, my model's first low-powered flights showed a stall. I suspected that the Cub had too much decalage. The easiest thing to do was remove the pylon from the motorstick and shave some wood from the bottom of the pylon (removing a tapered sliver 1/16-inch in front to 0 at the rear) to lower the wing's LE.
That solved the stall with low power. More winds showed a stall with high power, so I bent in a little downthrust. The model flew great with 450 turns in a 12-inch loop of 1/8-inch tan.
Blast From the Past:
The Jim Walker A.J. Hornet is again being produced by Frank Macy of American Junior Classics at 3182 N.E. Rivergate St., McMinnville OR 97128; Tel.: (503) 435-1916. I had one when I was a kid, and the new version flies as well as the original. Check the availability of the folding-wing catapult-launch 404 Interceptor.
See you in the February MA.
Transcribed from original scans by AI. Minor OCR errors may remain.

