
FREE FLIGHT SPORT
Gene Smith 1401 N. Husband St., Stillwater OK 74075 E-mail: [email protected]
Excuse me, sir, but I think your nose just fell off! Never underestimate the importance of a tight nose block. A loose nose block can cause trimming problems because the thrustline will change in flight as the tension of the rubber motor decreases.
Another problem with a nose block surfaced at my first Flying Aces Club (FAC) mass-launch event. My Fiat G.55 was cruising along at good altitude when the nose block fell out, bringing the model down prematurely. Both of those situations can be prevented with proper design and fit of the nose block.
The problem can be caused by the nose block plug being too short, not fitting snugly into the nose, or both. A typical kit or plans might show a couple layers of 1/16-inch sheet balsa laminated to make the plug. That isn't deep enough. Even if there is a good preliminary fit, the first time you add a thrust shim, the nose block will lose some of its bite. Make the plug at least 3/16 inch deep. I commonly use a 1/4-inch-deep nose plug. It is also important that the nose opening gives the nose plug enough bearing surface to "grip." I will often increase the thickness of the nose former to 1/8 inch or more to provide additional grip.
It can be difficult to properly fit a conventional plug of layered sheet balsa to the opening in the fuselage because you can't see the gaps well when you place the nose plug near the nose former. For models that span 18 inches or more, my preferred nose plug is typically made from 3/32 x 1/4-inch medium balsa sticks. I use 1/16 x 3/16 inch for smaller models. I make the plug before all the fuselage stringers are placed. This enables me to adjust the plug from behind the nose former as needed during assembly.
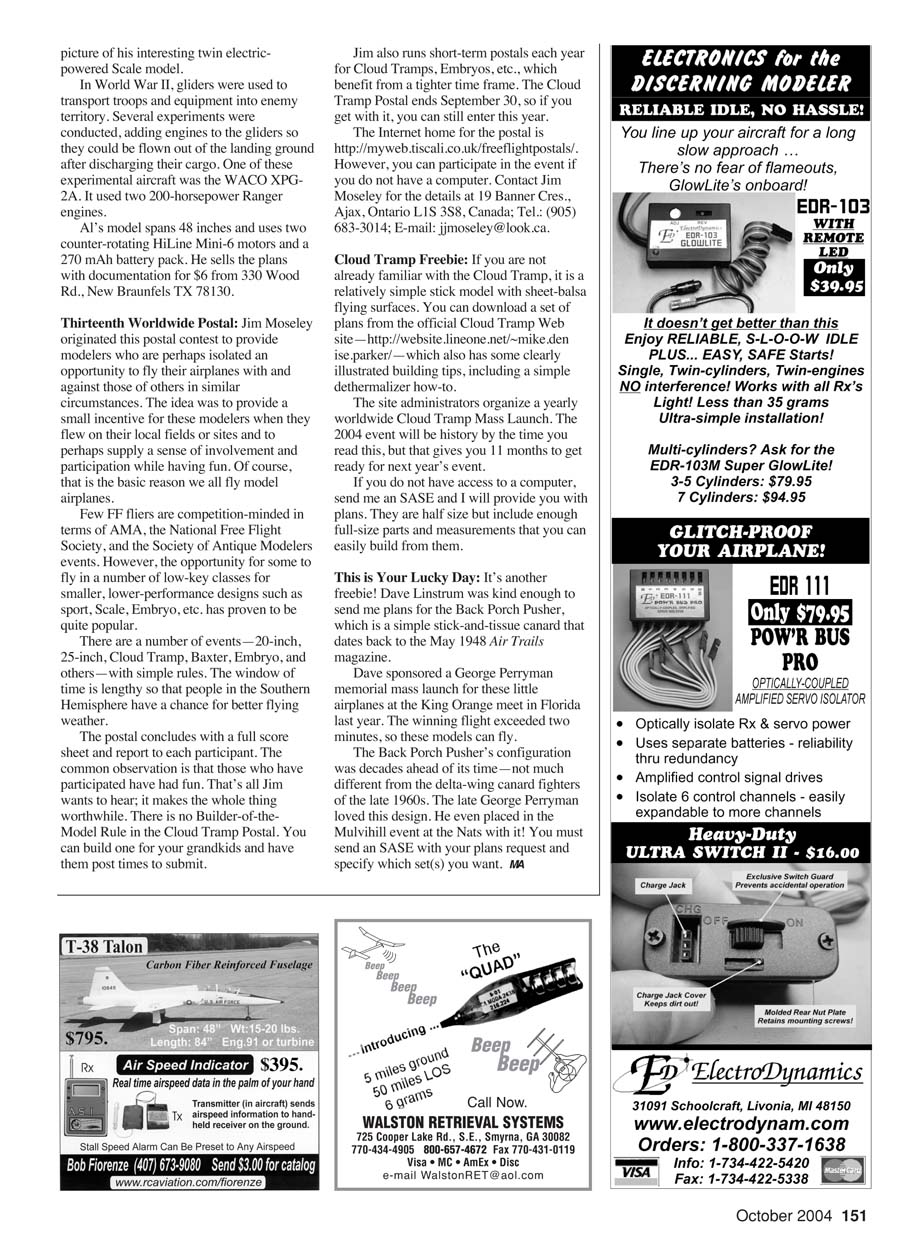
I start the plug by cutting two verticals, which fit snug—but not tight—in the nose opening. Then I cut and fit two horizontals—again, snug but not too tight. While still in the nose former, I position the plug so that the front of it is 1/16 inch in front of the nose former. This allows me to make sure that the plug parts are properly aligned and gives clearance for attachment of the nose block. I tack-glue the four parts of the plug together with a drop of medium cyanoacrylate glue at each inside corner. Do not use thin cyanoacrylate, or you will glue the nose plug to the front former. Then I glue the nose block to the front of the nose plug with medium cyanoacrylate. When the cyanoacrylate has secured the nose block to the nose plug, I pull the plug out of the nose former.
Building the nose plug in this manner facilitates a perfect fit and creates a box for ballast. Then I use angled shims to drill the proper thrust offset in the nose block for the propeller shaft bearing.
Even a great-fitting nose block can wear in time and loosen. Through the years I tried rubber cement, layers of model cement, and layers of cyanoacrylate to build up a block to fix a loose fit. None of these methods worked to my satisfaction.
My solution is to cyanoacrylate-glue a shim of hard 1/32-inch balsa to the side of the plug that needs tightening. That will be too thick. When the cyanoacrylate sets, use a razor blade to shave the balsa down to roughly 1/64 inch, and then sand the shim down as needed to get the proper fit. It makes the nose block fit like new.
There are many kits in my closet, but I build mostly from scratch. Why kits? The answer came in a note I read on the Internet recently. The author, "Hudsonduster," wrote, "Kits are pretty boxes full of potential." I think that explains it.
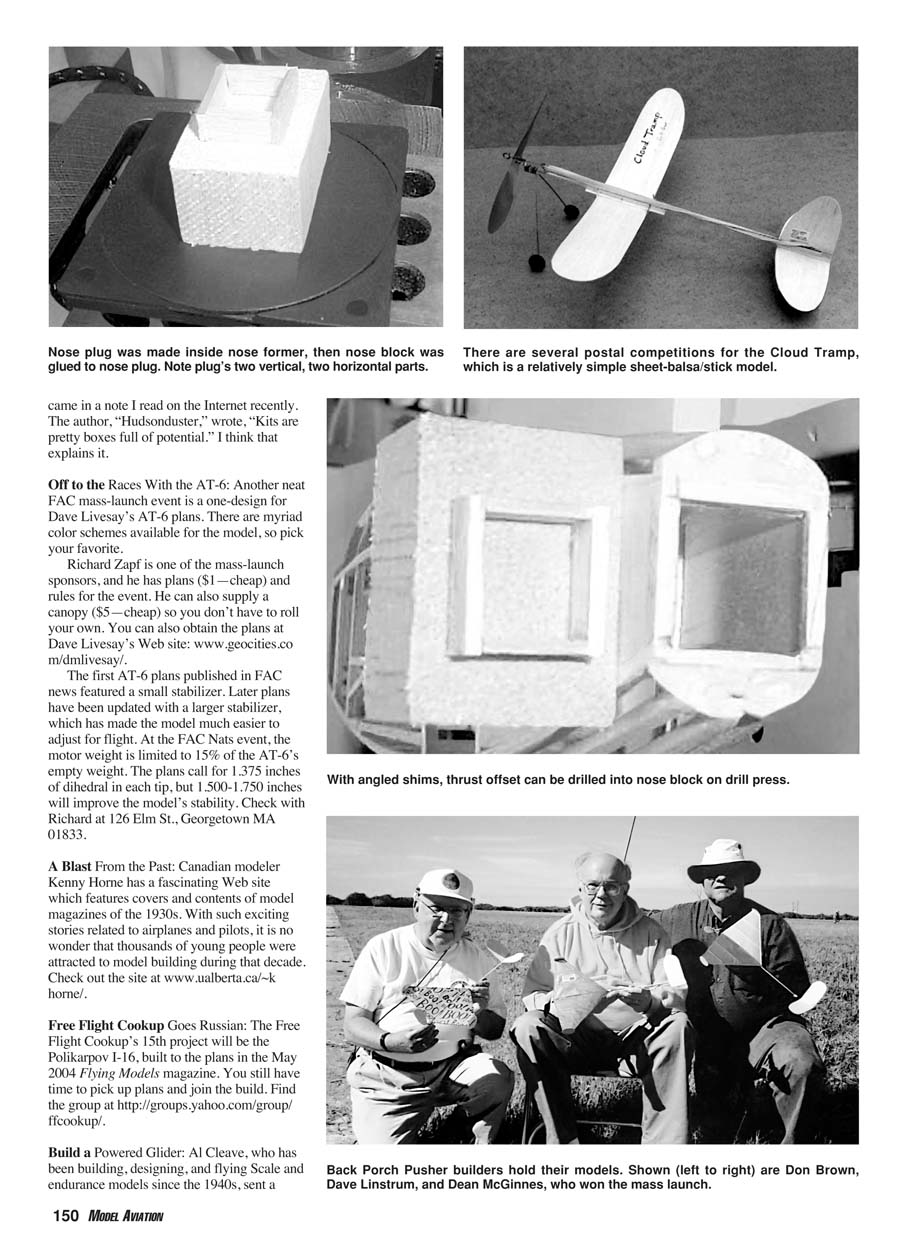
Off to the Races With the AT-6
Another neat FAC mass-launch event is a one-design for Dave Livesay's AT-6 plans. There are myriad color schemes available for the model, so pick your favorite.
Richard Zapf is one of the mass-launch sponsors, and he has plans ($1 — cheap) and rules for the event. He can also supply a canopy ($5 — cheap) so you don't have to roll your own. You can also obtain the plans at Dave Livesay's Web site: www.geocities.com/dmlivesay/.
The first AT-6 plans published in FAC news featured a small stabilizer. Later plans have been updated with a larger stabilizer, which has made the model much easier to adjust for flight. At the FAC Nats event, the motor weight is limited to 15% of the AT-6's empty weight. The plans call for 1.375 inches of dihedral in each tip, but 1.500–1.750 inches will improve the model's stability. Check with Richard at 126 Elm St., Georgetown MA 01833.
A Blast From the Past
Canadian modeler Kenny Horne has a fascinating Web site which features covers and contents of model magazines of the 1930s. With such exciting stories related to airplanes and pilots, it is no wonder that thousands of young people were attracted to model building during that decade. Check out the site at www.ualberta.ca/~khorne/.
Free Flight Cookup Goes Russian
The Free Flight Cookup's 15th project will be the Polikarpov I-16, built to the plans in the May 2004 Flying Models magazine. You still have time to pick up plans and join the build. Find the group at http://groups.yahoo.com/group/ffcookup/.
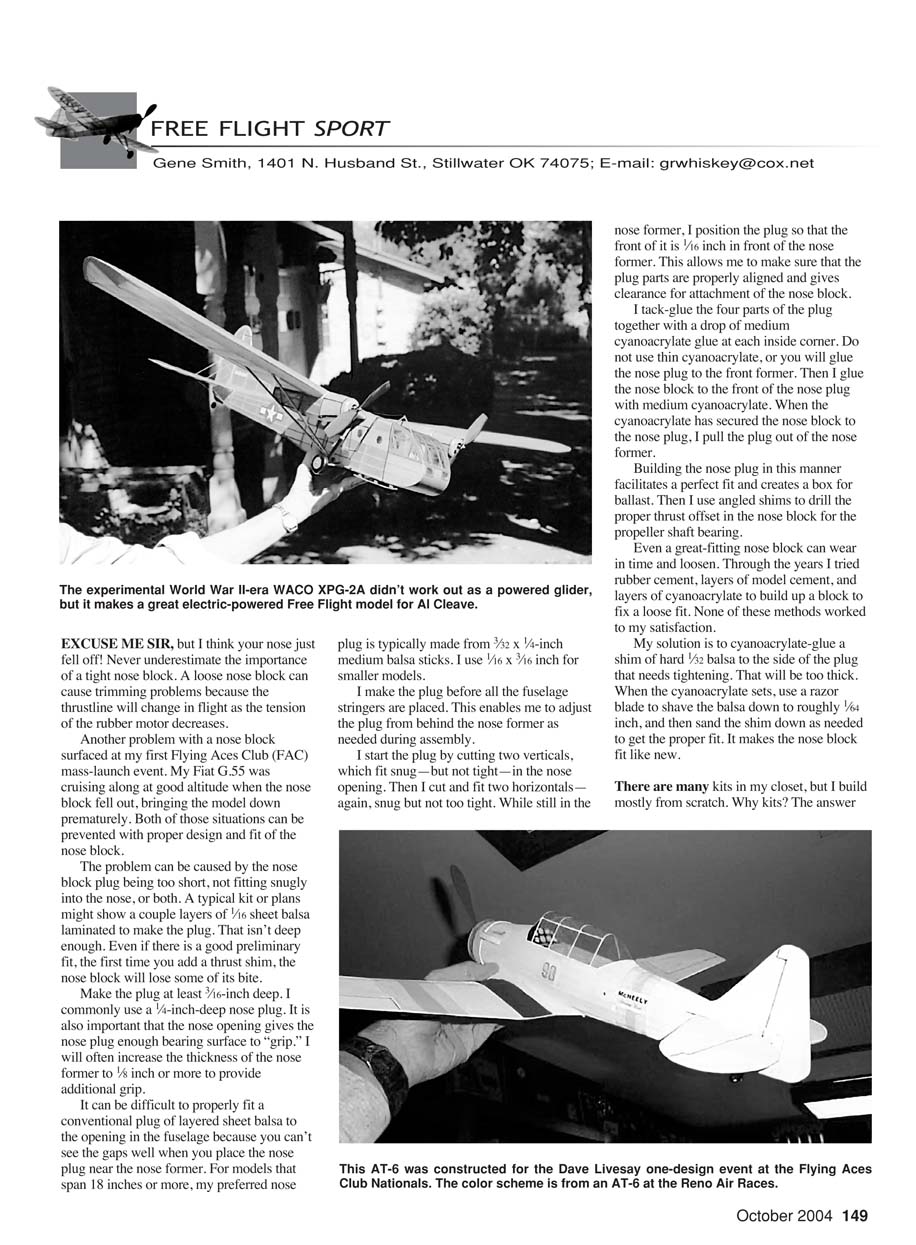
Build a Powered Glider
Al Cleave, who has been building, designing, and flying scale and endurance models since the 1940s, sent a picture of his interesting twin electric-powered scale model.
In World War II, gliders were used to transport troops and equipment into enemy territory. Several experiments were conducted, adding engines to the gliders so they could be flown out of the landing ground after discharging their cargo. One of these experimental aircraft was the WACO XPG-2A. It used two 200-horsepower Ranger engines.
Al's model spans 48 inches and uses two counter-rotating HiLine Mini-6 motors and a 270 mAh battery pack. He sells the plans with documentation for $6 from: 330 Wood Rd., New Braunfels TX 78130.
Thirteenth Worldwide Postal
Jim Moseley originated this postal contest to provide modelers who are perhaps isolated an opportunity to fly their airplanes with and against those of others in similar circumstances. The idea was to provide a small incentive for these modelers when they flew on their local fields or sites and to perhaps supply a sense of involvement and participation while having fun. Of course, that is the basic reason we all fly model airplanes.
Few free-flight fliers are competition-minded in terms of AMA, the National Free Flight Society, and the Society of Antique Modelers events. However, the opportunity for some to fly in a number of low-key classes for smaller, lower-performance designs such as sport, scale, Embryo, etc., has proven to be quite popular.
There are a number of events with simple rules:
- 20-inch
- 25-inch
- Cloud Tramp
- Baxter
- Embryo
- Others
The window of time is lengthy so that people in the Southern Hemisphere have a chance for better flying weather.
The postal concludes with a full score sheet and report to each participant. The common observation is that those who have participated have had fun. That's all Jim wants to hear; it makes the whole thing worthwhile. There is no Builder-of-the-Model Rule in the Cloud Tramp Postal. You can build one for your grandkids and have them post times to submit.
Jim also runs short-term postals each year for Cloud Tramps, Embryos, etc., which benefit from a tighter time frame. The Cloud Tramp Postal ends September 30, so if you get with it, you can still enter this year.
The Internet home for the postal is http://myweb.tiscali.co.uk/freeflightpostals/. However, you can participate in the event if you do not have a computer. Contact Jim Moseley for the details at: 19 Banner Cres., Ajax, Ontario L1S 3S8, Canada Tel.: (905) 683-3014 E-mail: [email protected]
Cloud Tramp Freebie
If you are not already familiar with the Cloud Tramp, it is a relatively simple stick model with sheet-balsa flying surfaces. You can download a set of plans from the official Cloud Tramp Web site: http://website.linone.net/~mike.dennis.parker/ — which also has some clearly illustrated building tips, including a simple dethermalizer how-to.
The site administrators organize a yearly worldwide Cloud Tramp Mass Launch. The 2004 event will be history by the time you read this, but that gives you 11 months to get ready for next year's event.
If you do not have access to a computer, send me an SASE and I will provide you with plans. They are half size but include enough full-size parts and measurements that you can easily build from them.
This Is Your Lucky Day
It's another freebie! Dave Linsturm was kind enough to send me plans for the Back Porch Pusher, which is a simple stick-and-tissue canard that dates back to the May 1948 Air Trails magazine.
Dave sponsored a George Perryman memorial mass launch for these little airplanes at the King Orange meet in Florida last year. The winning flight exceeded two minutes, so these models can fly.
The Back Porch Pusher's configuration was decades ahead of its time—not much different from the delta-wing canard fighters of the late 1960s. The late George Perryman loved this design. He even placed in the Mulvihill event at the Nats with it! You must send an SASE with your plans request and specify which set(s) you want.
MA
Transcribed from original scans by AI. Minor OCR errors may remain.

