
Tissue tips: how to control the shrink
Gene Smith [[email protected]]
Most sport and scale models are covered with Japanese tissue, which is known for its ability to shrink. The positive result is a nice, tight covering without wrinkles. The downside is warped flying surfaces.
The lighter the underlying structure, the greater the chance of warps. The amount of shrink can be titrated by the method you use to treat and finish the tissue.
Most tissues shrink after application. Dampen the material with a mist of water and apply it while it is damp using dope or a glue stick as the adhesive. Gently pull out any wrinkles as you go. This is the method to use for compound curves.
You get slightly less shrink if you apply the tissue dry using dope and then shrink it with water when the dope is dry. If you then apply multiple coats of nitrate dope, it will warp all but extremely strong structures. This technique can be used on most fuselages.
Shrinkage can be moderated by using a spray of rubbing alcohol to shrink the tissue instead of water. It can also be limited by adding a plasticizer (a few drops of castor oil) to the nitrate dope or by using nitrate labeled "nonshrink." Using butyrate dope requires a retarder to decrease the shrinkage; a commercial retarder such as Randolph's is recommended.
Shrinkage control methods
- Moderate shrink after application:
- Mount the tissue on a frame using a glue stick. Some use a frame cut from cardboard; I have two wooden frames, each of which will hold a half standard sheet of Japanese tissue.
- Shrink the tissue one or more times with water (I shrink it once).
- Depending on the model, sometimes spray a light coat of the base color on the tissue.
- Use this for Dime Scale fuselages and models using 1/16–3/32 stock in the tail surfaces and wings.
- Finish should be light and sprayed.
- Low shrink after application:
- After removing the tissue from the frame, iron it before application.
- Use it for Indoor Peanuts and No-Cals.
- Expect some wrinkles. Use little or no finish.
- No shrink after application:
- Shrink the tissue over a towel with no frame, then iron it flat.
- Use this for light No-Cals or lightweight indoor sport models.
- Expect wrinkles.
As you gain experience, you will develop your own preferences for treating the tissue.
Japanese tissue
Japanese tissue is relatively expensive (approximately $1.50 per sheet). Some of the lightest grades cost more. The material is characterized by a dull side and a shiny side; you can see a "grain" when you hold it up to the light. It is popular because of its light weight and relative strength (for tissue), both wet and dry.
Japanese tissue comes in a number of basic colors, but they tend to fade, so many modelers enhance the color with light paint or chalk. This is the tissue of choice for a fine scale or indoor model.
Japanese tissue is relatively airtight because of the smooth finish on one side, so you can use it to cover a No-Cal or Bostonian indoor model without having to apply dope to seal the material. The smooth side should go to the outside of the framework.
Domestic tissue
If you are building sport models, domestic tissue can serve your purpose. It is much less expensive than Japanese tissue and comes in a wide variety of quality and colors. The finish is usually dull on both sides and shows no grain.
- Some varieties of domestic tissue have a little wet strength; others have none.
- Some have colors that can be wet without running; others run.
- Some are slightly heavier than Japanese tissue; some much heavier.
Unlike Japanese tissue, most domestic tissue needs a coat or two of dope or a light spray of Krylon Crystal Clear to seal its pores. Easy Built Models sells one of the better domestic tissues; it comes in a wide variety of colors including common camouflage browns and greens, and is colorfast.
Some Hallmark stores carry domestic tissue in a wide variety of colors; others are limited. Another place to look is party/balloon stores. I found tissue at a Party America store that was colorfast to water, lightweight, and had a bit of sheen on one side. I used it to cover my Senator and it did a nice job. It is marketed by Cindus and made in Thailand. Do a bit of exploring and you should be able to find good domestic tissue in your area.
Model and builder notes
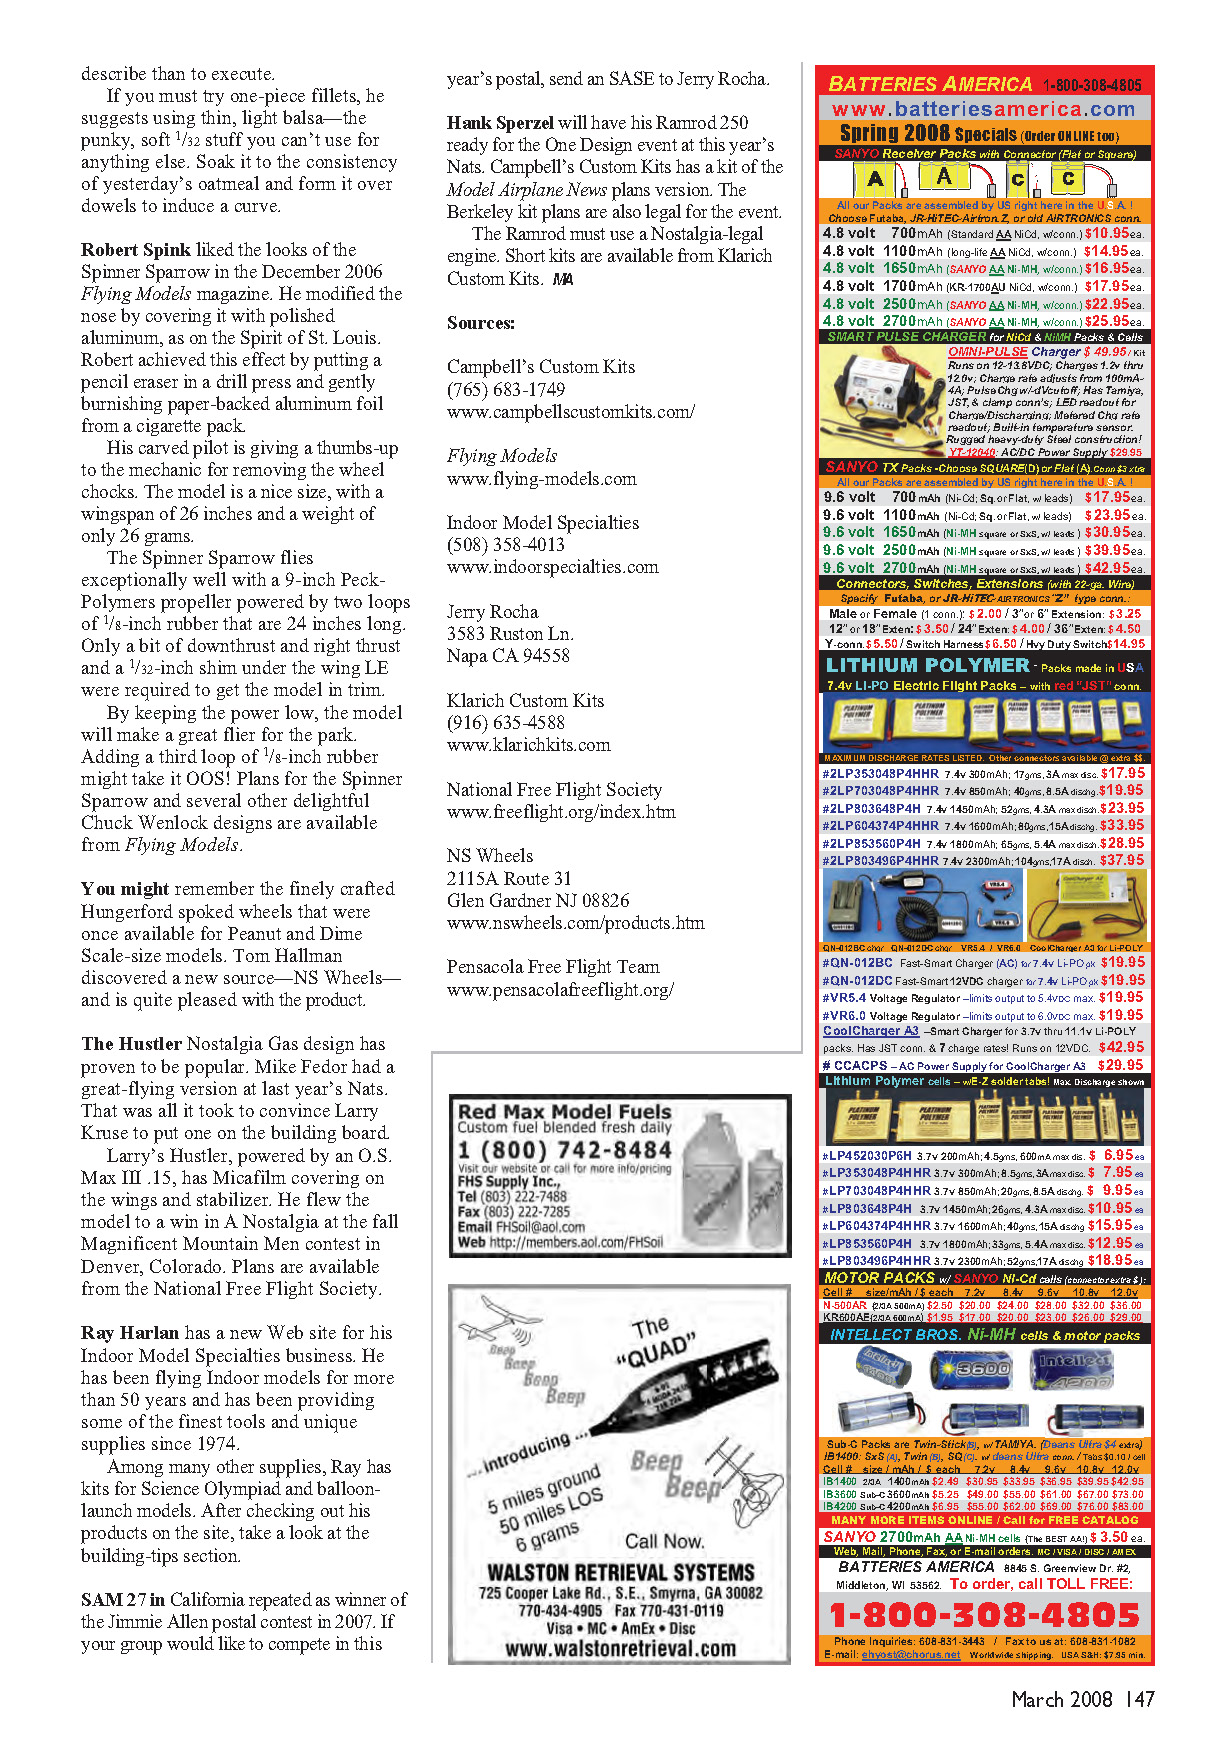
Dan Berry built his Earl Stahl–designed Weight Rule from a BMJR Model Products kit. The propeller is from the plans; it's a 15-inch carved-balsa freewheeler. The motor is 12 strands of 1/8-inch rubber, 27 inches long. Dan aims for 1,130 turns — the same motor he used in his Gollywock. Dan thinks the model could use a bit more rubber.
Despite being four years old and spending quite a bit of time in the sun, the BMJR-supplied red tissue has kept its bright color. Dan placed third with the model in Old Time Rubber Cabin at last year's Nats.
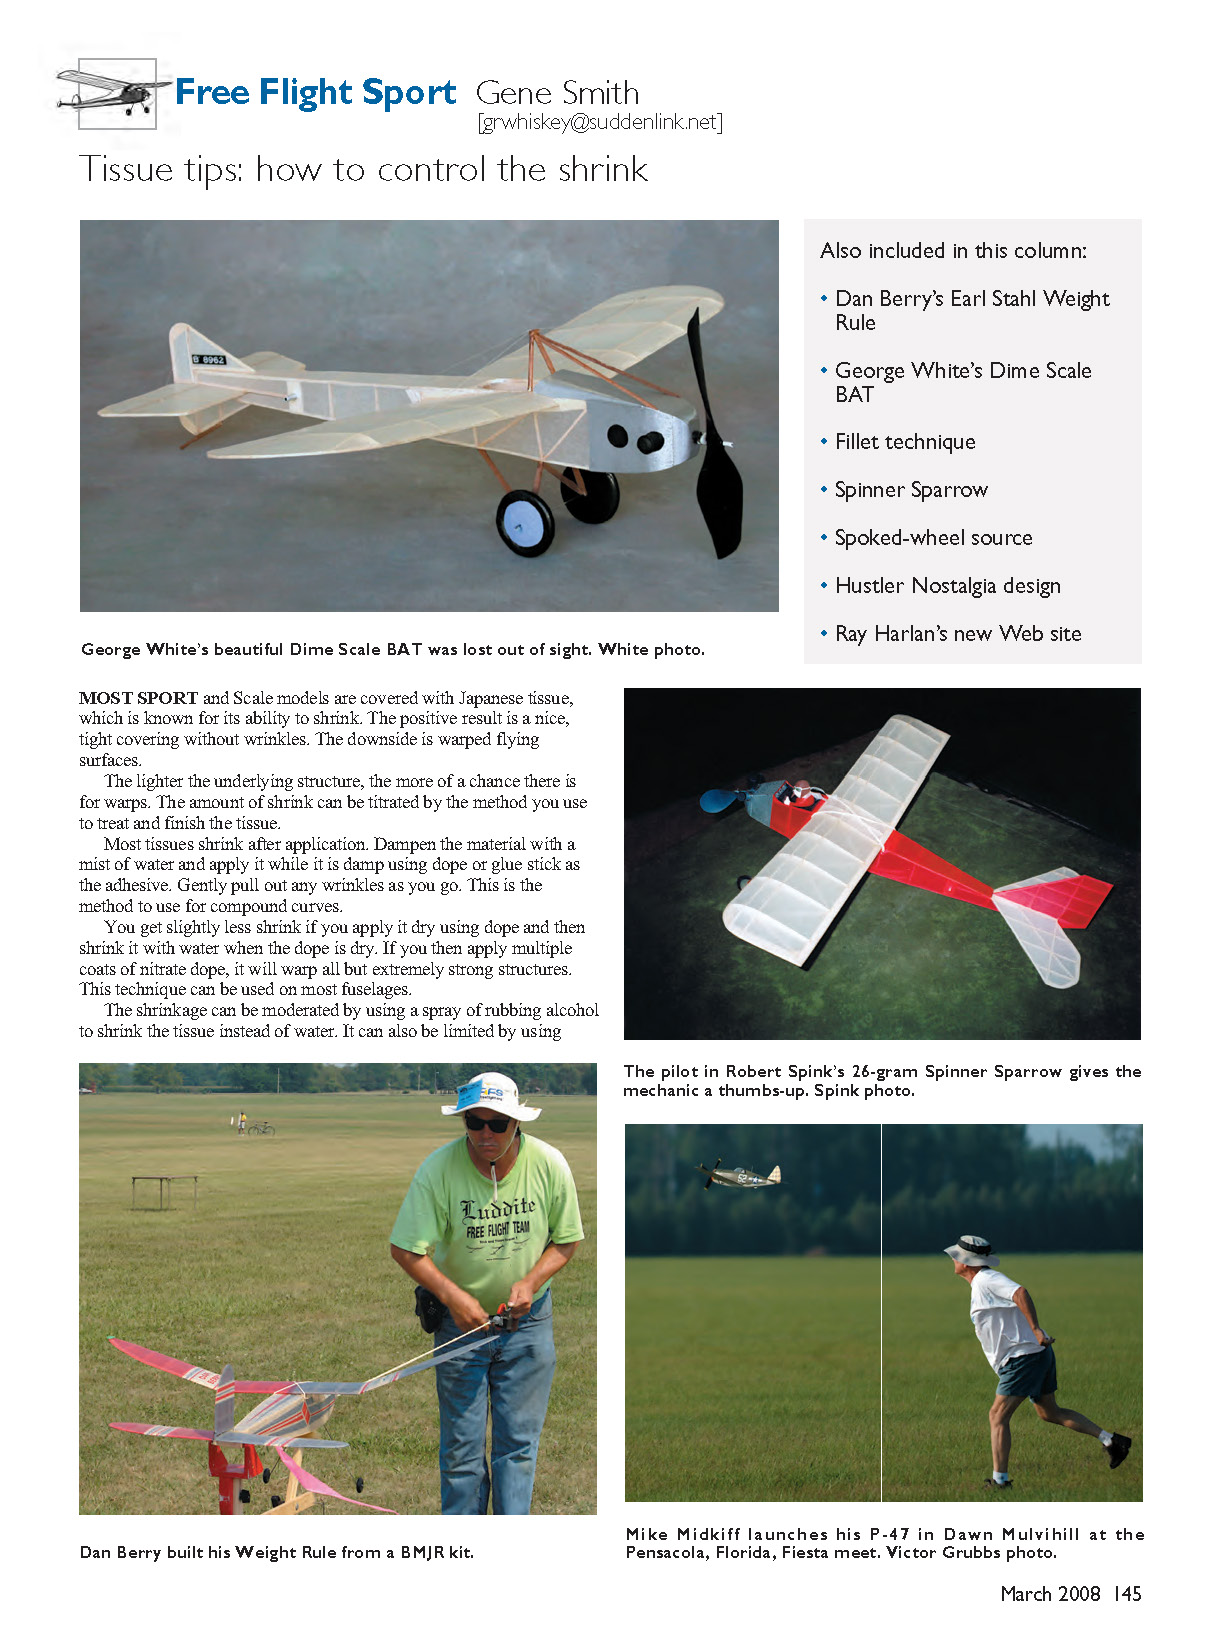
George White sent photos of his BAT Dime Scale model. It trimmed out easily, needing only a bit of down-elevator; that got it flying roughly 60 seconds in dead air. No added balance weight was needed when using a 28-inch loop of 3/16-inch rubber. The model weighed just 14 grams empty.
The aluminum treatment on the nose is Platinum floral spray; the rest is white Esaki tissue. George used Tonkin bamboo from his carefully hoarded stash for the wingtips, as the original plans specified. To bend the bamboo, George ran it over a 20-amp soldering iron until he got the right curve. There is an article about bending bamboo on the Pensacola Free Flight Team website. After a max-test flight, George gave it another go and it flew out of sight (OOS)!
Michael Heinrich shared his technique for making wing fillets using vellum. Vellum is stiff and reasonably light; if you laminate tissue of the same color over the vellum before shaping, it will have the same texture as the rest of the model.
- Add small formers to carry the curve of the fillet at several stations along the joint.
- Cut and fit pieces to span just one bay at a time, butting each piece to the next.
- With care, the joint will be almost invisible. It is important to get the fit perfect and stress-free before attaching the vellum. Do not count on the glue to hold a stressed piece.
If you must try one-piece fillets, Michael suggests using thin, light balsa — the punky, soft 1/32" stuff. Soak it to the consistency of yesterday's oatmeal and form it over dowels to induce a curve.
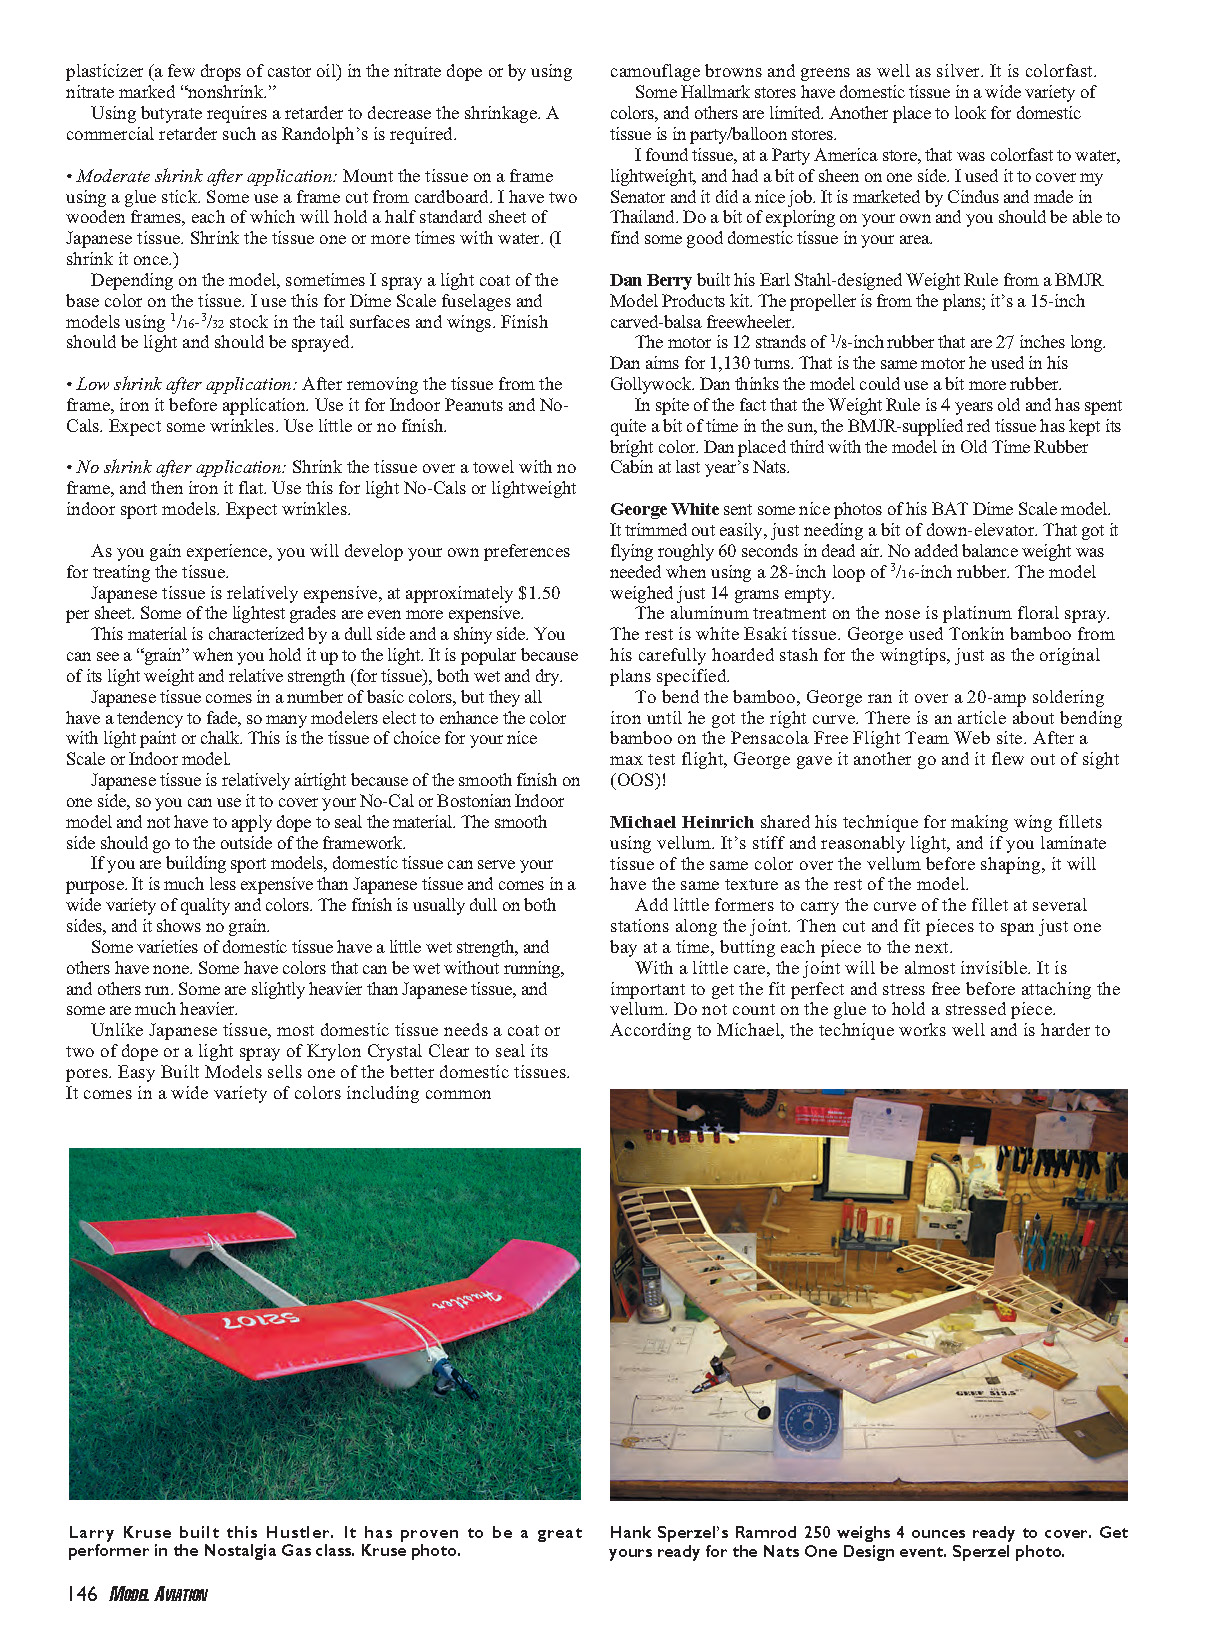
Robert Spink liked the looks of the Spinner Sparrow in the December 2006 Flying Models magazine and modified the nose by covering it with polished aluminum, as on the Spirit of St. Louis. Robert achieved this effect by putting a pencil eraser in a drill press and gently burnishing paper-backed aluminum foil from a cigarette pack.
His carved pilot is giving a thumbs-up to the mechanic for removing the wheel chocks. The model is a nice size, with a wingspan of 26 inches and a weight of only 26 grams.
The Spinner Sparrow flies exceptionally well with a 9-inch Peck-Polymers propeller powered by two loops of 1/8-inch rubber that are 24 inches long. Only a bit of downthrust and right thrust and a 1/32-inch shim under the wing leading edge were required to get the model in trim. By keeping the power low, the model will make a great park flier. Adding a third loop of 1/8-inch rubber might take it OOS! Plans for the Spinner Sparrow and several other Chuck Wenlock designs are available from Flying Models.
You might remember the finely crafted Hungerford spoked wheels that were once available for Peanut and Dime Scale-size models. Tom Hallman discovered a new source — NS Wheels — and is quite pleased with the product.
The Hustler Nostalgia Gas design has proven popular. Mike Fedor had a great-flying version at last year's Nats, which convinced Larry Kruse to build one. Larry's Hustler, powered by an O.S. Max 11.15, has Micafilm covering on the wings and stabilizer. He flew the model to a win in A Nostalgia at the fall Magnificent Mountain Men contest in Denver, Colorado. Plans are available from the National Free Flight Society. Short kits are available from Klarich Custom Kits.
Ray Harlan has a new website for his Indoor Model Specialties business. He has been flying indoor models for more than 50 years and providing fine tools and unique supplies since 1974. Among many other items, Ray has kits for Science Olympiad and balloon-launch models. After checking out his products, take a look at the building-tips section.
SAM 27 in California repeated as winner of the Jimmie Allen postal contest in 2007. If your group would like to compete in this year's postal, send an SASE to Jerry Rocha.
Hank Sperzel will have his Ramrod 250 ready for the One Design event at this year's Nats. Campbell's Custom Kits has a kit of the Model Airplane News plans version. The Berkeley kit plans are also legal for the event. The Ramrod must use a Nostalgia-legal engine.
Sources
- Campbell's Custom Kits
(765) 683-1749 www.campbellscustomkits.com/
- Flying Models
- Indoor Model Specialties
(508) 358-4013 www.indoorspecialties.com
- Jerry Rocha
3583 Ruston Ln. Napa, CA 94558
- Klarich Custom Kits
(916) 635-4588 www.klarichkits.com
- National Free Flight Society
- NS Wheels
2115A Route 31 Glen Gardner, NJ 08826 www.nswheels.com/products.htm
- Pensacola Free Flight Team
Transcribed from original scans by AI. Minor OCR errors may remain.

