
Bill Schmidt's Comet Apache
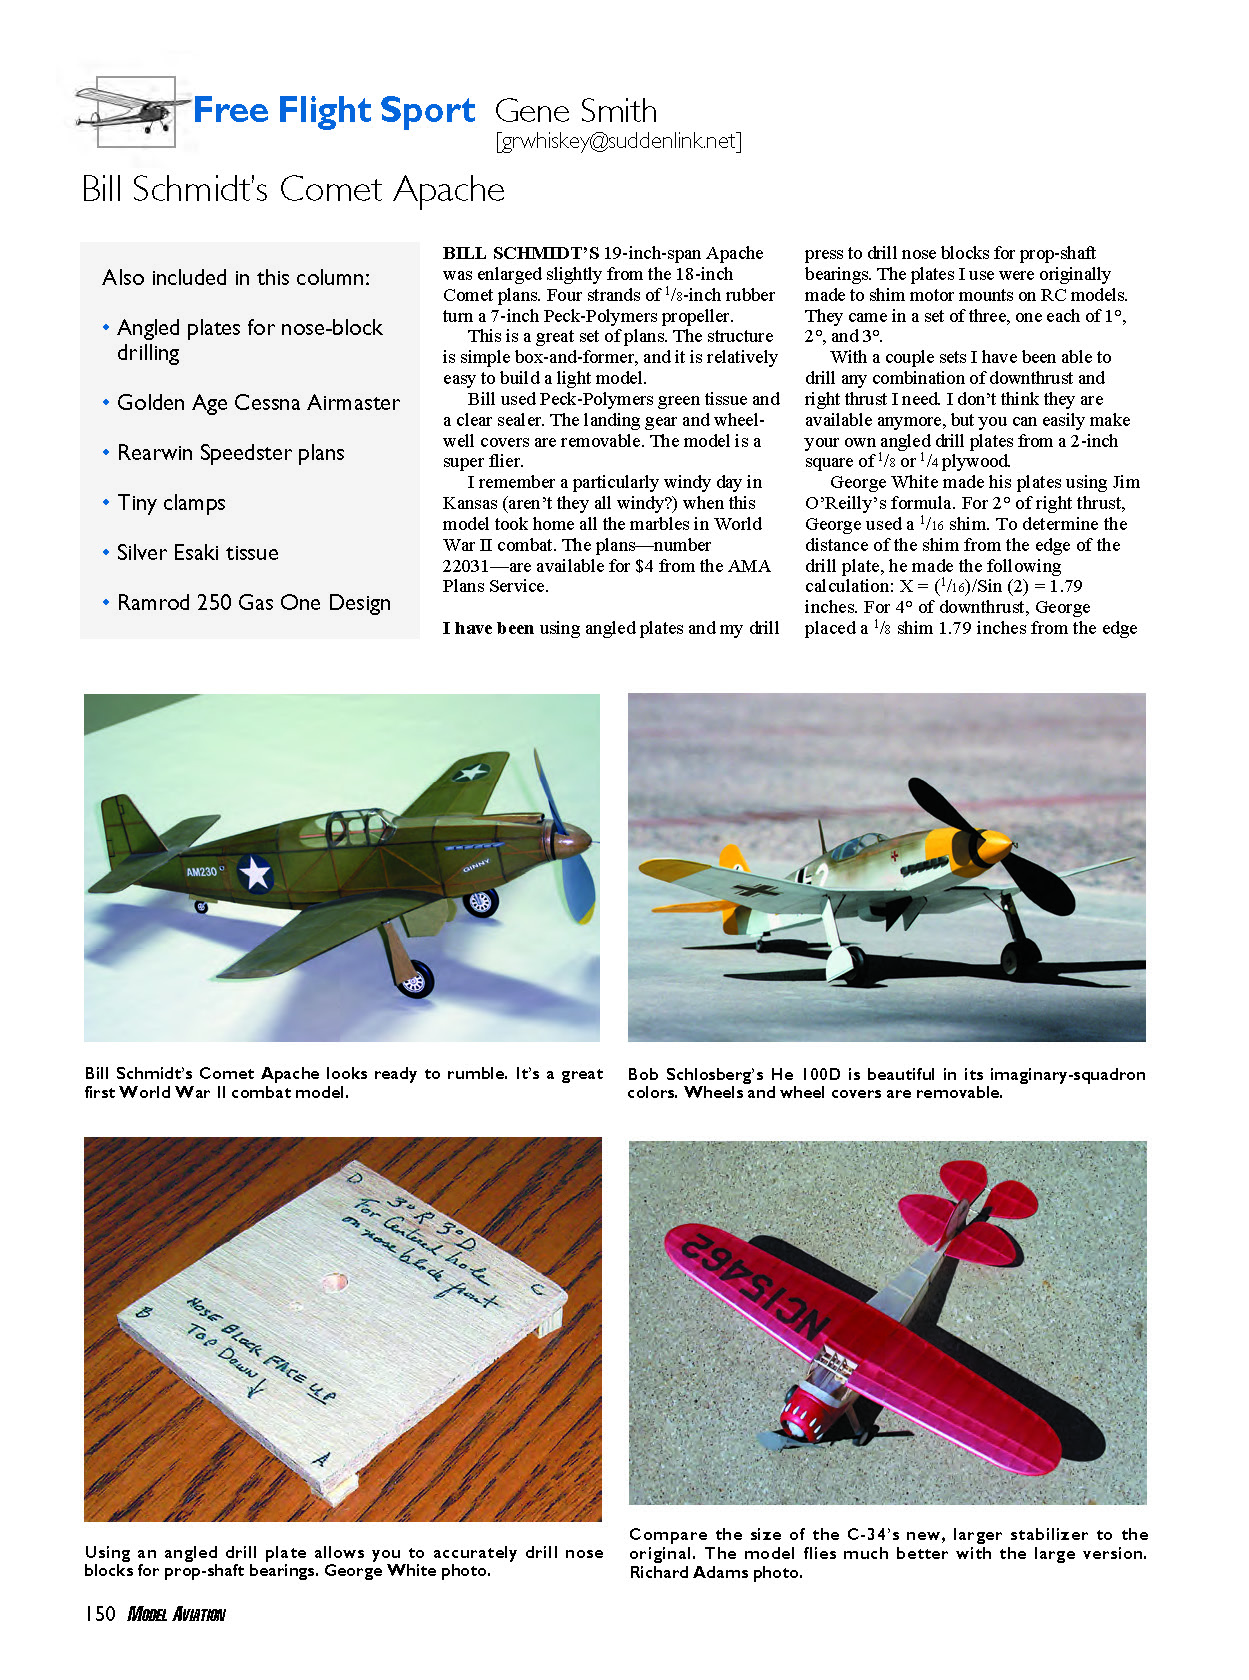
Bill Schmidt's 19-inch-span Apache was enlarged slightly from the 18-inch Comet plans. Four strands of 1/8-inch rubber turn a 7-inch Peck-Polymers propeller.
This is a great set of plans. The structure is simple box-and-former, and it is relatively easy to build a light model. Bill used Peck-Polymers green tissue and a clear sealer. The landing gear and wheelwell covers are removable. The model is a super flier.
I remember a particularly windy day in Kansas (aren't they all windy?) when this model took home all the marbles in World War II combat. The plans—number 22031—are available for $4 from the AMA Plans Service.
Drilling nose-block bearings
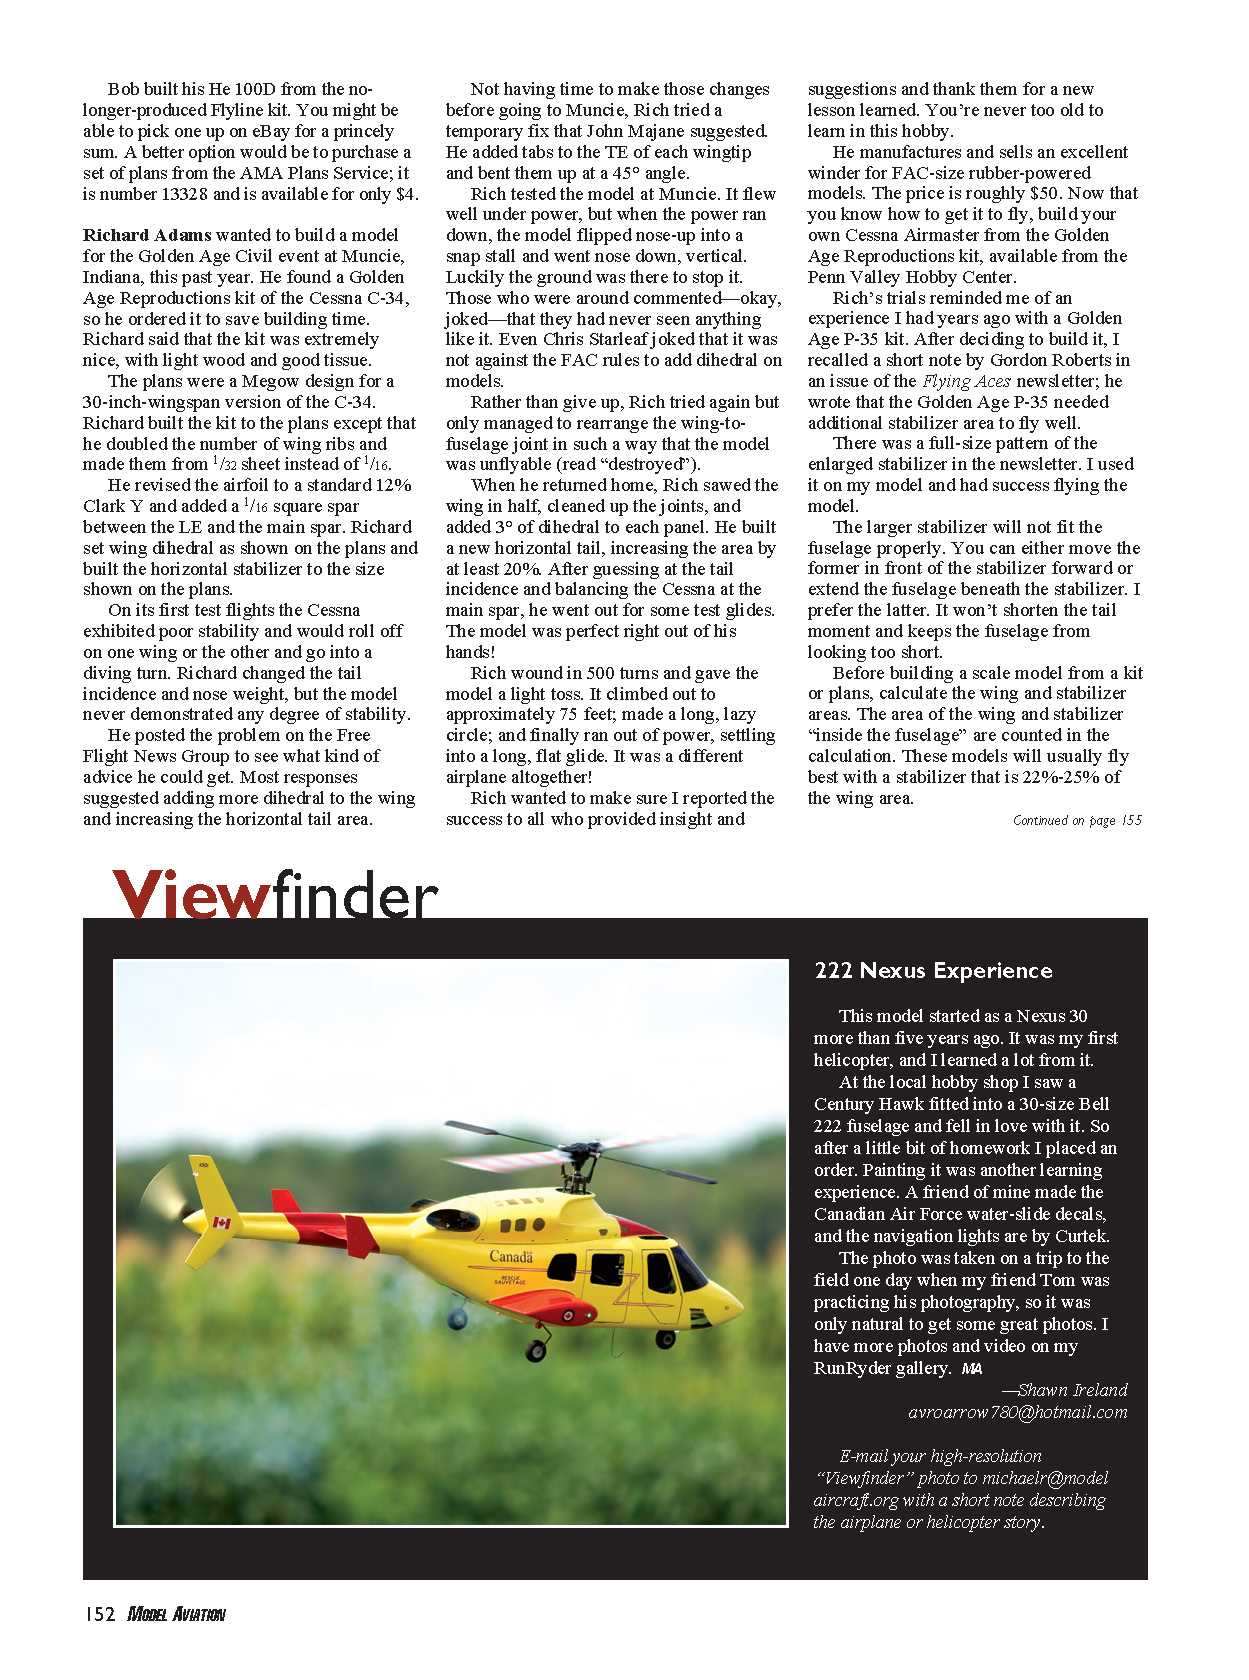
- I have been using angled plates and my drill press to drill nose blocks for prop-shaft bearings. The plates I use were originally made to shim motor mounts on RC models. They came in a set of three, one each of 1°, 2°, and 3°. With a couple sets I have been able to drill any combination of downthrust and right thrust I need.
- You can easily make your own angled drill plates from a 2-inch square of 1/8- or 1/4-inch plywood.
- George White made his plates using Jim O'Reilly's formula. For 2° of right thrust, George used a 1/16 shim. To determine the distance of the shim from the edge of the drill plate, he made the following calculation: X = (1/16)/Sin(2°) = 1.79 inches.
- For 4° of downthrust, George placed a 1/8 shim 1.79 inches from the edge of the drill plate. Use a 3/32 shim for 3°.
- He placed the angled plate on the bed of the Micro-Mark drill press and the laminated nose block on the angled plate, ready for drilling. You can make several angled plates to stack together for downthrust and right thrust or you can combine the down and right in one plate.
Heinkel He 100D
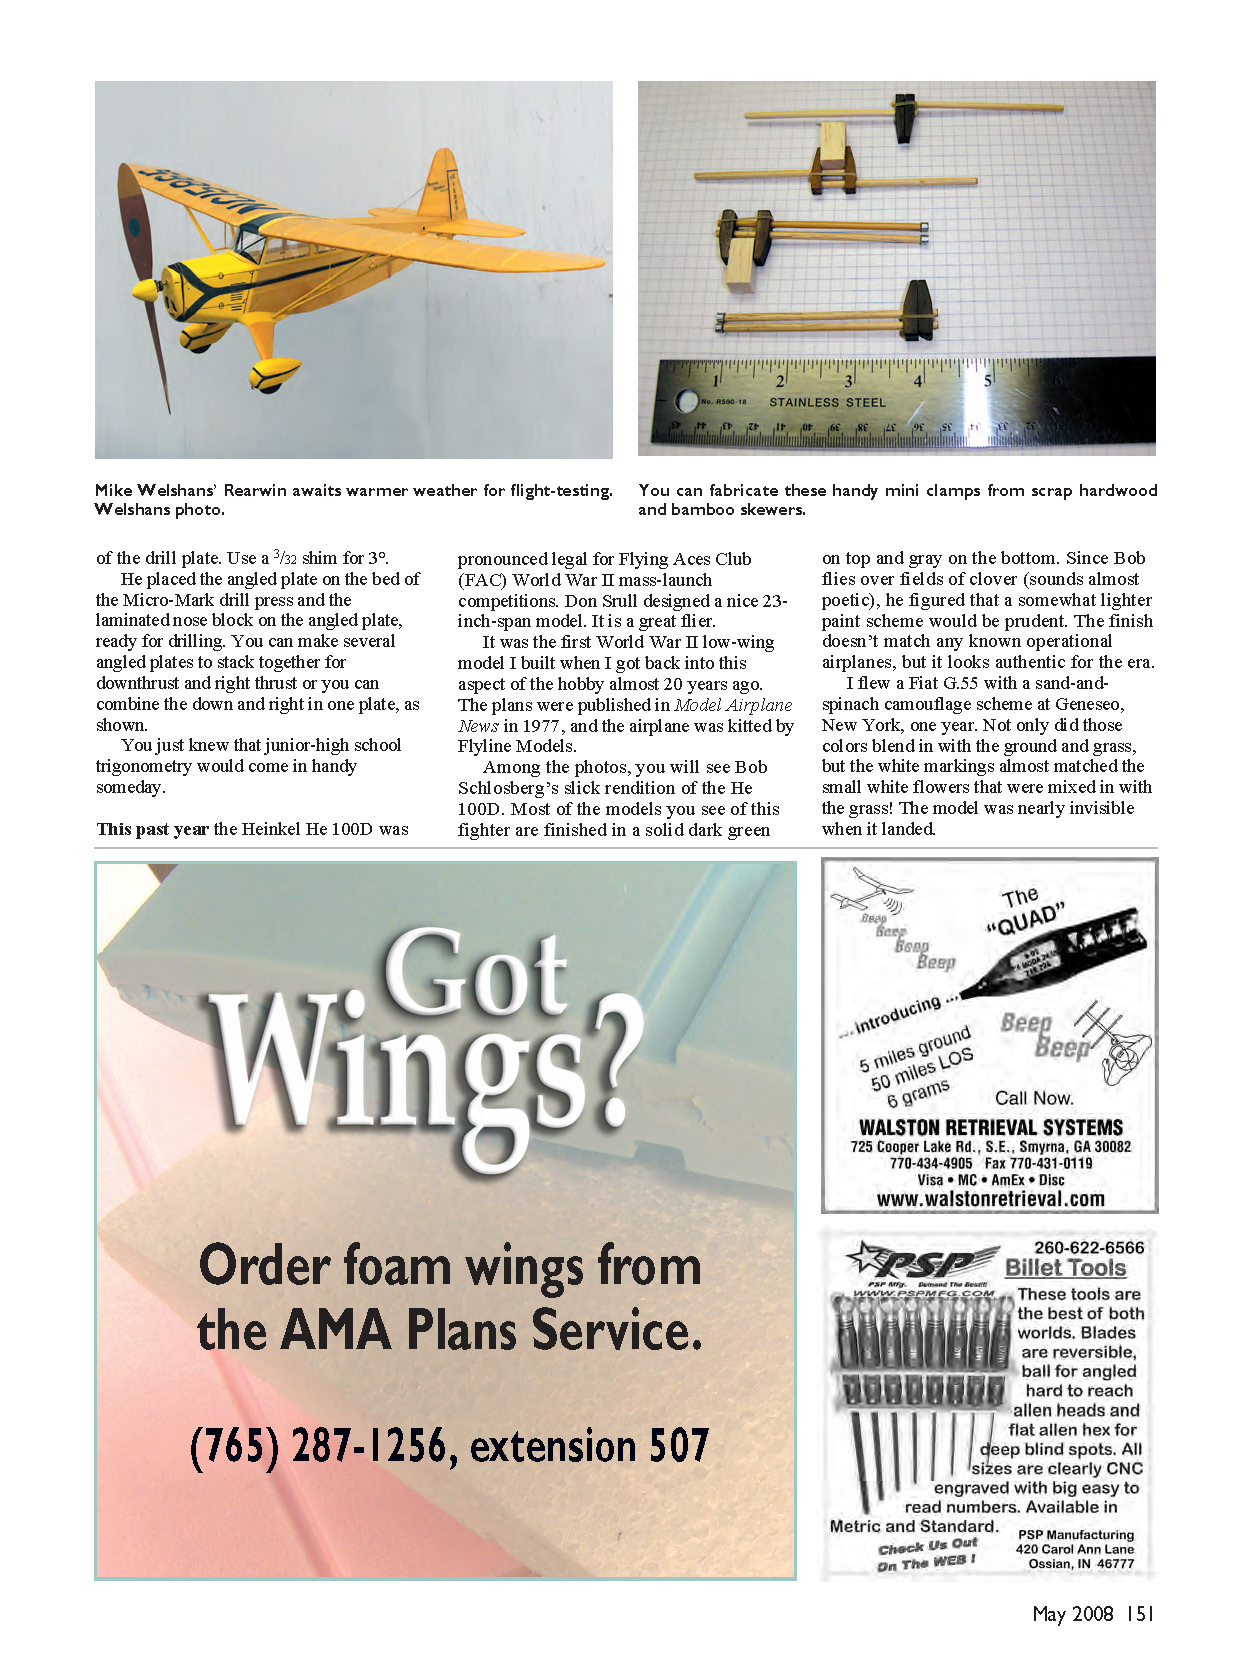
- This past year the Heinkel He 100D was pronounced legal for Flying Aces Club (FAC) World War II mass-launch competitions. Don Srull designed a nice 23-inch-span model. It is a great flier and was the first World War II low-wing model I built when I got back into this aspect of the hobby almost 20 years ago.
- The plans were published in Model Airplane News in 1977, and the airplane was kitted by Flyline Models. Among the photos you will see Bob Schlosberg's slick rendition of the He 100D. Most models are finished dark green on top and gray on the bottom; Bob chose a somewhat lighter scheme to blend over fields of clover. The finish doesn't match any known operational airplane, but it looks authentic for the era.
- The Flyline kit is no longer produced; you might find one on eBay for a princely sum. A better option is to purchase a set of plans from the AMA Plans Service: number 13328, available for $4.
Cessna C-34 (Golden Age Civil) — Richard Adams' experience
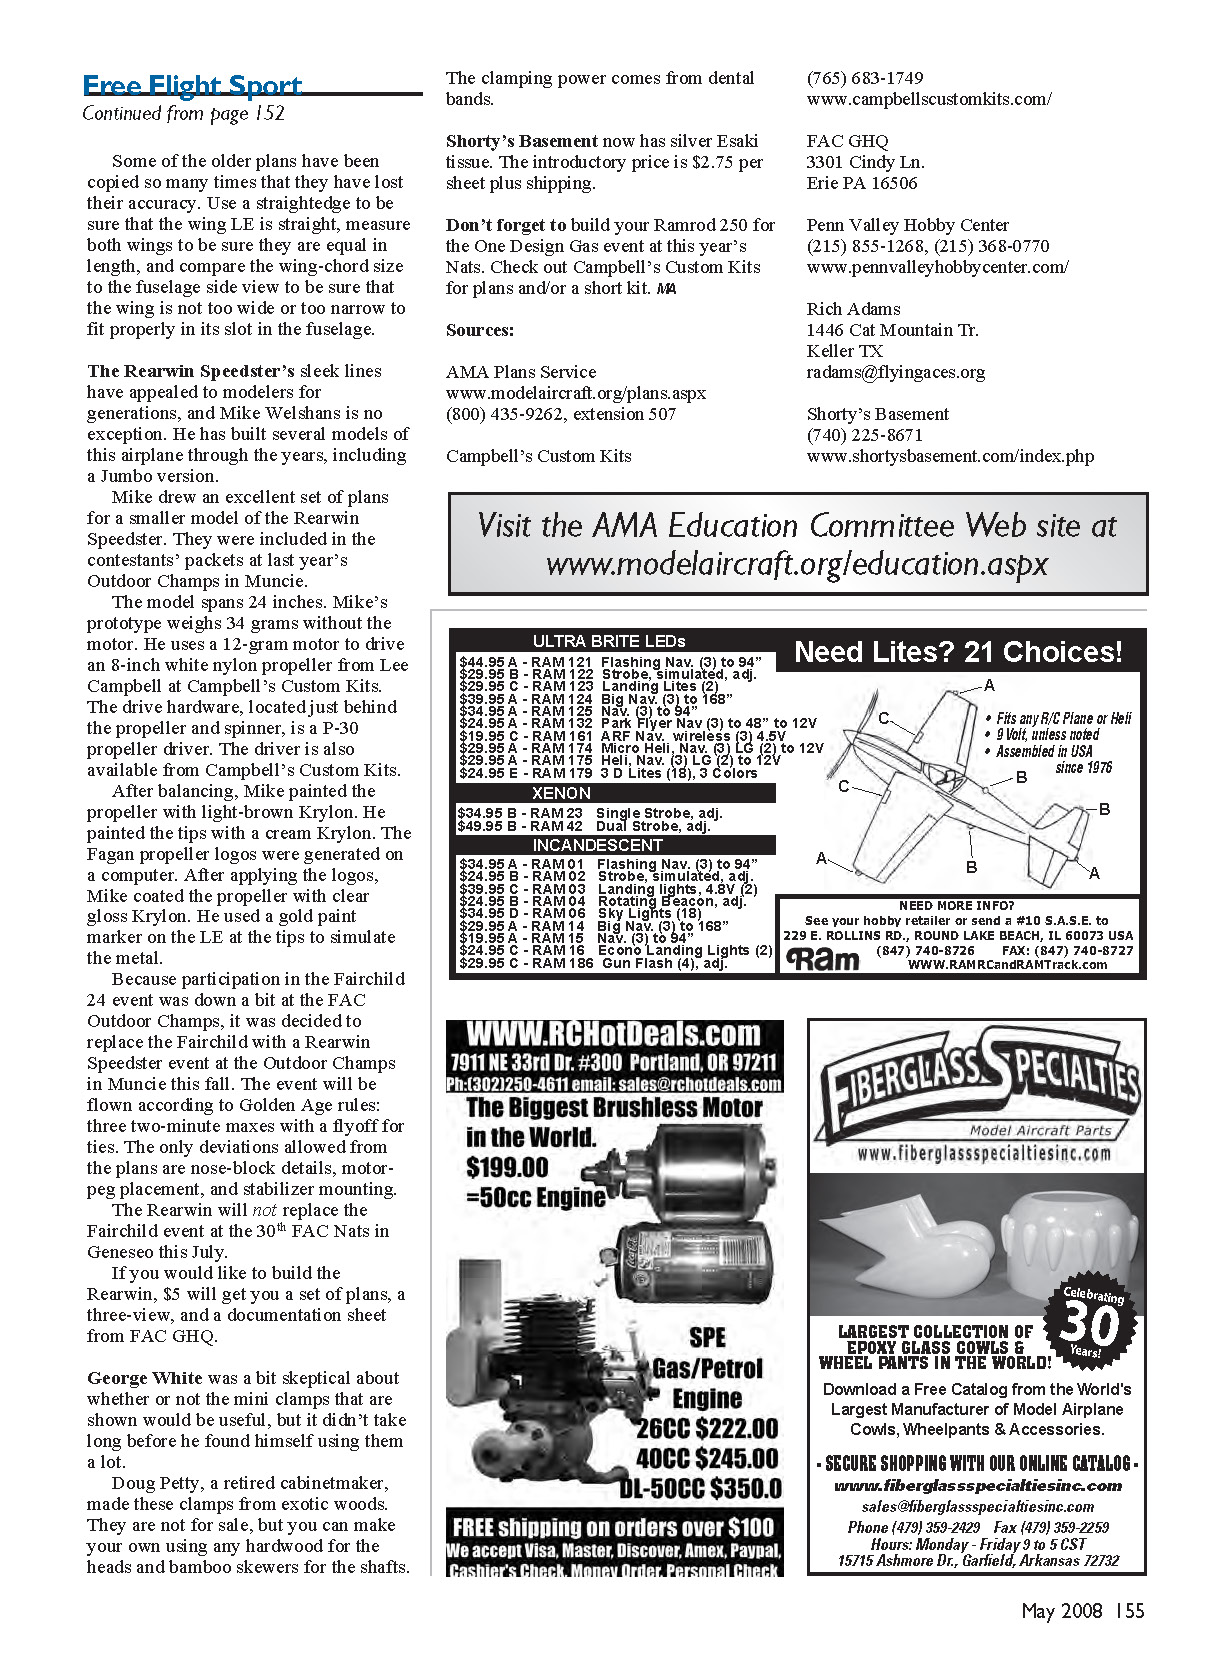
- Richard Adams wanted to build a model for the Golden Age Civil event at Muncie, Indiana. He found a Golden Age Reproductions kit of the Cessna C-34 and ordered it to save building time. Richard said the kit was extremely nice, with light wood and good tissue.
- The plans were a Megow design for a 30-inch-wingspan version. Richard built the kit to the plans except that he doubled the number of wing ribs and made them from 1/32 sheet instead of 1/16. He revised the airfoil to a standard 12% Clark Y and added a 1/16 square spar between the LE and the main spar. He set wing dihedral as shown on the plans and built the horizontal stabilizer to the plans' size.
- On first test flights the Cessna exhibited poor stability, rolling off on one wing or the other and going into a diving turn. Richard changed tail incidence and nose weight with no improvement. He posted the problem on the Free Flight News Group and most responses suggested adding more wing dihedral and increasing horizontal tail area.
- Short-term fix: John Majane suggested adding tabs to the TE of each wingtip and bending them up at a 45° angle. At Muncie, the model flew well under power but, when the power ran down, flipped nose-up into a snap stall and dove vertically into the ground.
- Rather than give up, Richard sawed the wing in half, cleaned up the joints, and added 3° of dihedral to each panel. He built a new horizontal tail, increasing the area by at least 20%. After guessing at tail incidence and balancing the Cessna at the main spar, he test-glided it. The model was perfect right out of his hands.
- He wound in 500 turns and gave the model a light toss. It climbed to ~75 feet, made a long lazy circle, and finally ran out of power, settling into a long, flat glide. It was a different airplane altogether.
- Rich wanted me to report the success to everyone who provided insight and to thank them for the lesson learned. You're never too old to learn in this hobby.
Additional notes on Golden Age kits
- Rich manufactures and sells an excellent winder for FAC-size rubber-powered models. The price is roughly $50.
- Now that you know how to get the Cessna to fly, build your own Cessna Airmaster from the Golden Age Reproductions kit, available from the Penn Valley Hobby Center.
- My own experience: Years ago I built a Golden Age P-35 kit and recalled a short note by Gordon Roberts in the Flying Aces newsletter stating the Golden Age P-35 needed additional stabilizer area. There was a full-size pattern of the enlarged stabilizer in the newsletter; I used it and had success flying the model. The larger stabilizer will not fit the fuselage properly without modification. You can either move the former in front of the stabilizer forward or extend the fuselage beneath the stabilizer. I prefer extending the fuselage beneath the stabilizer — it preserves tail moment and keeps the fuselage from looking too short.
- Before building a scale model from a kit or plans, calculate wing and stabilizer areas. The area of the wing and stabilizer "inside the fuselage" counts in the calculation. These models usually fly best with a stabilizer that is 22%–25% of the wing area.
Free Flight Sport
Some older plans have been copied so many times that they have lost accuracy. Use a straightedge to be sure the wing LE is straight, measure both wings to ensure they are equal in length, and compare the wing-chord size to the fuselage side view to be sure the wing is not too wide or too narrow to fit properly in its slot in the fuselage.
Rearwin Speedster
- The Rearwin Speedster’s sleek lines have appealed to modelers for generations, and Mike Welshans is no exception. He has built several models of this airplane through the years, including a Jumbo version.
- Mike drew an excellent set of plans for a smaller model of the Rearwin Speedster; they were included in the contestants’ packets at last year’s Outdoor Champs in Muncie. The model spans 24 inches. Mike’s prototype weighs 34 grams without the motor. He uses a 12-gram motor to drive an 8-inch white nylon propeller from Lee Campbell at Campbell’s Custom Kits. The drive hardware, located just behind the propeller and spinner, is a P-30 propeller driver, also available from Campbell’s Custom Kits.
- After balancing, Mike painted the propeller with light-brown Krylon and painted the tips with cream Krylon. The Fagan propeller logos were generated on a computer. After applying the logos, Mike coated the propeller with clear gloss Krylon and used a gold paint marker on the LE at the tips to simulate metal.
- Because participation in the Fairchild 24 event was down at the FAC Outdoor Champs, it was decided to replace the Fairchild with a Rearwin Speedster event at the Outdoor Champs in Muncie this fall. The event will be flown according to Golden Age rules: three two-minute maxes with a flyoff for ties. The only deviations allowed from the plans are nose-block details, motor-peg placement, and stabilizer mounting.
- The Rearwin will not replace the Fairchild event at the 30th FAC Nats in Geneseo this July.
- If you would like to build the Rearwin, $5 will get you a set of plans, a three-view, and a documentation sheet from FAC GHQ.
Tools, materials, and tips
- George White was skeptical about the usefulness of the mini clamps shown, but he quickly found himself using them a lot. Doug Petty, a retired cabinetmaker, made these clamps from exotic woods. They are not for sale, but you can make your own using any hardwood for the heads and bamboo skewers for the shafts. The clamping power comes from dental bands.
- Shorty’s Basement now has silver Esaki tissue. Introductory price: $2.75 per sheet plus shipping.
- Don’t forget to build your Ramrod 250 for the One Design Gas event at this year’s Nats. Check out Campbell’s Custom Kits for plans and/or a short kit.
Sources:
- AMA Plans Service
www.modelaircraft.org/plans.aspx (800) 435-9262, extension 507
- Campbell’s Custom Kits
(765) 683-1749 www.campbellscustomkits.com/
- FAC GHQ
3301 Cindy Ln. Erie PA 16506
- Penn Valley Hobby Center
(215) 855-1268, (215) 368-0770 www.pennvalleyhobbycenter.com/
- Rich Adams
1446 Cat Mountain Tr. Keller TX [email protected]
- Shorty’s Basement
(740) 225-8671 www.shortysbasement.com/index.php
Transcribed from original scans by AI. Minor OCR errors may remain.

