
Free Flight Sport - 2008/09
Gene Smith [[email protected]]
Grant Carson's Interceptor
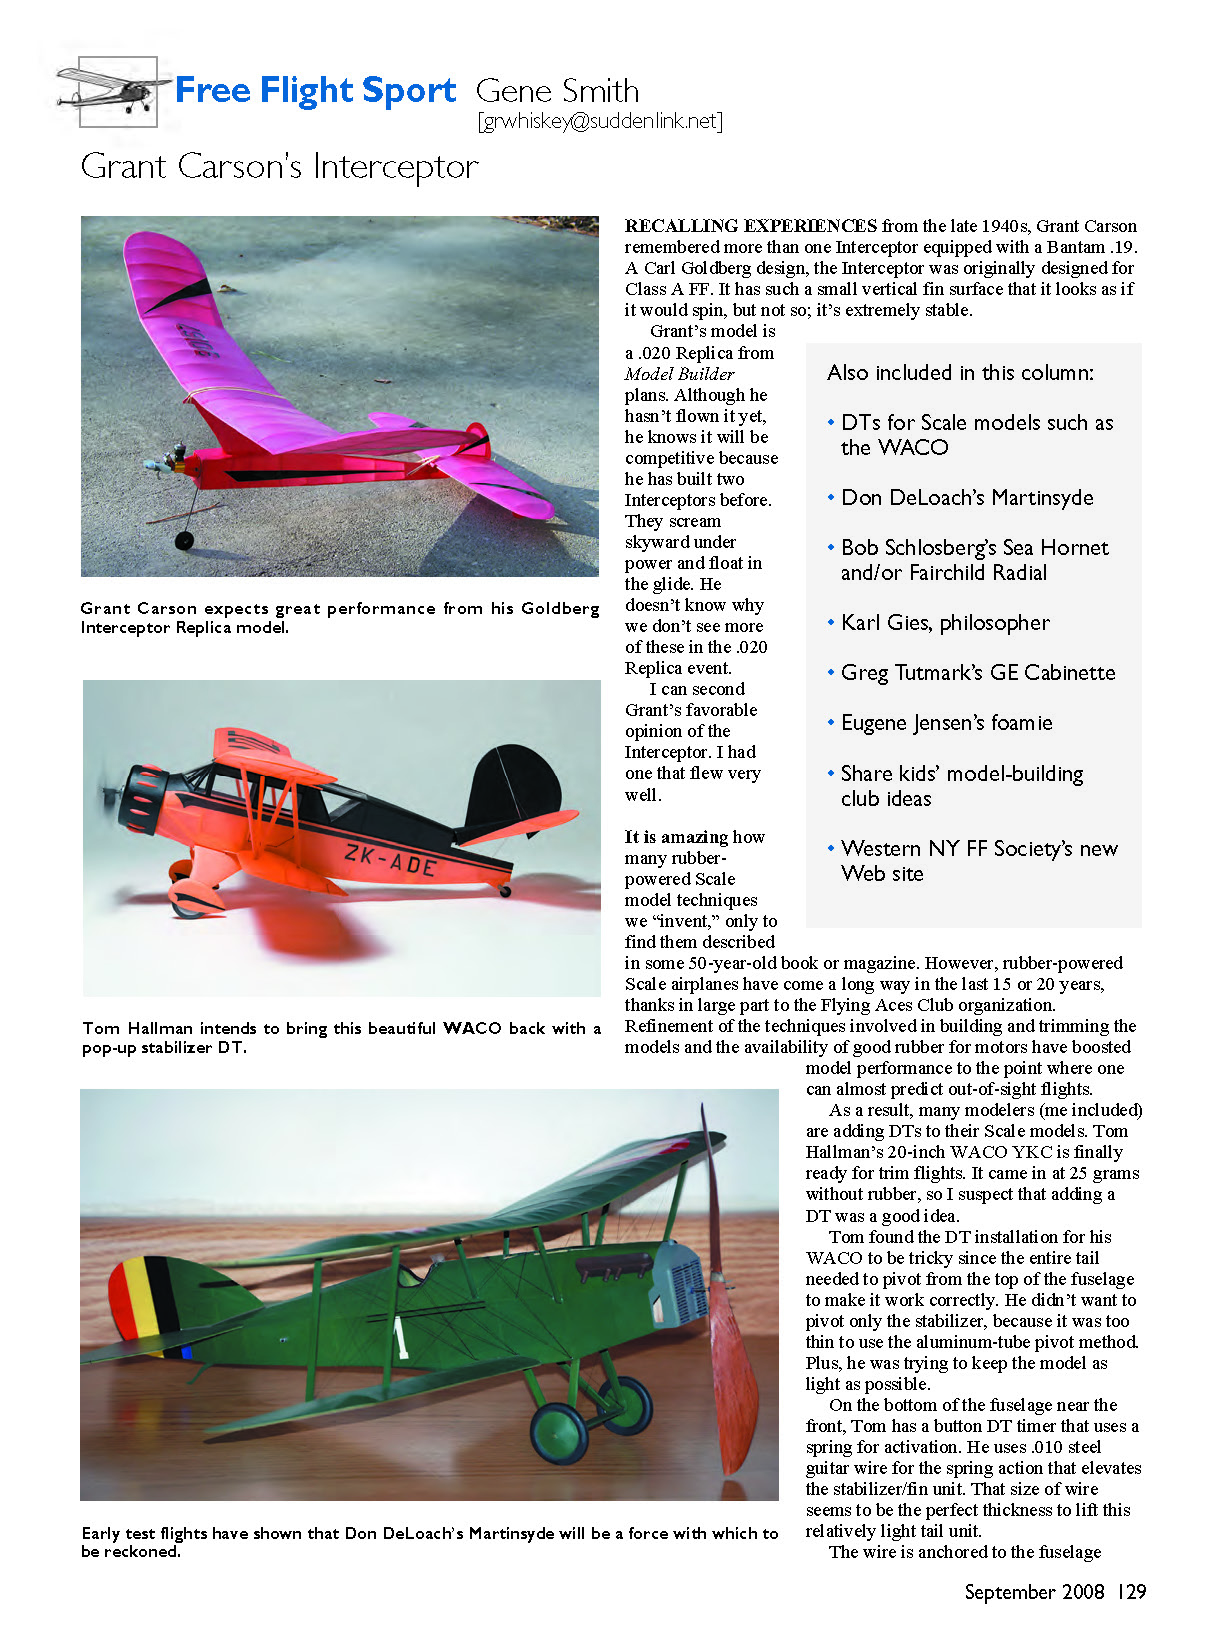
Recalling experiences from the late 1940s, Grant Carson remembered more than one Interceptor equipped with a Bantam .19. A Carl Goldberg design, the Interceptor was originally designed for Class A free flight. It has such a small vertical fin surface that it looks as if it would spin, but not so; it's extremely stable.
Grant's model is a .020 Replica built from Model Builder plans. Although he hasn't flown it yet, he knows it will be competitive because he has built two Interceptors before. They scream skyward under power and float in the glide. He doesn't know why we don't see more of these in the .020 Replica event.
I can second Grant's favorable opinion of the Interceptor. I had one that flew very well.
It is amazing how many rubber-powered scale model techniques we "invent" only to find them described in some 50-year-old book or magazine. However, rubber-powered scale airplanes have come a long way in the last 15 or 20 years, thanks in large part to the Flying Aces Club organization.
Refinement of building and trimming techniques and the availability of good rubber for motors have boosted model performance to the point where one can almost predict out-of-sight flights. As a result, many modelers (me included) are adding DTs to their scale models.
Tom Hallman's WACO and DT Installation
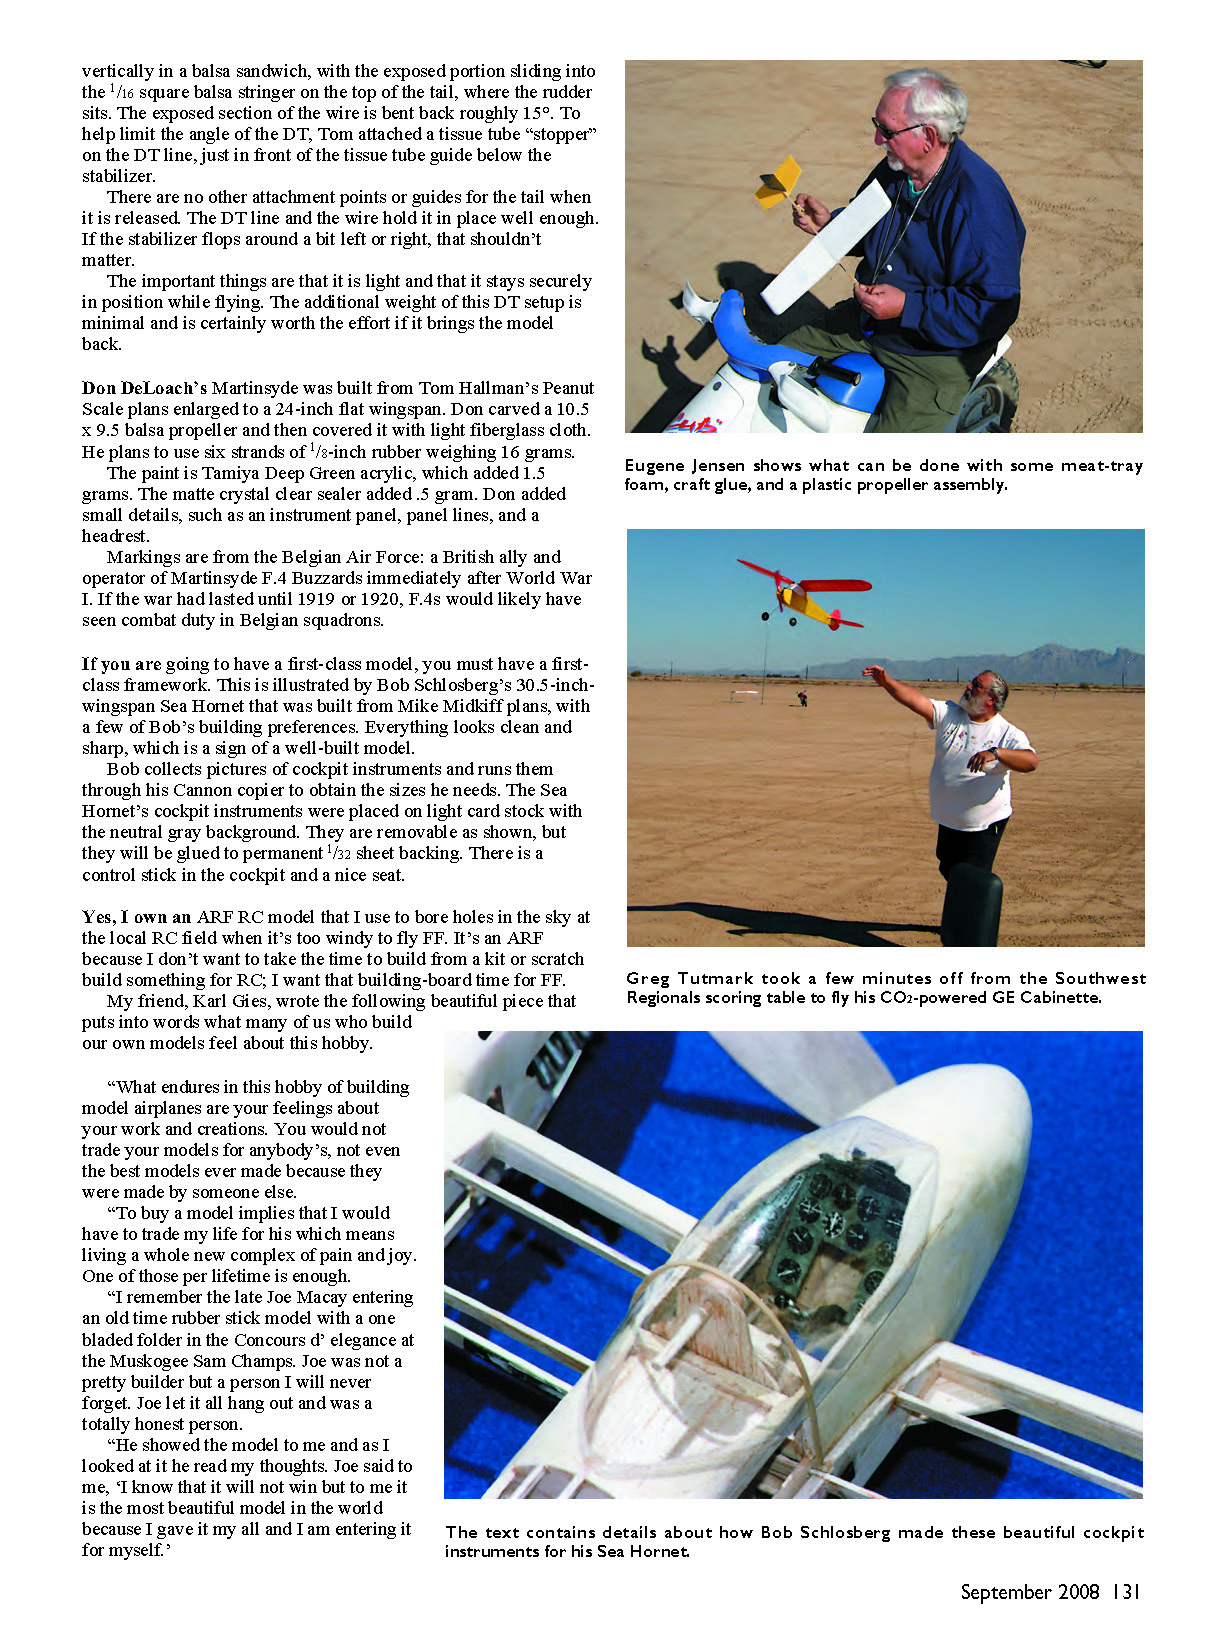
Tom Hallman's 20-inch WACO YKC is finally ready for trim flights. It came in at 25 grams without rubber, so I suspect that adding a DT was a good idea.
Tom found the DT installation for his WACO to be tricky since the entire tail needed to pivot from the top of the fuselage to make it work correctly. He didn't want to pivot only the stabilizer because it was too thin to use the aluminum-tube pivot method. He was also trying to keep the model as light as possible.
On the bottom of the fuselage near the front, Tom has a button DT timer that uses a spring for activation. He uses .010 steel guitar wire for the spring action that elevates the stabilizer/fin unit. That size of wire seems to be the perfect thickness to lift this relatively light tail unit.
The wire is anchored to the fuselage vertically in a balsa sandwich, with the exposed portion sliding into the 1/16" square balsa stringer on the top of the tail where the rudder sits. The exposed section of the wire is bent back roughly 15°. To help limit the angle of the DT, Tom attached a tissue tube "stopper" on the DT line, just in front of the tissue tube guide below the stabilizer.
There are no other attachment points or guides for the tail when it is released. The DT line and the wire hold it in place well enough. If the stabilizer flops around a bit left or right, that shouldn't matter. The important things are that it is light and that it stays securely in position while flying. The additional weight of this DT setup is minimal and is certainly worth the effort if it brings the model back.
Don DeLoach's Martinsyde
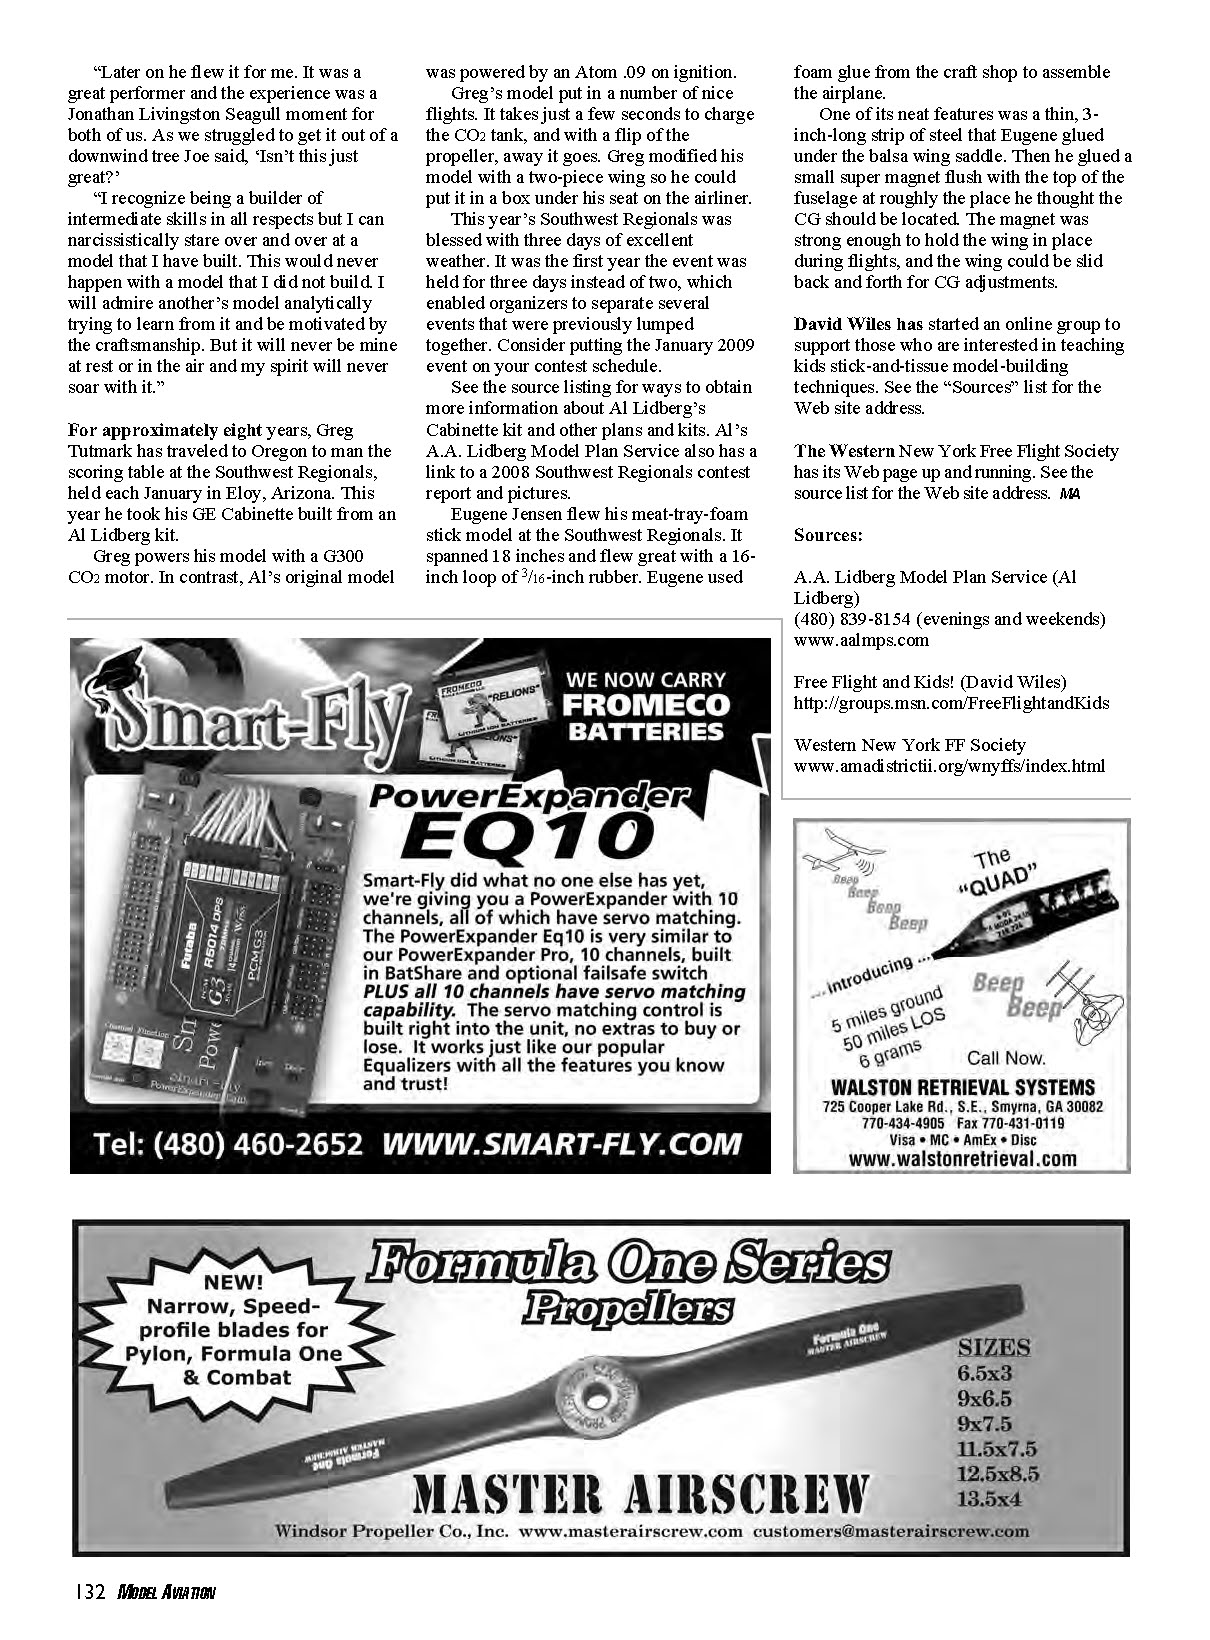
Don DeLoach's Martinsyde was built from Tom Hallman's Peanut Scale plans enlarged to a 24-inch flat wingspan. Don carved a 10.5" x 9.5" balsa propeller and then covered it with light fiberglass cloth. He plans to use six strands of 1/8" rubber weighing 16 grams.
The paint is Tamiya Deep Green acrylic, which added 1.5 grams. The matte crystal clear sealer added 0.5 gram. Don added small details, such as an instrument panel, panel lines, and a headrest. Markings are from the Belgian Air Force: a British ally and operator of Martinsyde F.4 Buzzards immediately after World War I. If the war had lasted until 1919 or 1920, F.4s would likely have seen combat duty in Belgian squadrons.
Bob Schlosberg's Sea Hornet
If you are going to have a first-class model, you must have a first-class framework. This is illustrated by Bob Schlosberg's 30.5"-wingspan Sea Hornet that was built from Mike Midkiff plans, with a few of Bob's building preferences. Everything looks clean and sharp, which is a sign of a well-built model.
Bob collects pictures of cockpit instruments and runs them through his Canon copier to obtain the sizes he needs. The Sea Hornet's cockpit instruments were placed on light card stock with a neutral gray background. They are removable as shown, but they will be glued to permanent 1/32" sheet backing. There is a control stick in the cockpit and a nice seat.
Why We Build Our Own
Yes, I own an ARF RC model that I use to bore holes in the sky at the local RC field when it's too windy to fly free flight. It's an ARF because I don't want to take the time to build from a kit or scratch-build something for RC; I want that building-board time for free flight.
My friend Karl Gies wrote the following beautiful piece that puts into words what many of us who build our own models feel about this hobby:
"What endures in this hobby of building model airplanes are your feelings about your work and creations. You would not trade your models for anybody's, not even the best models ever made because they were made by someone else.
"To buy a model implies that I would have to trade my life for his which means living a whole new complex of pain and joy. One of those per lifetime is enough.
"I remember the late Joe Macay entering an old-time rubber stick model with a one-bladed folder in the Concours d'elegance at the Muskogee Sam Champs. Joe was not a pretty builder but a person I will never forget. Joe let it all hang out and was a totally honest person.
"He showed the model to me and as I looked at it he read my thoughts. Joe said to me, 'I know that it will not win but to me it is the most beautiful model in the world because I gave it my all and I am entering it for myself.' "
"Later on he flew it for me. It was a great performer and the experience was a Jonathan Livingston Seagull moment for both of us. As we struggled to get it out of a downwind tree Joe said, 'Isn't this just great?'
"I recognize being a builder of intermediate skills in all respects but I can narcissistically stare over and over at a model that I have built. This would never happen with a model that I did not build. I will admire another's model analytically trying to learn from it and be motivated by the craftsmanship. But it will never be mine at rest or in the air and my spirit will never soar with it."
Southwest Regionals and Greg Tutmark
For approximately eight years, Greg Tutmark has traveled to Oregon to man the scoring table at the Southwest Regionals, held each January in Eloy, Arizona. This year he took his GE Cabinette built from an Al Lidberg kit.
Greg powers his model with a G300 CO2 motor. In contrast, Al's original model was powered by an Atom .09 on ignition. Greg's model put in a number of nice flights. It takes just a few seconds to charge the CO2 tank, and with a flip of the propeller, away it goes. Greg modified his model with a two-piece wing so he could put it in a box under his seat on the airliner.
This year's Southwest Regionals was blessed with three days of excellent weather. It was the first year the event was held for three days instead of two, which enabled organizers to separate several events that were previously lumped together. Consider putting the January 2009 event on your contest schedule.
See the Sources listing for ways to obtain more information about Al Lidberg's Cabinette kit and other plans and kits. Al's A.A. Lidberg Model Plan Service also has a link to a 2008 Southwest Regionals contest report and pictures.
Eugene Jensen's Foam Stick Model
Eugene Jensen flew his meat-tray-foam stick model at the Southwest Regionals. It spanned 18 inches and flew great with a 16-inch loop of 3/16" rubber. Eugene used foam glue from the craft shop to assemble the airplane.
One neat feature was a thin, 3-inch-long strip of steel that Eugene glued under the balsa wing saddle. Then he glued a small super magnet flush with the top of the fuselage at roughly the place he thought the CG should be located. The magnet was strong enough to hold the wing in place during flights, and the wing could be slid back and forth for CG adjustments.
Teaching and Clubs
David Wiles has started an online group to support those who are interested in teaching kids stick-and-tissue model-building techniques. The Western New York Free Flight Society has its web page up and running.
Sources
- A.A. Lidberg Model Plan Service (Al Lidberg)
(480) 839-8154 (evenings and weekends) www.aalmps.com
- Free Flight and Kids! (David Wiles)
http://groups.msn.com/FreeFlightandKids
- Western New York FF Society
www.amadistrictii.org/wnyffs/index.html
Transcribed from original scans by AI. Minor OCR errors may remain.

