
Frequently Asked Questions - 2007/05
Bob Aberle | [email protected]
Indoor model aircraft take off from water!
Also included in this column:
- Cements safe for use with foam material
- Jedelsky all-balsa wing section
- Cyanoacrylate accelerator dispenser
- FMA Direct Cellpro 4S charger modification for A123 batteries
This is the 38th monthly column in which I try to give you the best possible answers to questions you have written or e-mailed to me. Each new inquiry is given a sequential number for future reference.
Many questions and answers have been posted to the AMA web site at www.modelaircraft.org/mag/faq/index.asp. Unfortunately that posting stopped in August 2005 and will not continue until this section of the AMA web site is revamped. In the meantime, if you can't find the subject matter you are interested in, drop me an e-mail or letter and I will try to assist you.
Q290: "I read recently that the big JR Indoor Electric Festival, held last November in Columbus, Ohio, featured a large water tank from which aircraft could take off and land. If that is true, what kinds of aircraft were flown?"
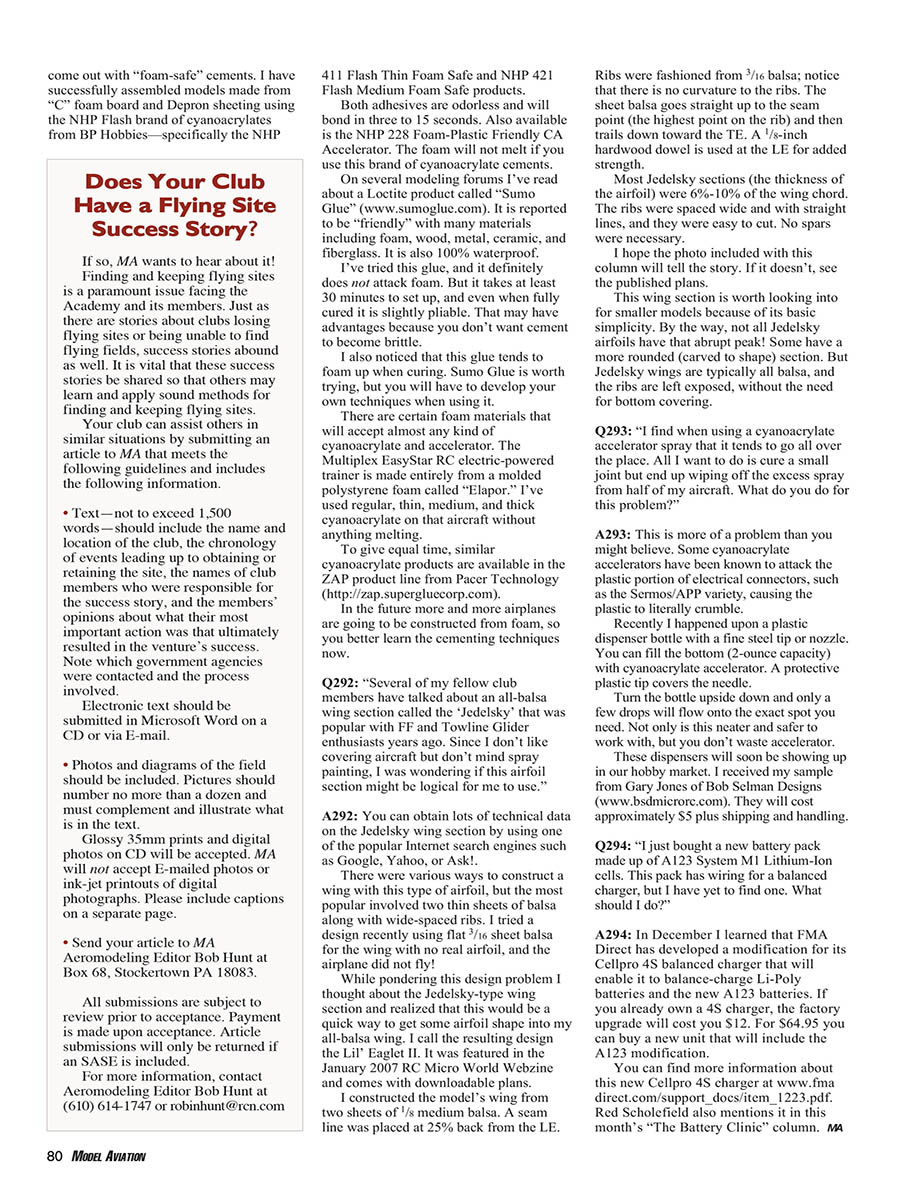
A290: As surprising as it sounds, Event Director Terry Nitsch constructed a water tank from 3-inch-diameter PVC pipe. He laid them out in a frame measuring 60 feet long by approximately 15 feet wide (rectangular shape). A large sheet of plastic was placed over the frame, and the resulting tank was filled with roughly 2 inches of water. Someone with a good sense of humor even put some goldfish in the tank, which was christened "Spektrum Lake" (after the new 2.4 GHz spread-spectrum radio system). All this was done inside a large inflatable sports dome with a 100-foot-high ceiling at the center.
All kinds of models were flown during the two-day period. I wrote an in-depth report about this weekend event that is posted on the December 2006 RC Micro World Webzine at www.cloud9rc.com.
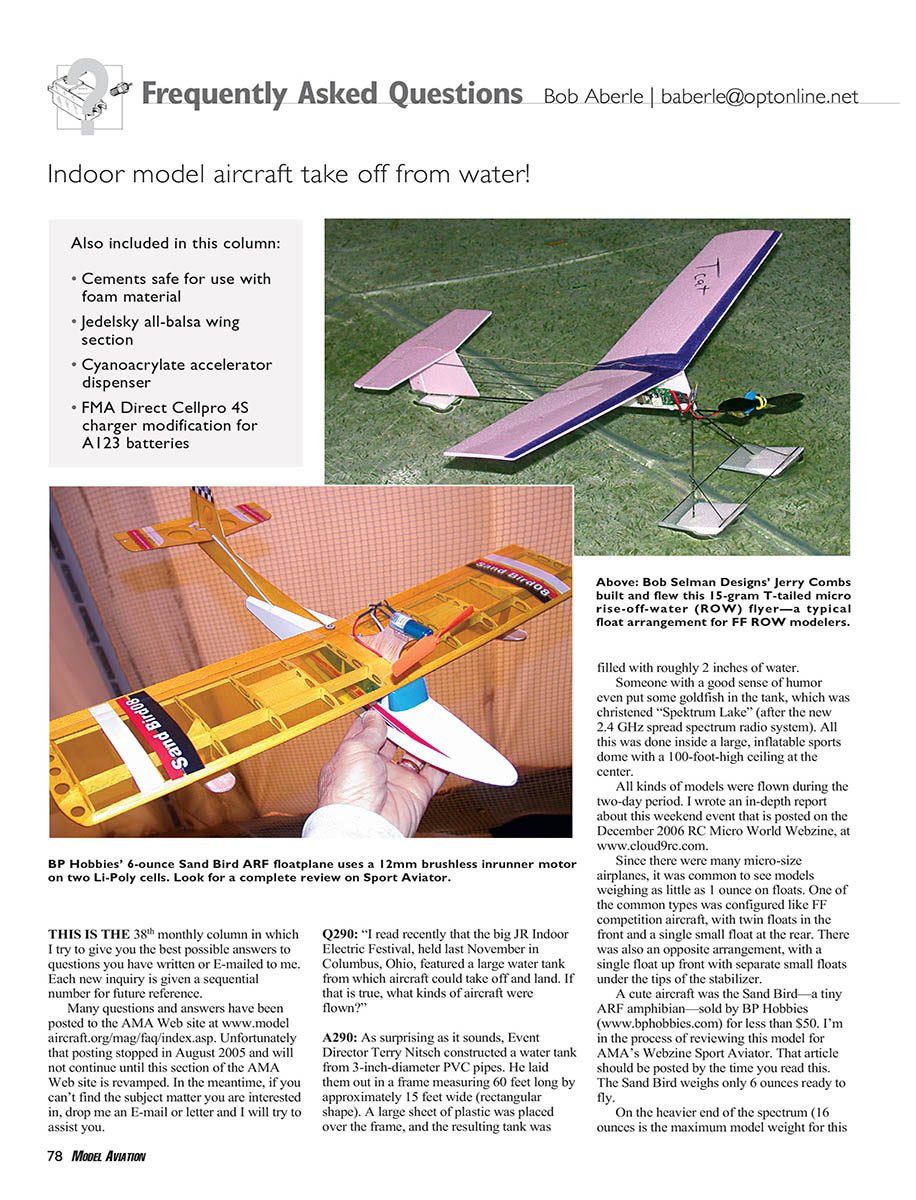
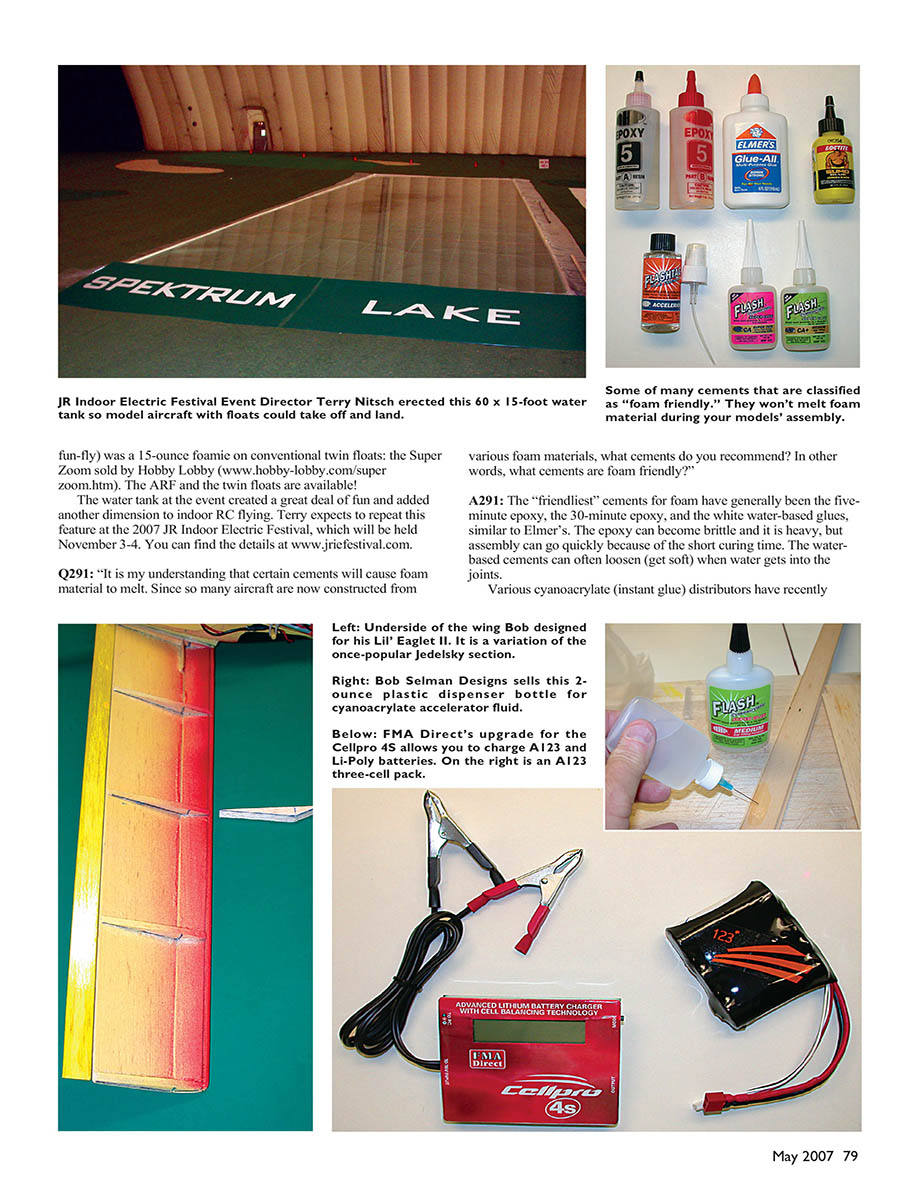
Since there were many micro-size airplanes, it was common to see models weighing as little as 1 ounce on floats. One common type was configured like free-flight competition aircraft, with twin floats in the front and a single small float at the rear. There was also the opposite arrangement, with a single float up front and separate small floats under the tips of the stabilizer. A cute aircraft was the Sand Bird—a tiny ARF amphibian—sold by BP Hobbies (www.bphobbies.com) for less than $50. I'm in the process of reviewing this model for AMA's Webzine Sport Aviator; that article should be posted by the time you read this. The Sand Bird weighs only 6 ounces ready-to-fly.
On the heavier end of the spectrum (16 ounces is the maximum model weight for this fun-fly) was a 15-ounce foamie on conventional twin floats: the Super Zoom sold by Hobby Lobby (www.hobby-lobby.com/super-zoom.htm). The ARF and the twin floats are available!
Q291: "It is my understanding that certain cements will cause foam material to melt. Since so many aircraft are now constructed from various foam materials, what cements do you recommend? In other words, what cements are foam friendly?"
A291: The friendliest cements for foam have generally been five-minute epoxy, 30-minute epoxy, and white water-based glues similar to Elmer's. Epoxy can become brittle and is heavy, but assembly can go quickly because of the short curing time. Water-based cements can often loosen (get soft) when water gets into the joints.
Various cyanoacrylate (instant glue) manufacturers have recently introduced "foam-safe" cements. I have successfully assembled models made from "C" foam board and Depron sheeting using the NHP Flash brand of cyanoacrylates from BP Hobbies—specifically the NHP 411 Flash Thin Foam Safe and NHP 421 Flash Medium Foam Safe products.
Both adhesives are odorless and will bond in three to 15 seconds. Also available is the NHP 228 Foam-Plastic Friendly CA Accelerator. The foam will not melt if you use this brand of cyanoacrylate cements.
On several modeling forums I've read about a Loctite product called "Sumo Glue" (www.sumoglue.com). It is reported to be friendly with many materials including foam, wood, metal, ceramic, and fiberglass. It is also 100% waterproof.
I've tried this glue, and it definitely does not attack foam. But it takes at least 30 minutes to set up, and even when fully cured it is slightly pliable. That may have advantages because you don't want cement to become brittle. I also noticed that this glue tends to foam up when curing. Sumo Glue is worth trying, but you will have to develop your own techniques when using it.
There are certain foam materials that will accept almost any kind of cyanoacrylate and accelerator. The Multiplex EasyStar RC electric-powered trainer is made entirely from a molded polystyrene foam called Elapor. I've used regular thin, medium, and thick cyanoacrylate on that aircraft without anything melting.
To give equal time, similar cyanoacrylate products are available in the ZAP product line from Pacer Technology (http://zap.supergluecorp.com).
In the future more and more airplanes are going to be constructed from foam, so you better learn the cementing techniques now.
Q292: "Several of my fellow club members have talked about an all-balsa wing section called the 'Jedelsky' that was popular with FF and Towline Glider enthusiasts years ago. Since I don't like covering aircraft but don't mind spray painting, I was wondering if this airfoil section might be logical for me to use."
A292: You can obtain lots of technical data on the Jedelsky section by using popular Internet search engines such as Google, Yahoo, or Ask.
There were various ways to construct a wing with this type of airfoil, but the most popular involved two thin sheets of balsa along with wide-spaced ribs. I tried a design recently using flat 3/16-inch sheet balsa for the wing with no real airfoil, and the airplane did not fly.
While pondering this design problem I thought about the Jedelsky-type wing section and realized that this would be a quick way to get some airfoil shape into my all-balsa wing. I call the resulting design the Lil' Egret II. It was featured in the January 2007 RC Micro World Webzine and comes with downloadable plans.
I constructed the model's wings from two sheets of 1/8-inch medium balsa. A seam line was placed at 25% back from the leading edge (LE). Ribs were fashioned from 3/16-inch balsa; notice that there is no curvature to the ribs. The sheet balsa goes straight up to the seam point (the highest point on the rib) and then trails down toward the trailing edge (TE). A 1/8-inch hardwood dowel is used at the LE for added strength.
Most Jedelsky sections (the thickness of the airfoil) were 6%–10% of the chord. The ribs were spaced wide with straight lines, and they were easy to cut. No spars were necessary.
This wing section is worth looking into for smaller models because of its basic simplicity. By the way, not all Jedelsky airfoils have that abrupt peak—some have a more rounded (carved to shape) section. But Jedelsky wings are typically all balsa, and the ribs are left exposed, without the need for bottom covering.
Q293: "I find when using a cyanoacrylate accelerator spray that it tends to go all over the place. All I want to do is cure a small joint but end up wiping off the excess spray from half of my aircraft. What do you do for this problem?"
A293: This is more of a problem than you might believe. Some cyanoacrylate accelerators have been known to attack the plastic portions of electrical connectors, causing the plastic to literally crumble.
Recently I happened upon a plastic dispenser bottle with a fine steel tip or nozzle. You can fill the 2-ounce bottle with cyanoacrylate accelerator. A protective plastic cap covers the needle.
Turn the bottle upside down and only a few drops will flow onto the exact spot you need. Not only is this neater and safer to work with, but you don't waste accelerator.
These dispensers will soon be showing up in our hobby market. I received my sample from Gary Jones of Bob Selman Designs (bsdmicro.com). They will cost approximately $5 plus shipping and handling.
Q294: "I just bought a new battery pack made up of A123 System M1 lithium-ion cells. This pack has wiring for a balanced charger, but I have yet to find one. What should I do?"
A294: In December I learned that FMA Direct has developed a modification for its Cellpro 4S balanced charger to enable it to balance-charge Li-Poly batteries and the new A123 batteries. If you already own a 4S charger, the factory upgrade will cost you $12. For $64.95 you can buy a new unit that will include the A123 modification.
You can find more information about this new Cellpro 4S charger at www.fmadirect.com/support_docs/item_1223.pdf. Red Scholefield also mentions it in this month's "The Battery Clinic" column.
MA
Transcribed from original scans by AI. Minor OCR errors may remain.

