
Frequently Asked Questions
Bob Aberle | [email protected]
Laser-cutting parts
Please write in with your questions, since that is the only way we can keep this column format going. When referring to already published Q-and-As (for follow-ups), provide the number as a reference.
Q397
Question: "I realize that today there are so many ARF and RTF model aircraft available that there is little need to build a model from scratch (with raw materials). But I still like the sense of accomplishment when I construct a model and then go out and fly it.
"The only problem I have is cutting out all the parts. This is especially true when it comes to the wing ribs and fuselage formers. I hear a lot today about laser cutting of parts. How difficult is it to get someone to laser cut certain parts of an aircraft to speed up the assembly process?"
Answer: This is an excellent question. If you look inside any ARF or RTF currently on the market, it will come as no surprise that the internal components (structure) consist mainly of laser-cut parts. You can easily see the light-brown edges that the laser creates as it "cuts" (actually burns) through the wood. Laser-cutting not only accelerates the construction process, but it also allows the aircraft to be built precisely, time after time.
In recent years, the cost of good-quality, high-output laser cutters has come down to the point where a small company can afford to buy one and sell the service to the industry and individual modelers. The cost has dropped so much that some serious modelers have bought their own machines.
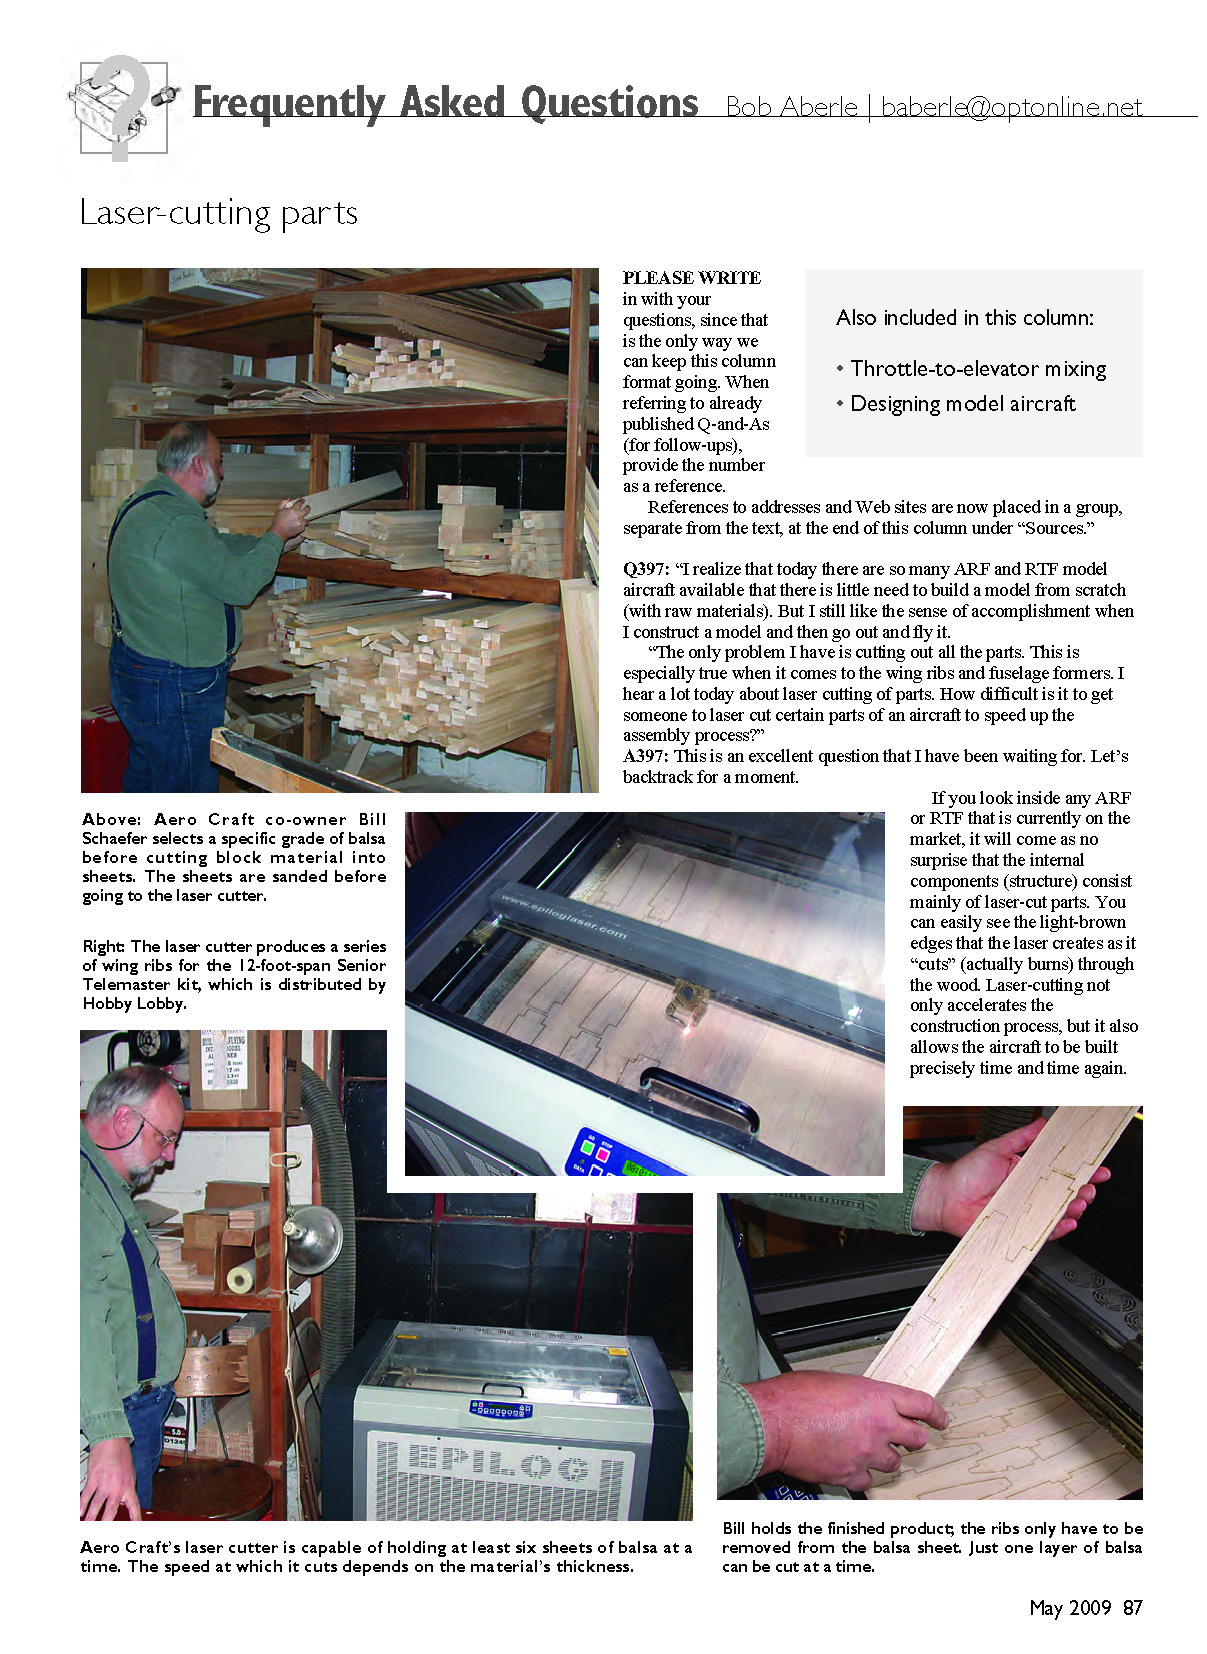
To answer this reader's question in more detail, I visited a local laser-cutting facility: Aero Craft in Riverhead, Long Island, New York, which is run by partners Craig Wagner and Bill Schaefer. They make kits of their own designs and kits for the hobby industry. Aero Craft manufactures the entire Telemaster line for Hobby Lobby.
In the past couple of years, Craig and Bill have switched from die-cutting and saw-cutting wood parts to laser-cutting. Their machine has a large cutting area that accepts various thicknesses of balsa and plywood and is powerful, which means it can cut rapidly.
Only one layer of material may be laser-cut at a time; you can't stack wood sheets and slice through them on one pass. Thus it is important that as many pieces as possible be cut from a single sheet to minimize waste. The layout of the parts on the cutting surface is therefore a critical part of the process.
Like several hobby companies that use laser-cutting, Craig and Bill sell their service to modelers who want ribs, formers, or other parts cut. Each company offering this service will likely have different input requirements.
At Aero Craft, the preferred input method is a CADAM drawing that can be put on a disc and mailed or transmitted via e-mail attachment. They then transfer the image to CorelDRAW, arrange it for the most efficient cutting sequence, and go directly to the laser cutter.
Craig and Bill also accept pencil sketches, but in that case they scan the supplied drawing and convert it to a CorelDRAW line drawing. There is a fee for that scanning service in addition to the laser-cutting fee.
Aero Craft keeps a large supply of balsa and plywood on hand, so you can buy the wood and have the parts laser-cut for you. You can likely also send them your own material.
There are companies besides Aero Craft that provide this kind of service, including Bob Holman Plans in San Bernardino, California; Laser Works Engraving and Design in Wichita Falls, Texas; Manzano Laser Works in Tijeras, New Mexico; Ohio Laser Engraving in Fairborn, Ohio; and others. You can find these companies' contact information in the Sources list.
Q398
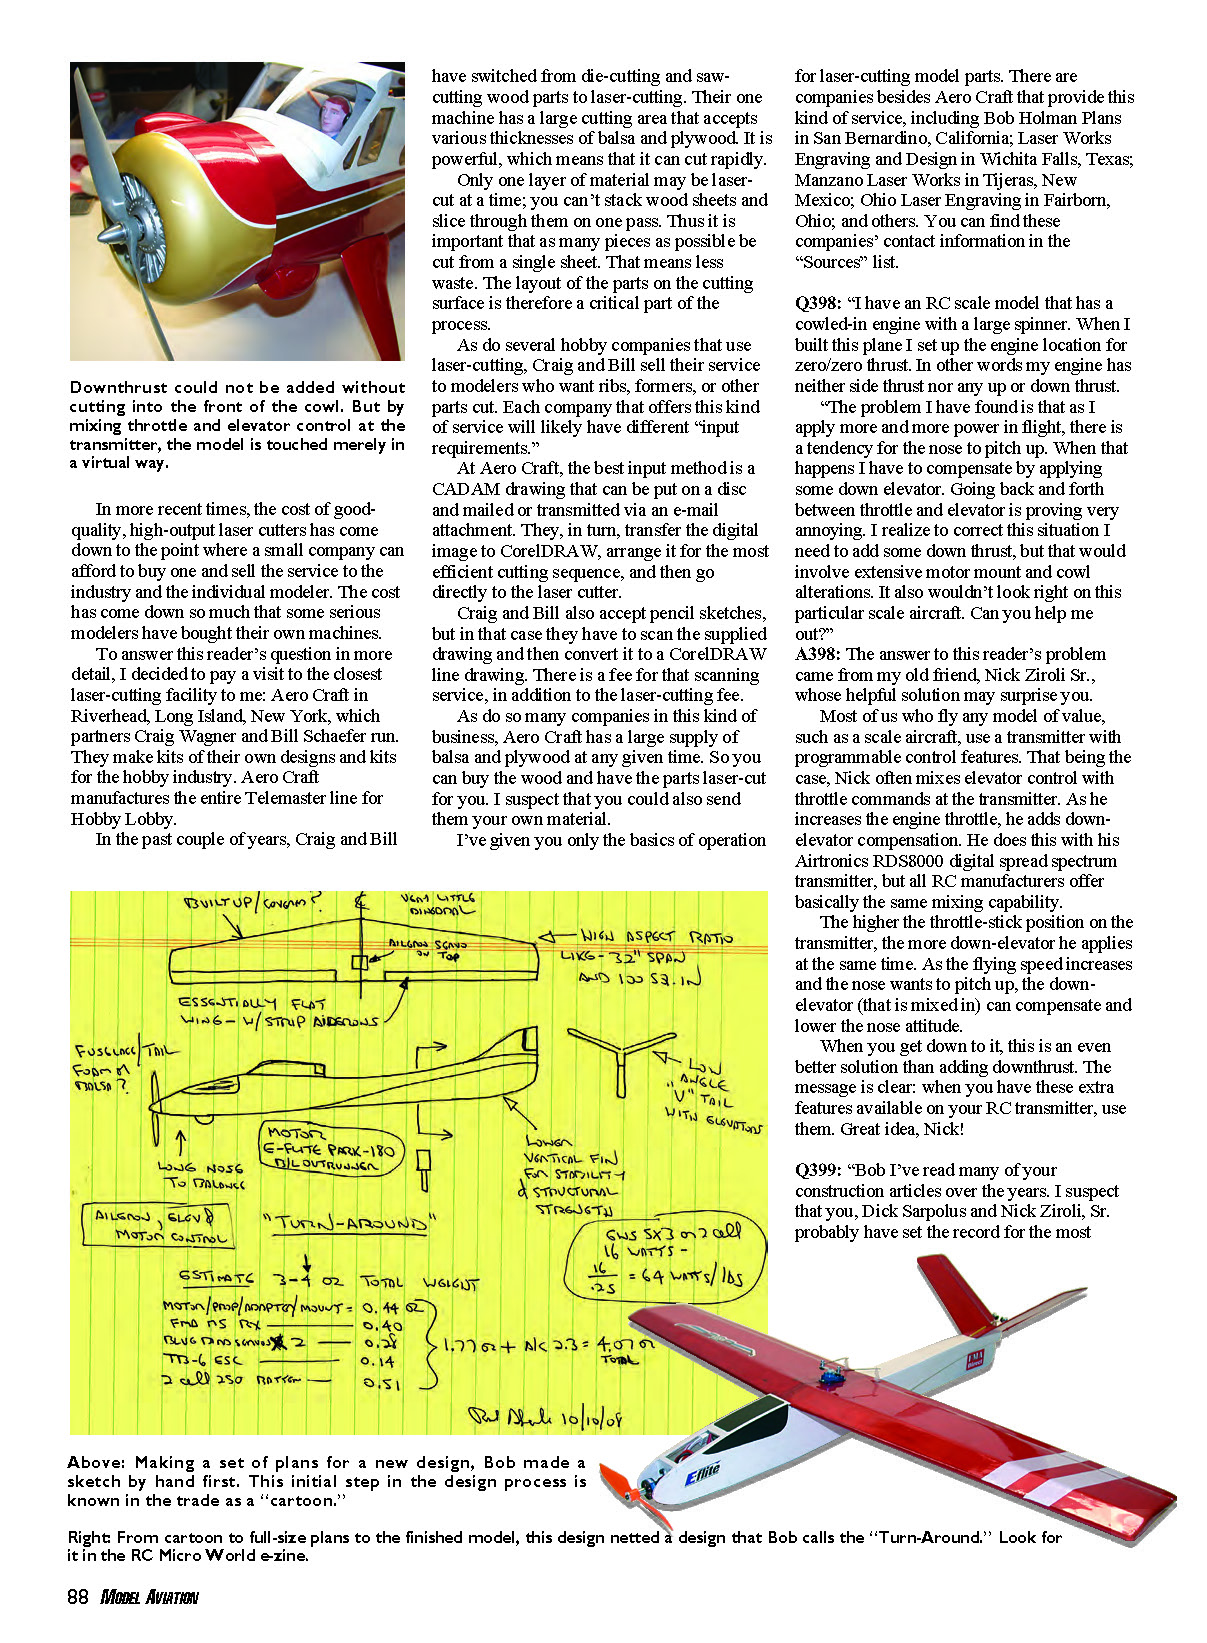
Question: "I have an RC scale model that has a cowled-in engine with a large spinner. When I built this plane I set up the engine location for zero/zero thrust. In other words my engine has neither side thrust nor any up or down thrust.
"The problem I have found is that as I apply more and more power in flight, there is a tendency for the nose to pitch up. When that happens I have to compensate by applying some down elevator. Going back and forth between throttle and elevator is proving very annoying. I realize to correct this situation I need to add some down thrust, but that would involve extensive motor mount and cowl alterations. It also wouldn't look right on this particular scale aircraft. Can you help me out?"
Answer: The answer to this reader's problem came from my old friend Nick Ziroli Sr., whose helpful solution may surprise you.
Most of us who fly any model of value, such as a scale aircraft, use a transmitter with programmable control features. Nick often mixes elevator control with throttle commands at the transmitter. As he increases the engine throttle, he adds down-elevator compensation. He does this with his Airtronics RDS8000 digital spread-spectrum transmitter, but all RC manufacturers offer basically the same mixing capability.
The higher the throttle-stick position on the transmitter, the more down-elevator he applies simultaneously. As flying speed increases and the nose wants to pitch up, the down-elevator mixed in compensates and lowers the nose attitude.
This is often a better solution than adding physical downthrust. When you have these extra features available on your RC transmitter, use them.
Q399
Question: "Bob, I've read many of your construction articles over the years. I suspect that you, Dick Sarpolus and Nick Ziroli, Sr., probably have set the record for the most designs published. I've always been curious as to how you start on a particular design project. In other words, how do you get from that first pencil mark on the paper to the finished aircraft?"
Answer: I can't speak for Dick or Nick, but I released my 66th aircraft for publication in November 2008. I started actively designing and writing in 1973.
I worked for many years at the Grumman Corporation in what was known as the "Configuration Room" (a portion of the Advanced Systems Department). In that room were some of the most senior Grumman engineering designers. As a young engineer, I was thrilled just to be in their presence.
One thing the engineers did in that room was constantly sketch first-time aircraft. They were usually three-views, hand-drawn, before the days of CADAM and CATIA. The slang expression for these sketches was "cartoons."
As time went on and I began to design my own model aircraft for publication, I also drew "cartoons." I still do. I can sit with a pad and pencil in front of my TV set, watch a program, and sketch all kinds of aircraft designs at the same time.
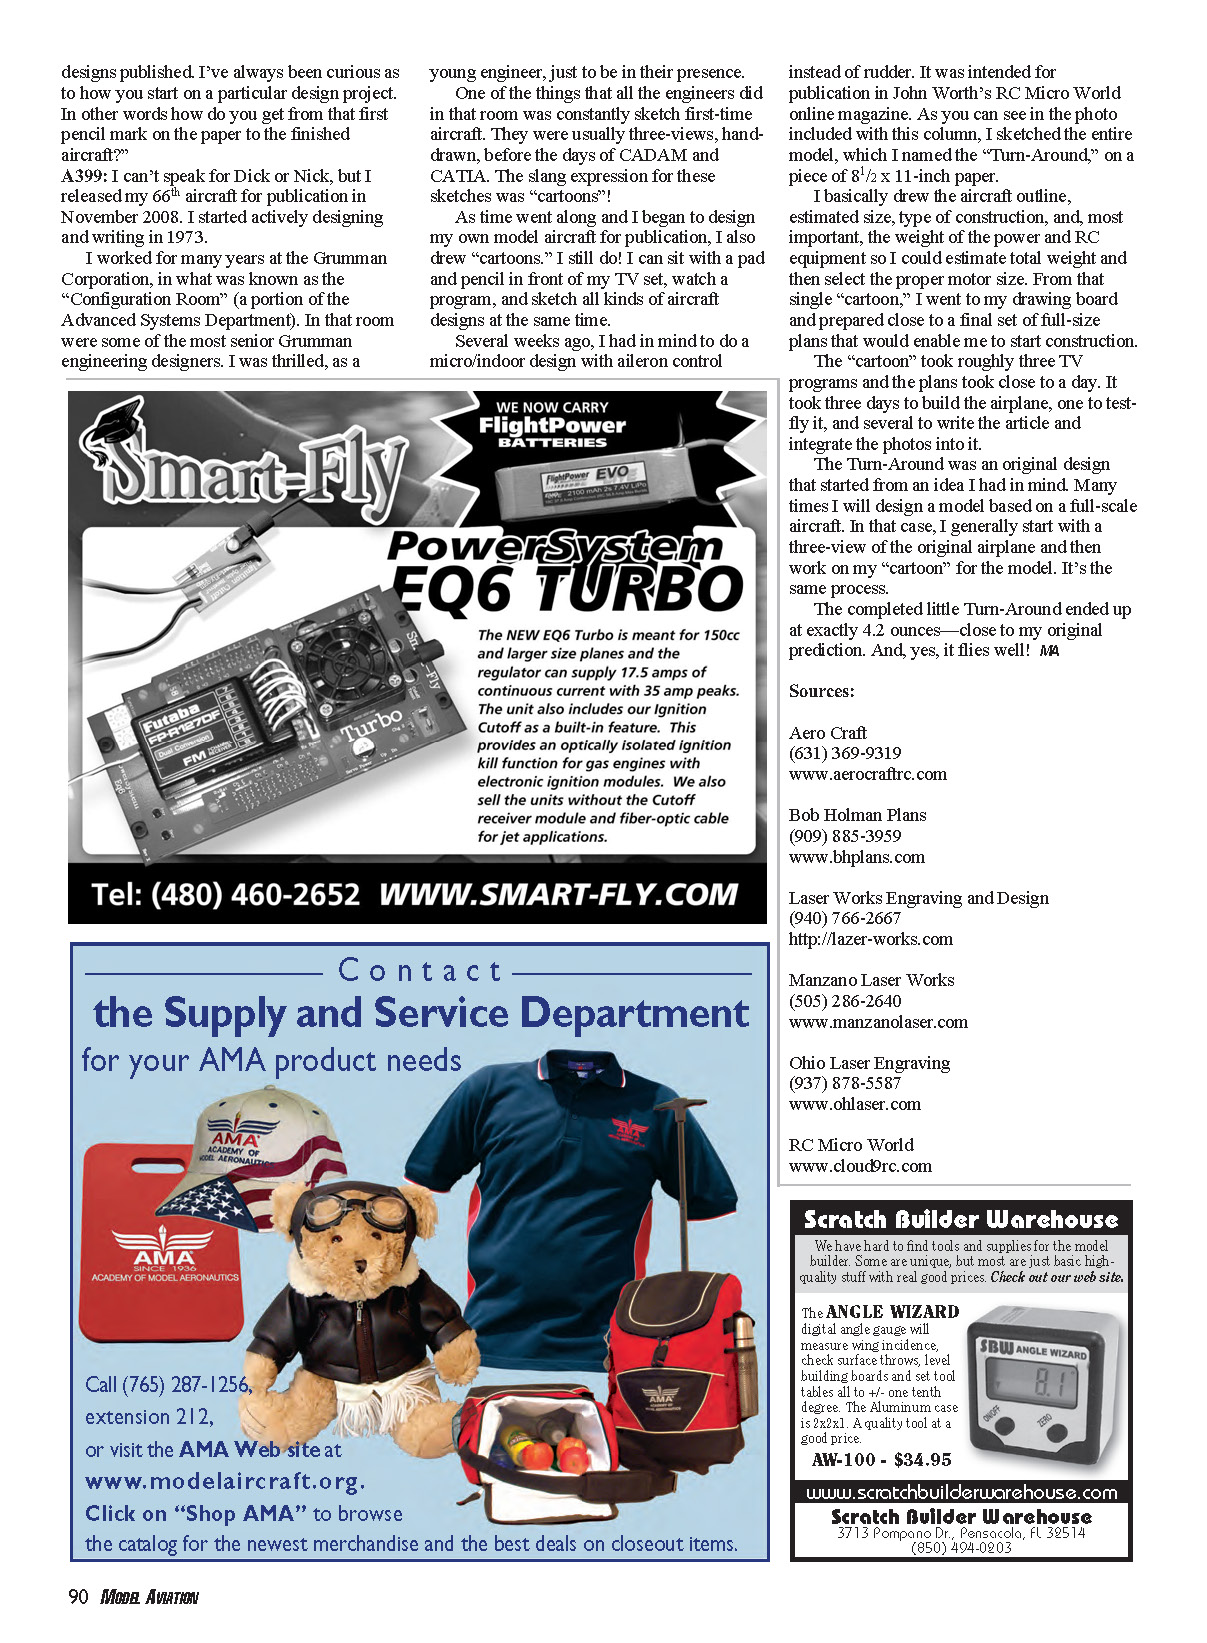
Several weeks ago I planned a micro/indoor design with aileron control instead of rudder for publication in John Worth's RC Micro World online magazine. As you can see in the photo included with this column, I sketched the entire model, which I named the Turn-Around, on a piece of 8 1/2 x 11-inch paper.
I basically drew the aircraft outline, estimated size, type of construction, and, most important, the weight of the power and RC equipment so I could estimate total weight and then select the proper motor size. From that single "cartoon," I went to my drawing board and prepared a close-to-final set of full-size plans that would enable me to start construction.
The "cartoon" took roughly the time of three TV programs and the plans took close to a day. It took three days to build the airplane, one day to test-fly it, and several days to write the article and integrate the photos into it.
The Turn-Around was an original design that started from an idea I had in mind. Many times I design a model based on a full-scale aircraft. In that case, I generally start with a three-view of the original airplane and then work on my "cartoon" for the model. It's the same process.
The completed little Turn-Around ended up at exactly 4.2 ounces—close to my original prediction. And, yes, it flies well!
Sources:
- Aero Craft
(631) 369-9319 www.aerocraftrc.com
- Bob Holman Plans
(909) 885-3959 www.bhplans.com
- Laser Works Engraving and Design
(940) 766-2667 http://lazer-works.com
- Manzano Laser Works
(505) 286-2640 www.manzanolaser.com
- Ohio Laser Engraving
(937) 878-5587 www.ohlaser.com
- RC Micro World
Transcribed from original scans by AI. Minor OCR errors may remain.

