

Great Planes Rifle 1M Sport Electric
Terry Dunn [email protected]
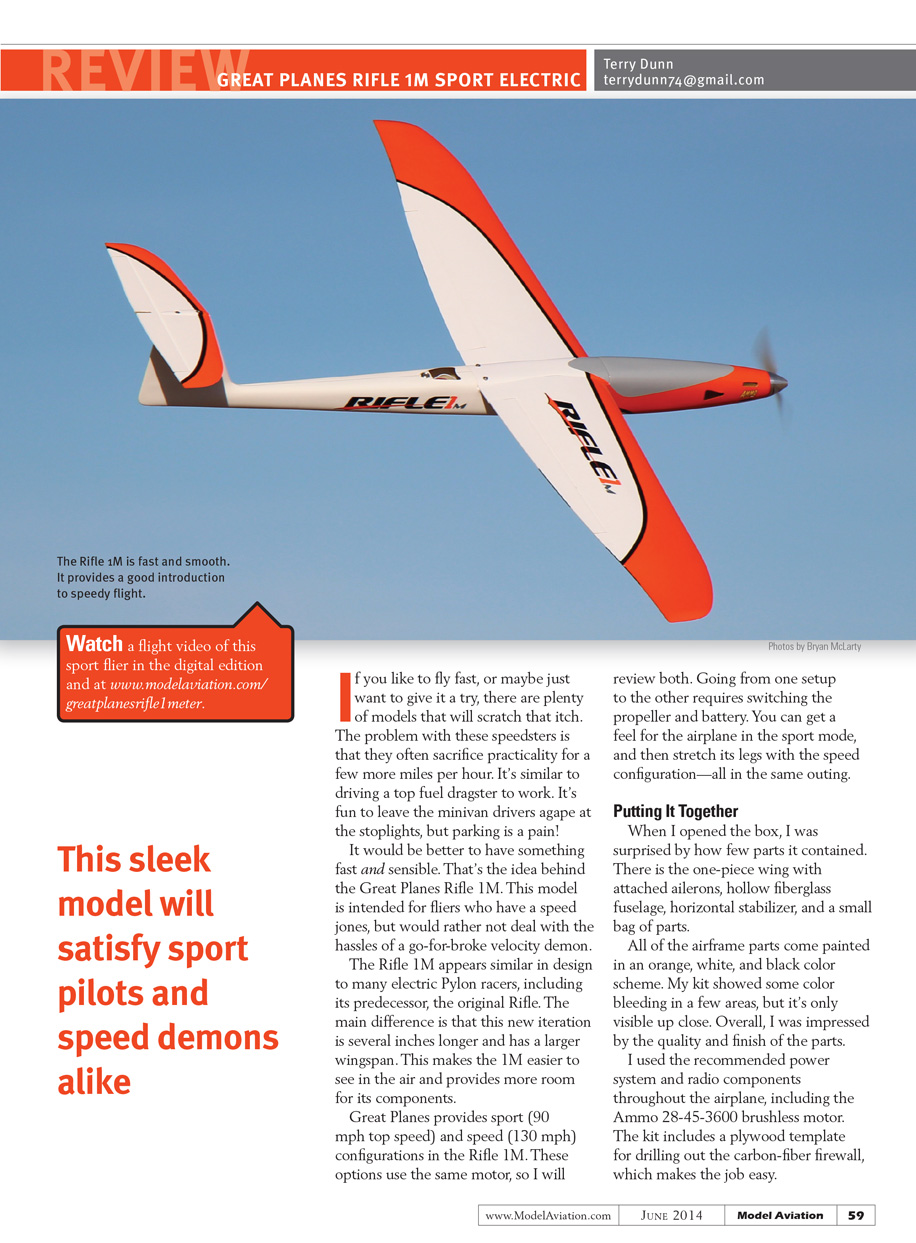
If you like to fly fast, or want to give it a try without the hassles of an all-out velocity demon, the Great Planes Rifle 1M is a strong contender. It’s intended for fliers who have a speed jones but prefer something fast and sensible rather than impractical. The Rifle 1M resembles many electric pylon racers (including the original Rifle) but is several inches longer with a larger wingspan, making it easier to see in the air and providing more room for components.
Great Planes provides two configurations for the Rifle 1M:
- Sport: 90 mph top speed.
- Speed: 130 mph top speed.
Both configurations use the same motor; switching between them requires only changing the propeller and battery. That lets you get a feel for the airplane in sport mode and then stretch its legs with the speed setup in the same outing.
Putting It Together
When I opened the box I was surprised by how few parts it contained: a one-piece wing with attached ailerons, a hollow fiberglass fuselage, a horizontal stabilizer, and a small bag of hardware. All airframe parts come painted in an orange, white, and black color scheme. My kit showed minor color bleeding in a few areas, visible only up close. Overall the quality and finish impressed me.
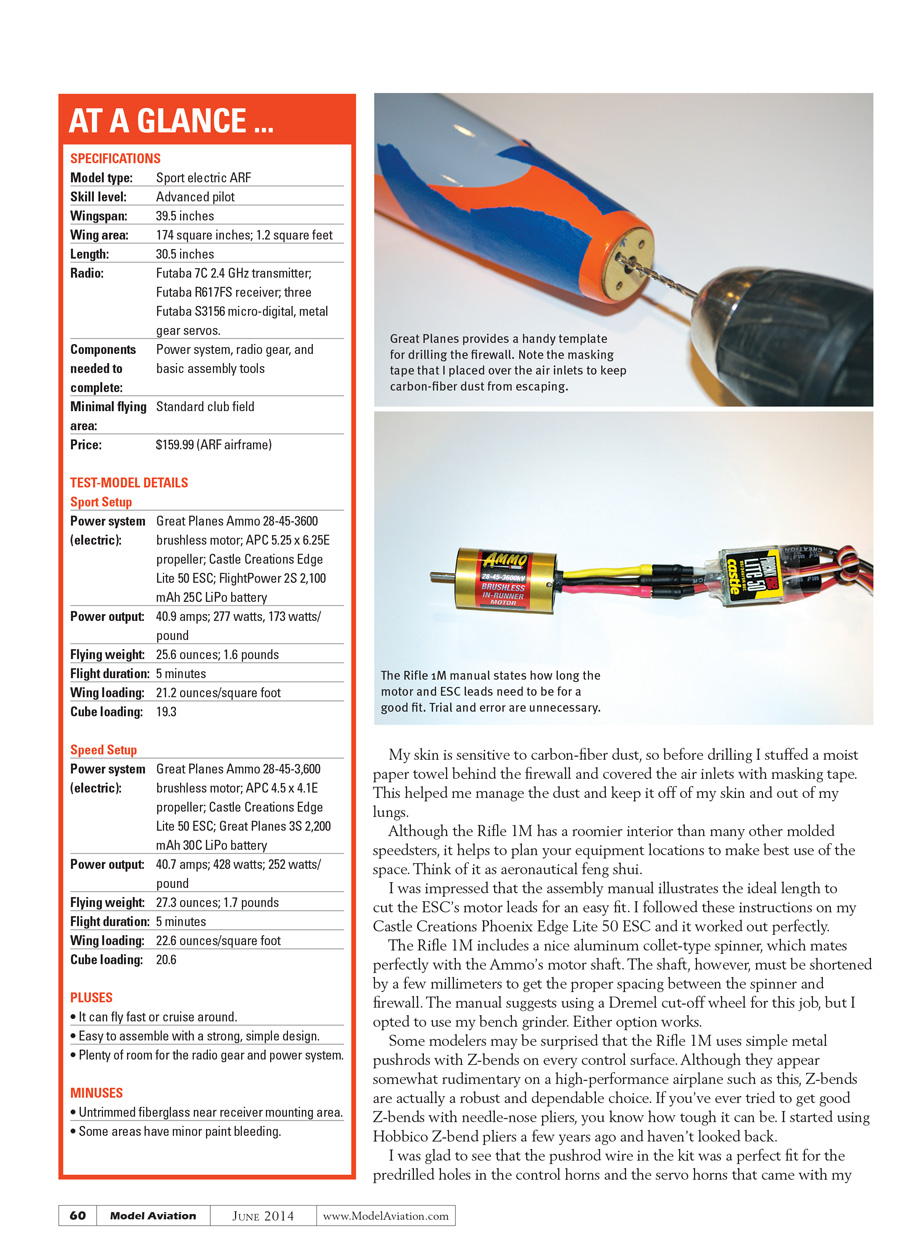
I used the recommended power system and radio components throughout the airplane, including the Ammo 28-45-3600 brushless motor and a Castle Creations Phoenix Edge Lite 50 ESC. The kit includes a plywood template for drilling out the carbon-fiber firewall, which makes that job easy. My skin is sensitive to carbon-fiber dust, so before drilling I stuffed a moist paper towel behind the firewall and covered the air inlets with masking tape—this helped keep dust off my skin and out of my lungs.
Although the Rifle 1M has a roomier interior than many molded speedsters, it pays to plan equipment locations for best use of space—think aeronautical feng shui. The assembly manual illustrates the ideal length to cut the ESC’s motor leads for an easy fit; I followed those instructions on my Phoenix Edge Lite 50 and it worked perfectly.
The Rifle 1M includes a nice aluminum collet-type spinner that mates well with the Ammo motor shaft. The shaft must be shortened by a few millimeters to get the correct spacing between spinner and firewall. The manual suggests a Dremel cut-off wheel; I opted for my bench grinder. Either option works.
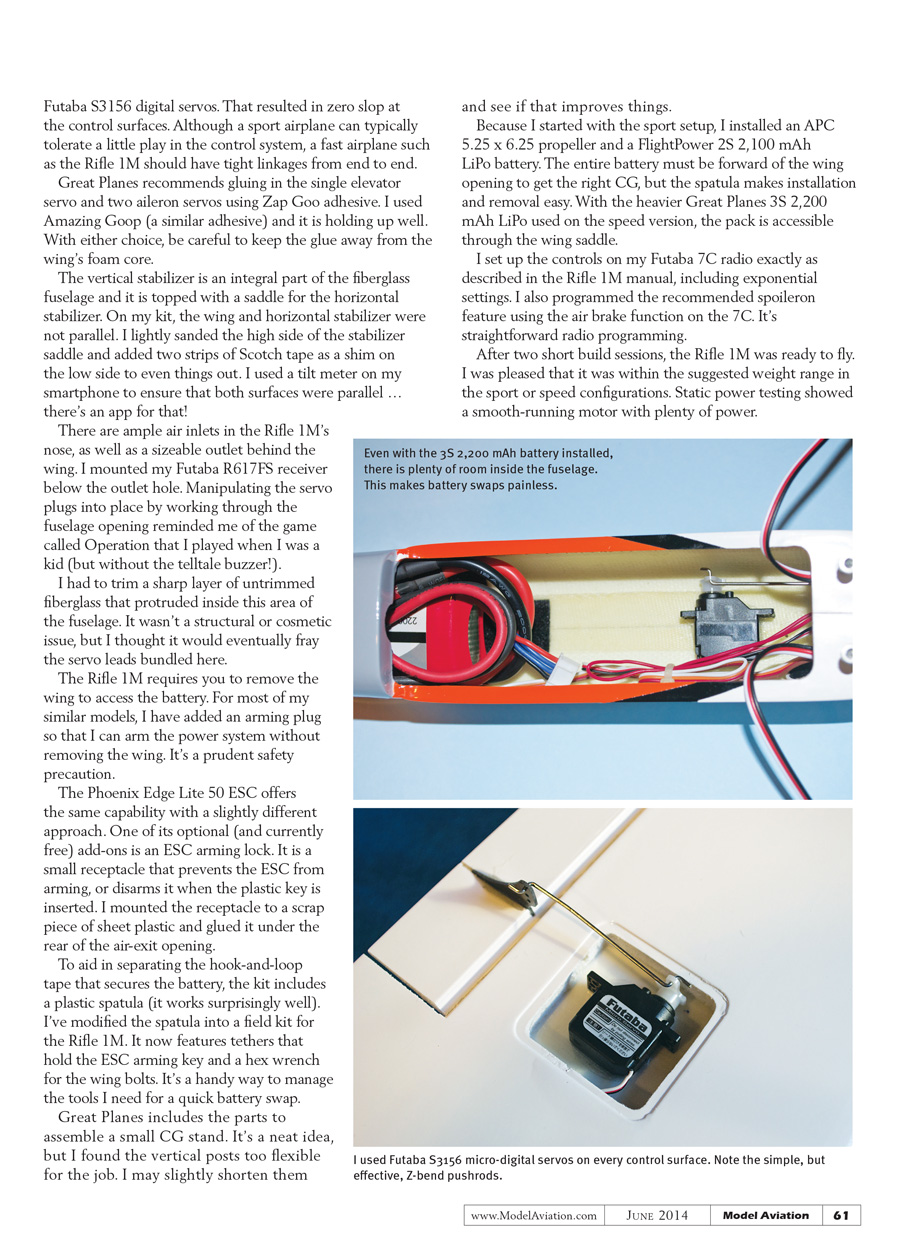
Some modelers may be surprised the Rifle 1M uses simple metal pushrods with Z-bends on every control surface. Although they look rudimentary on a high-performance airplane, Z-bends are a robust, dependable choice. If you’ve ever tried to make good Z-bends with needle-nose pliers, you know how tough it can be—Hobbico Z-bend pliers make the task much easier. The pushrod wire in the kit fit perfectly in the predrilled holes of the control horns and the servo horns on my Futaba S3156 digital servos, resulting in zero slop at the control surfaces. A fast airplane like the Rifle 1M should have tight linkages end to end.
Great Planes recommends gluing in the single elevator servo and two aileron servos using Zap Goo adhesive. I used Amazing Goop (a similar adhesive) and it has held up well. With either choice, be careful to keep the glue away from the wing’s foam core.
The vertical stabilizer is integral to the fiberglass fuselage and is topped by a saddle for the horizontal stabilizer. On my kit the wing and horizontal stabilizer were not parallel, so I lightly sanded the high side of the stabilizer saddle and added two strips of Scotch tape as a shim on the low side to level things. I used a tilt meter app on my smartphone to ensure both surfaces were parallel.
There are ample air inlets in the Rifle 1M’s nose and a sizeable outlet behind the wing. I mounted my Futaba R617FS receiver below the outlet hole. Manipulating the servo plugs through the fuselage opening reminded me of the game Operation—without the buzzer. I also trimmed a sharp bit of untrimmed fiberglass that protruded inside the fuselage near this area; it wasn’t structural or cosmetic, but it could have frayed bundled servo leads over time.
The Rifle 1M requires removing the wing to access the battery. For many of my similar models I’ve added an arming plug to arm the power system without removing the wing; it’s a prudent safety precaution. The Phoenix Edge Lite 50 ESC offers an optional (and currently free) arming lock: a small receptacle that prevents the ESC from arming, or disarms it when a plastic key is inserted. I mounted the receptacle to a scrap of sheet plastic and glued it under the rear of the air-exit opening.
The kit includes a plastic spatula to aid separating the hook-and-loop tape that secures the battery; it works surprisingly well. I modified the spatula into a field kit for the Rifle 1M, adding tethers that hold the ESC arming key and a hex wrench for the wing bolts. It’s a handy way to manage tools for a quick battery swap.
Great Planes includes parts for a small CG stand. It’s a neat idea, but I found the vertical posts too flexible; I may shorten them slightly to improve stiffness.
For the sport setup I installed an APC 5.25 x 6.25 propeller and a FlightPower 2S 2,100 mAh LiPo battery. The entire battery must be forward of the wing opening to achieve the correct CG, but the spatula makes installation and removal easy. With the heavier Great Planes 3S 2,200 mAh LiPo used in the speed configuration, the pack is accessible through the wing saddle.
I set up controls on my Futaba 7C radio exactly as described in the Rifle 1M manual, including exponential settings. I also programmed the recommended spoileron feature using the air brake function on the 7C—straightforward radio programming.
After two short build sessions the Rifle 1M was ready to fly and fell within the suggested weight range for both sport and speed configurations. Static power testing showed a smooth-running motor with plenty of power.
Flying the Rifle 1M
Even with the sport setup, the Rifle 1M doesn’t need a grunting heave to launch; the effort is more akin to a game of backyard catch. Keep it level on the roll and you shouldn’t have any drama.
My Rifle 1M required a significant amount of aileron trim on its maiden flight; I later determined my lateral balance was off. Pay attention to lateral balance and correct it—afterward I neutralized the trim.
The first thing I noticed was how quiet the Rifle 1M is in the air. Even with the motor wide open it whooshed by, and I don’t doubt Great Planes’ 90 mph claim in sport mode. That speed isn’t much faster than many .40-size sport airplanes, but the Rifle’s small stature and hushed volume make it a thrilling ride.
The Rifle can streak through the sky but it doesn’t have to. I spend most flights at half throttle or less—grooving around the field. The airplane behaves well at moderate speeds and warns you when you’re getting too slow by giving mushy aileron response.
Because of its stable low-throttle behavior and high top speed, I think the Rifle 1M sport setup is an ideal gateway into composite racers. It lets you gradually expand your speed comfort zone while getting accustomed to tracking a svelte aircraft. The colorful paint aids orientation from a broadside view, but the Rifle nearly disappears head-on.
I prefer flying with low-rate elevator and high-rate ailerons for smooth flight and big aerobatics. Loop altitude is limited only by your vision; rolls and inverted flight are no problem. Cuban 8s and Immelmanns look best when you use plenty of sky—anything more aggressive would be out of character for this plane.
After getting comfortable in sport setup I switched to speed mode. The Rifle 1M still cruised around at moderate speeds but was noticeably faster when the stick was pushed. Great Planes’ 130 mph claim for speed mode is believable. It’s a real rush to bring the plane whistling over the runway and then whip it into a high-G pylon turn—you’ll be turning often to keep it in sight.
With either setup, plan far ahead for landing. The Rifle carries plenty of energy and needs time and real estate to slow down. I typically deploy the spoilerons before entering the pattern and kill the throttle on the downwind leg. I still occasionally overshoot the runway and have had to go around. Keep a stash of propellers handy in case the runway surface finds your prop for you.
Conclusion
The Great Planes Rifle 1-Meter Sport Electric is capable of impressive speeds, but it’s more than a one-trick pony. It minds its manners when throttled back and is competent with low-power aerobatics, making it an unintimidating way for aspiring speedsters to shift their flying skills into overdrive. Battery access after flight is straightforward, and the airplane’s overall package makes it a rewarding, practical choice for pilots who want speed without impractical compromises.
- Terry Dunn
Manufacturer / Distributor
- Hobbico
- Phone: (800) 637-7660
- Website: www.greatplanes.com
Sources
- FlightPower — (800) 637-7660 — www.flightpowerusa.com
- Futaba — (800) 637-7660 — www.futaba-rc.com
- Castle Creations — (913) 390-6939 — www.castlecreations.com
Transcribed from original scans by AI. Minor OCR errors may remain.

