

HobbyZone Stratos - 2012/09
As a casual RC truck enthusiast, I’ve enjoyed hours of racing around tracks watching the dust fly and listening to the hum of a well-tuned glow engine. Bringing a model truck to life after hours of setup and tuning, as well as creative modifications, has been a fun and rewarding experience.
When I was introduced to model airplanes, I was more than a little intrigued; the same principles I enjoyed in RC trucks still applied. Building and tuning the model is a labor of love, followed by the enjoyment of the fruits of your labor. That said, I’d never built a model airplane, never flown one, and never seen one flown. All I knew about airplanes was how to buy the ticket, that I should arrive two hours before boarding, and to always make sure I wear clean socks to avoid embarrassment at the TSA checkpoint. The unknowns that made the hobby interesting also made it intimidating.
After a few sessions in front of a computer flight simulator, I decided I wanted to learn to fly models. When I told our editor, Jay Smith, he said, “Great! There’s a club here in town that gives lessons each month!” I balked at the logistics—buying a plane, scheduling instruction, hoping for good weather—but remained interested.
A trip to the hobby shop didn’t help my confidence; there were many sizes, construction methods, propulsion types, batteries, fuels, and price points. The salesperson seemed convinced I should have one of each, and I left overwhelmed. Then Jay told me about the HobbyZone Firebird Stratos. It seemed like a no-brainer: a model designed specifically for beginning pilots, with everything needed in one box. Even better, it included a Virtual Instructor to help immediately and was designed to protect vital components in a crash. I was pleased to see a trendy, futuristic-looking airplane on the box—definitely more exciting than I expected for a trainer.
Assembly
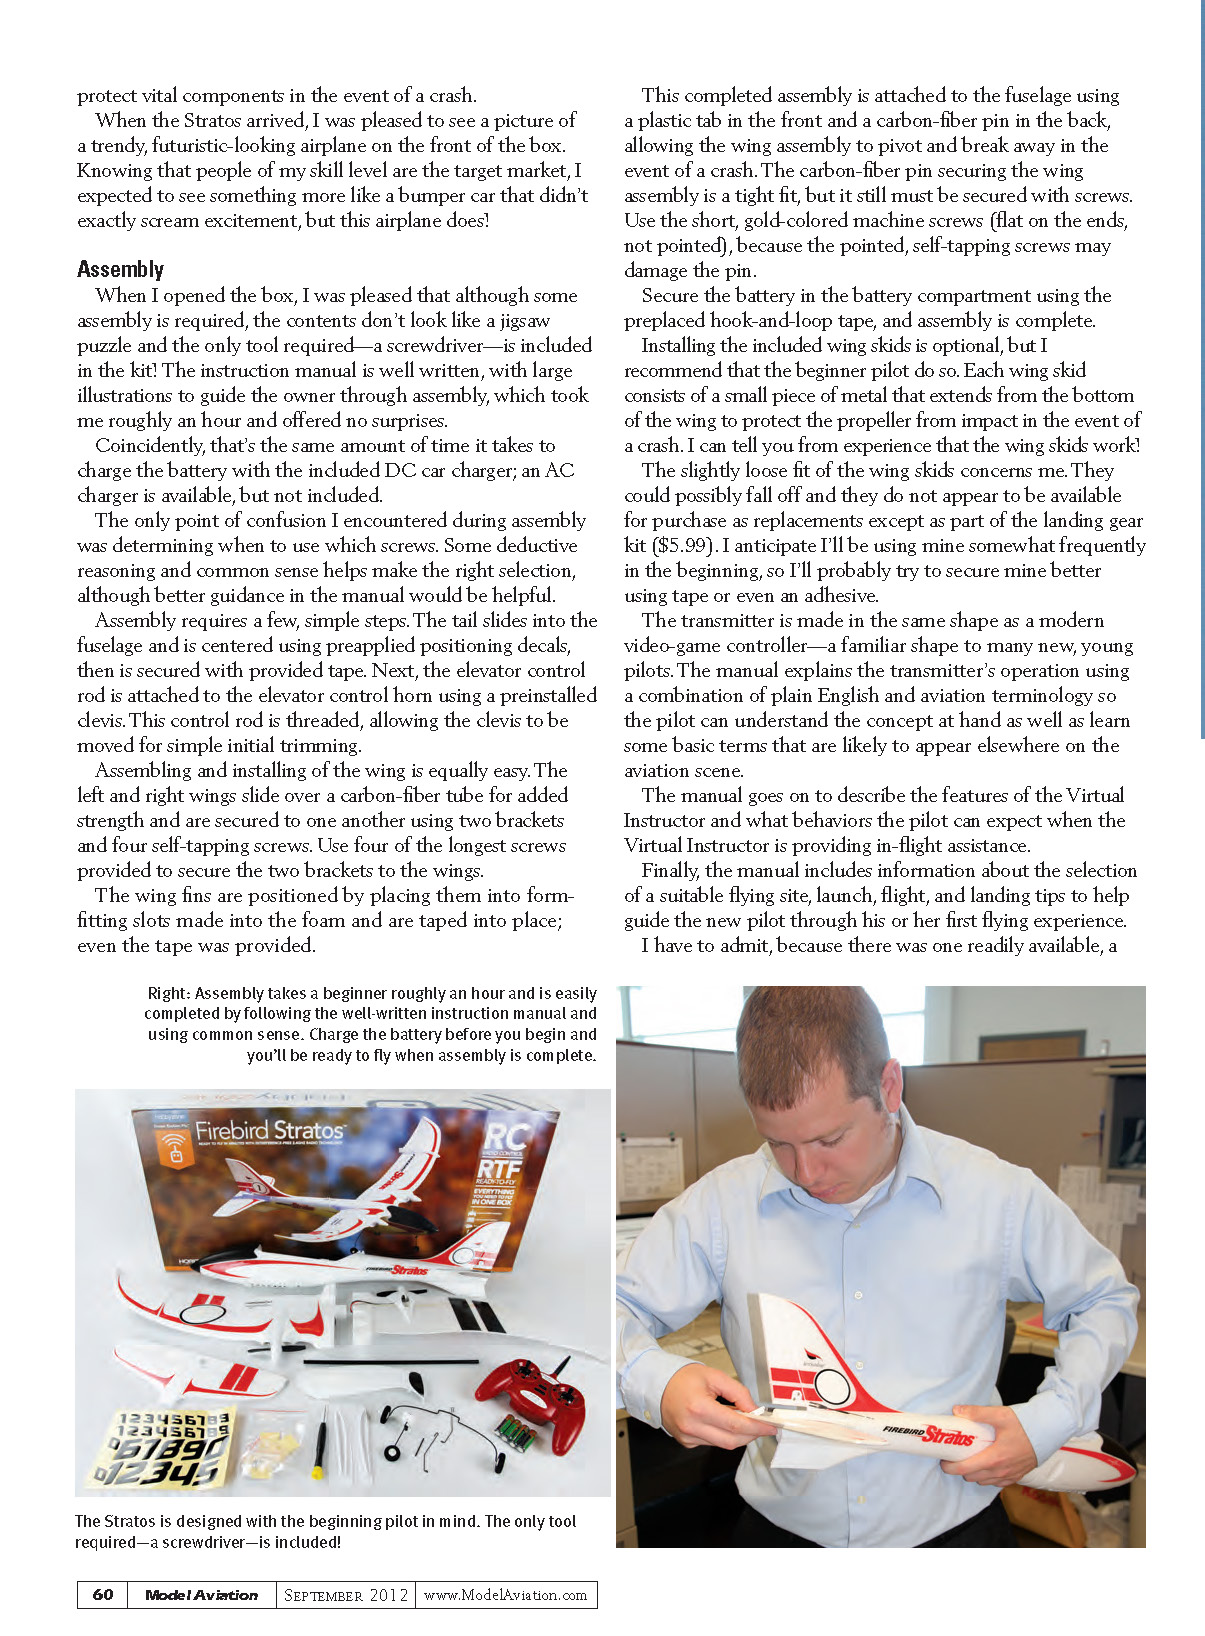
When I opened the box I was pleased that although some assembly was required, the contents didn’t look like a jigsaw puzzle. The only tool required—a screwdriver—is included. The instruction manual is well written, with large illustrations to guide the owner through assembly. Assembly took me roughly an hour and offered no surprises.
Coincidentally, that’s about the same amount of time it takes to charge the battery with the included DC car charger; an AC charger is available but not included. The only point of confusion during assembly was determining which screws to use in some places. Some deductive reasoning and common sense helped, though better guidance in the manual would be useful.
Tools and manual
- Screwdriver included in kit.
- Manual uses plain English and basic aviation terminology.
- Manual describes the Virtual Instructor and offers launch, flight, and landing tips and site selection guidance.
Assembly steps
- Slide the tail into the fuselage and center it using pre-applied positioning decals; secure with the provided tape.
- Attach the elevator control rod to the elevator control horn using the pre-installed clevis. The rod is threaded so the clevis can be moved for initial trimming.
- Slide the left and right wings over the carbon-fiber tube for added strength. Secure the wings to one another with the two brackets and four self-tapping screws.
- Use the four longest screws provided to secure the brackets to the wings.
- Insert the wing fins into the form-fitting slots in the foam and tape them into place (tape is provided).
- Attach the completed wing assembly to the fuselage using the plastic front tab and carbon-fiber pin in the rear. The pin allows the wing to pivot and break away in a crash.
- The carbon-fiber pin is a tight fit but still needs to be secured with screws. Use the short, gold-colored machine screws (flat-ended, not pointed). Pointed self-tapping screws may damage the pin.
- Secure the battery in the compartment using the pre-placed hook-and-loop tape.
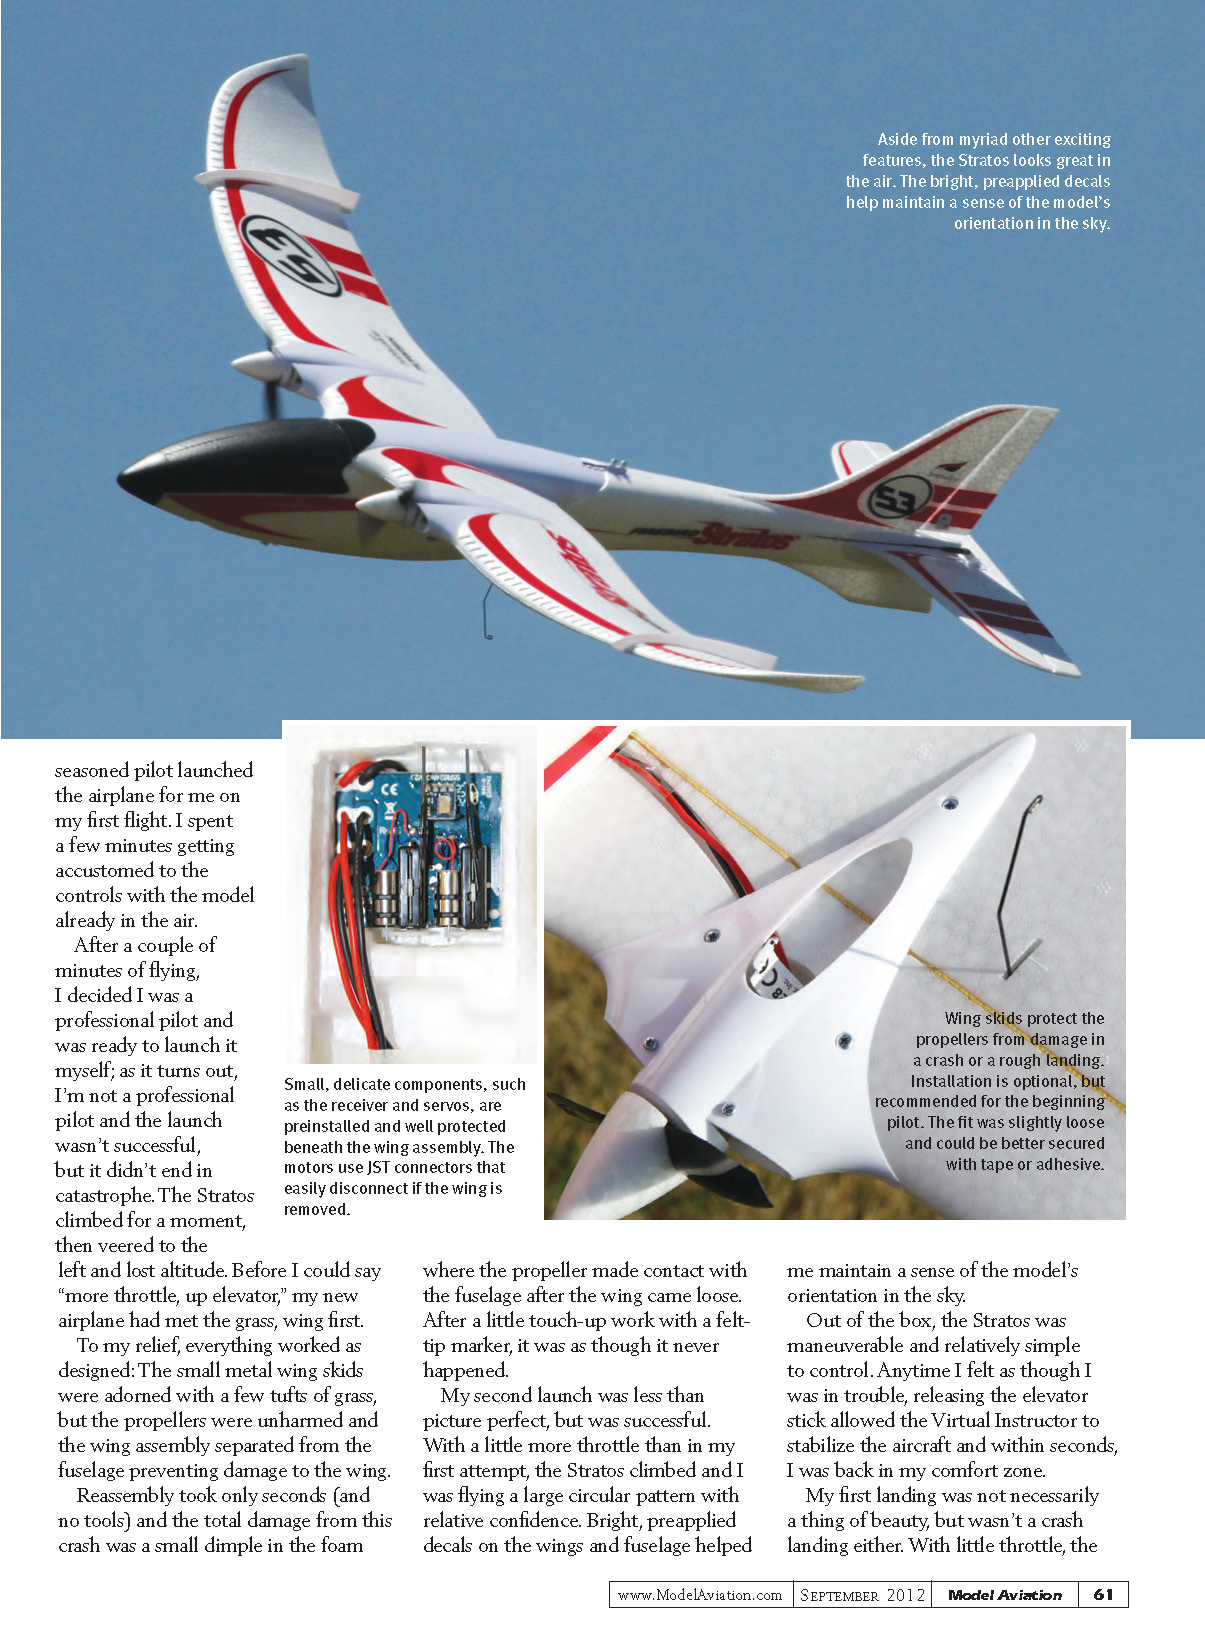
Installing the included wing skids is optional, but I recommend beginners do so. Each skid is a small metal piece that extends from the bottom of the wing to protect the propeller in an impact. From experience, the skids work. Their slightly loose fit is a concern—they could fall off and replacements don’t appear to be sold separately except as part of the landing gear kit ($5.99). Beginners may want to secure them further with tape or adhesive.
Battery and charging
- Battery charges in roughly one hour with the included DC car charger.
- An AC charger is available separately but not included.
Transmitter and Virtual Instructor
- The transmitter resembles a modern video-game controller—a familiar shape for many new and young pilots.
- The manual explains transmitter operation plainly and introduces basic terms.
- The Virtual Instructor can provide in-flight assistance; releasing the elevator stick allows it to stabilize the aircraft automatically.
First Flights
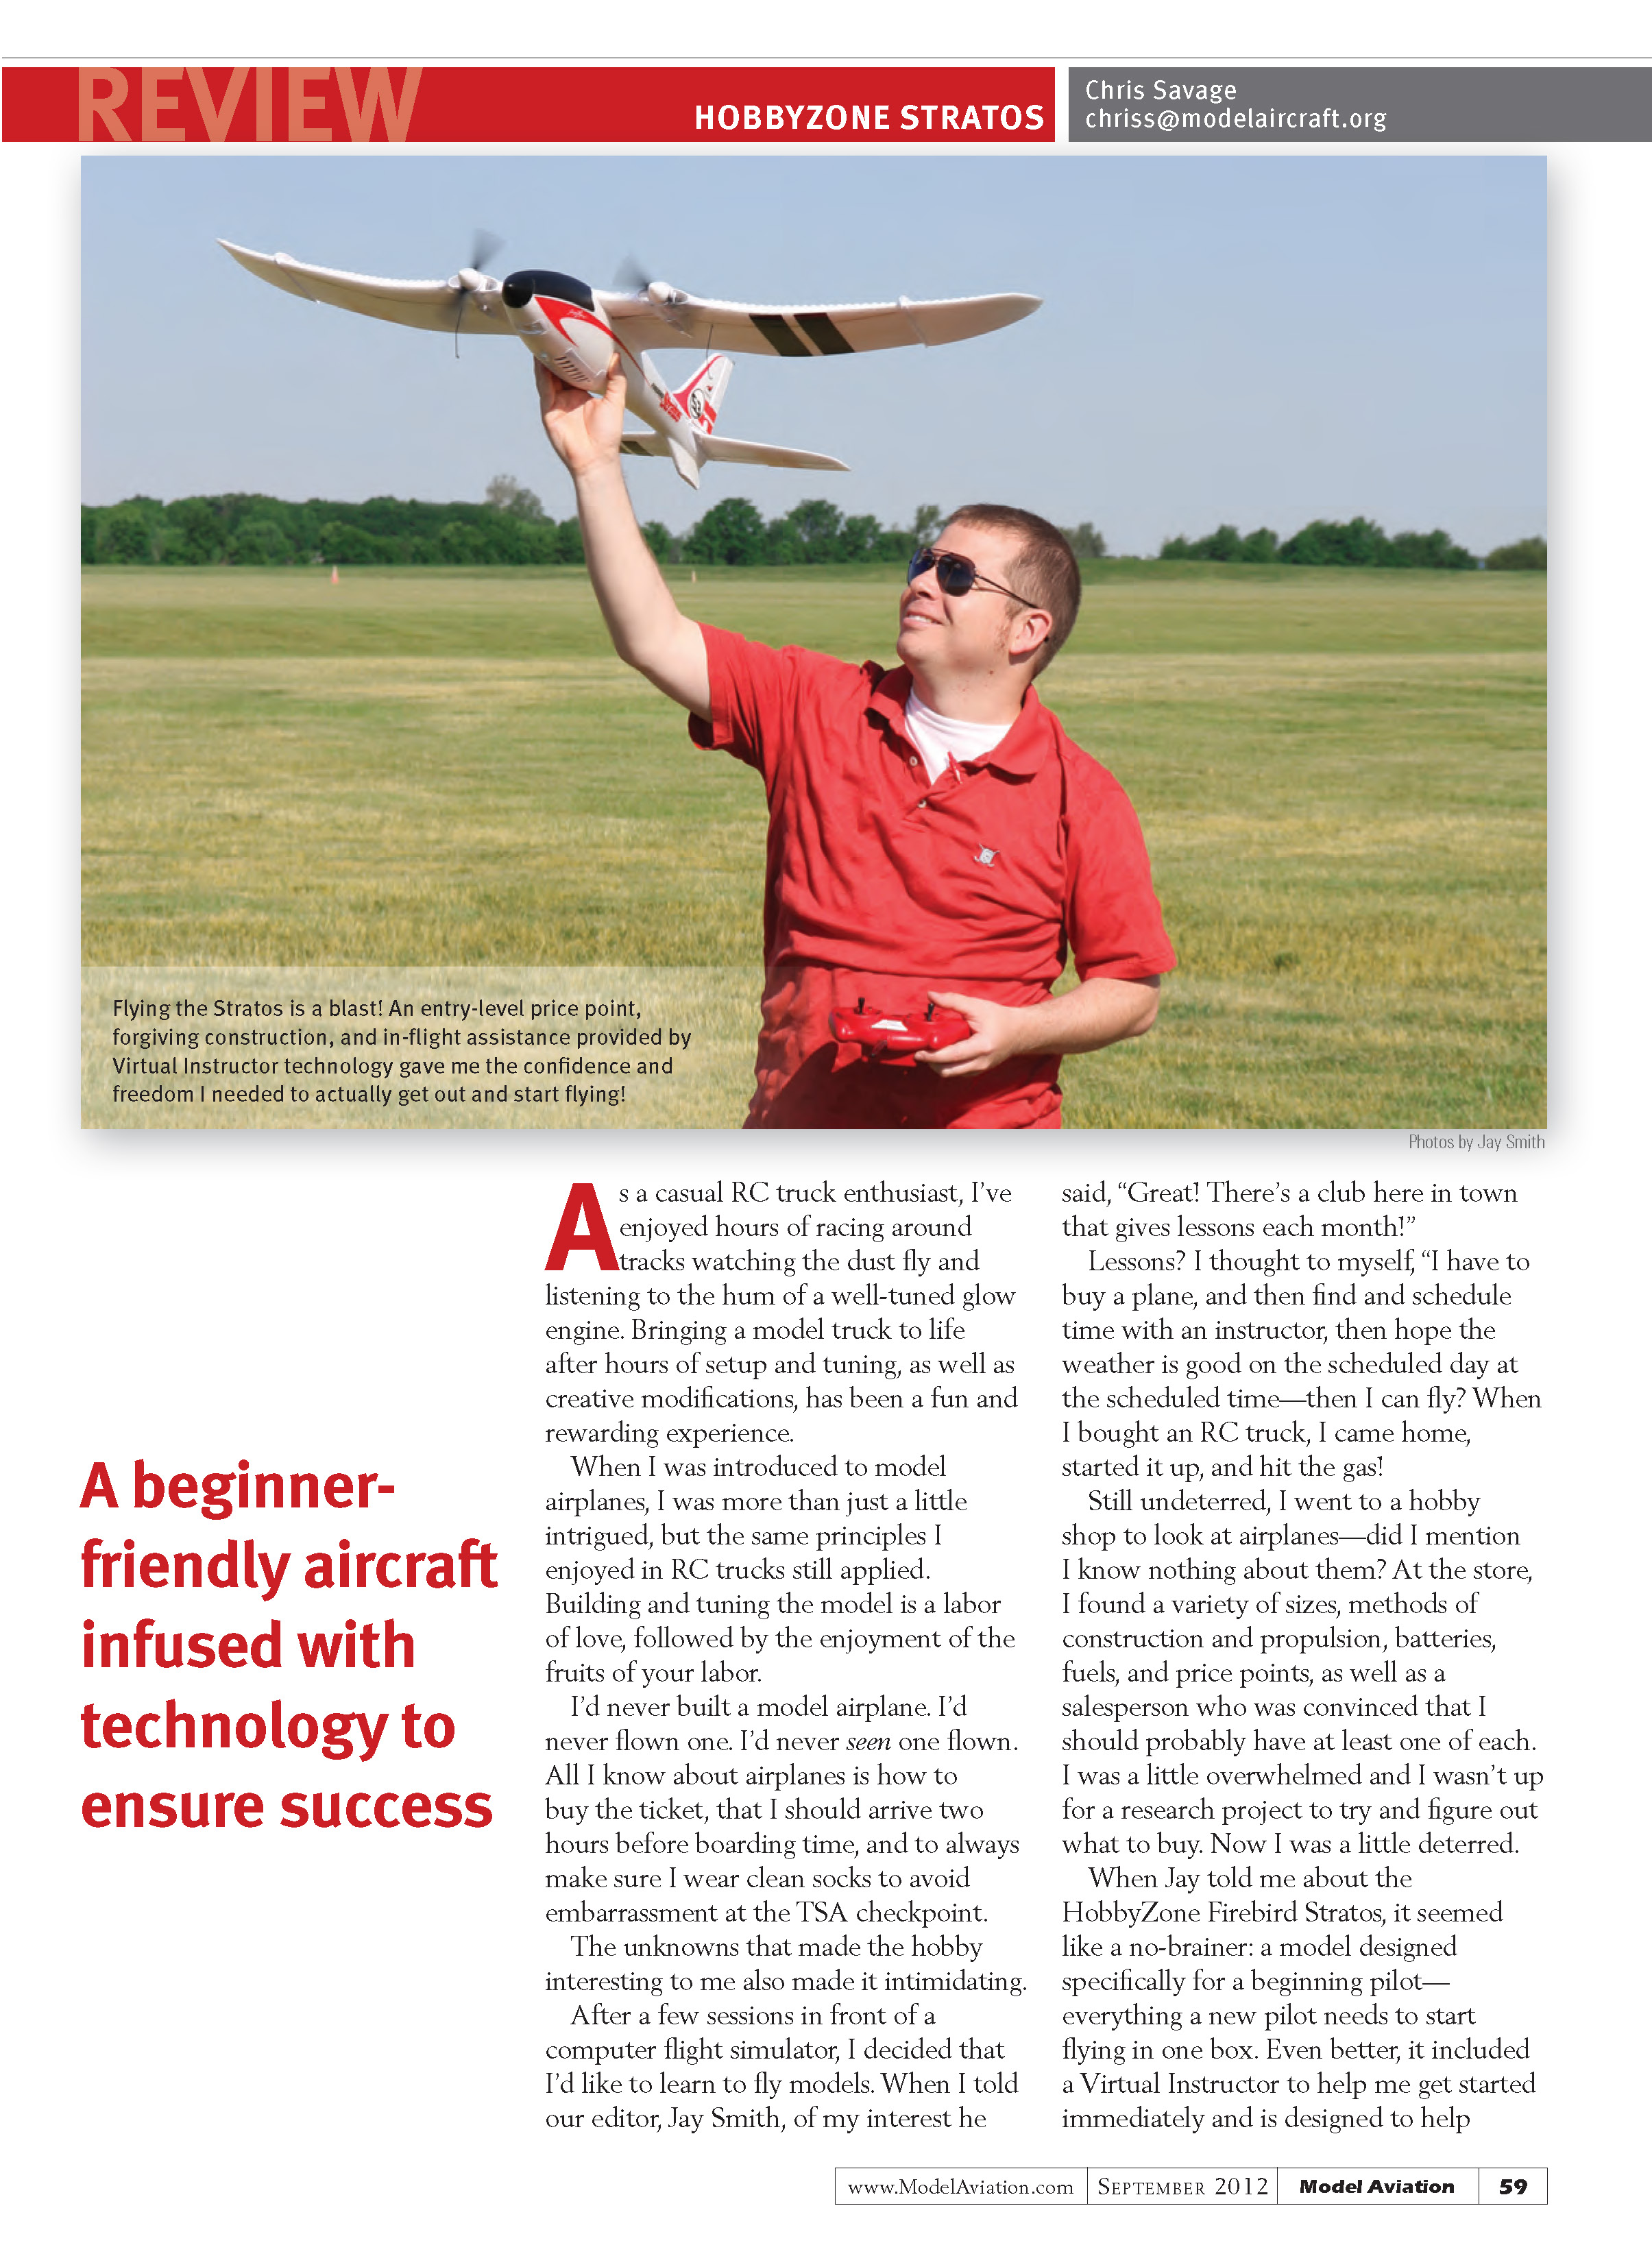
For my first flight, a seasoned pilot (readily available) launched the airplane for me. I spent a few minutes getting accustomed to the controls with the model already in the air.
After a couple of minutes of assisted flying I felt confident and decided to launch it myself. The launch wasn’t successful, but it wasn’t catastrophic either. The Stratos climbed for a moment, veered to the left, and lost altitude, hitting the grass wing-first. To my relief, everything worked as designed: the small metal wing skids picked up a few tufts of grass, the propellers were unharmed, and the wing assembly separated from the fuselage, preventing damage to the wing.
Reassembly took only seconds and no tools. Total damage from the crash was a small dimple in the foam where the propeller contacted the fuselage after the wing came loose. A little touch-up with a felt-tip marker made it look as though it never happened.
My second launch was imperfect but successful. With a little more throttle than my first attempt, the Stratos climbed and I flew a large circular pattern with relative confidence. Bright, pre-applied decals on the wings and fuselage helped me maintain orientation in the sky.
Out of the box, the Stratos was maneuverable and relatively simple to control. Anytime I felt in trouble, releasing the elevator stick allowed the Virtual Instructor to stabilize the aircraft and, within seconds, return it to a comfortable flight state.
My first landing was not a thing of beauty, but it wasn’t a crash. With little throttle, the Stratos settled onto the grass and came to a stop.
Impressions and recommendations
- Pros:
- Ready-to-fly package with necessary tools and accessories.
- Virtual Instructor provides useful, confidence-building stability.
- Durable design and breakaway wing assembly minimize damage in crashes.
- Familiar controller shape and clear manual help new pilots learn quickly.
- Bright pre-applied decals aid orientation.
- Cons / Caveats:
- Some ambiguity about screw placement in the manual.
- Wing skids fit a bit loosely and replacements are only available as part of a kit.
- AC charger not included.
Overall, the HobbyZone Firebird Stratos is an excellent choice for a beginning pilot. It simplifies the learning curve, protects delicate components during mishaps, and delivers a surprisingly fun and confident flying experience right out of the box.
Transcribed from original scans by AI. Minor OCR errors may remain.

