
Horizon Hobby Blade 200 SR X BNF/RTF Helicopter - 2014/12
Jennifer Orebaugh [email protected]
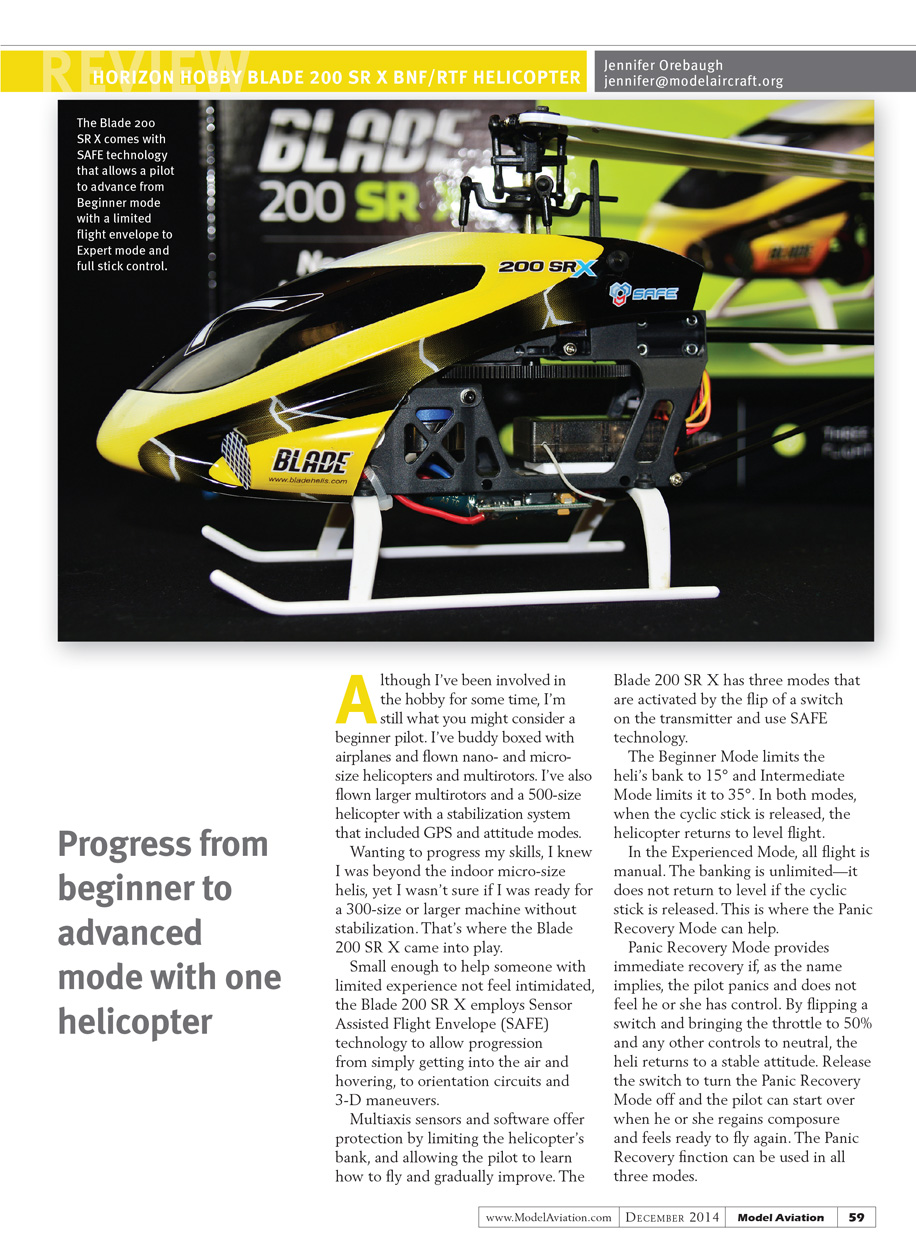
Progress from beginner to advanced mode with one helicopter
Although I’ve been involved in the hobby for some time, I’m still what you might consider a beginner pilot. I’ve buddy-boxed with airplanes and flown nano- and micro-size helicopters and multirotors. I’ve also flown larger multirotors and a 500-size helicopter with a stabilization system that included GPS and attitude modes.
Wanting to progress my skills, I knew I was beyond the indoor micro-size helis, yet I wasn’t sure if I was ready for a 300-size or larger machine without stabilization. That’s where the Blade 200 SR X came into play. Small enough to help someone with limited experience not feel intimidated, the Blade 200 SR X employs Sensor Assisted Flight Envelope (SAFE) technology to allow progression from simply getting into the air and hovering, to orientation circuits and 3-D maneuvers.
Multiaxis sensors and software offer protection by limiting the helicopter’s bank and allowing the pilot to learn how to fly and gradually improve. The Blade 200 SR X has three modes that are activated by the flip of a switch on the transmitter and use SAFE technology:
- Beginner Mode: limits the heli’s bank to 15°. When the cyclic stick is released, the helicopter returns to level flight.
- Intermediate Mode: limits the heli’s bank to 35°. When the cyclic stick is released, the helicopter returns to level flight.
- Experienced (Manual) Mode: all flight is manual, banking is unlimited, and the helicopter does not return to level when the cyclic stick is released.
Panic Recovery Mode provides immediate recovery if the pilot panics and does not feel he or she has control. By flipping a switch, bringing the throttle to about 50% and other controls to neutral, the heli returns to a stable attitude. Release the switch to turn Panic Recovery off and resume normal flight. Panic Recovery can be used in all three modes.
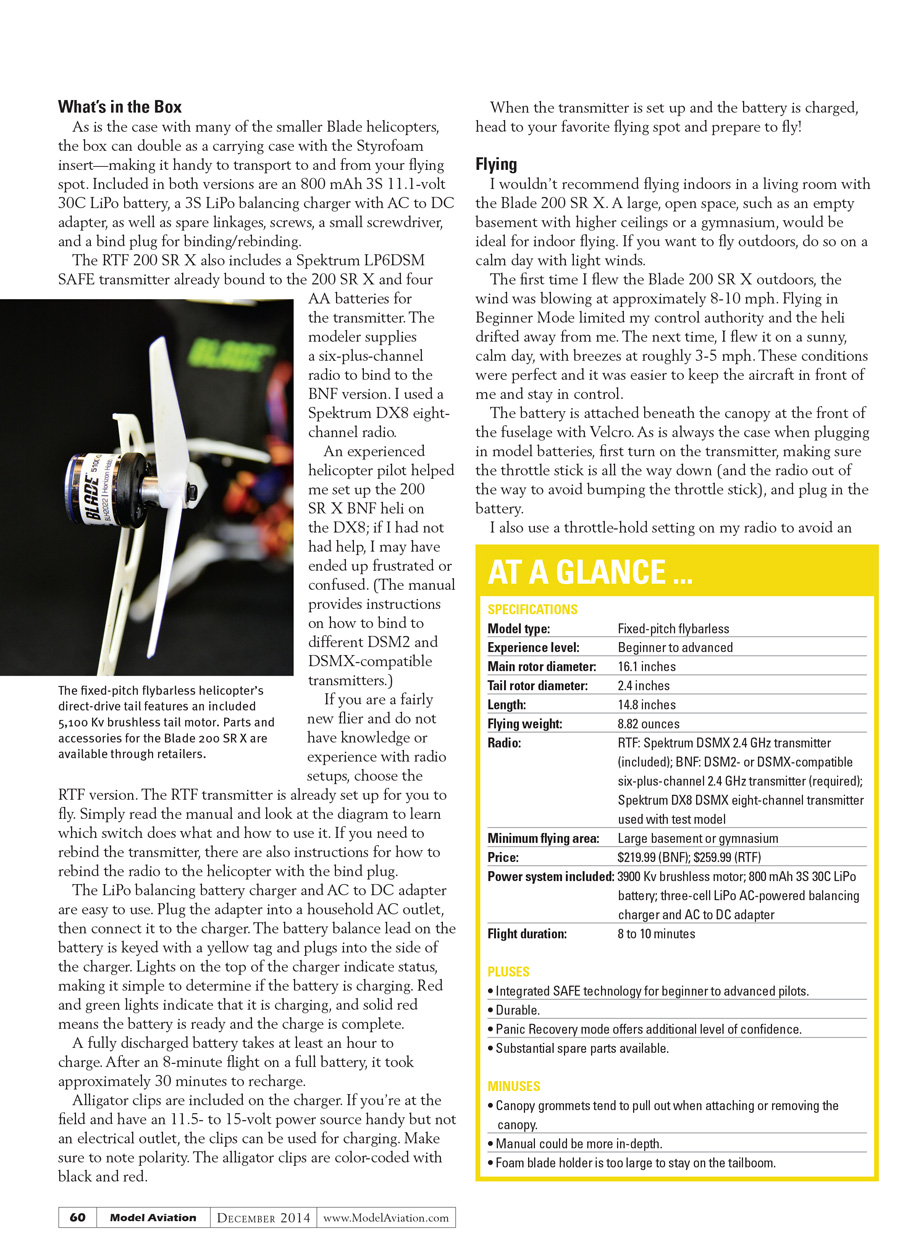
I used a Spektrum DX8 eight-channel radio. An experienced helicopter pilot helped me set up the 200 SR X BNF on the DX8; without help I may have ended up frustrated or confused. (The manual provides instructions on how to bind to different DSM2- and DSMX-compatible transmitters.)
If you are a fairly new flier and do not have knowledge or experience with radio setups, choose the RTF version. The RTF transmitter is already set up for you to fly. Simply read the manual and refer to the diagram to learn which switch does what and how to use it. If you need to rebind the transmitter, the manual also explains how to rebind the radio to the helicopter using the bind plug.
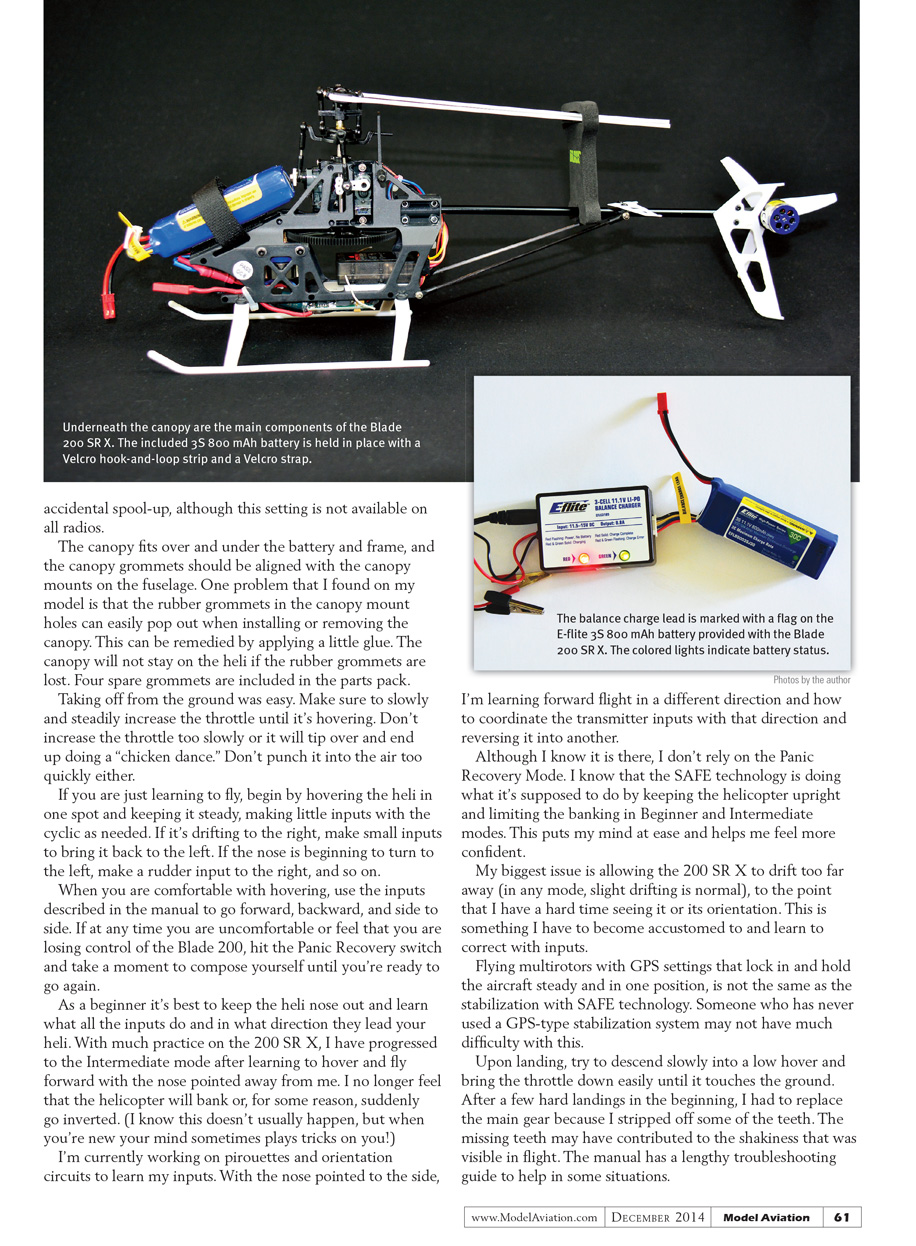
The included LiPo balancing battery charger and AC-to-DC adapter are easy to use. Plug the adapter into a household AC outlet, then connect it to the charger. The battery balance lead (keyed with a yellow tag) plugs into the side of the charger. Indicator lights on the top of the charger show status:
- Red and green flashing/indicating: charging in progress.
- Solid red: charge is complete and the battery is ready.
A fully discharged battery takes at least an hour to charge. After an 8-minute flight on a full battery, it took approximately 30 minutes to recharge. Alligator clips are included on the charger so you can charge from a field power source (11.5–15 V) if you don’t have an electrical outlet. Note the color-coded polarity: red for positive, black for negative.
When the transmitter is set up and the battery is charged, head to your favorite flying spot and prepare to fly.
Flying
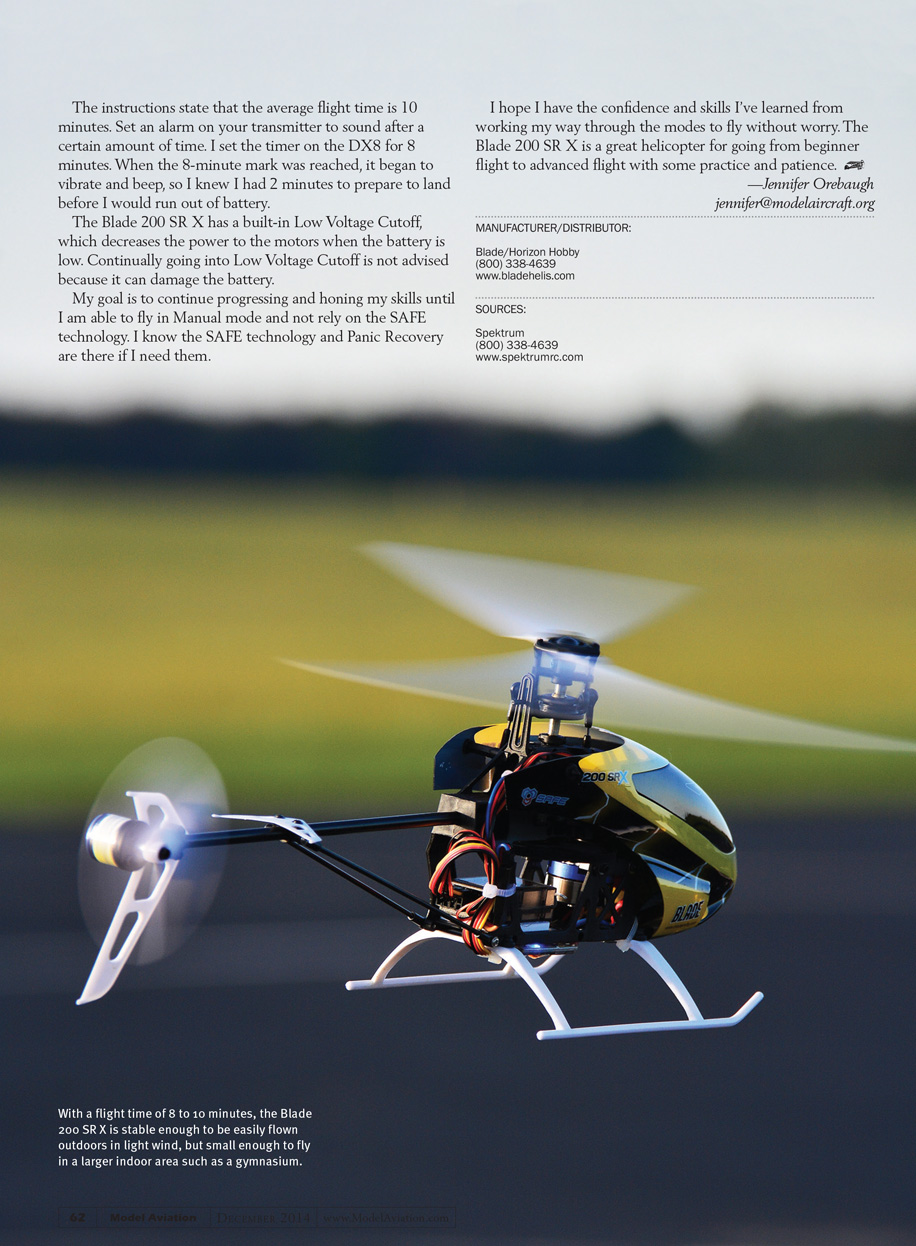
I wouldn't recommend flying indoors in a living room with the Blade 200 SR X. A large, open space such as an empty basement with higher ceilings or a gymnasium is ideal for indoor flying. If you want to fly outdoors, do so on a calm day with light winds.
The first time I flew the Blade 200 SR X outdoors, wind was about 8–10 mph and Beginner Mode limited my control authority so the heli drifted away. The next time I flew on a sunny, calm day with breezes around 3–5 mph; these conditions were much easier for keeping the heli in front of me and staying in control.
The battery is attached beneath the canopy at the front of the fuselage with Velcro. As with all models, first turn on the transmitter (making sure the throttle stick is all the way down and the radio is out of the way to avoid bumping the stick), then plug in the battery. I also use a throttle-hold setting on my radio to avoid an accidental throttle bump; it prevents accidental spool-up, although not all radios have this setting.
The canopy fits over and under the battery and frame, and canopy grommets should align with the canopy mounts on the fuselage. One problem I found is that the rubber grommets in the canopy mount holes can easily pop out when installing or removing the canopy. This can be remedied by applying a little glue. The canopy will not stay on the heli if the rubber grommets are lost; four spare grommets are included in the parts pack.
Taking off from the ground was easy. Slowly and steadily increase throttle until the heli is hovering. Don’t increase throttle too slowly or it will tip over and end up doing a “chicken dance.” Don’t punch it into the air too quickly either.
If you are just learning to fly, begin by hovering the heli in one spot and keeping it steady, making small cyclic inputs as needed. If it drifts to the right, make small inputs to bring it back to the left. If the nose begins to turn left, make a rudder input to the right, and so on.
When comfortable with hovering, use the inputs described in the manual to go forward, backward, and side to side. If at any time you feel you are losing control, hit the Panic Recovery switch and take a moment to compose yourself until you’re ready to fly again.
As a beginner, it’s best to keep the heli nose out and learn what each input does and which direction it moves the heli. With practice on the 200 SR X, I progressed to Intermediate mode after learning to hover and fly forward with the nose pointed away from me. I no longer fear that the helicopter will suddenly bank or invert. (I know that doesn’t usually happen, but when you’re new your mind sometimes plays tricks on you.)
I’m currently working on pirouettes and orientation circuits to learn my inputs. With the nose pointing to the side, I’m learning forward flight in different directions and how to coordinate transmitter inputs and reverse direction smoothly.
Although Panic Recovery is available, I don’t rely on it. I know SAFE technology is doing what it’s supposed to by keeping the helicopter upright and limiting banking in Beginner and Intermediate modes. That gives me confidence.
My biggest issue is allowing the 200 SR X to drift too far away (in any mode, slight drifting is normal) to the point that I have a hard time seeing it or judging its orientation. This is something I have to get used to and correct with inputs.
Flying multirotors with GPS-position-hold is not the same as SAFE stabilization on a heli. Someone who has never used a GPS-type stabilization system may still adapt to SAFE technology without much difficulty.
Upon landing, descend slowly into a low hover and bring the throttle down gently until it touches the ground. After a few hard landings early on, I had to replace the main gear because I stripped some teeth. The missing teeth may have contributed to visible shakiness in flight. The manual includes a lengthy troubleshooting guide to help in some situations.
The instructions state the average flight time is 10 minutes. Set an alarm on your transmitter to sound after a set time; I set the DX8 timer for 8 minutes so it vibrates and beeps with about 2 minutes remaining to prepare for landing.
The Blade 200 SR X has a built-in Low Voltage Cutoff (LVC), which decreases power to the motors when the battery is low. Repeatedly triggering LVC is not advised because it can damage the battery.
My goal is to continue progressing until I can fly in Manual mode without relying on SAFE technology. I know SAFE and Panic Recovery are there if I need them. With practice and patience, I hope to fly without worry. The Blade 200 SR X is a great helicopter for advancing from beginner to advanced flying.
—Jennifer Orebaugh [email protected]
MANUFACTURER/DISTRIBUTOR:
Blade / Horizon Hobby (800) 338-4639 www.bladehelis.com
SOURCES:
Spektrum (800) 338-4639 www.spektrumrc.com
Transcribed from original scans by AI. Minor OCR errors may remain.

